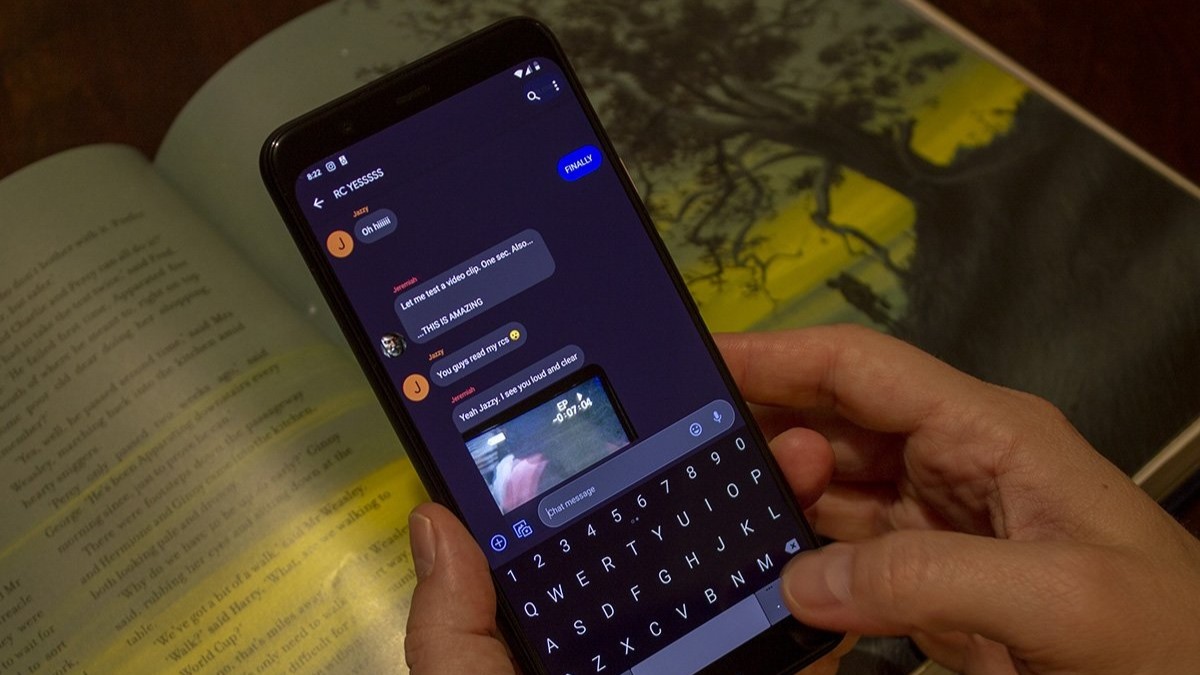
How to retrieve your data if your phone screen breaks
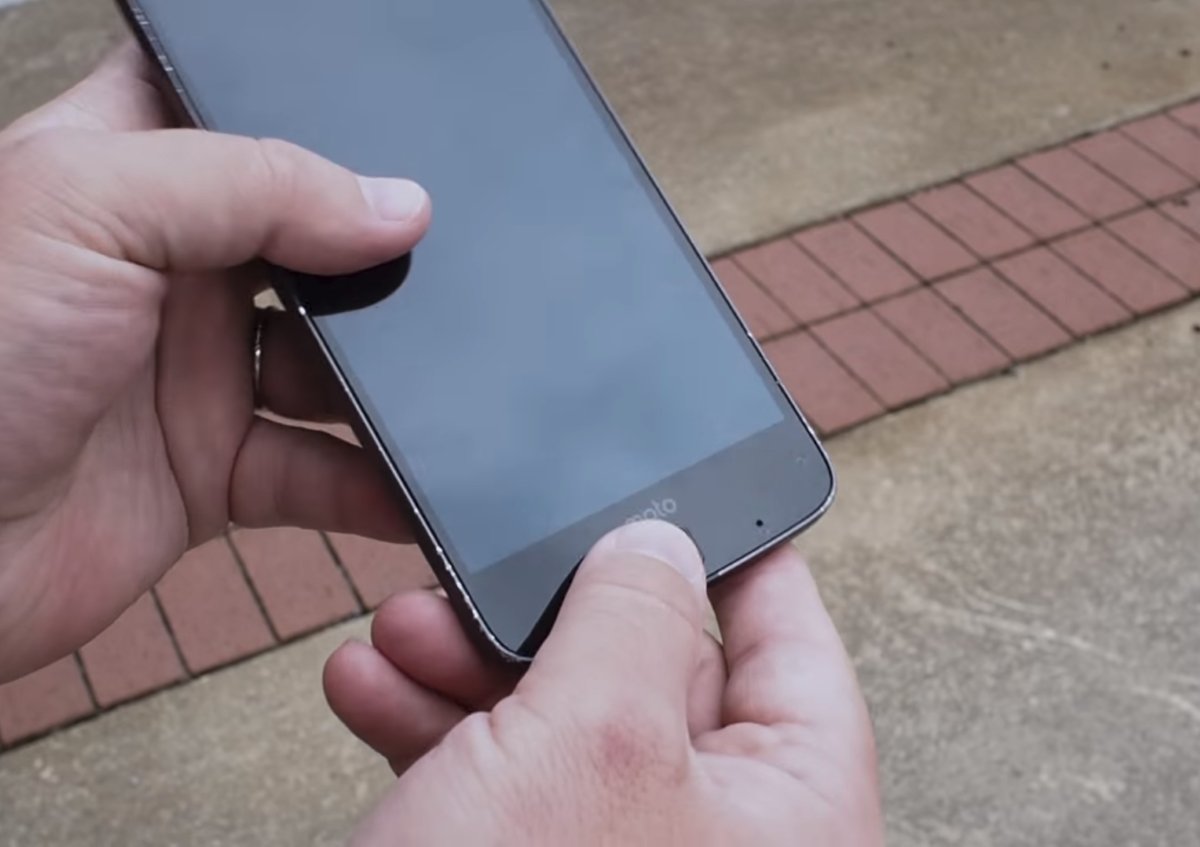
When the screen on your phone dies or breaks, it's the worst. Until you realize that you lost things like pictures or docs or anything else that you can't get back because you need to tap stuff and can't. Then that becomes the new worst. Don't let it happen to you — there are a few easy things you can do to make sure you always have your stuff!
Don't let a busted phone keep you from getting to those important things.
Over the years I've received some heartbreaking questions and cries for help on this. People desperate to retrieve photos and other personal files after their screen went belly up are something we see online every day. The worst are often things you can't replace; recently I worked with a friend for hours to try and get some photos of a relative who unexpectedly passed away off a Galaxy S7. It was all in vain, and that phone is now in the hands of a professional data-recovery service that can hopefully repair the display without erasing or damaging the phone's memory. I was left feeling helpless, my friend was left feeling helpless and desperate. Never think that men in their forties don't cry, because both of us were in tears.
I'm writing this to do everything I can to make sure it doesn't happen to you. It's too late after your screen stops working. Thankfully, preparing is easy and there are a few things to do to make sure you have access to everything important no matter what happens to your phone.
Your SD card
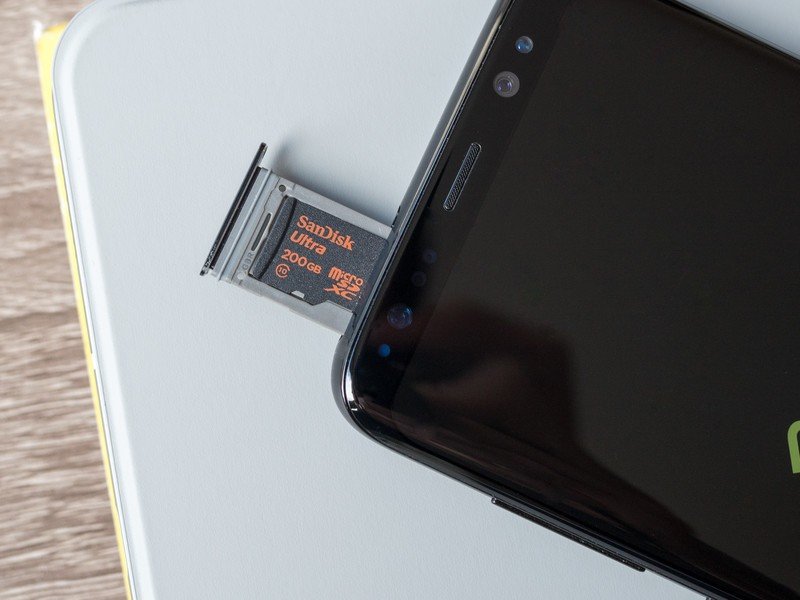
Most Android phones come with a slot for an SD card. While you hear a lot of talk about wanting to use this storage for apps, an SD card is the right place to store any file that's not sensitive. If it's something you don't ever want anyone to see, don't put it on your card. But put everything else there.
An SD card is a perfect place to keep photos and documents because it's portable storage.
You'll find a setting in your camera app that stores photos on the SD card. Usually, this setting is a toggle between your phone's built-in memory or the SD card and every photo you take after you change the setting is stored in the location you picked. Your gallery still works exactly the same, you can share photos exactly the same and really, there is only one difference — if the phone dies or your screen stops working you can remove the card and use any other device that can read it to get to your photos.
Your Downloads folder is not on your SD card. You'll need to use a file browser app to move anything important from the Downloads folder to a folder on your card. One probably came with your phone, but if not there are literally hundreds to choose from at Google Play. If you're not sure which one to download, I'll make it easy: Download the ASUS File Manager. ASUS isn't exactly known for wonderful software but if you need a simple and light file manager, it has you covered.
A file manager on your phone works just like it does on a computer; you can copy and paste almost anything to a new folder.
Use the file manager to create a folder on your SD card and copy everything important from your Downloads folder into it. Do this any time you download something new and important. Just remember that if you can read your SD card on any device, so can everyone else. Don't put anything you want to stay a secret on it.
Be an expert in 5 minutes
Get the latest news from Android Central, your trusted companion in the world of Android
Encryption and Adoptable storage
You can encrypt your SD card on most Android phones. But you should think about it before you do it. We go over it in detail in its own article, which you should read if you have any questions. The tl;dr is encrypting your SD card means you can only use it on the same phone that you excrypted it with without formatting it and erasing everything.
More: Should you encrypt your SD card?
Adoptable storage means using your SD card as an extension of your phone's internal storage. Basically, instead of having something like 12GB free to install apps on, you can have like 140GB free if you use a 128GB card. There are phones that ship with a tiny amount of storage that need this setting enabled, but not very many nowadays.
Adoptable Storage is great for phones without a lot of on-board memory, but not needed for most of us.
Whenever you insert an SD card in a phone that supports Adoptable Storage you'll be asked if you want to use it. If you're running out of room to install apps and don't have anything you want to uninstall, go ahead and enable this, but know it means you can't use your SD card as a safety net like I'm describing here. In fact, you can't even remove the card without a big mess.
If you don't know a lot about SD cards and have never used one because you're unsure about what to buy and where to begin, here is a foolproof mini starter guide:
- Buy this 64GB Sandisk card. It's cheap and it's fast enough to use for photos and video. If you need a bigger card or only shoot 4K video, buy this 128GB version. Don't bother buying a smaller card, especially if you'll be taking a video or two. And stay away from off-brands — let people who live on the edge try them first.
- Turn your phone off and put the card in. You'll find information about this in the manual that came with your phone if you need some directions here.
- Reboot and look for a notification about your new card. If you're asked to format your card as Internal storage say no.
- Open your camera app settings and find the entry to change the storage to the SD card. Take a photo.
- Use your file manager to find the new photo you took on your SD card. It will be in a folder named DCIM.
- Using your file manager, copy everything from the DCIM folder on your phone's internal storage to the DCIM folder on your SD card.
- Now do the same for the Downloads folder, making sure nothing that needs to stay private gets copied.
The cloud
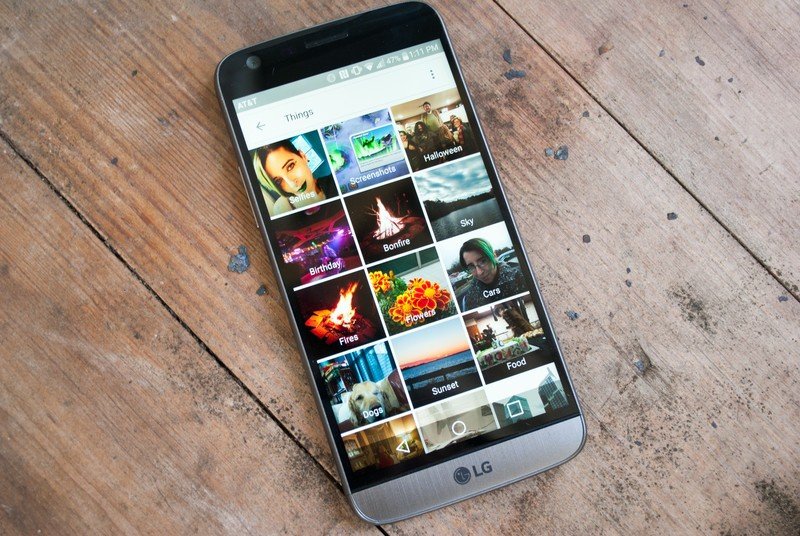
Use the cloud to back up everything you never want to lose. Yes, Big Brother can probably see it (with the right warrant). But for every instance where either happens, there are millions and millions of users who weren't hacked or had their stuff subpoenaed by the feds. Use good passwords and two-factor authentication if offered and chances are you'll be fine. And have all your stuff if your phone konks out.
Google Photos
Every single person with an Android phone or an iPhone should be using Google Photos. Full stop. You can save a high-resolution (not full size, but still great for viewing and printing) copy of every photo you take for free. And it's automatic! Even if you use a service like iCloud or OneDrive to keep things backed up, you should still use Google Photos.
More: Google Photos: Everything you need to know!
Google Photos lets you choose which folders get backed up so you can also save other pictures. The best part, and why it's relevant here, is that you can get to your backed up photos from any device with a screen and an internet browser. If you're not using Google Photos install and set it up now, before it's too late. It's easy and it's free.
- Download Google Photos for Android
- Download Google Photos for iOS
- Visit Google Photos through your web browser (Google login required)
Online storage for other stuff
Your Google account comes with free space on Google Drive. Dropbox and OneDrive also offer free storage for personal accounts. Plenty of other companies do the same, but these are the "big three" and where to start if you're unsure.
Google, Microsoft and Dropbox give free storage for new accounts. Use it!
They work just like storage on your phone or computer: you can make folders, put folders inside of folders, and share your stuff. The only differences are that you need to be connected to the internet to use them, and that it's not a one-to-one copy of your phone. You'll have to actively set up folders and upload files.
This is because mobile service providers aren't very keen on any potentially high-traffic automatic syncing that could be used on their network. It's a relic of the past that needs to change, but in the meantime it's still easy to roll your own solution. Decide which service you want to use. There are pros and cons for each, but I'll focus on Google Drive since everyone with a Gmail account already has it.
- Install the Google Drive app on your phone if it didn't come pre-installed.
- Open it and make sure you're signed in with the right account if you have more than one on your phone.
- Create a folder where your phone backups will live. You can move files out of it and into any other folder later, this is just the target for your back ups.
- Install the Autosync Google Drive app. This isn't an "official" Google app, but it should be. The free version is great. Paying for the upgrade is even greater.
- Open the Autosync Google Drive app and follow the directions to set up syncing, including what folder(s) you want to sync and whether you want one way sync (from your phone to Google Drive only) or two-way sync (from Google Drive back to your phone). Tell it to use the folder you created in the step above as the destination.
- Make sure you move every file you want to keep forever to the folder(s) you told the Autosync Google Drive app to keep backed up. Use the file manager we talked about up the page and you'll be good.
You'll have access to your files from any device with a web browser and an internet connection. This is a lifesaver if you can't get your phone to work and don't want to lose the important stuff you have stored on it. The process using Dropbox or OneDrive is the same, you just need to use the right apps.
- Download Dropbox for Android | Download Autosync Dropbox for Android
- Download OneDrive for Android | Download Autosync OneDrive for Android
- If you use iOS, set up iCloud Drive. Apple does this right and Google could learn a thing or two from them.
An ounce of prevention
It's great that security checks are in place so that you need to actually interact with your phone before you can pull photos and docs from it. When combined with a secure lock screen, it means nobody but you can get to them. It also means that you need to be proactive and keep your stuff backed up.
Shit happens. Your screen might break or your phone could die tomorrow.
Broken screens or phones that die are just a thing that happens. It happens every day, and it could happen to you. It's happened to me more than once which is why I'm a preacher for keeping your stuff in the cloud and stored locally and everywhere else you can. You can never have too many backups.
Don't be in the situation where a broken phone keeps you from the things you need or want to keep!

Jerry is an amateur woodworker and struggling shade tree mechanic. There's nothing he can't take apart, but many things he can't reassemble. You'll find him writing and speaking his loud opinion on Android Central and occasionally on Threads.
