First 12 things to do with your new Garmin watch
Unless you get your Garmin settings right out of the gate, you may end up with inaccurate or unhelpful training data.
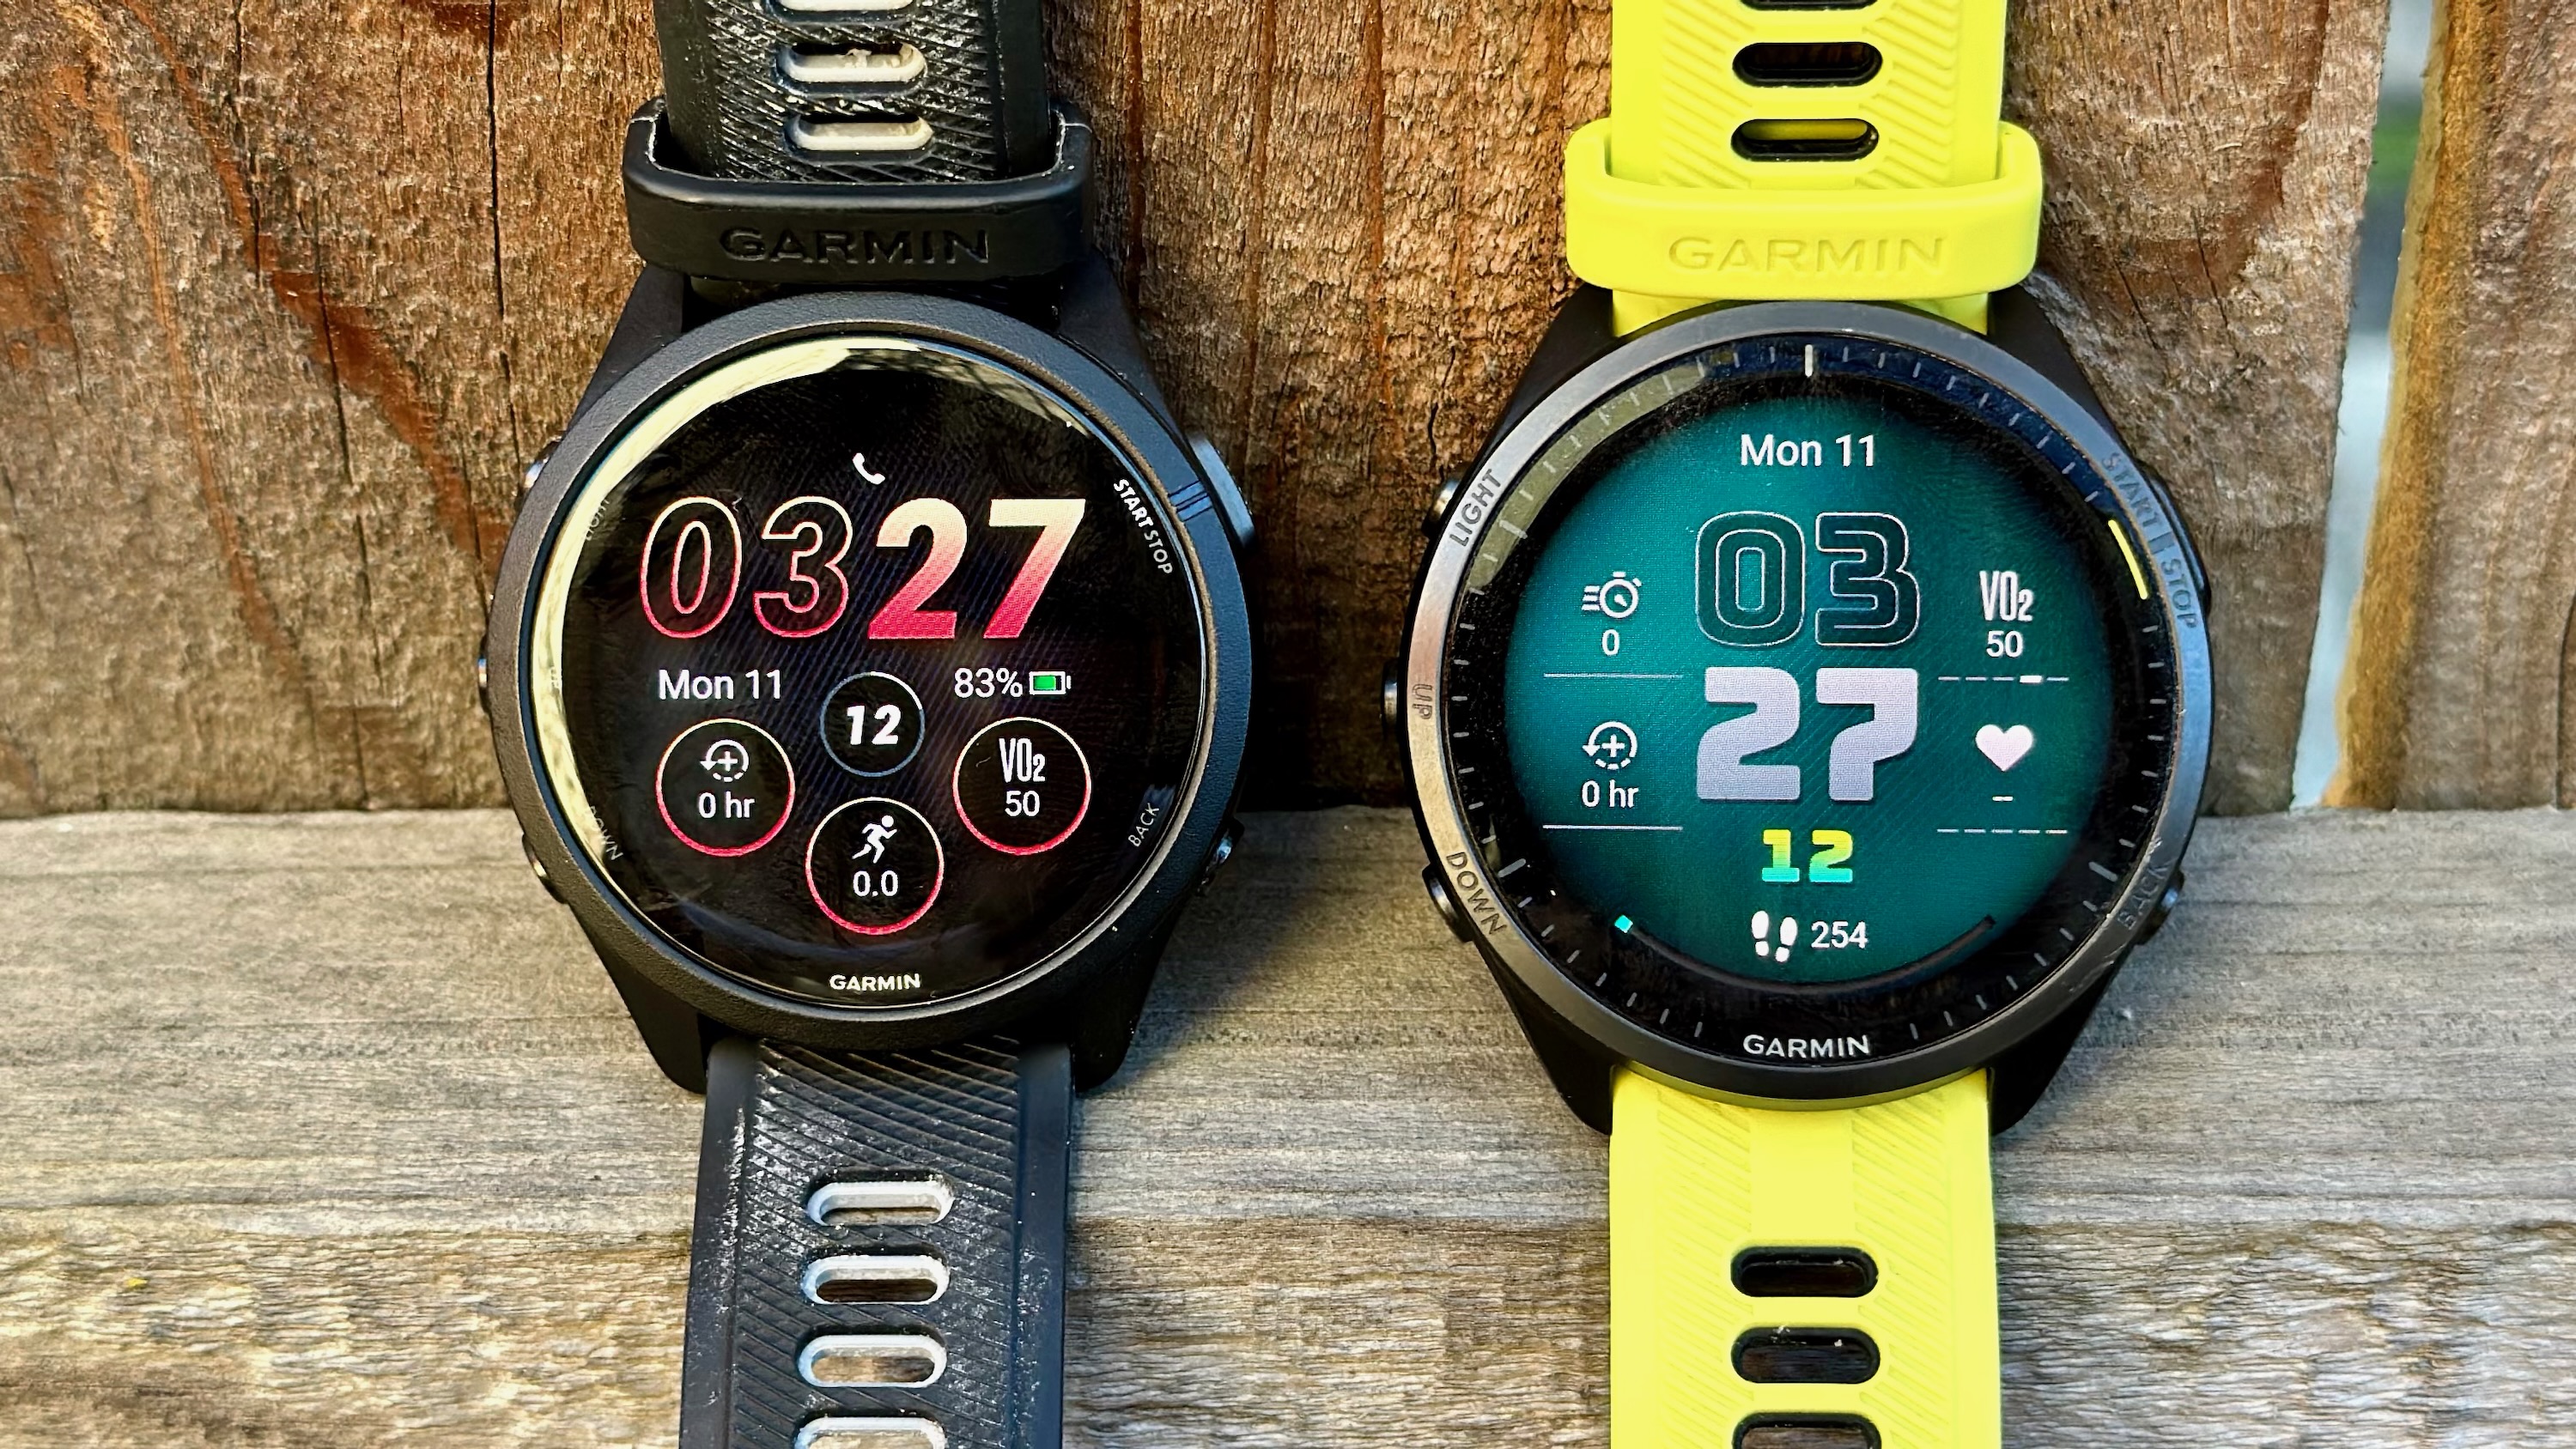
Garmin watches may not have the apps of a traditional smartwatch, but when it comes to fitness features, they're like onions: you need to peel down several layers of settings to get to the good stuff (and then cry from the hard workouts).
When you start the Garmin watch set-up process, the app walks you through the obvious steps like connecting to Wi-Fi, setting initial goals, and adding Garmin Pay or emergency contacts. After that, though, you're left to fend for yourself.
Garmin just announced a Connect app revamp that should make some data more accessible, but it's still in beta until later in 2024. For now, you may need help figuring out the best Garmin tips and tricks for your new watch.
For new Garmin watch owners — or prospective buyers wondering what the fuss is about — here is a Garmin beginner's guide to help you get the most out of one.
Finish setting up
If you're anything like me, you'll probably skip a lot of the complicated Garmin watch setup and plan to get back to it later. Then you'll get bombarded with pop-ups asking, "Now do you want to set up Garmin Pay?" Spare yourself the daily annoyance and finish setting up every core feature.
In the Garmin Connect app, tap the watch icon on the top banner, then select your current watch (or sync it if it's disconnected). Your first option will be Finish setup, which guides you through the aforementioned features like adding Wi-Fi and safety features.
Or, if you've already completed setup but want to change things after the fact, you'll find these features in the same watch Settings menu; Garmin Pay and Music are obvious, while Wi-Fi is under Connectivity and Safety & Tracking lets you change your Emergency Contacts or enable LiveTrack.
Be an expert in 5 minutes
Get the latest news from Android Central, your trusted companion in the world of Android
With some of the best new Garmin watches, you'll see other exclusive tricks like Jet Lag Advisor that you'll set up from this same "Finish setup" page.
Change your goals
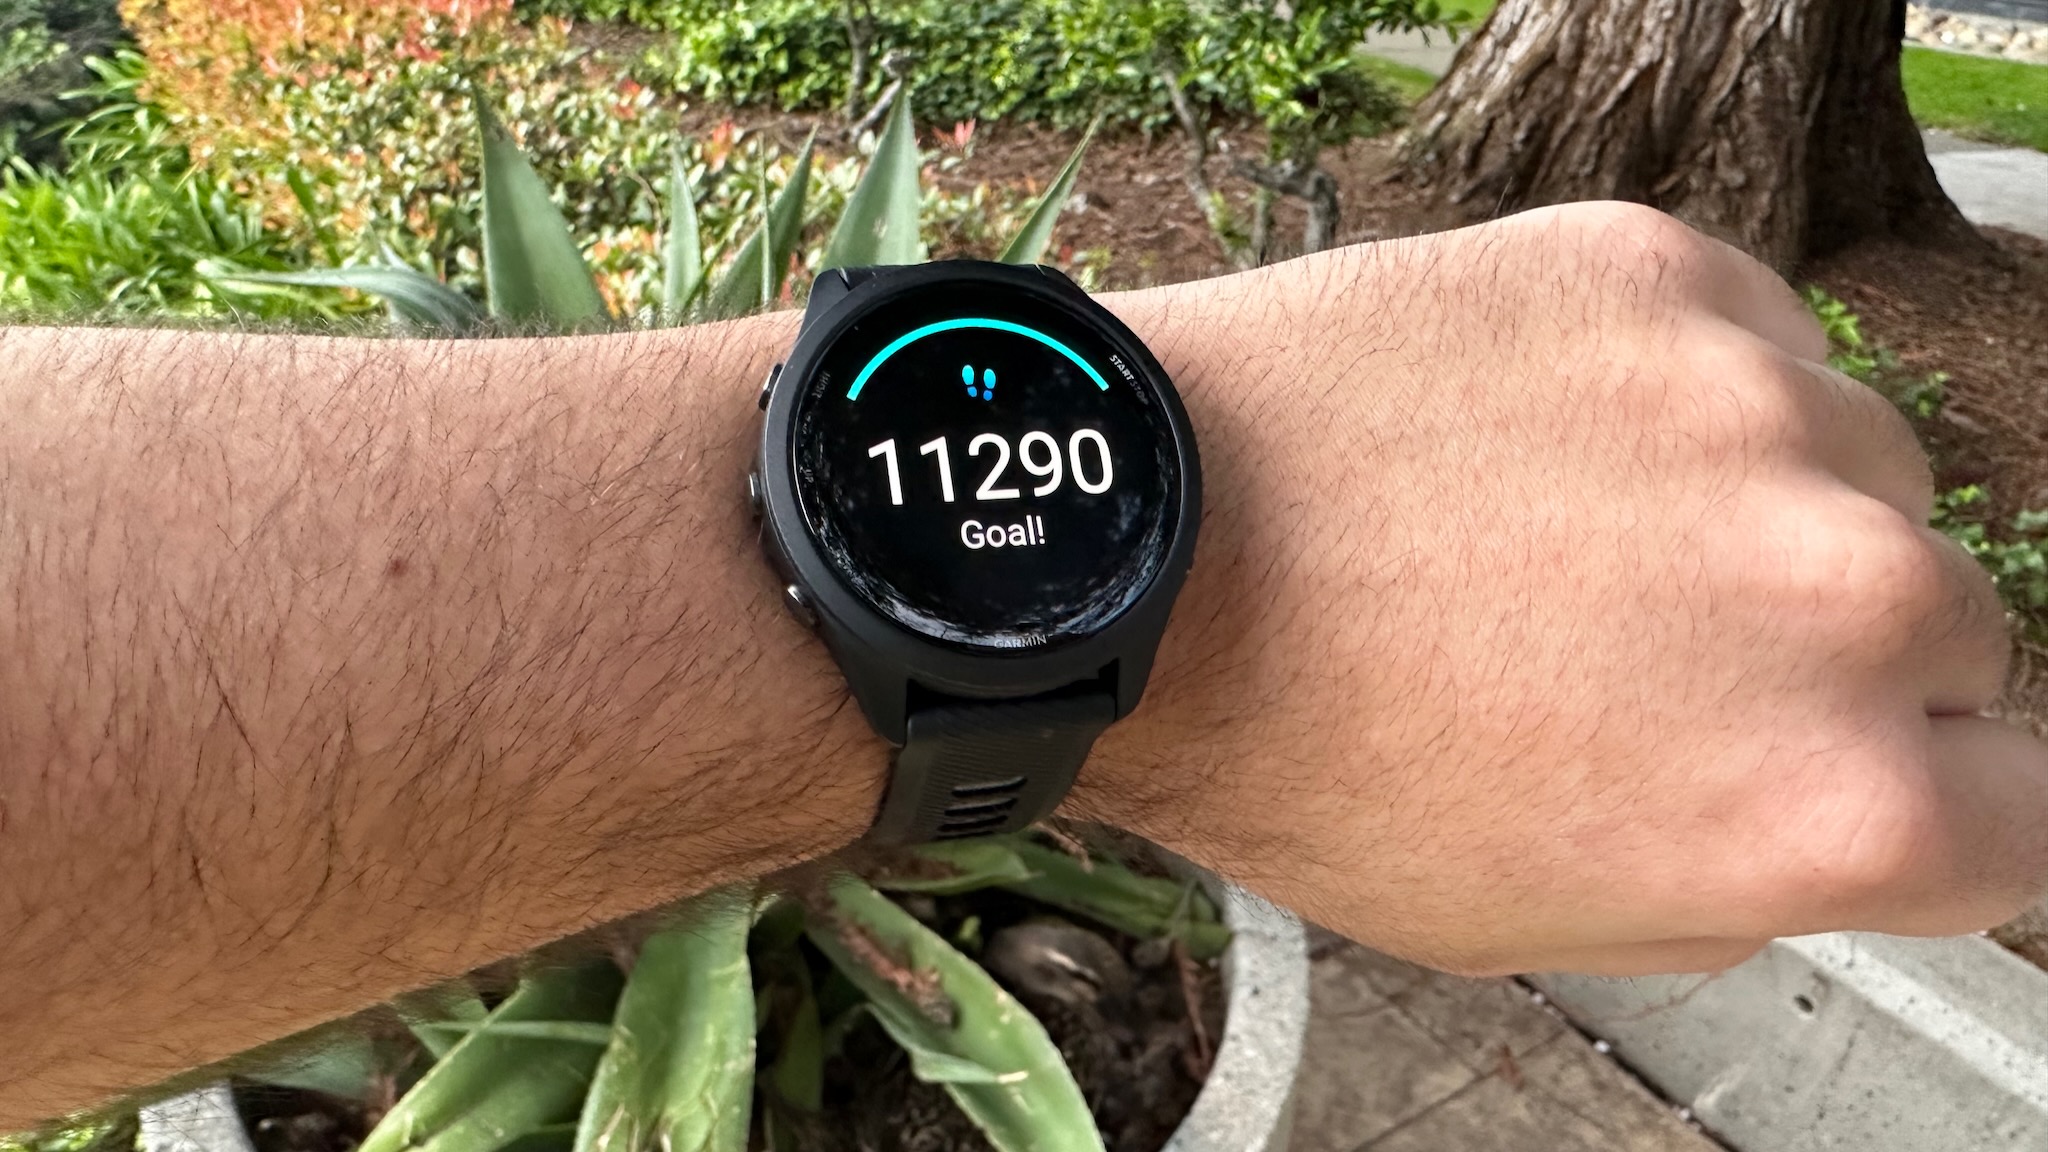
When you first download Connect or set up a watch, it'll prompt you to set goals for your daily steps, weekly intensity minutes, or daily floors climbed. You can also find these goals by tapping the watch settings icon > Health & Wellness.
For steps, it defaults to an "auto average" that changes based on your past activity, but you can set a specific goal like 10,000 steps. A hard number is better if you're aiming to walk 10,000 steps a day for a month, as I did, but an automatic system can help you improve slowly over time if you're out of shape.
For weekly intensity minutes, the World Health Organization recommends adults aged 18–64 hit 150–300 minutes of moderate activity or 75–150 vigorous activity to stay healthy. For every minute of activity with a Garmin watch, you'll receive two intensity minutes if your heart rate reaches a certain HR zone; you can decide what level of activity qualifies as "vigorous."
Go to your watch settings > User Profile > Heart Rate & Power Zones. Here, you can adjust your max heart rate, lactate threshold, and five HR zones, if you prefer. Garmin will auto-calculate it over time, but you can get ahead of the game by doing a lactate threshold test and inputting the information yourself.
I followed this guide by Training Peaks and found my average heart rate at max effort over the last 20 minutes of a 30-minute activity to calculate my LTHR, then adjusted my zones accordingly. Eventually, Garmin will gather enough data from your workouts to give you more accurate post-run info.
Start an expedition and join Challenges
Every month, Garmin creates new challenges for monthly steps, walking, running, cycling, swimming, hiking, strength training, and yoga. Most give you a month to complete a certain number of activities or hit a specific distance or step count; others focus on a single weekend, or multiple months. On the latest watches like the Venu 3, there is a Challenges widget to check your progress; otherwise, you'll need the Connect app.
Completing challenges gives you "points" that go towards leveling up your account, but you'll barely pay attention to that. It's more about gamifying your fitness, giving you a tangible goal so you don't slack off. You can sign up for as many Challenges as you want, with no penalty if you fail to hit your goal.
In the Challenges tab (next to the main My Day tab), you'll also find Expeditions, with goals like climbing as high as Mount Everest (29,028 feet climbed) or hiking the Appalachian Trail (2,175 miles hiked) across all of your tracked activities. In this case, you can only follow one Hike Expedition and one Climb Expedition at a time.
Set up a training plan
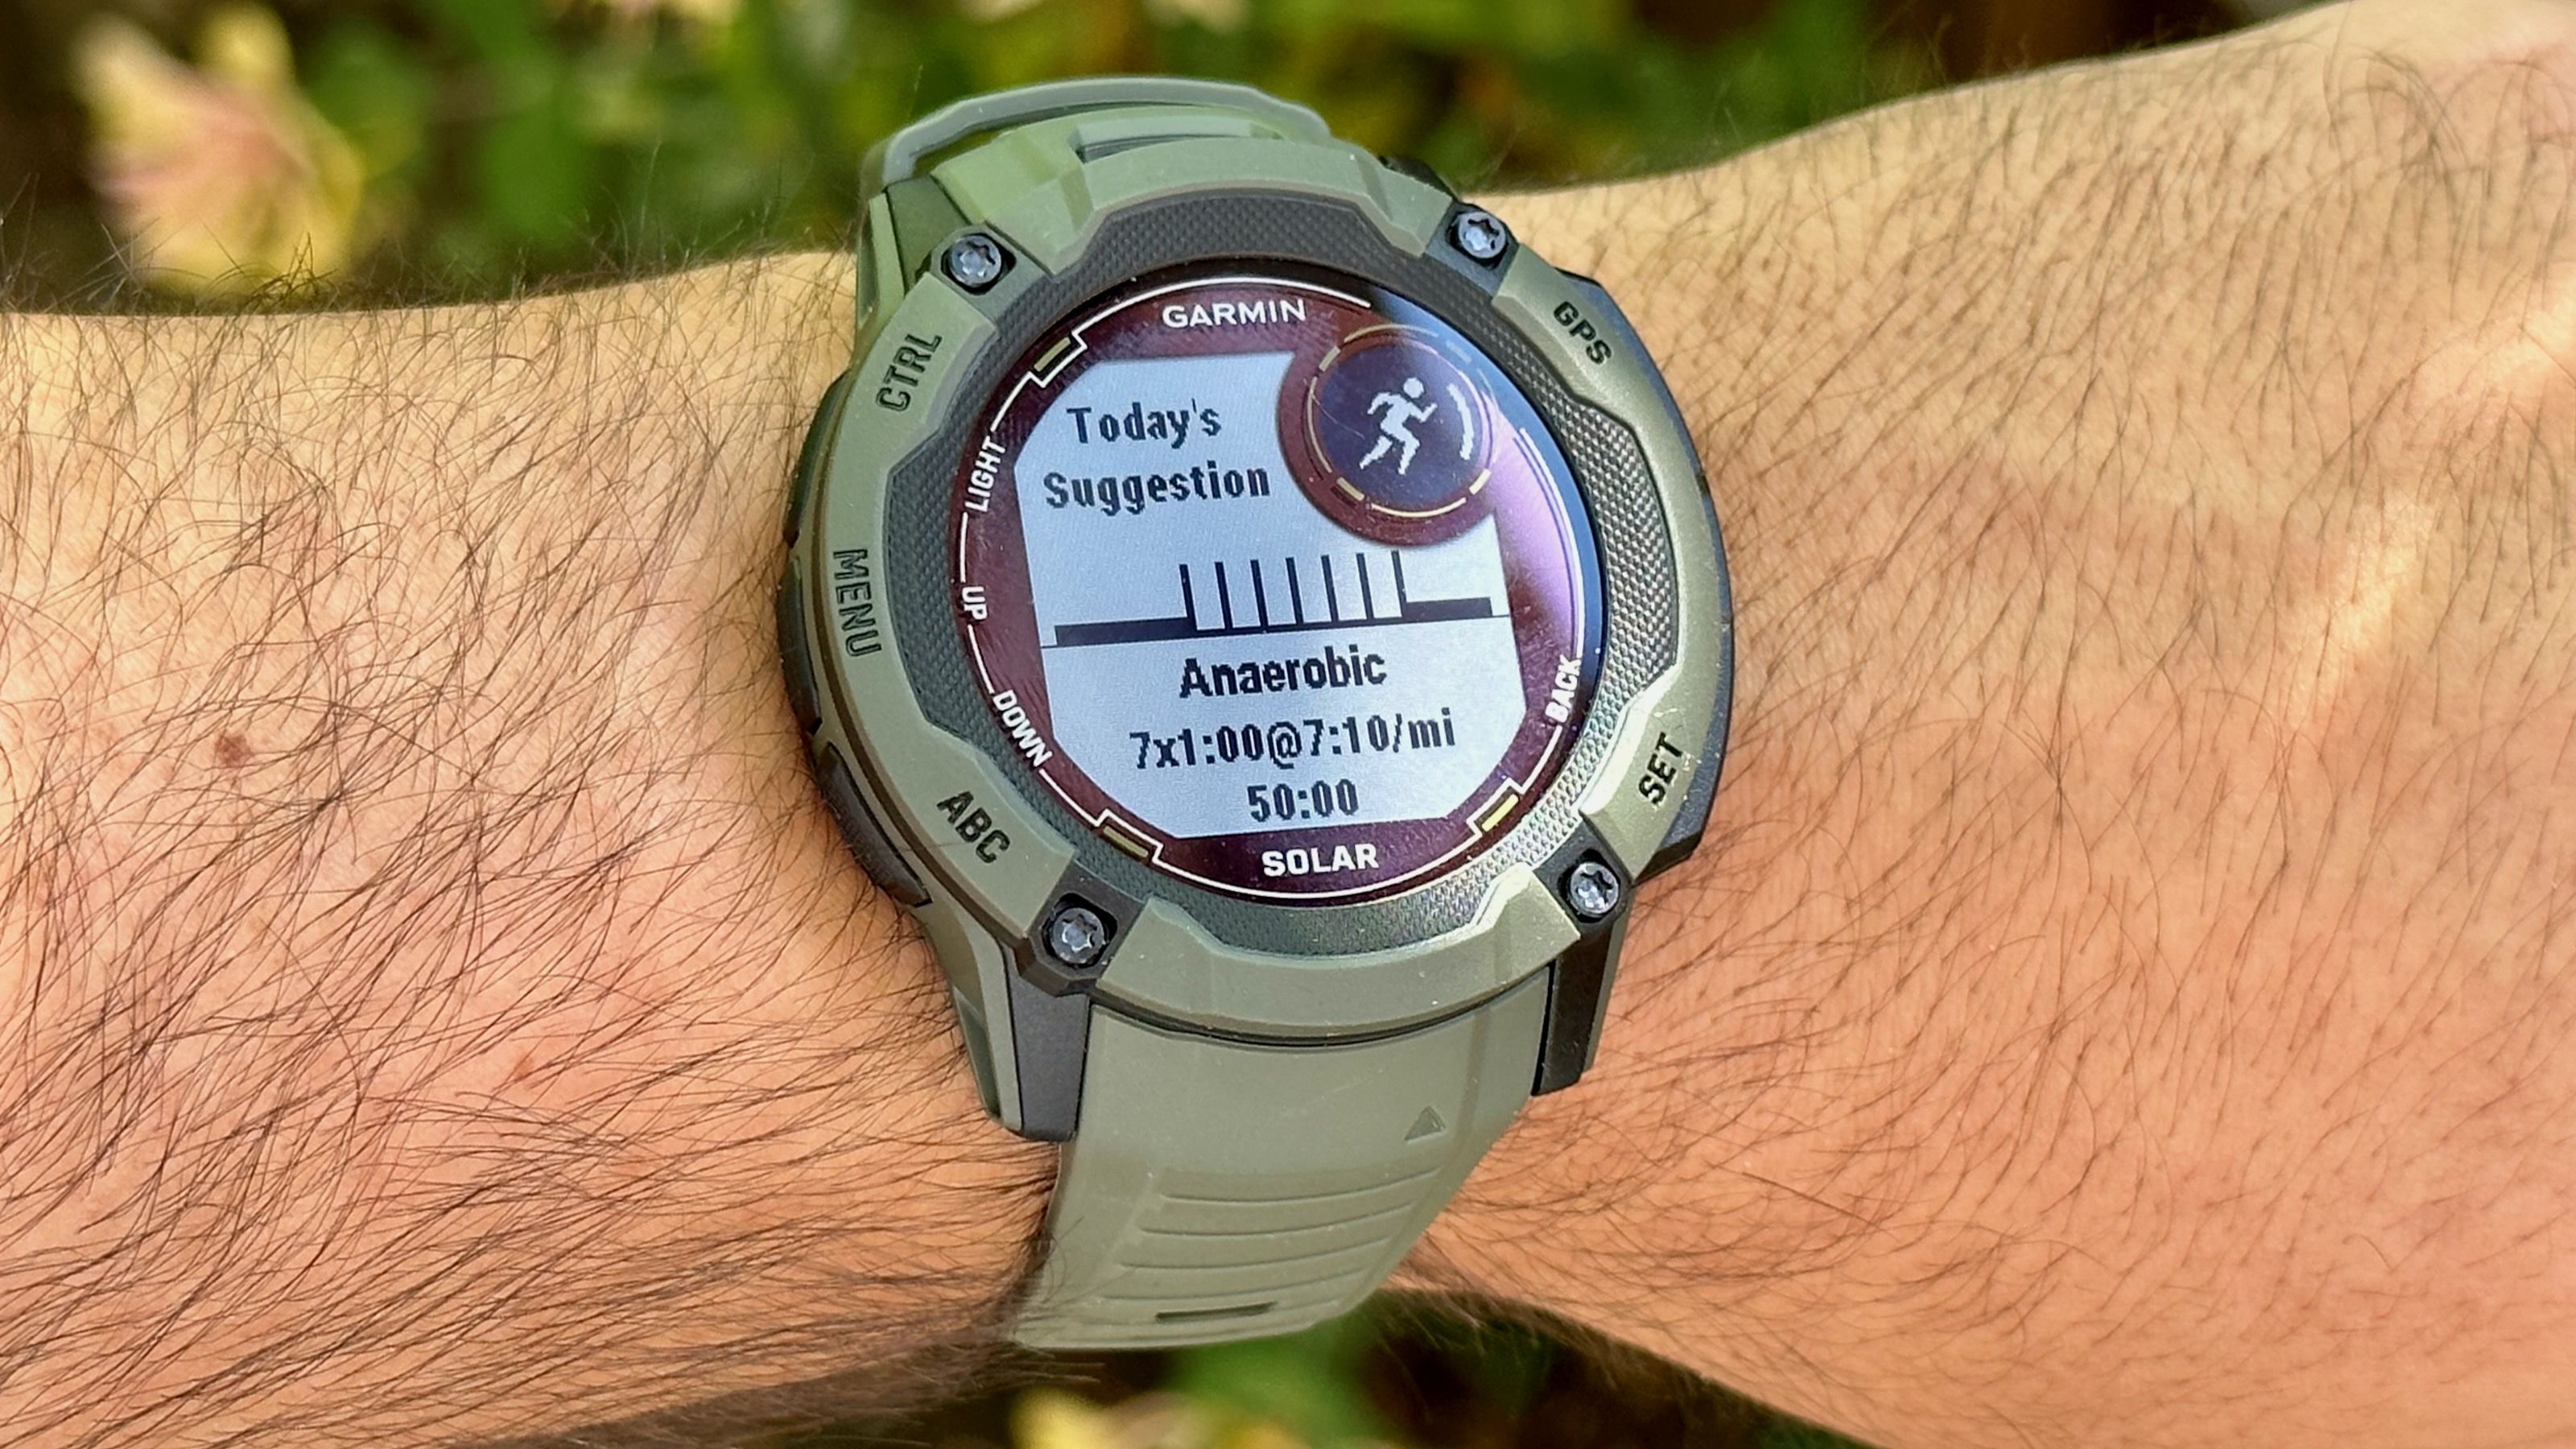
Most recent Garmin watches have daily suggested workouts that recommend how long and hard to train, based on your recent training data, VO2 Max, recovery time, and sleep data. While useful, these workouts lack context if, for instance, you're training to hit a certain distance or time; and they don't account for your daily life and schedule.
Runners and cyclists may want to set up an actual, official training plan instead of relying on the algorithm. In Garmin Connect, go to More > Training & Planning > Training Plans.
Runners will choose a 5K, 10K, or half marathon plan based on how many miles they run a week, their goal (whether to merely finish a race or hit a certain time), and which style of Garmin Coach they want. Cyclists will aim for a specific mileage goal like Century or Gran Fondo, a time trial goal, or to improve their mountain biking abilities.
You can also download custom, self-guided Garmin Connect training plans not available through Garmin Coach, such as a marathon training plan or triathlon training. On the web, go to this Garmin Connect link, choose a plan, and add it to your schedule.
Once you've set up a Garmin Coach training plan, daily workouts will appear in the Calendar on your app and watch, so you can see how rigorous today's workout will be ahead of time.
Create your own workouts
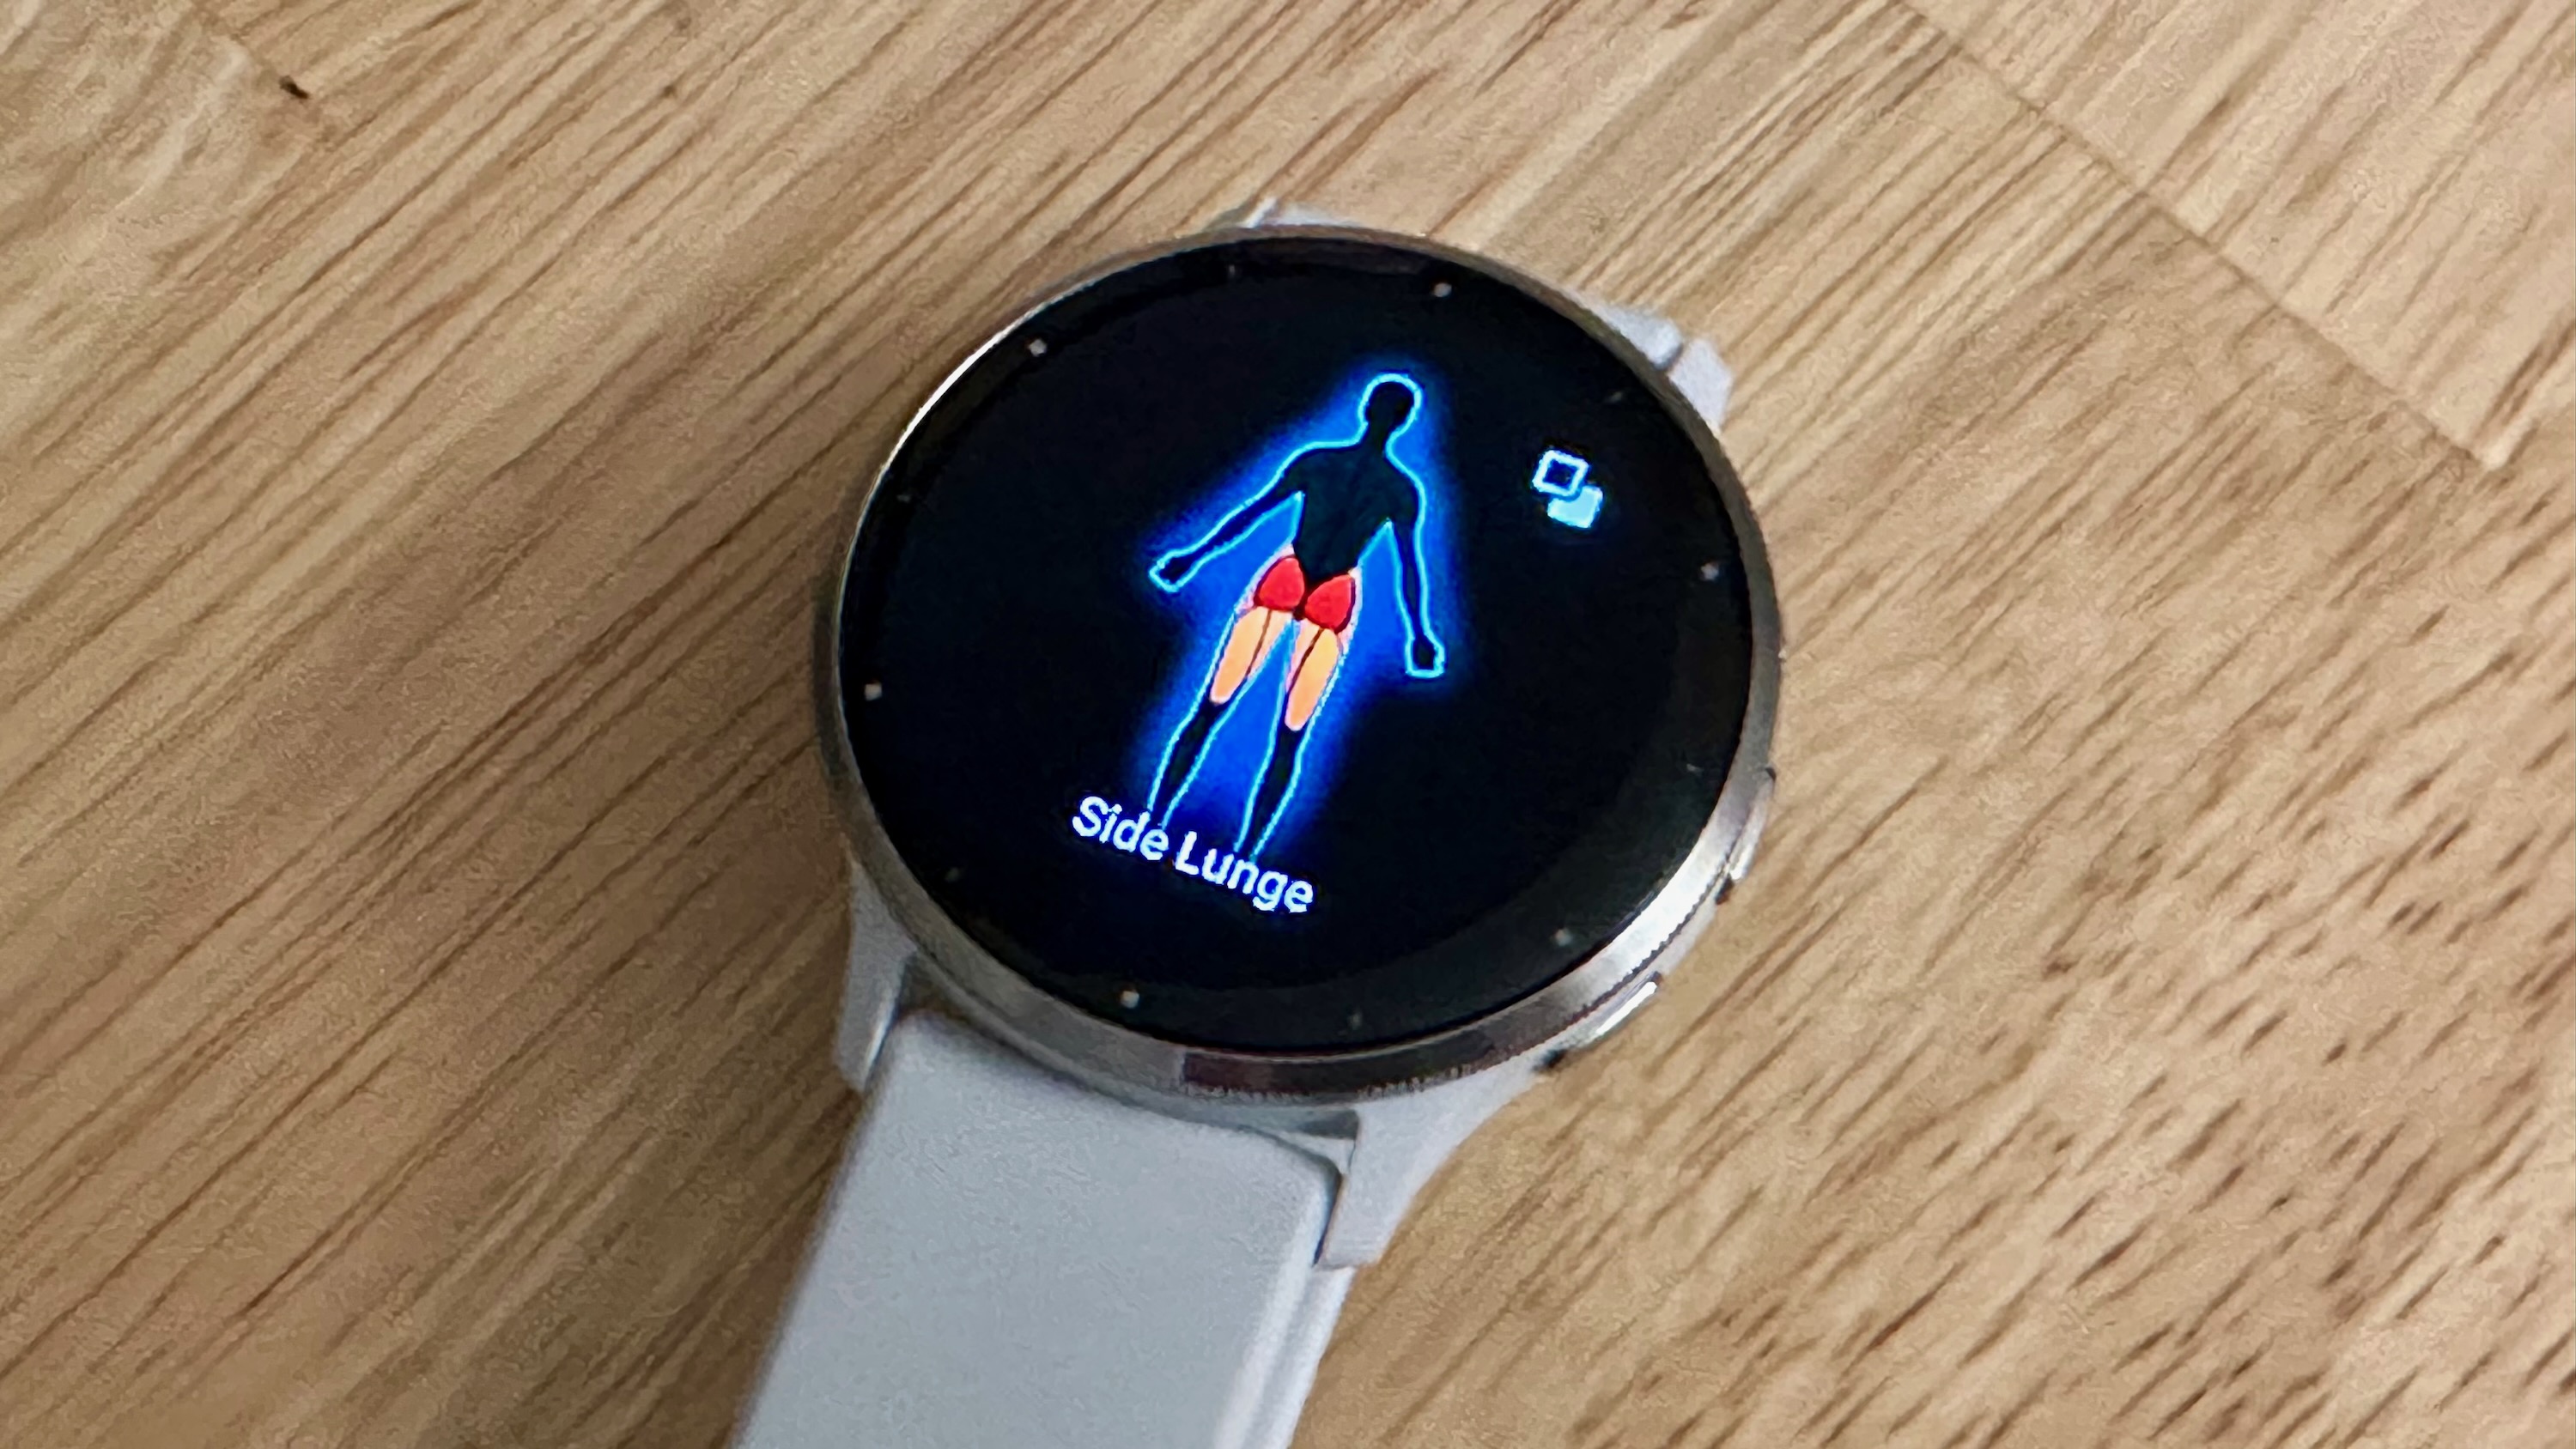
The daily suggested workouts give you a target pace window to hit and then buzz your wrist to warn you if you're running too quickly or slowly. It's a useful tool, but I'd also recommend you make your own workouts for specific paces or distances, then save them to your watch so you can access them at any time.
Go back to More > Training & Planning and select Workouts > Create a workout. You can set up a run or cycling session, save it under a custom name, and then send it to your Garmin watch by tapping the phone icon.
On your watch, when you're about to start an activity, hold the Menu button (left-middle) on 5-button watches or the Back button on 2- or 3-button watches. Select Training > Workouts > Custom workout name > Do workout.
I have a few generic workouts saved, like "Long run," that warns me if I fall below a certain pace, or more specific Track Run training plans for intervals. That way, if I don't like what's on the Calendar for the day, I can just drag and drop it to a different day and do my own workout instead.
Plus, if you're interested in indoor strength training, yoga, HIIT, or other cross-training workouts, you're in luck. On the Workouts screen in the Connect app, you can Find a workout and choose between a ton of workouts focused on completing reps, either at home or in the gym.
I wrote recently about how Garmin's indoor workouts could use an upgrade; I want them to start recommending indoor exercises the same way they do outdoor ones. But in the meantime, you can create a custom workout from thousands of possible exercise types, with animations guiding you on the proper form. AMOLED watches like the Garmin Venu 3 are the best option for this type of workout.
Pay attention to training load focus
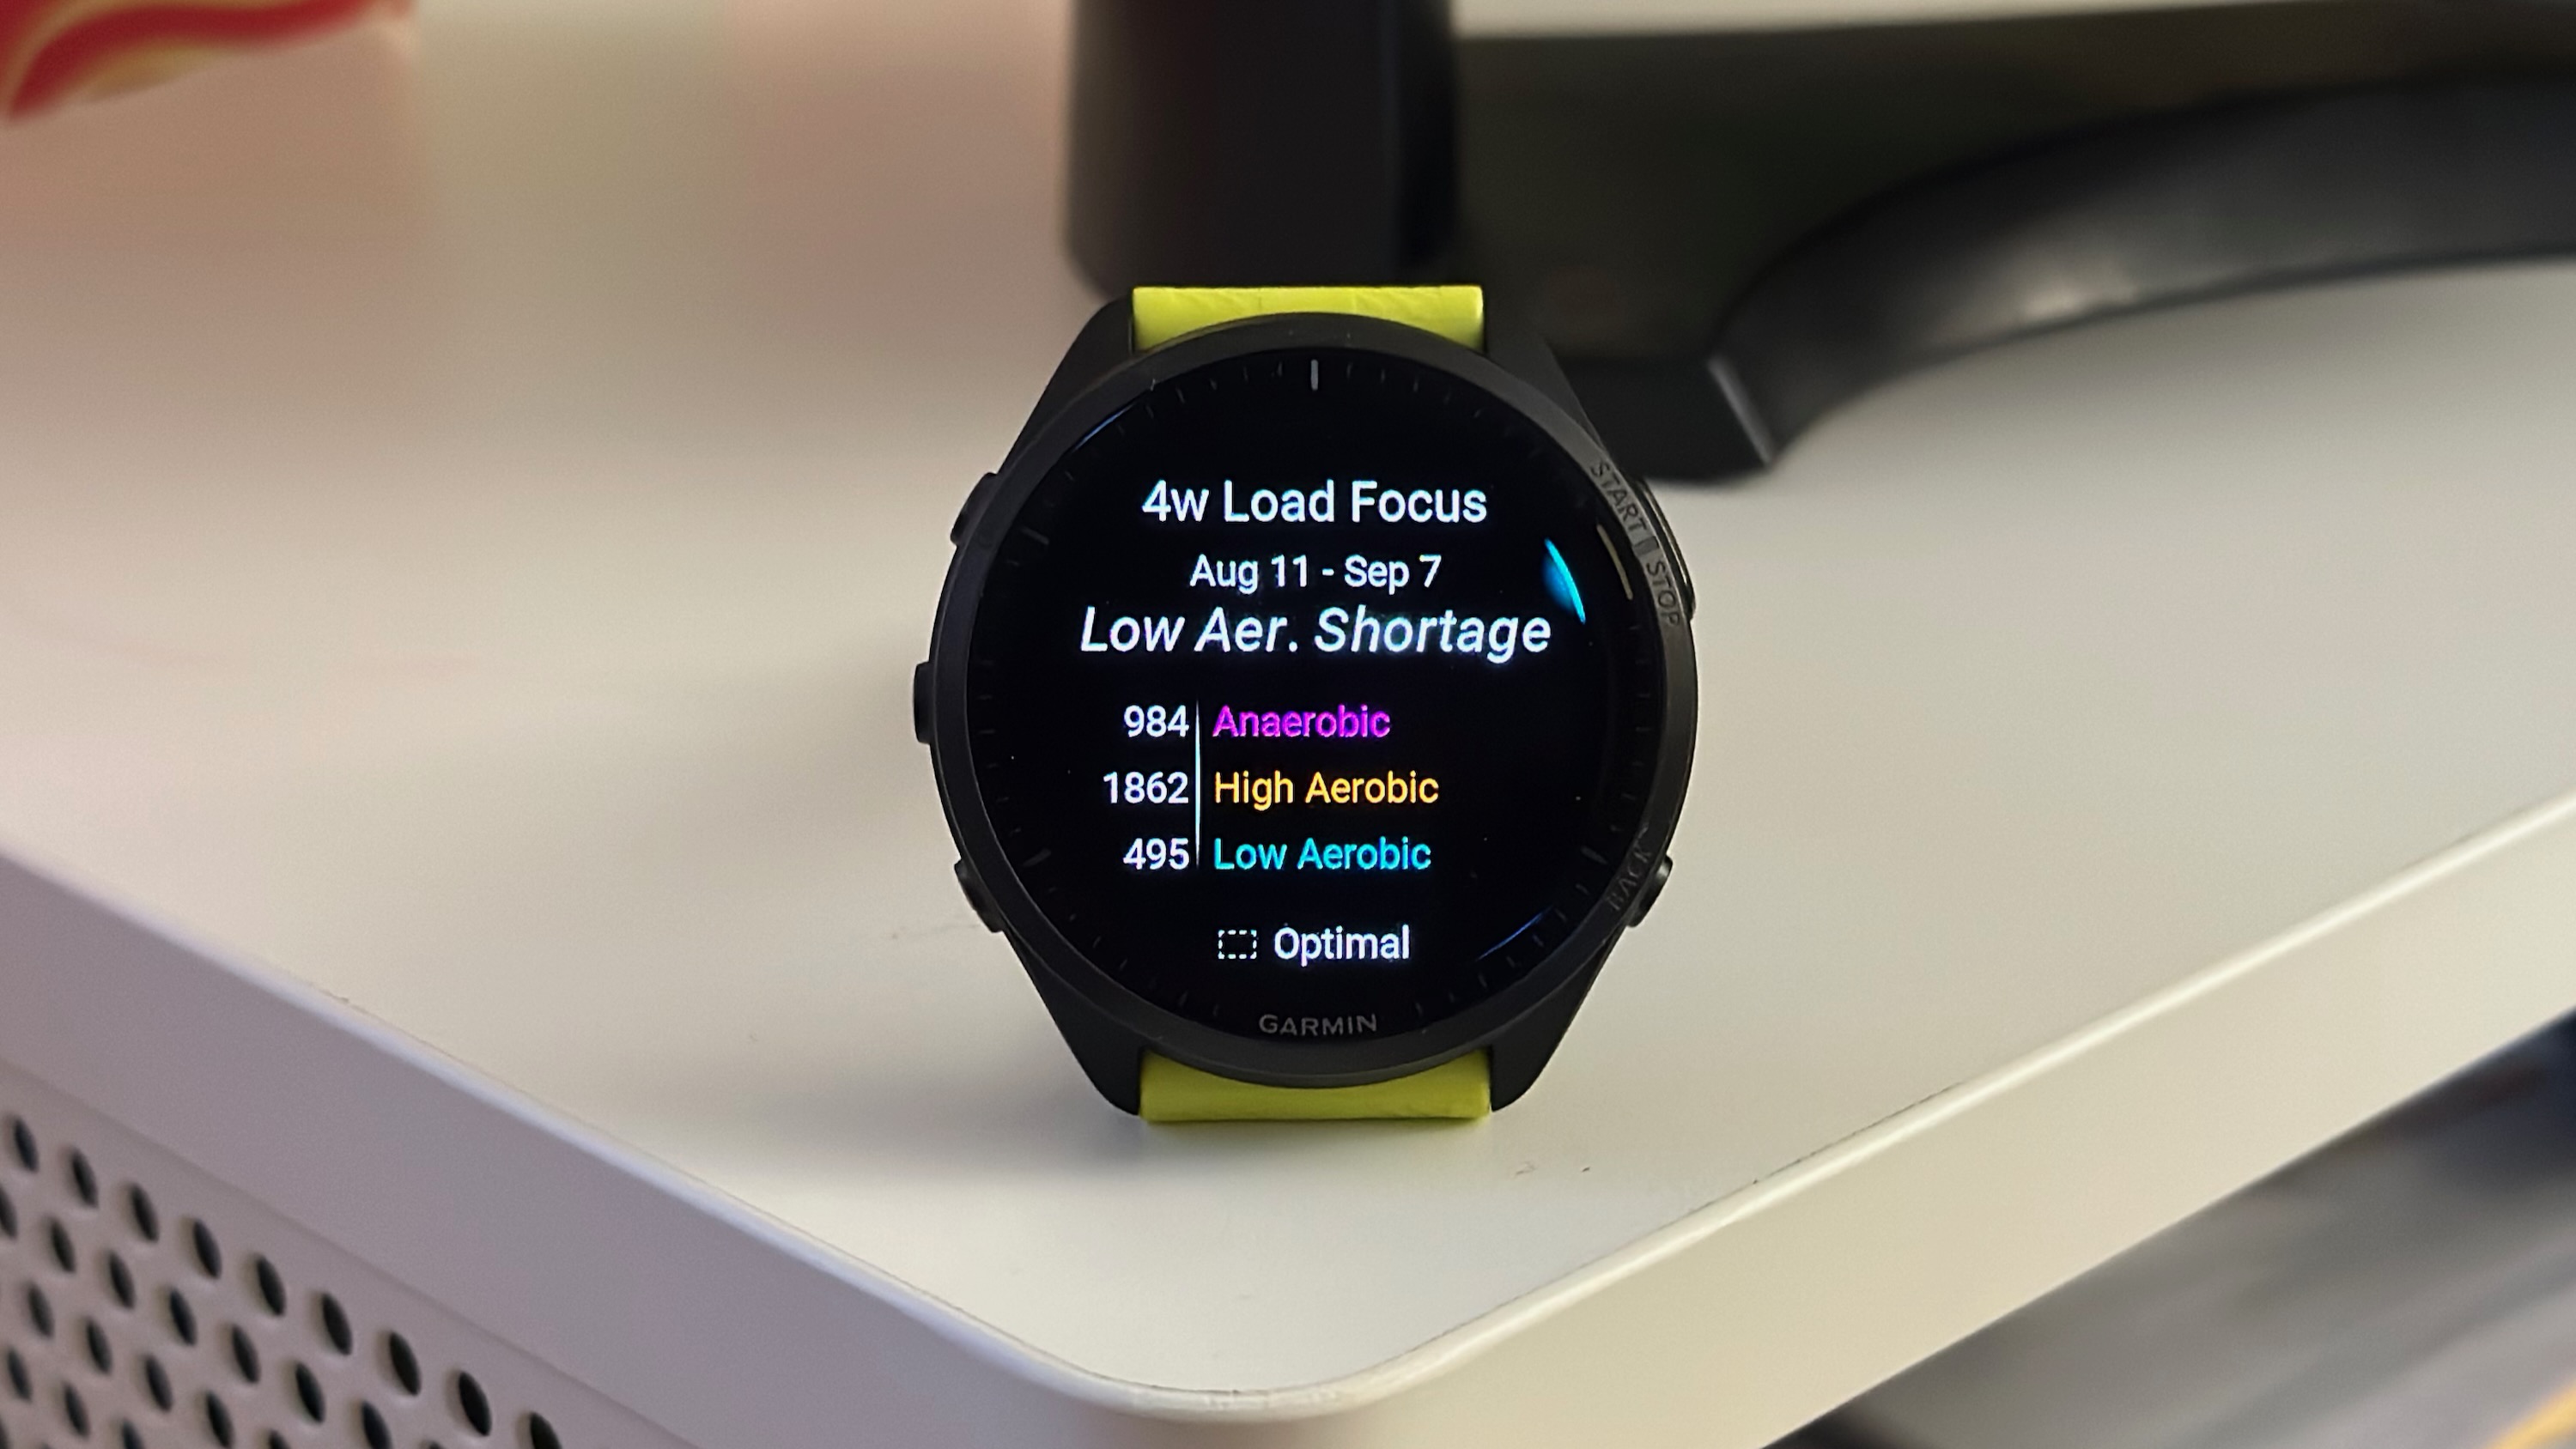
This is less about activating a Garmin setting and more about knowing what your Garmin watch is capable of.
With more advanced Garmin watches like the Forerunner 965, it will track your training load focus across low aerobic, high aerobic, and anaerobic runs. Based on your current fitness level, it'll tell you if you're not doing enough high-intensity running at your lactate threshold, or if you're pushing too hard and not doing enough slow runs.
Last year, I started following Garmin's training load focus widget strictly; I'd mostly done high aerobic runs, but I started doing more slow jogs and more track sprints. In doing so, I boosted my VO2 Max score significantly. I was at 46 for years — only "good" for my age, according to Garmin — but have now climbed to 50, which qualifies as "excellent."
To check your training load focus, scroll down from the main watch face to Training Status, then scroll down again to Load Focus. You'll see a color-coded graph with a white dotted line for where your load should be in each category, and a warning if you have a "Shortage" in any area. Use that info to plan your next workout.
Change your data screens
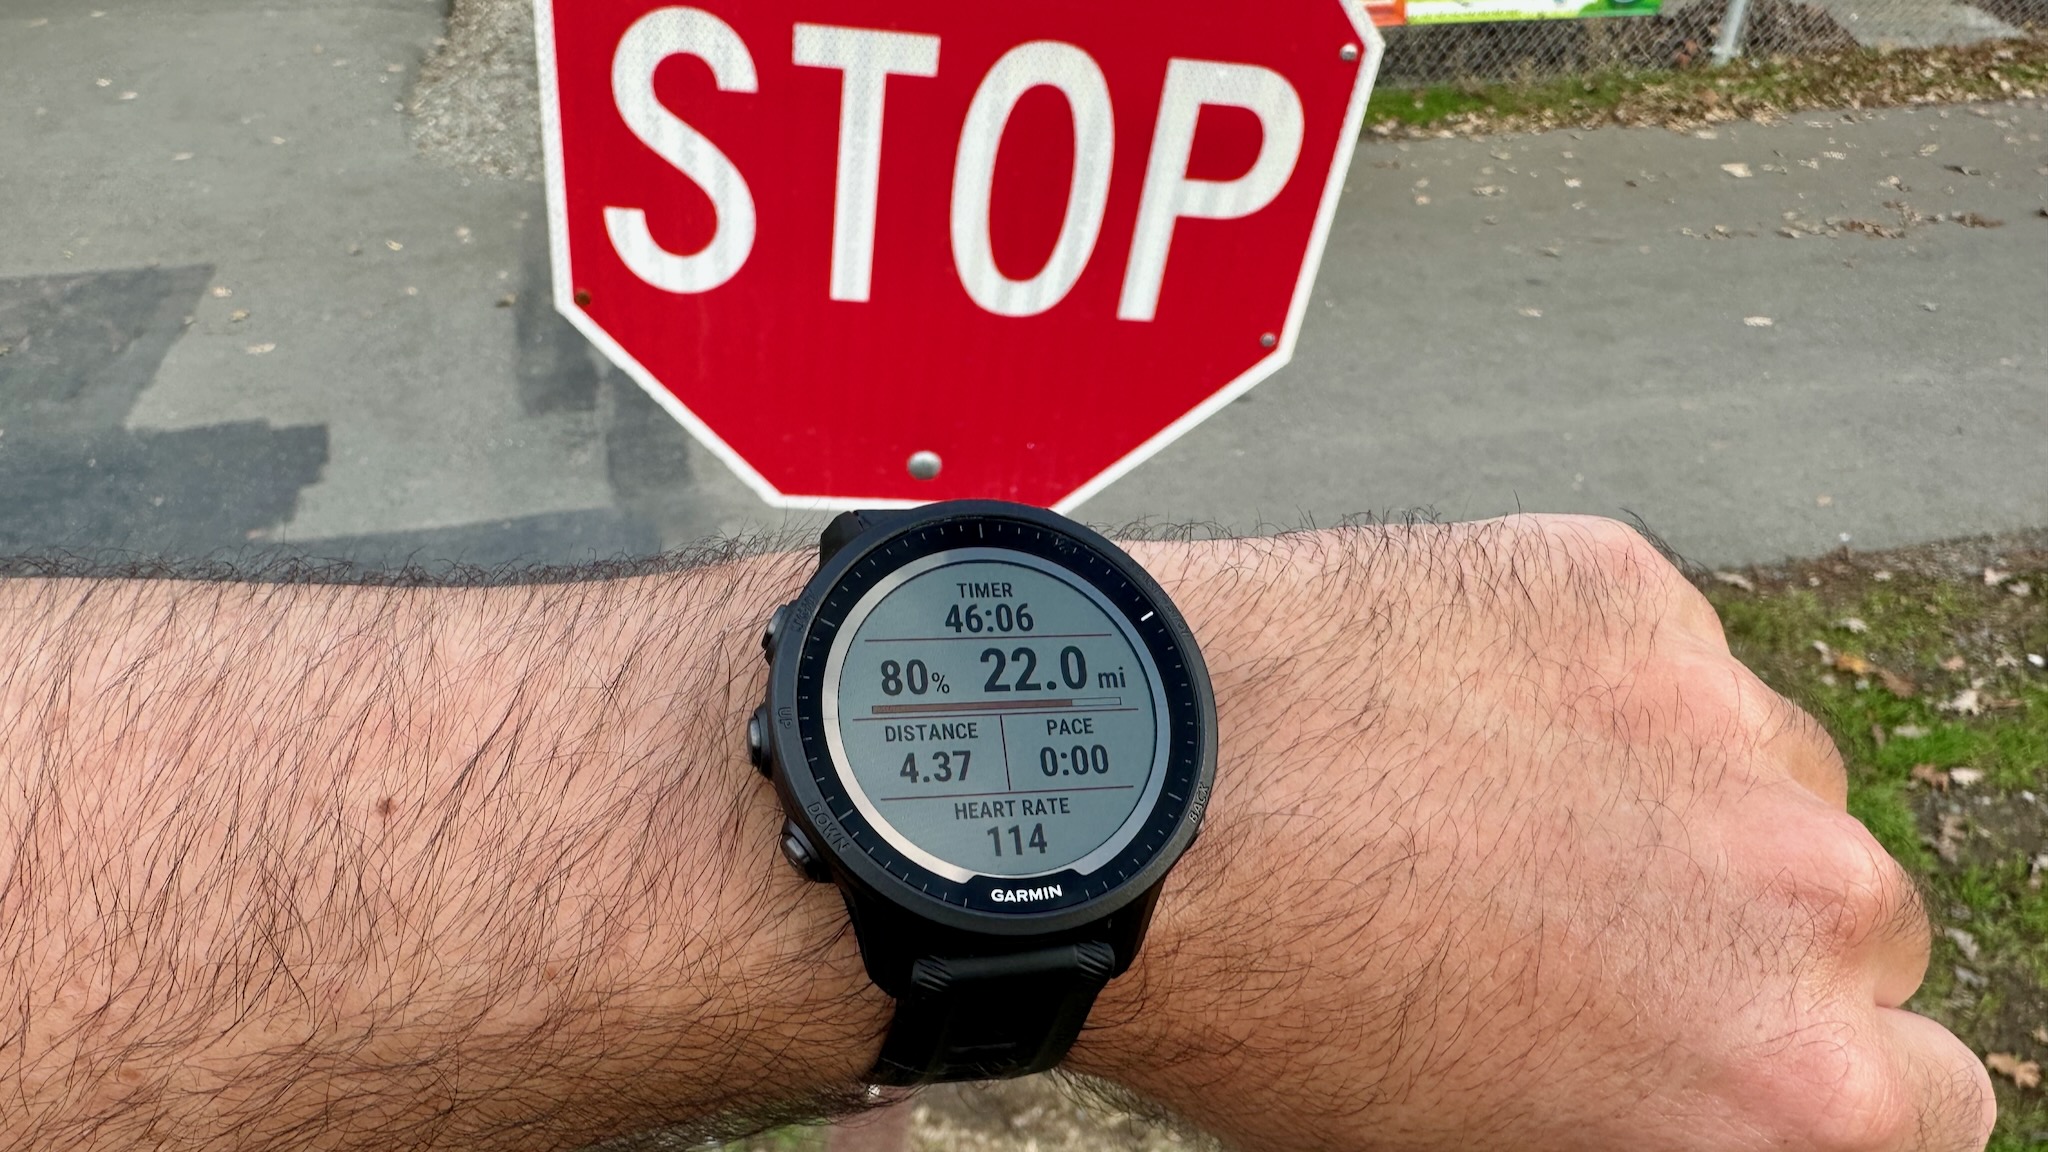
Each sports activity shows essential data on your wrist during a run. For example, the Run activity shows the timer, distance, pace, and heart rate. But you can see a lot more during a run if you want to: heart rate zone, stamina, running power, your running dynamics (aka stride length, cadence), a map/compass, elevation changes, and so on.
You can change an activity's default data fields on your wrist or in the app; I recommend the latter. Go to your watch settings > Activities & Apps, choose a specific activity, then Data Screens > Add Data Screen.
You can add a default screen themed on specific data (like stamina or elevation), or you can create your own custom screens with up to six fields of data. The latter is especially useful because you'll find tons of options that aren't on the generic screens, like real-time charts of your pace/speed/heart rate over time.
You can mix and match data that would normally appear on separate screens, so you'll hopefully spend less time scrolling through them when you should be staying in the zone. Or you can prioritize less mainstream data fields; for example, you may prefer seeing your Average Pace or Lap Pace instead of your real-time Pace.
Make your GPS tracking more accurate
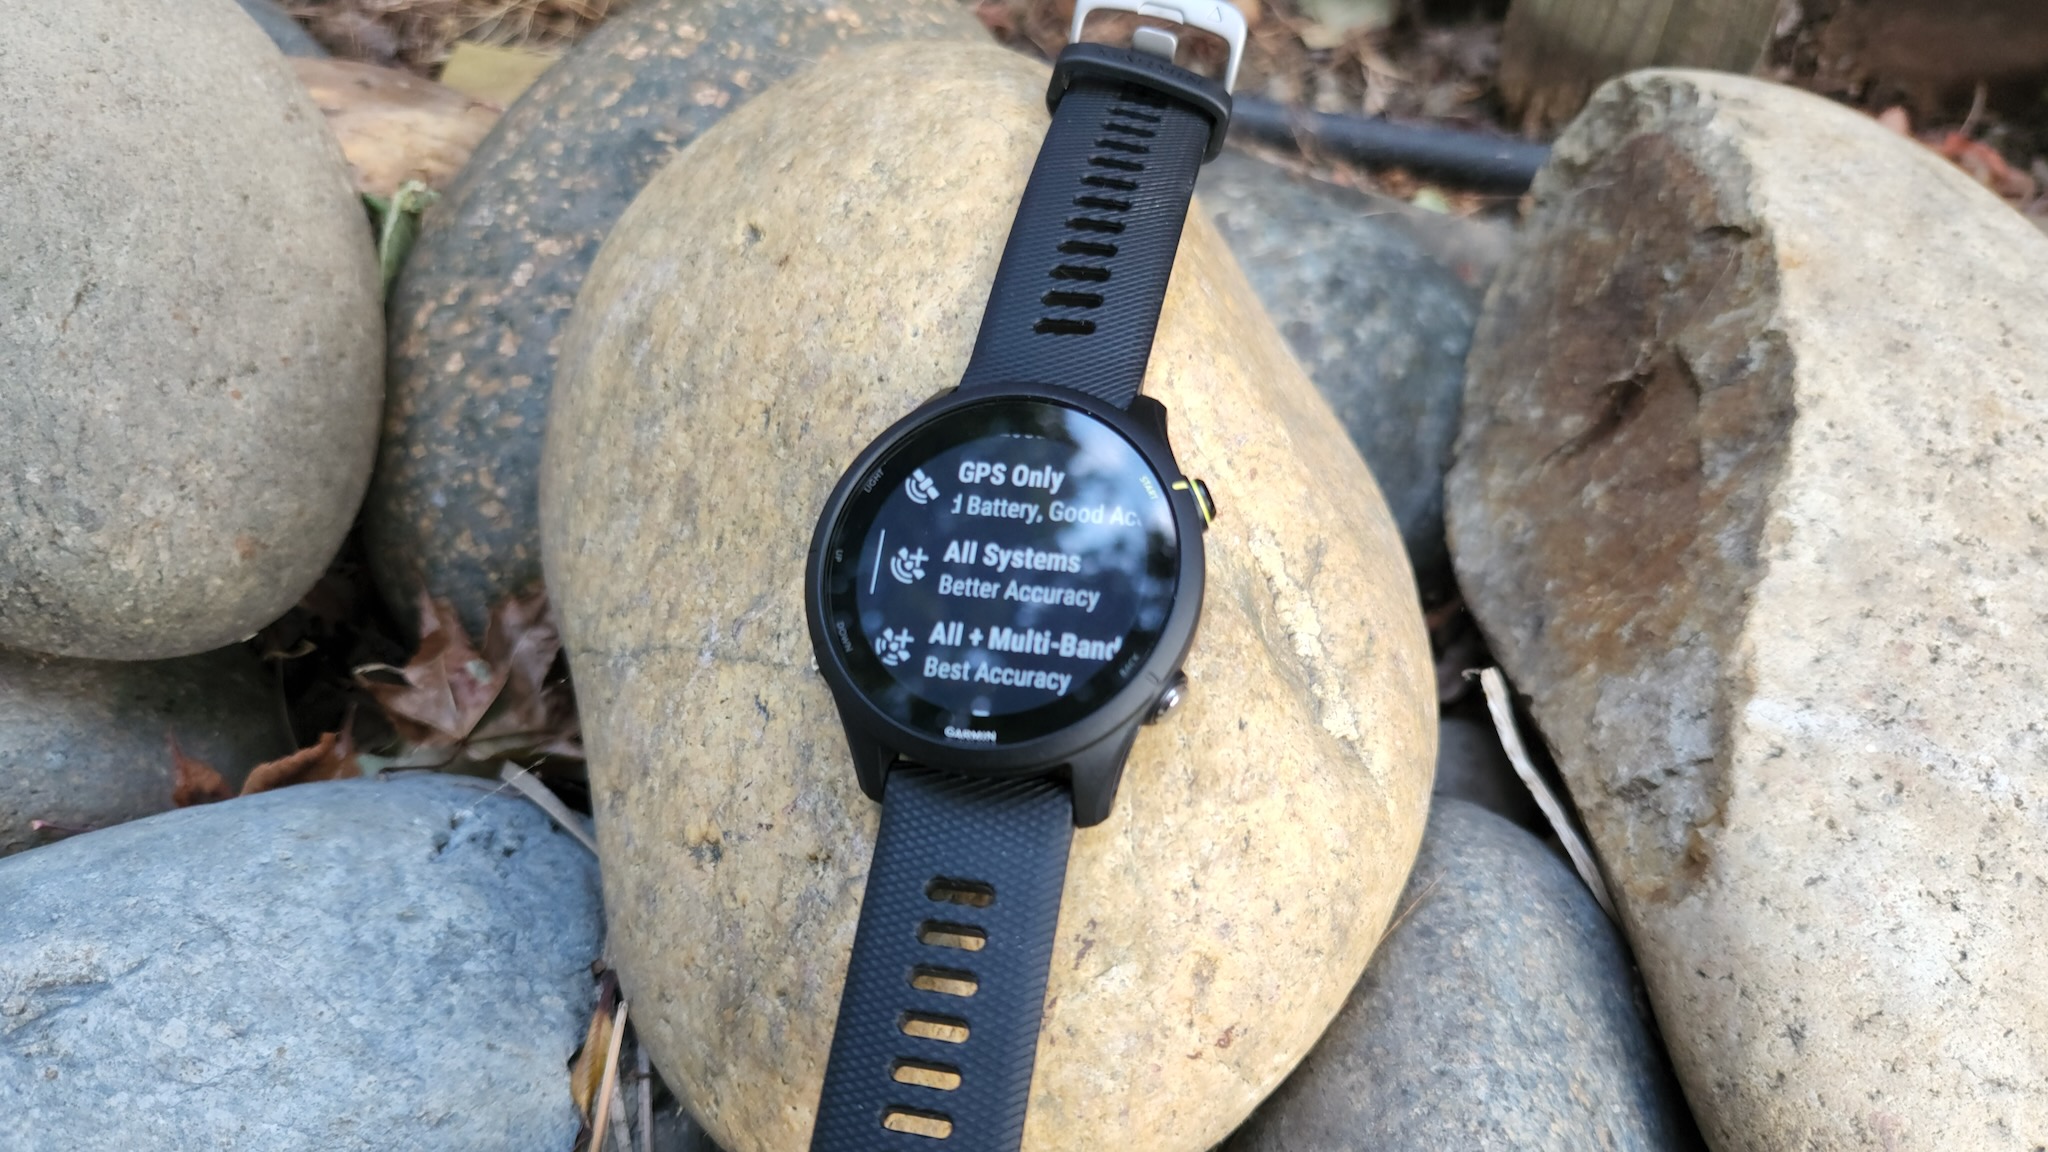
The latest and greatest Garmin watches support all-systems or multi-band GPS, making them the most accurate GPS watches in my tests. Many of them use SatIQ to switch to better satellite data once it detects a signal blockage or delay, but you can choose to always use the highest-level tracking if you want the best possible data at all times.
Hold down the Menu button and select Activities & Apps > Run (or another activity) > Run Settings > GPS and choose All + Multi-Band for the best possible accuracy. If you only see GPS and UltraTrac, your Garmin doesn't support the newer options.
You'll probably want to do the same for your Walk or Hike activity, which also auto-selects on some watches. Some will prefer UltraTrac, which takes infrequent GPS readings to save battery; others will prefer something more accurate, especially if they're using a longer-lived Garmin watch like the Instinct 2X Solar.
Battery life vs. features
You probably chose a Garmin watch despite its lack of traditional smartwatch "smarts" because of its long battery life, among other things. But sometimes, you'll want to cut into the battery capacity for specific features — or cut back to make it last longer. The GPS setting above is just one example.
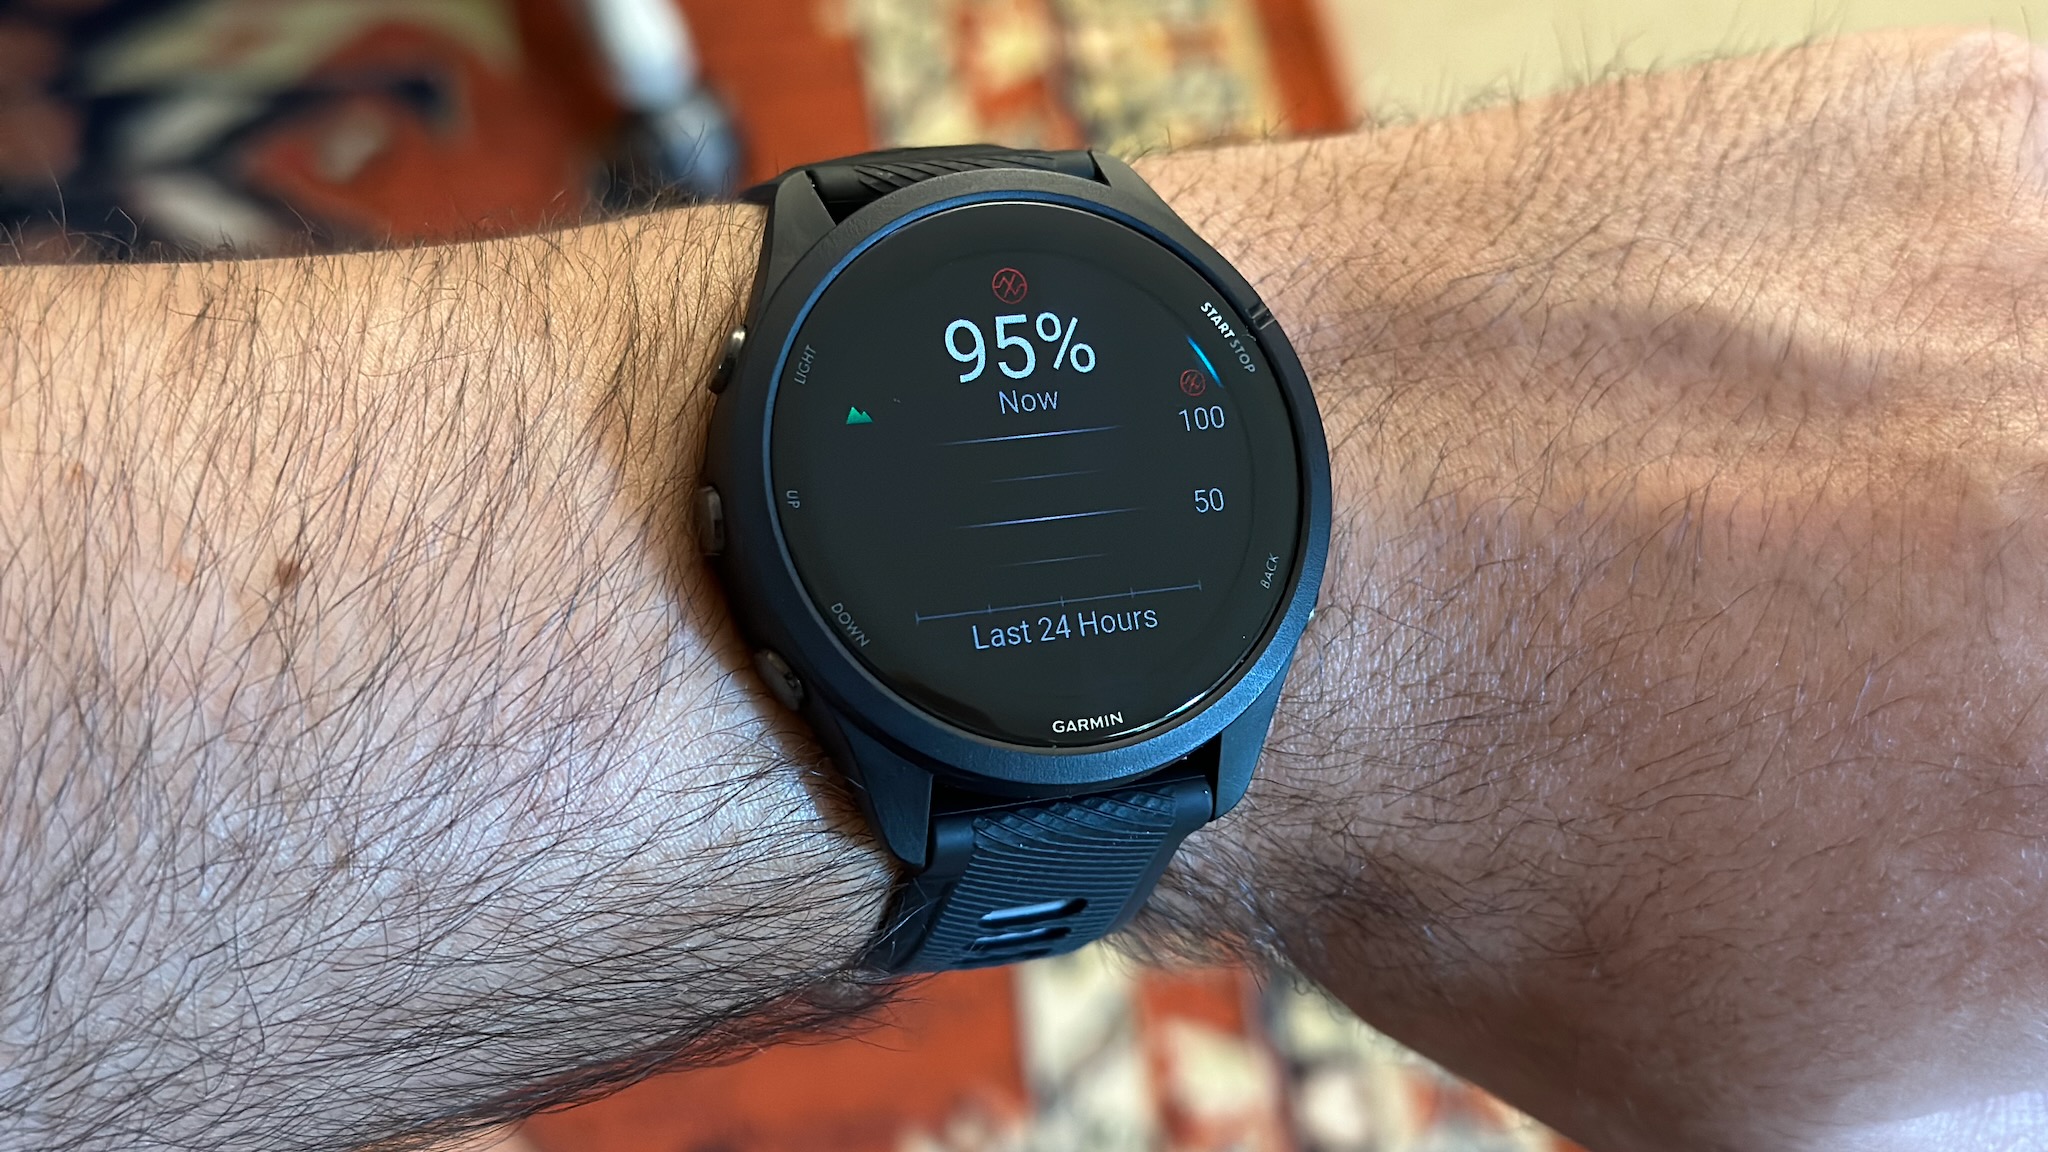
When it comes to blood oxygen monitoring, Garmin is one of the only brands to offer 24/7 checks as a way for athletes to check their altitude acclimation or general health, but you can also set up during-sleep tracking or perform manual spot checks On your watch, hold down the Menu button, scroll down to Health & Wellness, select Pulse Oximeter, and choose either All Day or During sleep if you think your battery can handle it.
If you have a memory-in-pixel display, you may not like how dim the display is, especially indoors; Garmin tends to make 20% the default outside of activities, which is pretty hard to read. Hold down the Menu button, then scroll down to System > Display > General Use. You can change the default brightness, enable raise-to-wake so you don't have to press a button, alter the screen timeout time to be a little longer, or even make always-on the default.
I'm assuming that your new Garmin watch has a strong battery life and can withstand more demanding settings. But if you're having the opposite problem and want to prolong your battery, I wrote a guide on how to fix Garmin watch battery problems to help you out. Long story short, you can activate a Battery Saver mode that disables the most common battery-draining features.
Customize your watch face
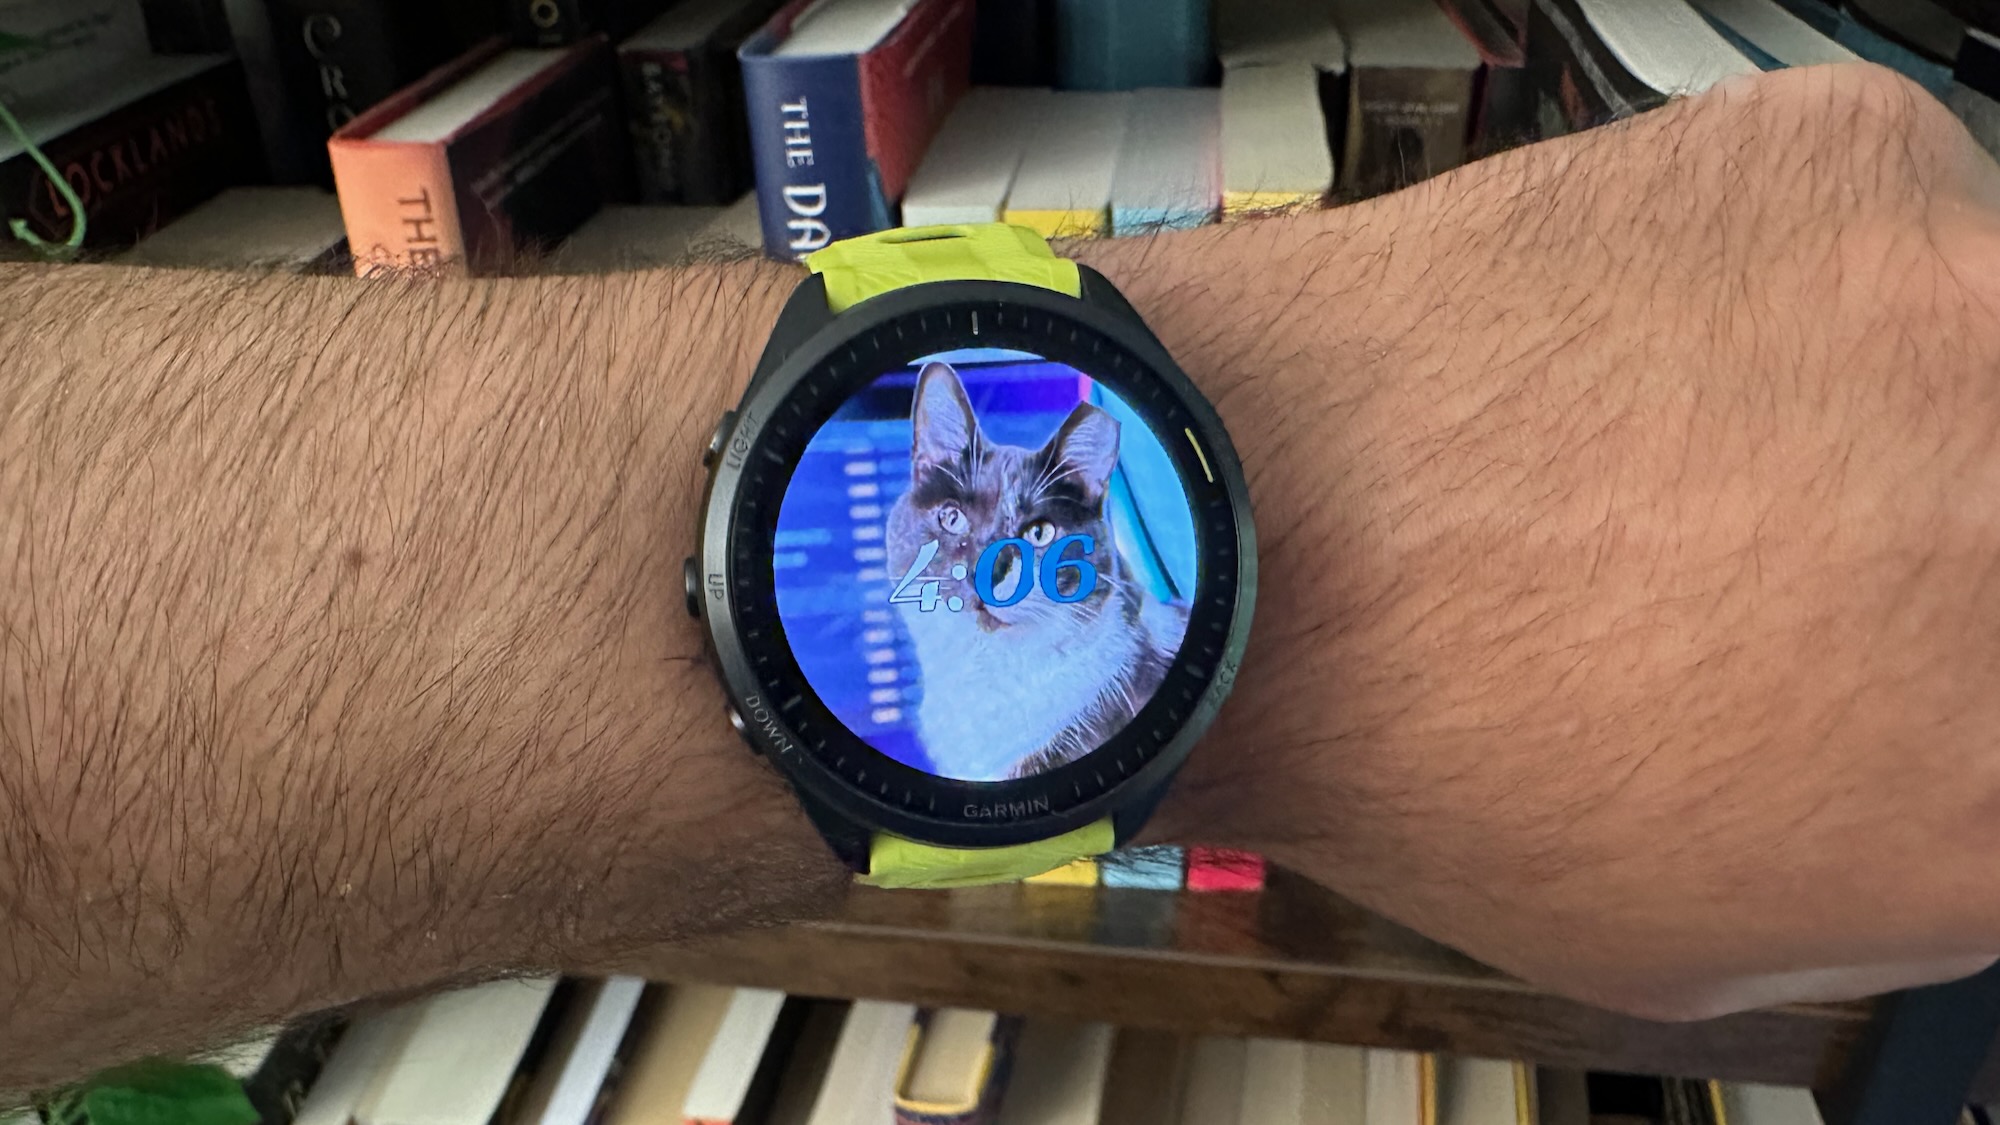
Your Garmin watch face is what you'll spend most of your time staring at, so make sure it's fun (or informative) to look at! Once again, hold down that trusty Menu (or Back) button, depending on your watch's number of buttons, and Watch face should be your first option.
Select it, then scroll through the generic watch faces available on your watch by default. Select a watch face you like, then choose Customize. You can change the overall layout, which data is displayed, and/or the accent color for the watch face.
The Garmin icon meanings are a little obscure, especially once you're first starting out and your data is empty. Go to this Garmin support page, change the watch name to your current model, and see (A) which icons are available on your watch and (B) what they mean.
If you want advice, my personal favorites are remaining recovery time (so you know when your body is ready to work out again), step count (duh), earned intensity minutes, weekly running distance, and weather. I'm not a fan of displaying my heart rate or other health data, as the constant update burns through the battery and also gives me anxiety if my heart rate is too high, but it's up to preference!
If you want watch faces beyond what Garmin offers by default, you'll have to download a second app — Garmin Connect IQ — on the Google Play Store or iOS App Store. You can use Face it to create a custom watch face with your own personal photos or go into the IQ Store and find/download a watch face made by the Garmin community.
Set up Hot Keys
Most Garmin buttons have set shortcuts when you hold them down, like opening the music player after squeezing the bottom-left button. But you probably don't know (I didn't until very recently!) that there are six other shortcuts you can set up on a 5-button watch: Hold START, Hold BACK, START + Down, START + UP, BACK + LIGHT, and BACK + UP.
With any of these shortcuts, you can pull up a favorite feature immediately, instead of having to scroll through widgets or menus to find them. Go to Menu > System > Hot Keys to add your new shortcuts — I count 24 options on my Garmin Forerunner 965.
These are my personal favorite Hot Keys that I'd recommend adding to your watch:
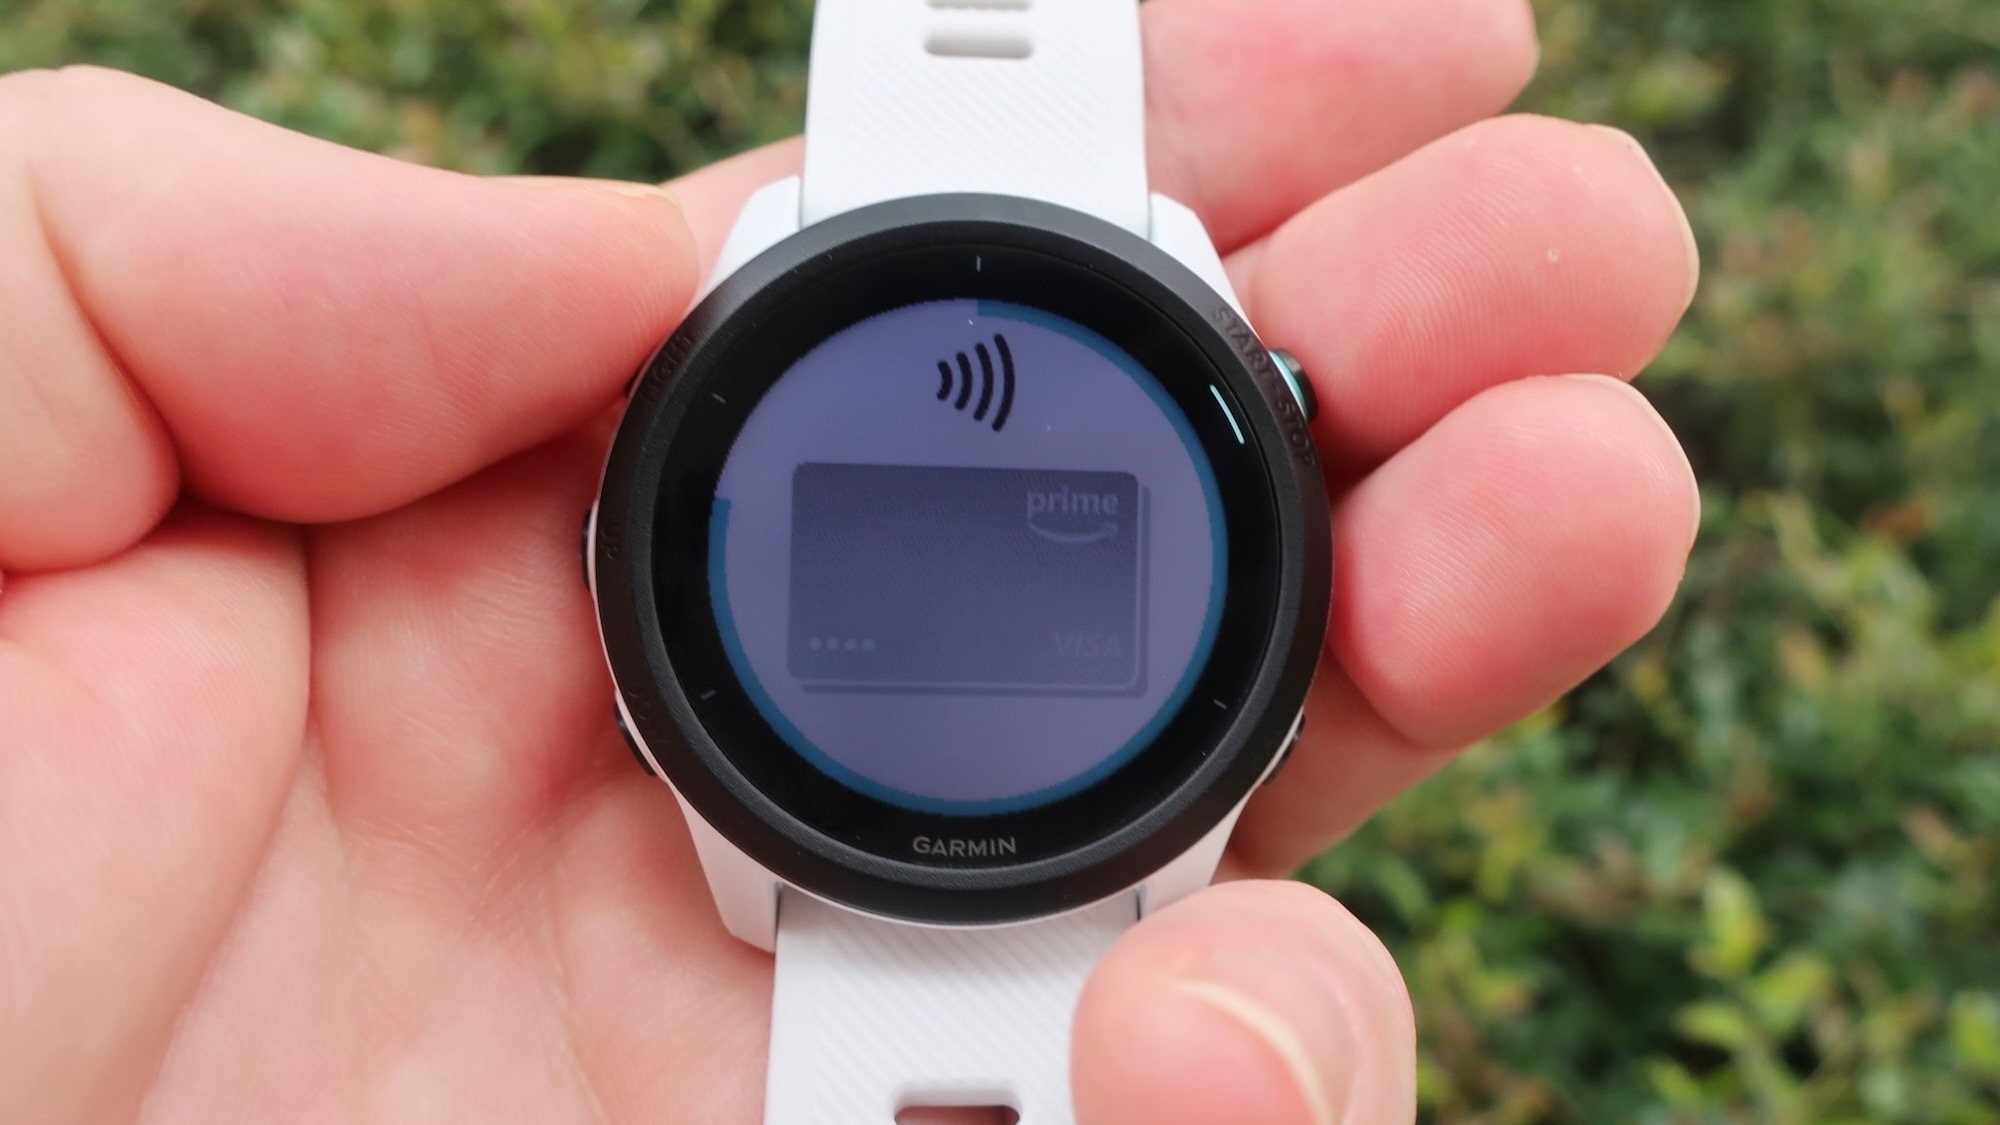
- Wallet: If you set up tap-to-pay, you want to pull up that option immediately instead of keeping the people behind you waiting as you swipe through submenus.
- Flashlight: Most Garmins don't have a built-in flashlight like the Instinct 2X Solar, but this setting will make the screen 100% bright, helping you see your way in the dark in a pinch.
- Timers/stopwatch: These handy tools don't need any explanation.
- Navigation: It's nice to be able to pull up your current surroundings during a GPS-tracked activity; this only applies for watches with proper mapping, like a Garmin Fenix or the Forerunner 955.
- Brightness: As I mentioned before, you may want to keep your brightness low to save battery, but have the option to raise it quickly at any time.
As a side note, if your watch supports emergency assistance and you set it up, then you must hold the designated button for about seven seconds, after which, the watch will vibrate three times and your real-time location will be sent to your preloaded emergency contacts. You can't change which button triggers this.
Use Find My Phone / Find My Watch
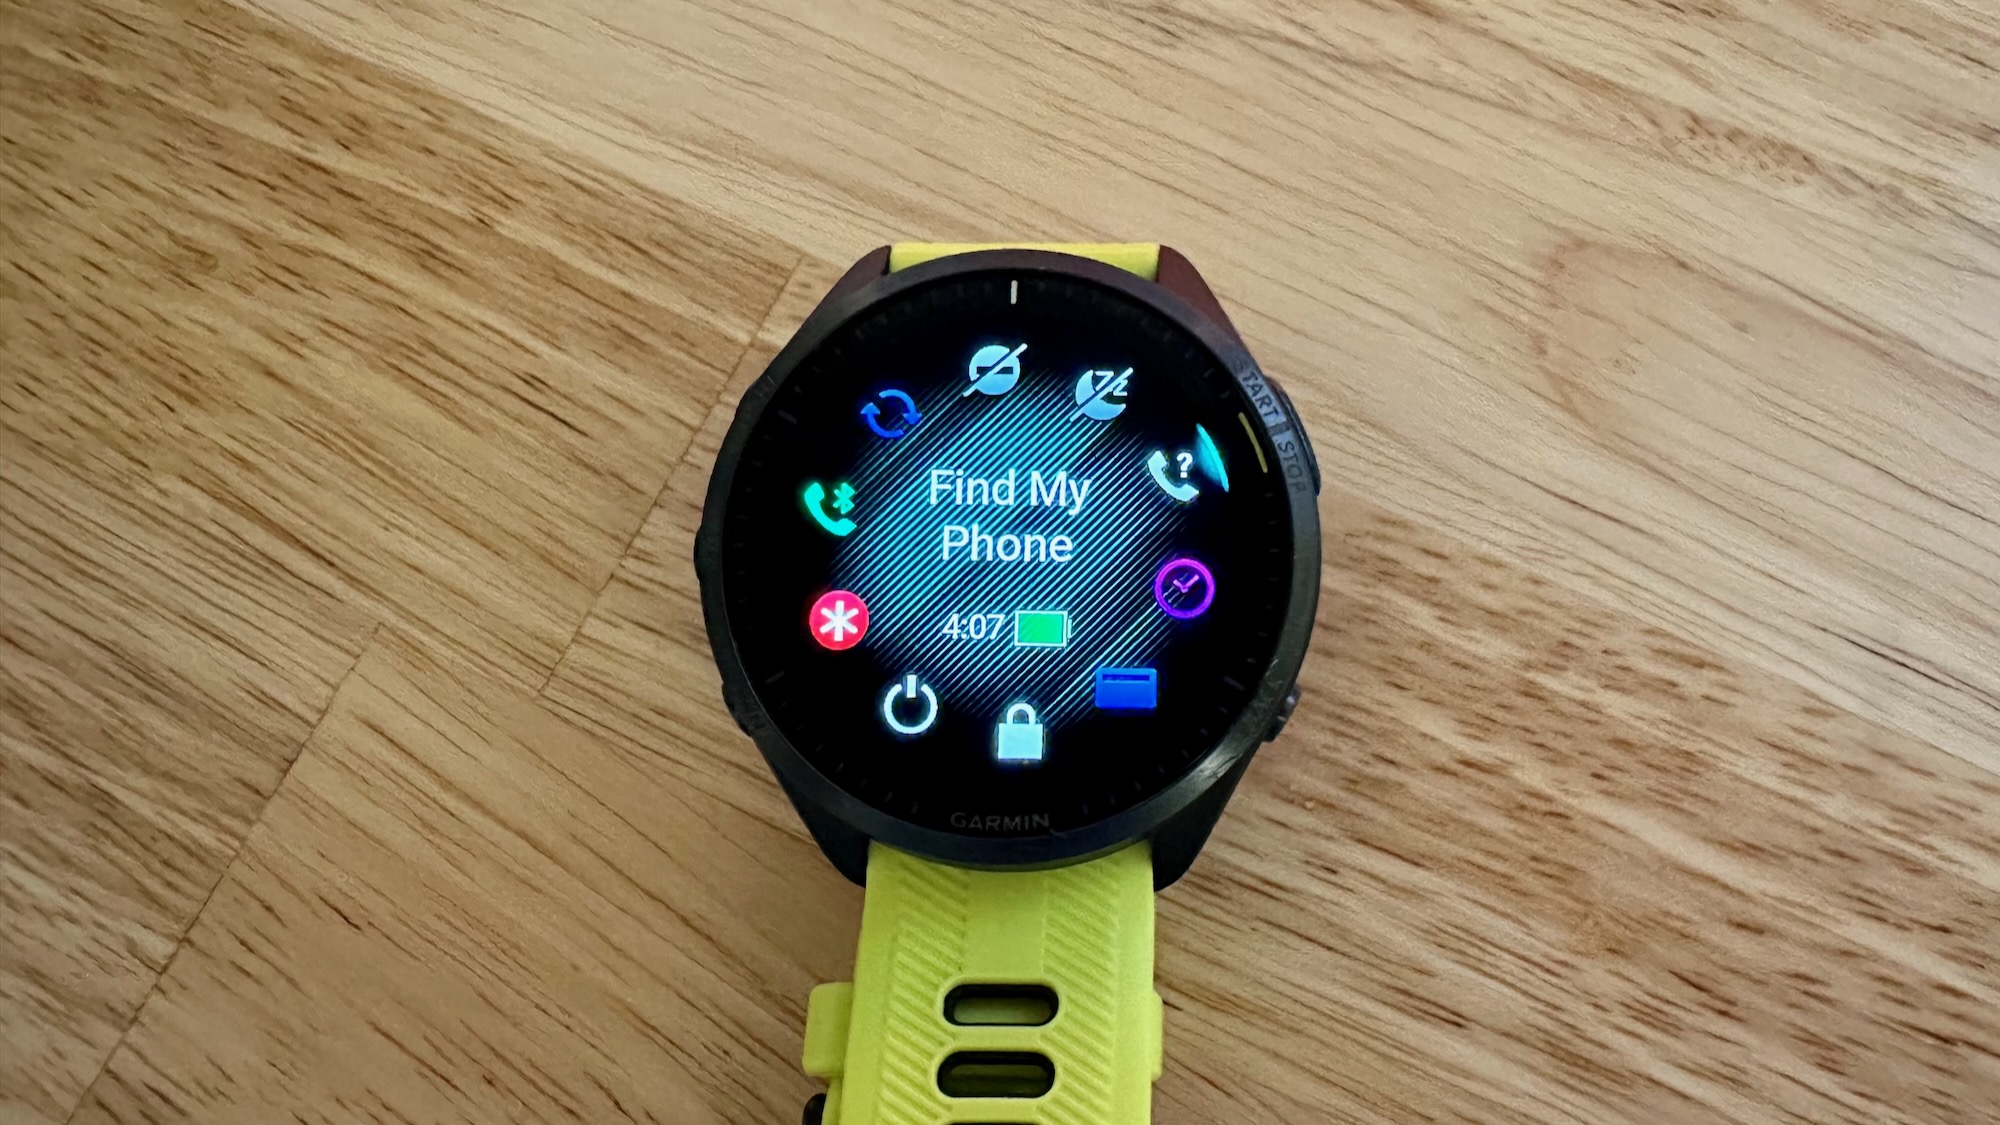
So long as your smartphone and Garmin watch are connected via Bluetooth, you can use either device to find the other. Garmin's Find My feature isn't nearly as robust as a Wear OS or Apple Watch since it depends on Bluetooth. But it's still quite handy to have if you're in a rush and your watch or phone is buried in the couch cushions.
On your watch, go to the Controls menu; hold the Light button on a 5-button watch or the Start button on a 2-button watch. Find My Phone is the icon with a phone and question mark; select it. Your phone should ring loudly, while your watch will display a colorful indicator showing how close you are to it.
In the Garmin Connect app, select the watch icon and scroll down to Find My Device. Your connected watch will vibrate until you dismiss the pop-up notification, helping you to track it down if it's nearby.
Hopefully, these Garmin tips and tricks will help you get more use out of your new Garmin watch! Once you do the early work of getting everything set up, Garmin's analytics and algorithms handle the rest, so you can just look at your wrist and see what kind of workout you should do next.
Not all Garmin watches share every feature. The more you pay, the more Garmin crams into the watch. So if you're buying a top-end Forerunner watch or Fenix watch, you'll want to go beyond what I listed above and really dive into menus and settings yourself, so you're getting your money's worth.
Now that you're all set on your Garmin settings, it's time to hit the track or trail and get moving!

Michael is Android Central's resident expert on wearables and fitness. Before joining Android Central, he freelanced for years at Techradar, Wareable, Windows Central, and Digital Trends. Channeling his love of running, he established himself as an expert on fitness watches, testing and reviewing models from Garmin, Fitbit, Samsung, Apple, COROS, Polar, Amazfit, Suunto, and more.
