How to take notes on the Amazon Kindle Scribe
Annotating ebooks and sketching notes is easy, but what can you do with those notes when you're done?
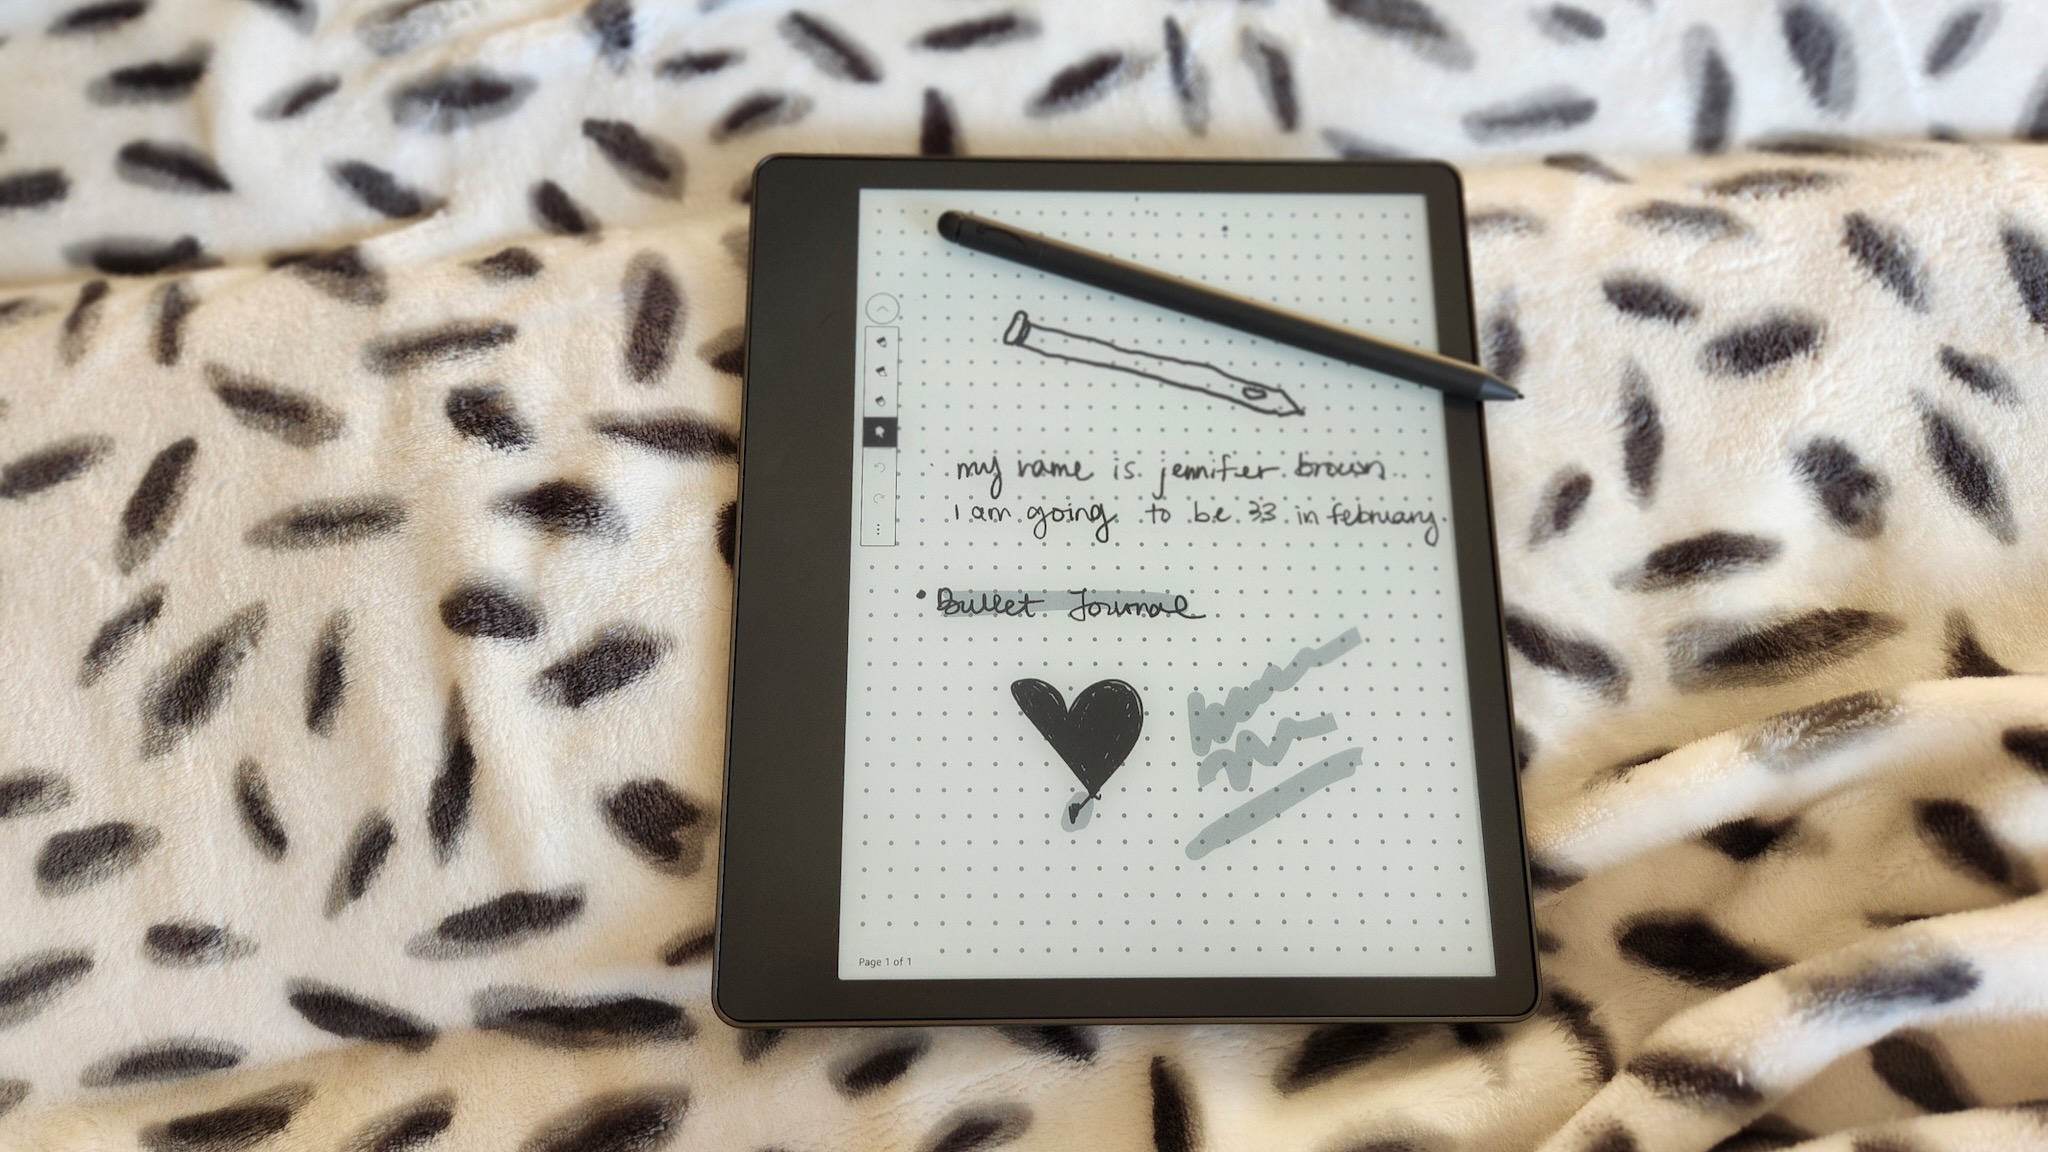
The Kindle Scribe is the first e-reader by Amazon to support a stylus for note-taking, including on Kindle ebooks, PDFs, and other files you import, and the proprietary note-taking app on the e-ink tablet itself. You can sketch out notes in a work meeting or school lecture, with no other apps to distract you or annoy your teacher.
But before you buy the Amazon Kindle Scribe, or if you have one but need some Kindle Scribe help, you should know how to take notes on the Kindle Scribe, what tools you have at your disposal, and how to save or share those notes after you're done. On that note, let's dive right in.
How to take notes on the Kindle Scribe
After you've set up your Kindle Scribe, the mechanics of creating a note in your Notebook is incredibly straightforward and needs little guidance.
1. Tap the Notebooks tab on the bottom of the display.
2. Tap the + icon in the top-right corner, then select Create notebook from the pop-up menu that appears.
3. Type in a recognizable name for your note so you'll know how to find it in the future.
4. Select one of the 18 templates for your note. These include lined paper, tables, bulleted checklists, schedules and calendars, and a blank page. Then hit Create.
Be an expert in 5 minutes
Get the latest news from Android Central, your trusted companion in the world of Android
You'll now have your Kindle Scribe note open and ready to go! But we're just getting started with what you need to know.
Using the Kindle Scribe toolbar
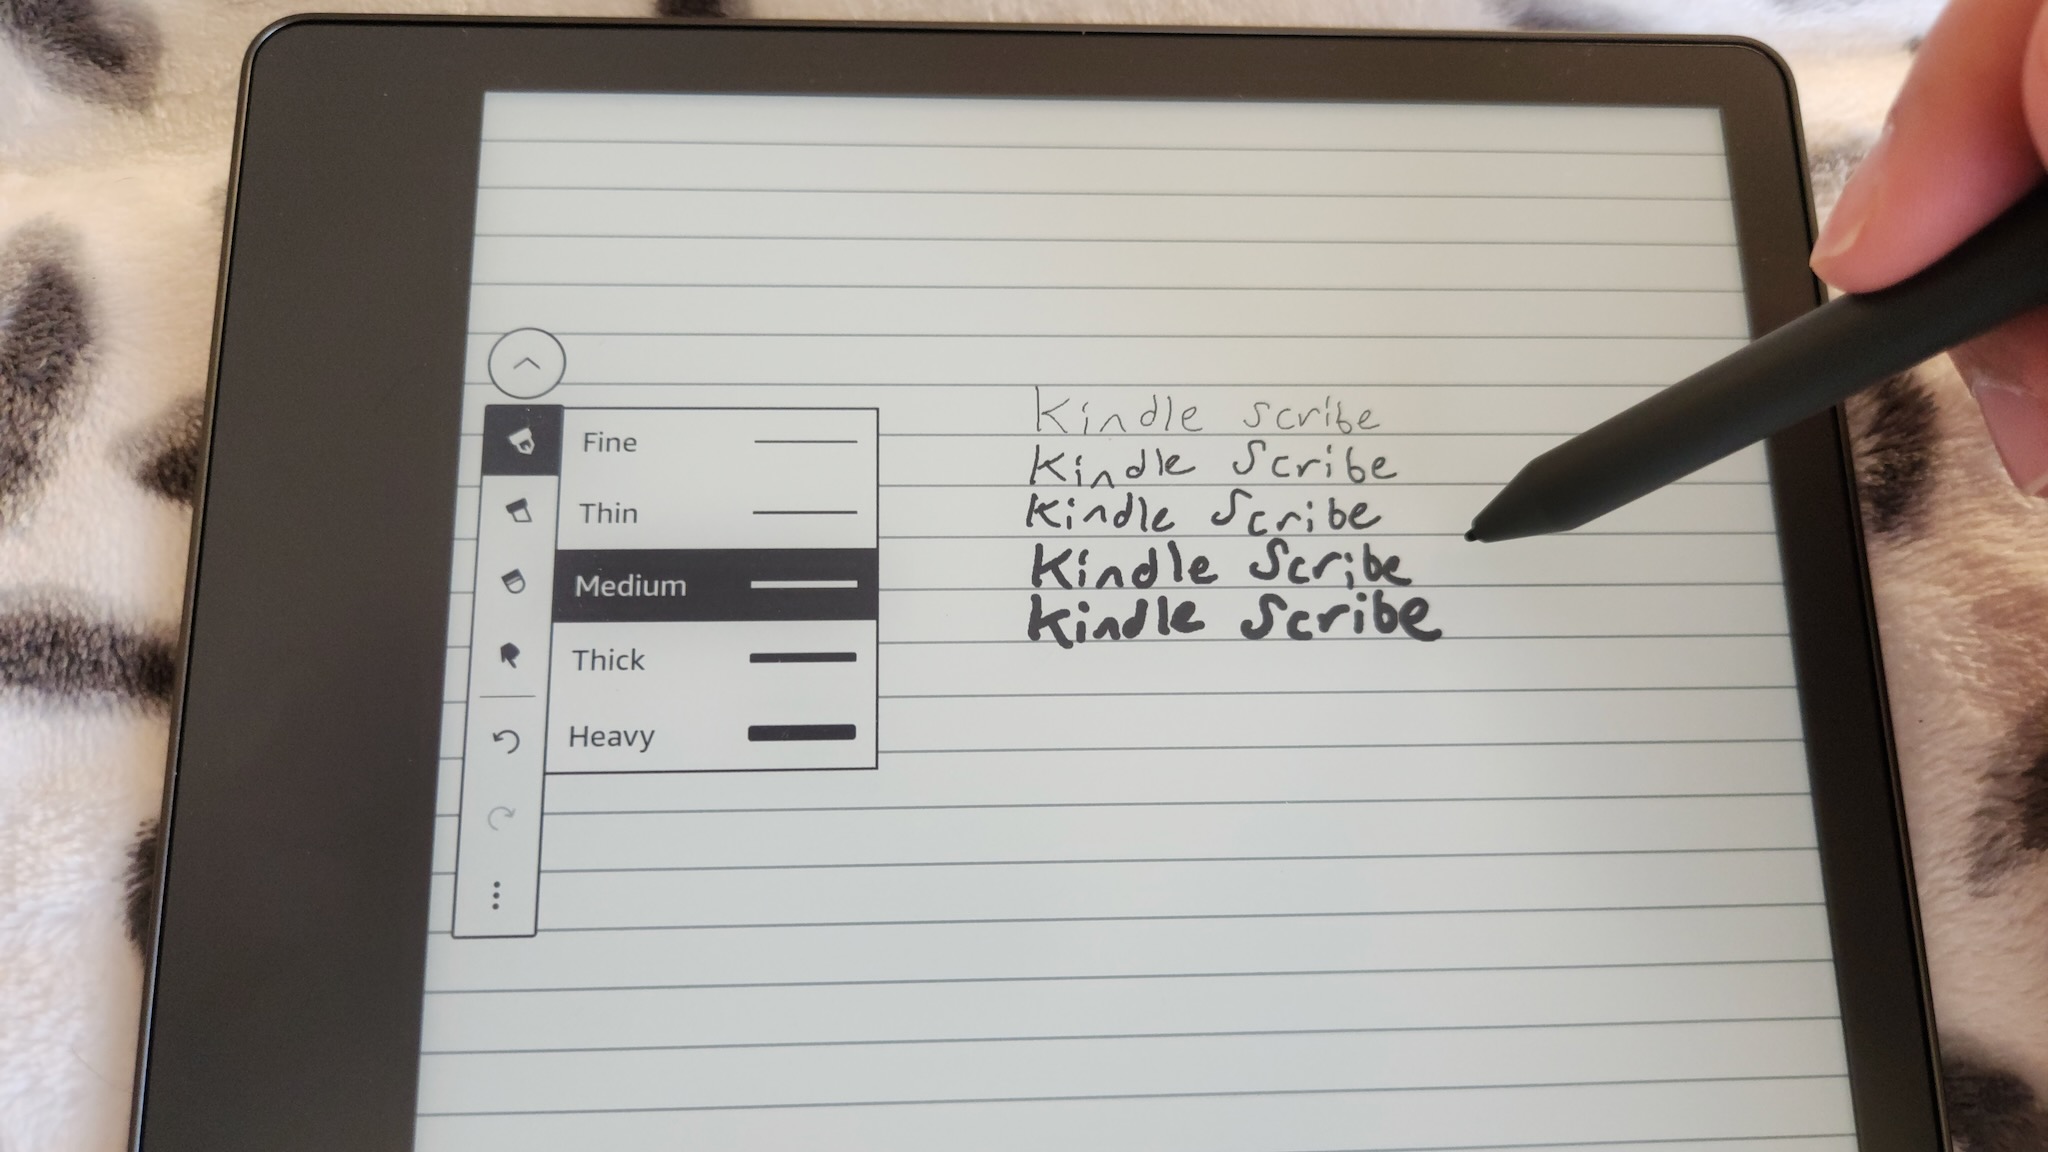
On your Scribe display's side, you'll see options for different pen types in a toolbar. Here are the tools at your disposal:
- The top icon is an Arrow that you can tap to collapse or expand the toolbar; this is useful if you want to use your full screen with fewer distractions.
- The Pen icon is your primary note-taking tool. Tap it once to select it and again to pull up a thickness menu with five options: Fine, Thin, Medium, Thick, and Heavy.
- The highlighter also has five thickness options, though no way to customize the opacity or lightness/darkness.
- The eraser has the same five size choices, but the secondary menu also has an Erase selection tool that lets you circle and delete something, or Erase page to wipe out everything.
- The selector tool (the hand icon) is how you'll be able to navigate away from the notebook or switch to a new page.
- The undo button will remove the last thing you wrote until you removed the stylus from the display. It's easier to use than the eraser, and you can use redo to re-add the line if you decide it belongs there.
- The ellipsis icon includes a move to right/left side option that relocates the toolbar to the other side. There is no way to change its position otherwise.
How to adjust your Premium Pen shortcut
1. Go to your Kindle Scribe settings. You can either find Settings in the More tab from the tablet's main menu, or from any note via the ellipsis icon in the top-right corner.
2. Select Pen > Pen Shortcuts.
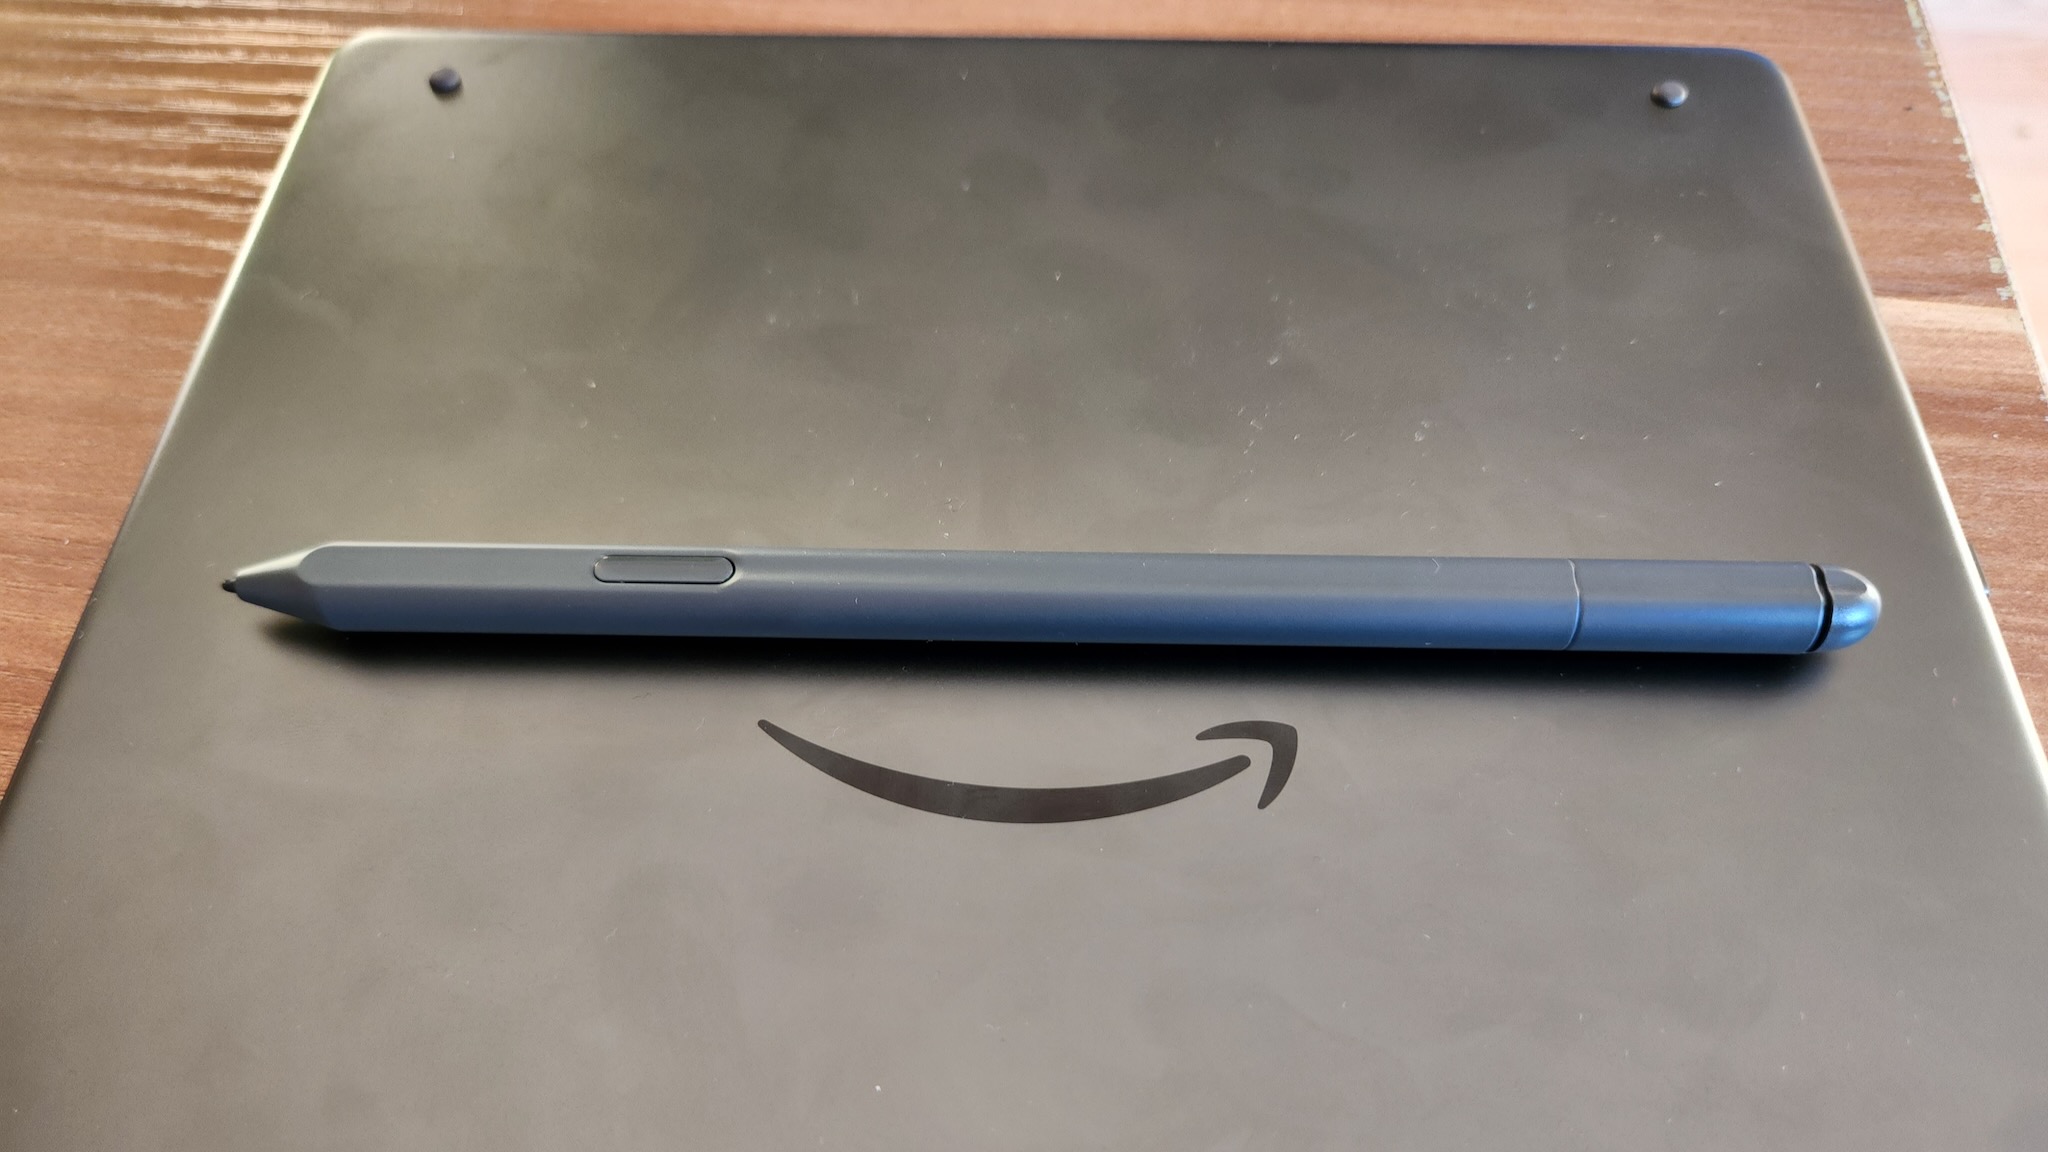
3. Choose whether to pull up the highlighter, pen, eraser, or sticky note when you press the shortcut button on your Kindle Scribe stylus. We personally prefer the eraser option, because we don't like using the hard-edged eraser on the Premium Pen's rear end.
How to add multiple pages to your Kindle Scribe notebook
If you run out of room on your note, you cannot scroll down to create more room. However, if you select the hand icon and tap the right side of the display, it'll create a new page, which should be apparent from the Page X of X text on the bottom-left of the display. Tap the left side to go back to previous note pages.
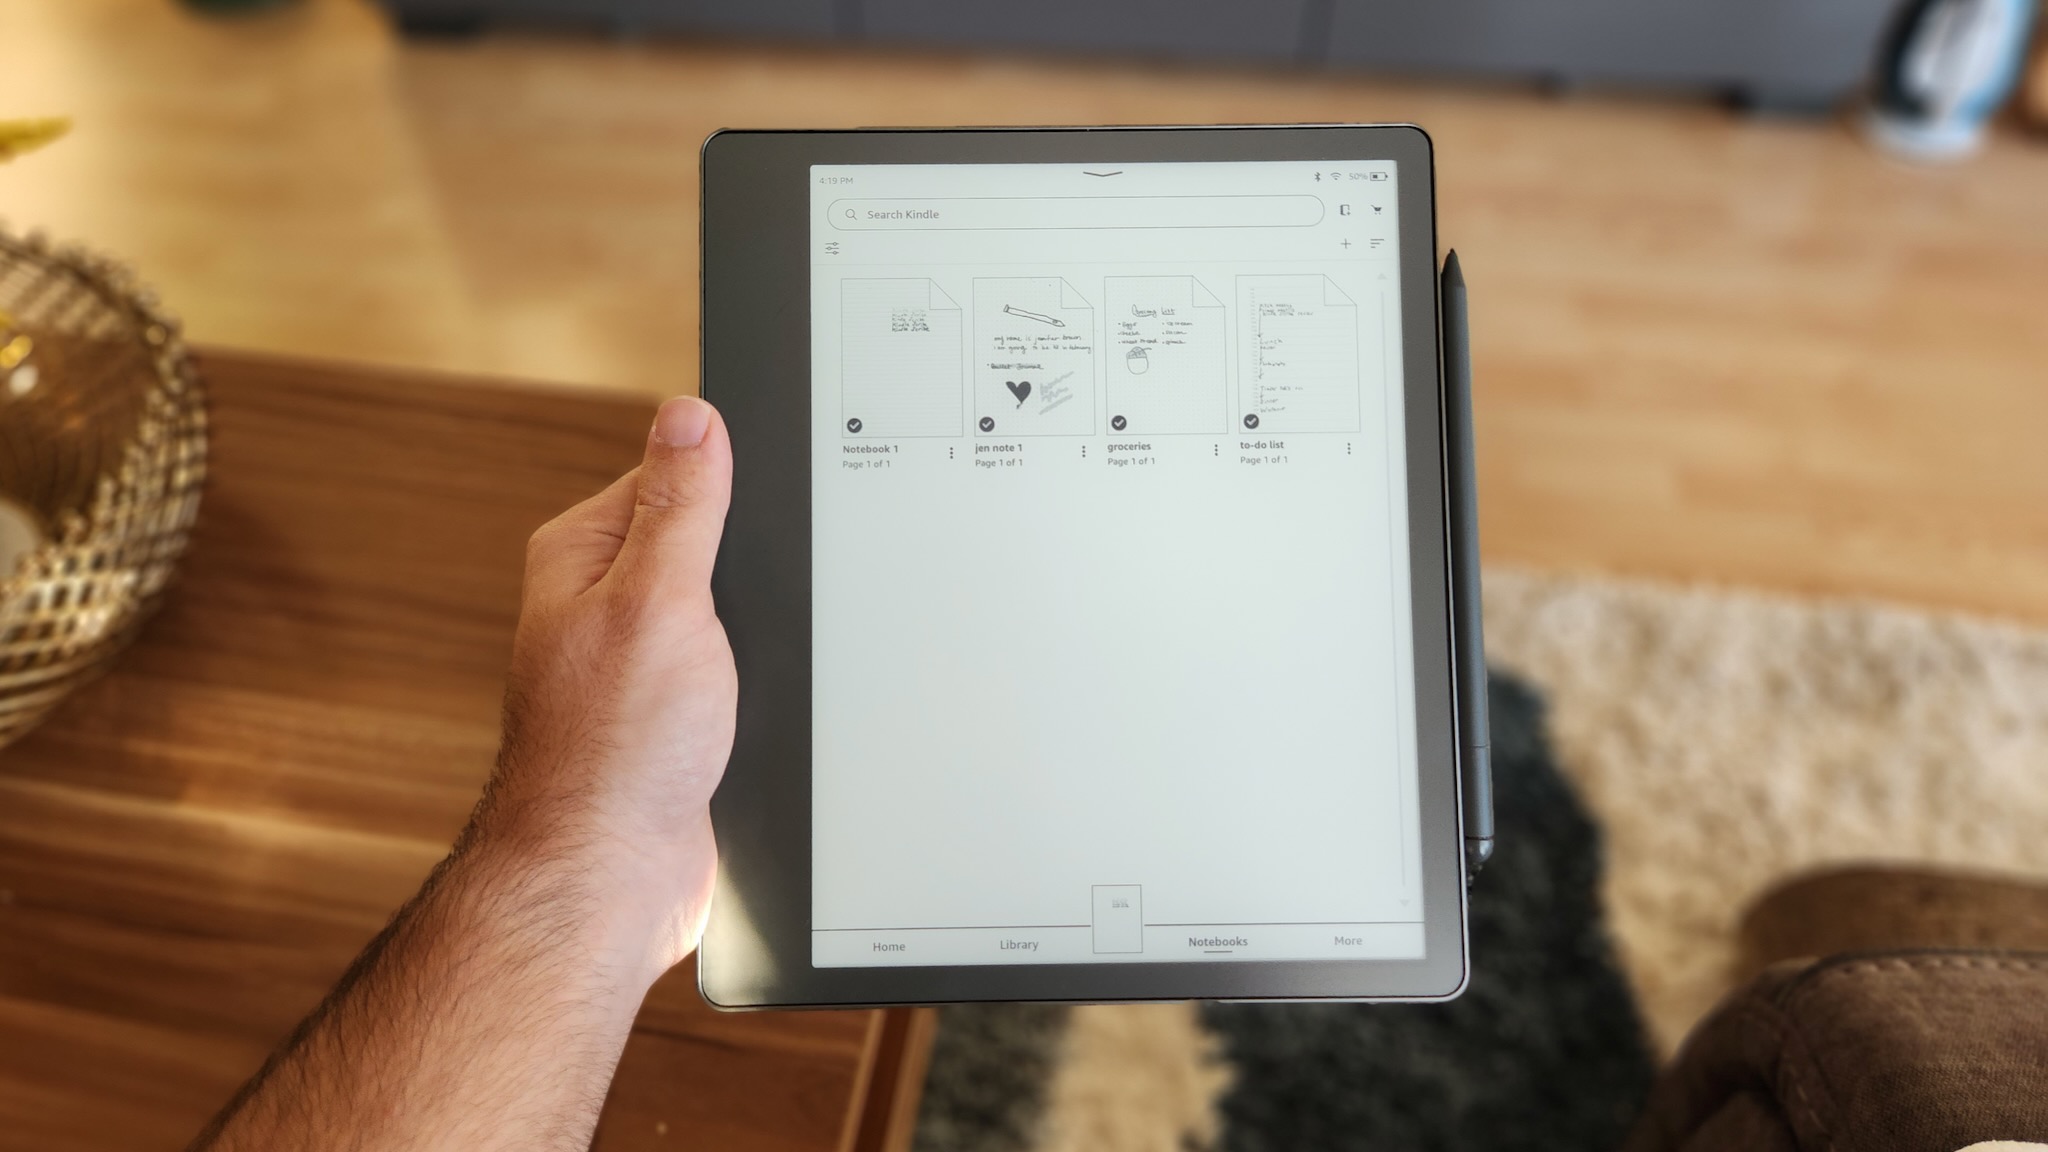
Unfortunately, you can't change the template between pages in the same Notebook. But if you tap the display top, then the first right-side icon for Notebook settings, you can change the Cover so a different page appears as the thumbnail in your main Notebooks tab. Or, if you accidentally create an extra page you don't need, you can tap the ellipsis icon for a Delete current page option.
One last note: you can hide or show the Page 1 of X text by tapping that bottom-left corner with the selector icon.
How to share personal documents to your Kindle
You have two main options for sending documents to your Kindle. One is this Send to Kindle link that lets you drag and drop files and have them appear on your Kindle Scribe library momentarily. But this only works if you're logged into your own Amazon account.
If you can't log in because you're on a shared device, or if you want someone else to add files to your Kindle Scribe, you can actually email files to your tablet's specific email address. But to prevent spam, this address will only receive emails from preapproved email addresses.
1. Go to Amazon.com and select Manage Your Content and Devices, followed by the Preferences tab. You'll find the direct link here.
2. Expand the Personal Document Settings section. You should see an email address associated with your specific Kindle, which you can copy and share with others.
3. At the bottom, you'll see Approved Personal Document E-mail List. Select Add a new approved e-mail address and input the email of whoever needs access.
4. Now, you or your fellow worker, classmate, or family member can email documents directly to your Kindle Scribe. They must be in one of the following formats for the email transfer to work: PDF, DOC, DOCX, TXT, RTF, HTM, HTML, PNG, GIF, JPG, JPEG, BMP, or EPUB.
5. Find the document in your library and start annotating!
How to share your Kindle Scribe notes
The Kindle Scribe doesn't have third-party apps like Microsoft OneNote that would sync your notes across devices. And although you can access your document library on other Kindle apps on your phone or computer, your annotations won't appear on any device besides the Kindle Scribe. So your best bet is to export your notebooks as a PDF.
1. In your note, tap the page top with the selector icon to pull up the nav menu, then the Share icon (second from the right) to pull up the Share menu.
1a. Alternatively, from the main Notebooks tab, tap the ellipsis underneath a document and select Share from the options that appear.
2. To send the note directly to you, choose the Quick Send option associated with your Amazon email. Within a minute, you'll see an email from Amazon with a download link for your PDF.
3. If you choose Share via email, you can send the file directly to up to 5 email addresses at once.
How to add notes to Kindle ebooks
Amazon purposefully limited our ability to take detailed notes on its Kindle ebooks, saying that it wants to "keep pages clean and uncluttered." So your only option is to add "sticky notes" to an ebook.
Open up a Kindle ebook, where you'll see a smaller toolbar with just a selector tool and a sticky note icon. When you place a sticky note, you must associate it with a specific word; if you try to put it in the margins or between paragraphs, it'll just hone in on the closest word. This is because margins and spacing will change if you change your theme, font, or layout.
Once you place the sticky note, you'll see a small note window appear where you can either write a handwritten note (using the same tools above) or a text note with the digital keyboard. Once you're done, hit the X button to close the note and it'll save automatically. You can then tap the sticky note icon to open it back up and see what you wrote before.
You can also select and highlight text directly in the document itself: tap and hold a word in the text, then slide right and down to select more words and then let go. A pop-up menu will let you highlight that text or add a note that'll appear at the end of the highlighted text.
Is the Kindle Scribe the note-taking tablet you need?
There isn't a wide selection of e-ink tablets with stylus support available today, and only the Kindle Scribe has the benefit of first-party access to your Kindle ebooks. Others from Onyx Boox have Android Play Store support, meaning you can access the Kindle app from the app library, as well as other note-taking apps. But only the Kindle Scribe can annotate Kindle ebooks with sticky notes.
Other e-ink tablets have displays with full-color ink and more memory for faster performance; and you could choose a drawing tablet instead if you want more colorful notes and better customization and sketching options. Plus, other tablets will access productivity software that the Scribe can't.
But despite the Kindle Scribe's somewhat limited software, many fans of the smaller Kindles will appreciate the Scribe's bright display, epic battery life, comfortable stylus, and easy access to their ebooks.
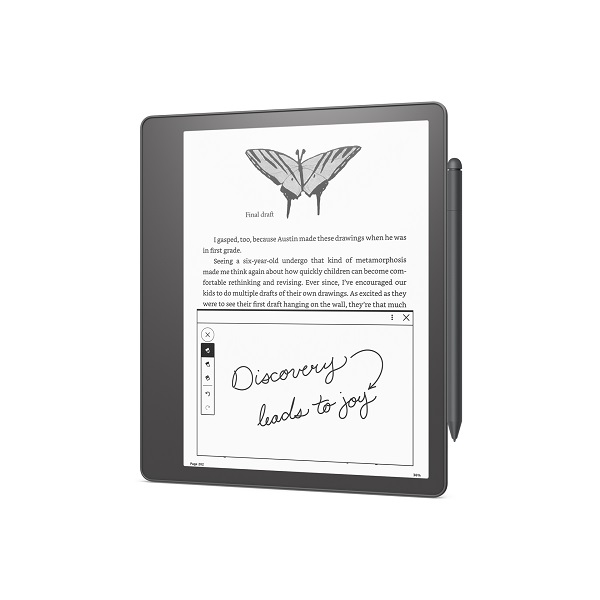
This chunky e-ink tablet has low-latency note-taking on a large, pixel-rich display, with easy access to your favorite Kindle e-books. It doesn't have in-depth note-taking tools yet, but we hope Amazon engineers will improve your options over time.

Michael is Android Central's resident expert on wearables and fitness. Before joining Android Central, he freelanced for years at Techradar, Wareable, Windows Central, and Digital Trends. Channeling his love of running, he established himself as an expert on fitness watches, testing and reviewing models from Garmin, Fitbit, Samsung, Apple, COROS, Polar, Amazfit, Suunto, and more.
