Still don't have Oculus Air Link? Here's how to enable it on Quest 2
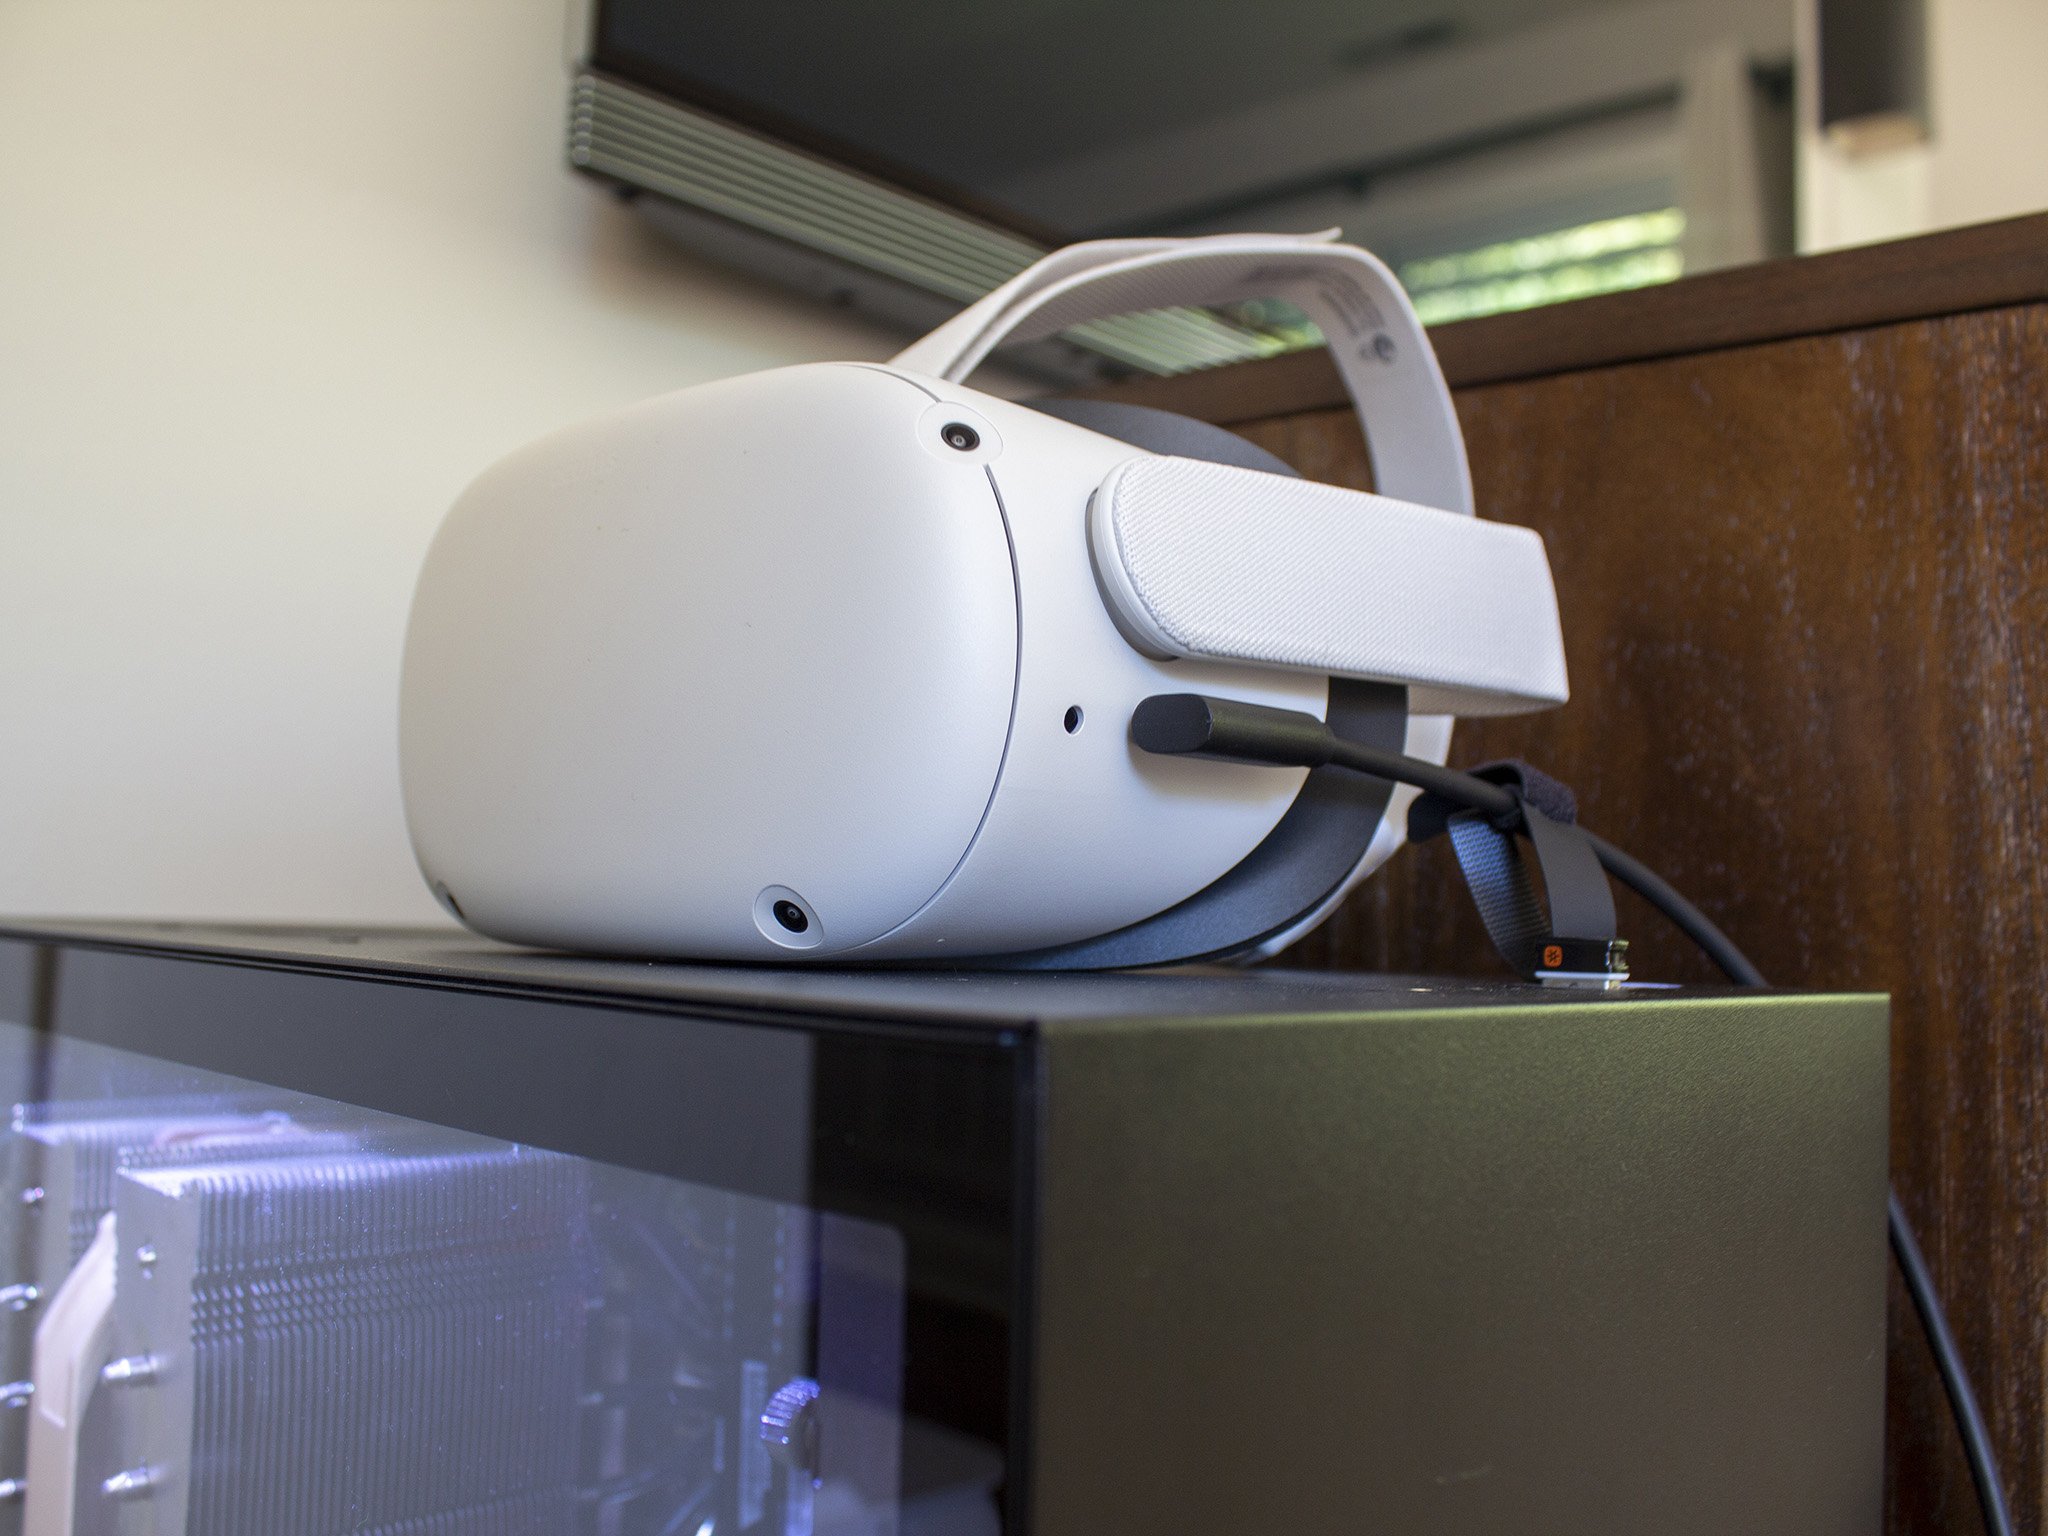
Are you looking to set up Oculus Air Link on your Oculus Quest 2 but can't seem to find the option? Don't worry, you're not alone and there's nothing wrong with your Quest 2. Despite getting the April v28 Quest 2 update, many Oculus Quest 2 players don't have the ability to configure Air Link because, quite simply, the option is missing from their Oculus Home dashboard. If you'd rather not wait for Facebook to enable the feature for everyone and get to playing the best Oculus Link games, there's a solution — albeit not the most simple solution ever created.
Thankfully, a clever Redditor figured out a quick command that'll force your Oculus Quest 2 to restart the system software and check for new features, thus enabling the missing Air Link feature. It's not super cut and dry though, so you'll need to follow these steps in order to get it working. For this process, you'll need a PC, your Quest 2, and a USB cable that can connect the two. We'll begin with enabling developer mode.
Enabling developer mode
If you haven't already enabled developer mode, follow these quick steps. If you've already done this, skip ahead to enabling Oculus Air Link, otherwise, follow these steps:
- Open the Oculus app on your phone.
- Select Settings.
- Select your Oculus Quest headset.
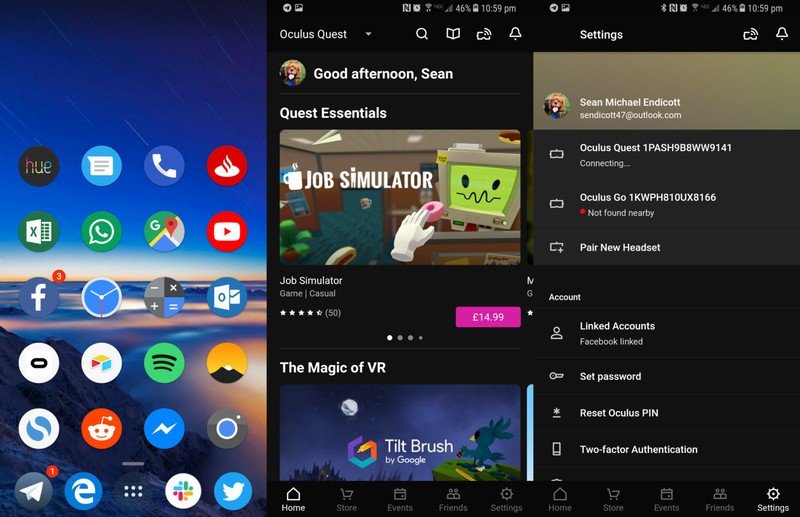
- Tap the arrow to the right of your device name to drop down more options if they don't show up immediately after selecting your device.
- Select more settings.
- Select developer mode.
- Toggle the developer mode, set to on.
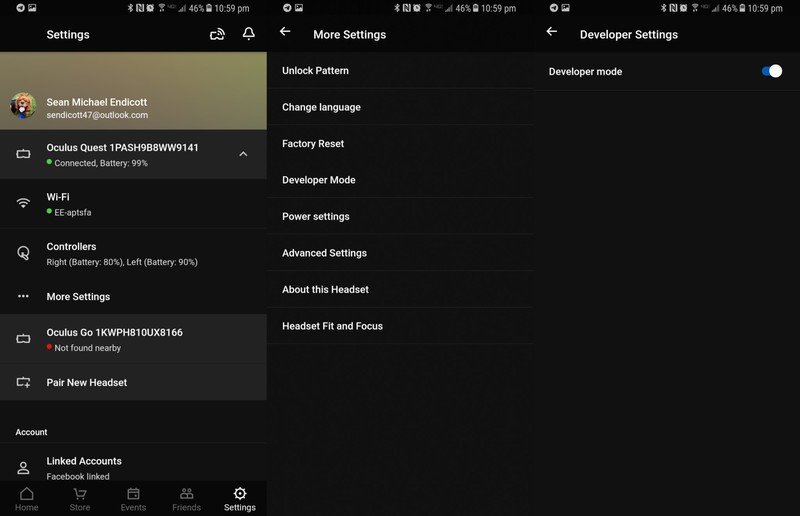
- This opens a website (unless you've unlocked developer options on an Oculus device before).
- Scroll down and select the link below create an organization.
- Log in to your Oculus account
- Enter the name of your "organization" (this can be anything).
- Select submit
- Agree to the terms of the agreement.
- You'll need to enter a credit or debit card for identity verification. There is no charge to be an Oculus developer. However, Facebook's terms of service require you to verify your identity via this method.
- Open the Oculus app again.
- Select Settings.
- Select your Oculus Quest headset.
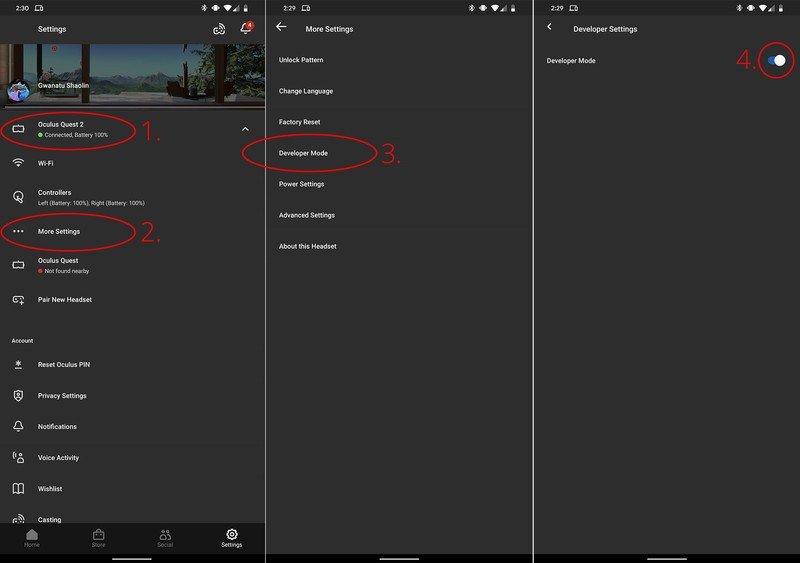
- Tap the arrow to the right of your device name to drop down more options if they do not show up immediately after selecting your device.
- Select more settings.
- Select developer mode.
- Toggle the developer mode setting to on if it isn't already switched on.
At this point, if you're familiar with ADB and have the Android Developer Tools installed, you can continue to the section below. Otherwise, SideQuest is the easiest way to issue ADB commands to your Quest 2 without much fuss. Here's how to get that installed:
- Go to SideQuestVR.com.
- Click on the GET SIDEQUEST button at the top of the page.
- Select the version for your computer's operating system, either Windows, Mac, or Linux.
- Open the downloaded installer file.
- Accept any security dialogs that appear and run through the installation process.
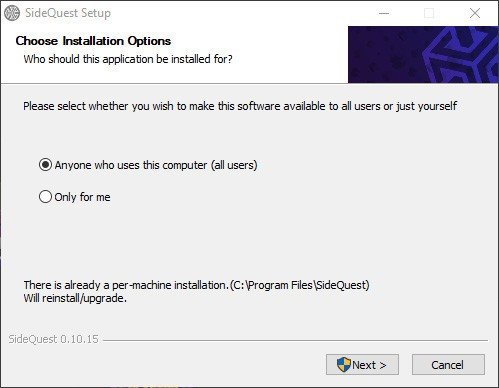
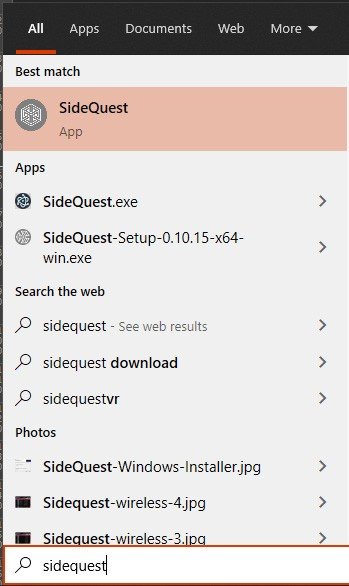
- Once the installer has completed, launch SideQuest from your Start Menu, applications menu, or quick launch bar.
Lastly, you'll need to connect your Oculus Quest and your PC and allow USB debugging.
- Connect your Oculus Quest or Quest 2 to your PC using a USB cable.
- SideQuest should recognize the headset and show a green circle with the name of your headset on the top bar.

- Put on your headset, and select Allow USB debugging.
- Make sure to check Always allow from this computer.
Now that we've gone through all that rigmarole, there's just one step left.
Enabling Oculus Air Link
For this tutorial, we're going to use SideQuest to issue an ADB command to the Oculus Quest 2. If you have used ADB in the past and prefer to issue the command using Command Prompt or PowerShell, you can use that, as well.
Be an expert in 5 minutes
Get the latest news from Android Central, your trusted companion in the world of Android
- Open up SideQuest on your PC.
- Connect your Oculus Quest 2 with a USB cable.
- Accept any prompts that appear on your Quest 2 or PC to allow the data transfer to take place.
- On SideQuest, click on the ADB Command button, located on the top-right of the app.
- Select Custom Command.
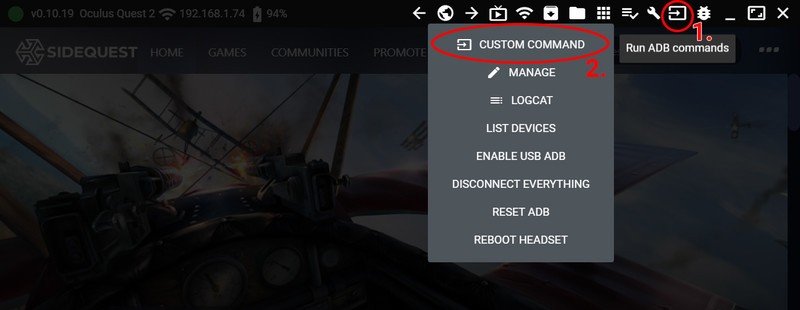
- In the dialog box, paste the following command in (without the parenthesis): "adb shell am force-stop com.oculus.vrshell".
- Click the pink Run Command button.
- Your Oculus Quest 2 should now reboot. Look for the Air Link feature in the settings menu.
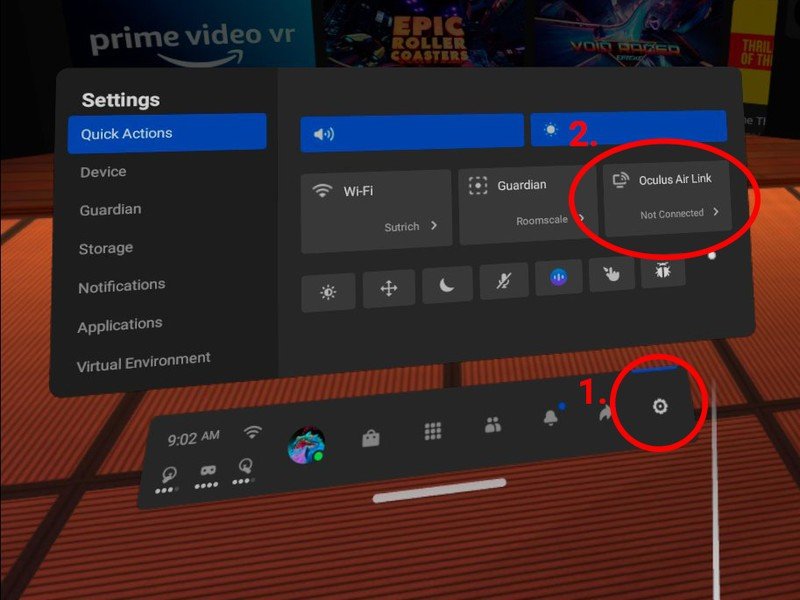
Some users have reported that they need to run this command two times in order to see the feature, while a few users have reported that this command didn't help — although, thankfully, it seems that this helps most people. If you still don't see the Air Link option available after performing the above commands and ensuring both your Quest and PC are running Oculus software version 28, you'll just have to wait for Facebook to flick the switch.

