RAW images and Android - everything you need to know
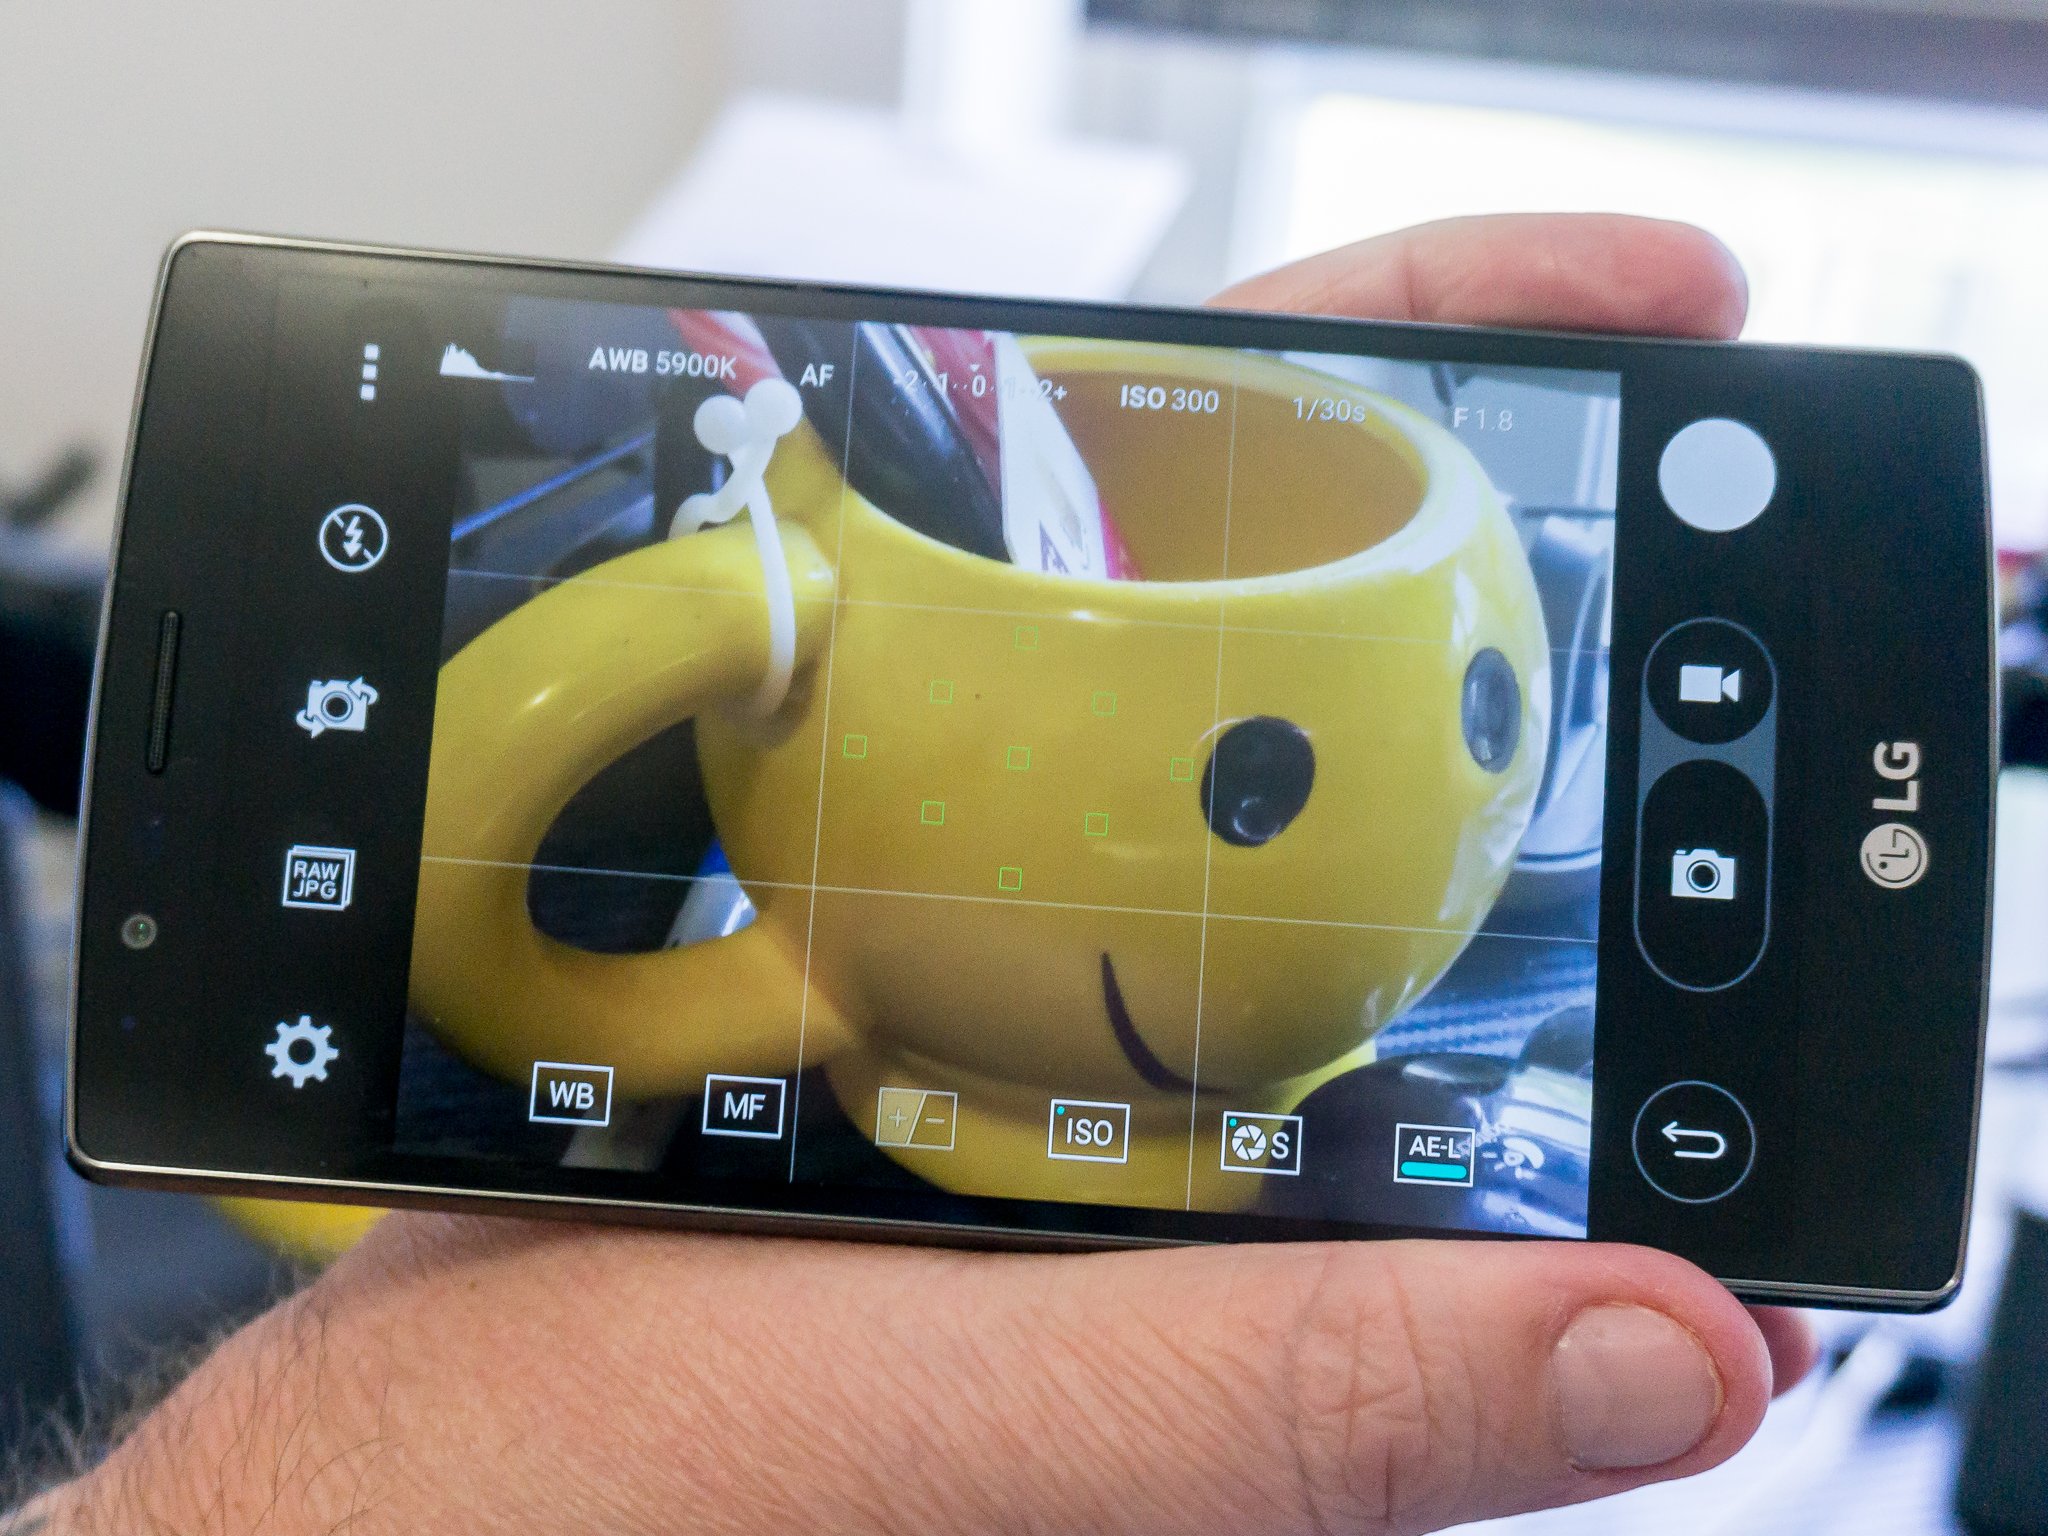
You've probably seen (or heard) a bit of talk about RAW images and Android lately. Some of us are pretty excited about what this brings to our smartphones, and the very cool stuff we can do with RAW images transferred to our computers. And some of us are a little confused about what a RAW image is, and why all these Android camera nerds are excited about it.
Simply put, having a camera on your Android that takes RAW images means you have a better set of image data to use when editing the picture than you would with a standard jpeg image. While the small sensor and fixed focal length on a smartphone means it won't measure up to a "real" camera, you can now capture shots with your Android that simply weren't possible before. HDR can only do so much ...
Let's get our hands dirty and look at what a RAW image is, and what you can do with one once you've captured it.
READ NOW: RAW images and Android
What exactly is a RAW image?
If you grab an Android fresh out of the box and take a picture with the camera, you'll probably get a rather nice looking picture placed into your gallery. The image you get was built from the data the sensor collected from all the tiny points of different colored light (the pixels) and optimised for things like balanced whites, sharp edges, and noise reduction (among other things) and then given a last pass optimization so it looks great on your screen. When this is done, the extra image data is discarded. The final result is a jpeg image that has a much smaller file size, and is built using special software to look as good as an algorithm thinks it can look. If you have a modern Android, you're probably going to be pleased with the outcome most of the time.
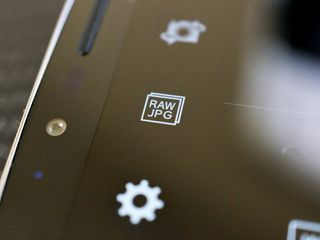
When you have an Android that is capable of shooting in RAW + jpg, you get the same output as above, plus a file that contains a minimally processed version of all the image data collected by the sensor. The sensor collects data from areas that are very dark, or very light, or that appear to be the wrong color to our eyes and more, but usually discards a good portion of this after jpeg optimization. In a RAW image, this data is kept so that special software can manipulate it.
You probably don't need to use the RAW format for most of the pictures you take with your Android. On a phone like the LG G4, the jpeg output is well optimized and is likely as good as your result would be if you used all the image data and built your own jpeg from it with an image editor. Sometimes, though, you can use the RAW data to fix an image that the automatic algorithms can't seem to get right. And some of us just like to toy with things — RAW files are perfect for that.
Be an expert in 5 minutes
Get the latest news from Android Central, your trusted companion in the world of Android
What RAW file format does Android use, and why does it matter?
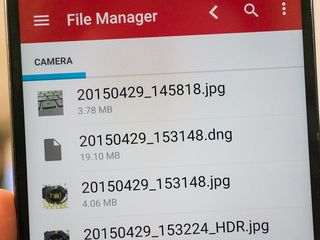
Android (as of Lollipop 5.0) has a method where the camera can capture RAW images in the DNG format. DNG (Digital Negative) is an open lossless RAW image format written by Adobe in 2004. It's based on the TIFF format, and the files contain the image data, at least one .jpg preview, and metadata that allows programs to read and edit the file. This is why they are such big files — there is a lot of information in there.
For the folks writing Android software and building Android devices, having an open standards-based file format is pretty important. They can easily and freely distribute the software as well as update for newer versions as well as ensure backwards-compatibility. And there are less royalties to pay — every penny counts.
To users like you and me, this only matters when finding software that can view or edit the files. DNG is a widely adopted format, and you'll find it's well supported in many image editors on Windows, Mac and Linux (and even lesser-known Unix variants). Chances are you already have software on your computer that can view DNG files and make small edits. We'll look at dedicated programs to edit DNG files in the next section, but know that RAW for Android uses a well-supported and popular format for anyone who wants to dive in and do some serious editing.
We also have to remember than while RAW support is really cool and allows for some amazing edits to the photos we take with our Androids, it does nothing to increase the limitations of a small fixed focal length camera. We're not going to be able to capture as much data as a larger sensor camera, and your smartphone isn't going to replace a DSLR any time soon. Go into things with the right expectations so you're not disappointed.
How do I edit my RAW files?
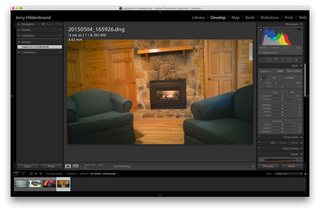
For starters, you'll need to understand that a computer is necessary for the best results here. I'm sure someone, somewhere, is busy building a really good DNG editor for Android. But to make the most out of your RAW images you need a big screen and fairly complicated software. So plug your phone in (or use another method to transfer the .DNG files from your phone to your computer) and save a copy on your computer.
There are plenty of options for RAW file editing on the computer. Windows and Mac users can use Photoshop or Lightroom (as well as less-expensive or even free alternatives like GIMP or Photoshop Express) and most Linux distributions will have a package for DarkTable, ImageMagick or digiKam as well as GIMP. I do most of my RAW image editing in Lightroom, but the alternatives work well and there is no one best choice.
Once you have the file and the software to edit things, you can begin to adjust things. You should have complete control over exposure, white balance, sharpening and the like, and you can make non-destructive adjustments to the image data. It might take some practice to make the images look as good or better than the camera's jpeg output, but it can also be pretty darn fun.
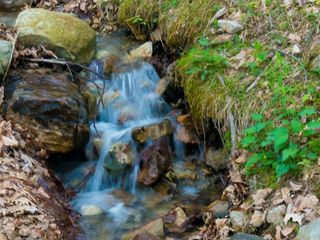
What all this allows you to do is shoot your pictures to get good focus and framing, then adjust the exposure and do any sharpening or noise reduction by hand afterwards. You can take some spectacular photos this way if you want to take the time to play with things. The image you see above was shot in manual mode with the shutter open for .5 seconds to make the water look the way it does. I then transferred the RAW file into Lightroom and made the exposure a bit "darker" (a slow shutter makes everything too bright) to get the finished picture. Something like this can't be done with automatic modes or jpeg images.
If you don't feel like taking the time to play with things, always remember that your camera probably takes great photos with everything on automatic, too. Not every picture needs to be shot in RAW and edited, and not everyone wants to go through all this to get a good picture.
Does my Android take RAW photos?
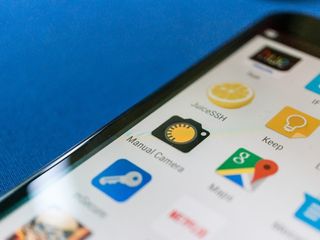
Maybe. A pre-requisite is Lollipop, but not every Lollipop phone uses the camera2 API that allows RAW images to be taken, and not every camera app uses them on phones that do support it.
- The LG G4 takes RAW photos with the stock camera app
- The Nexus 6 takes RAW photos with a third party camera app
- The Samsung Galaxy S6 is expected to get RAW camera support with a coming update
- The HTC One M9 takes RAW photos with the stock camera app
Other phones may also support RAW capture, and updates may bring support to phones like the Note 4 or the Moto X which do not currently support the whole of the camera2 API. The best bet if you have questions about RAW support is to check the forums. They know everything in there. Use them.
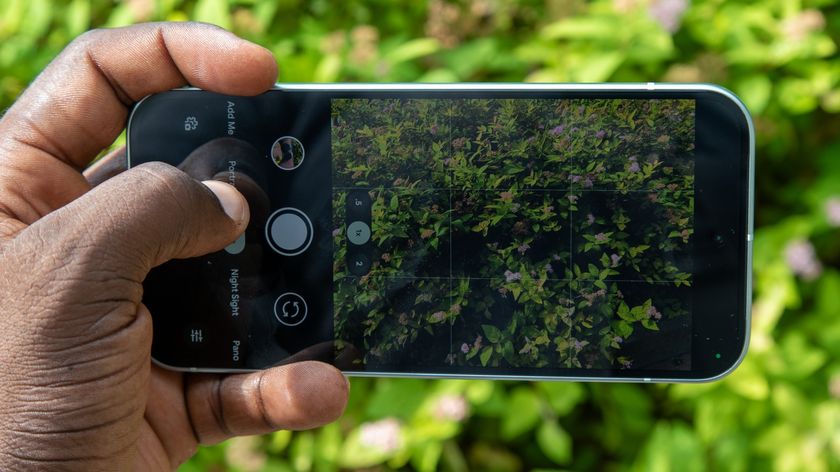
If you're looking for an app to take RAW photos, there are plenty. The popular ones are Manual Camera, Camera FV-5 and L Camera. I've used all three on the Nexus 6 with good results, but again hit those forums for more recommendations.

Jerry is an amateur woodworker and struggling shade tree mechanic. There's nothing he can't take apart, but many things he can't reassemble. You'll find him writing and speaking his loud opinion on Android Central and occasionally on Threads.
