Moto X Pure Edition camera tips and tricks
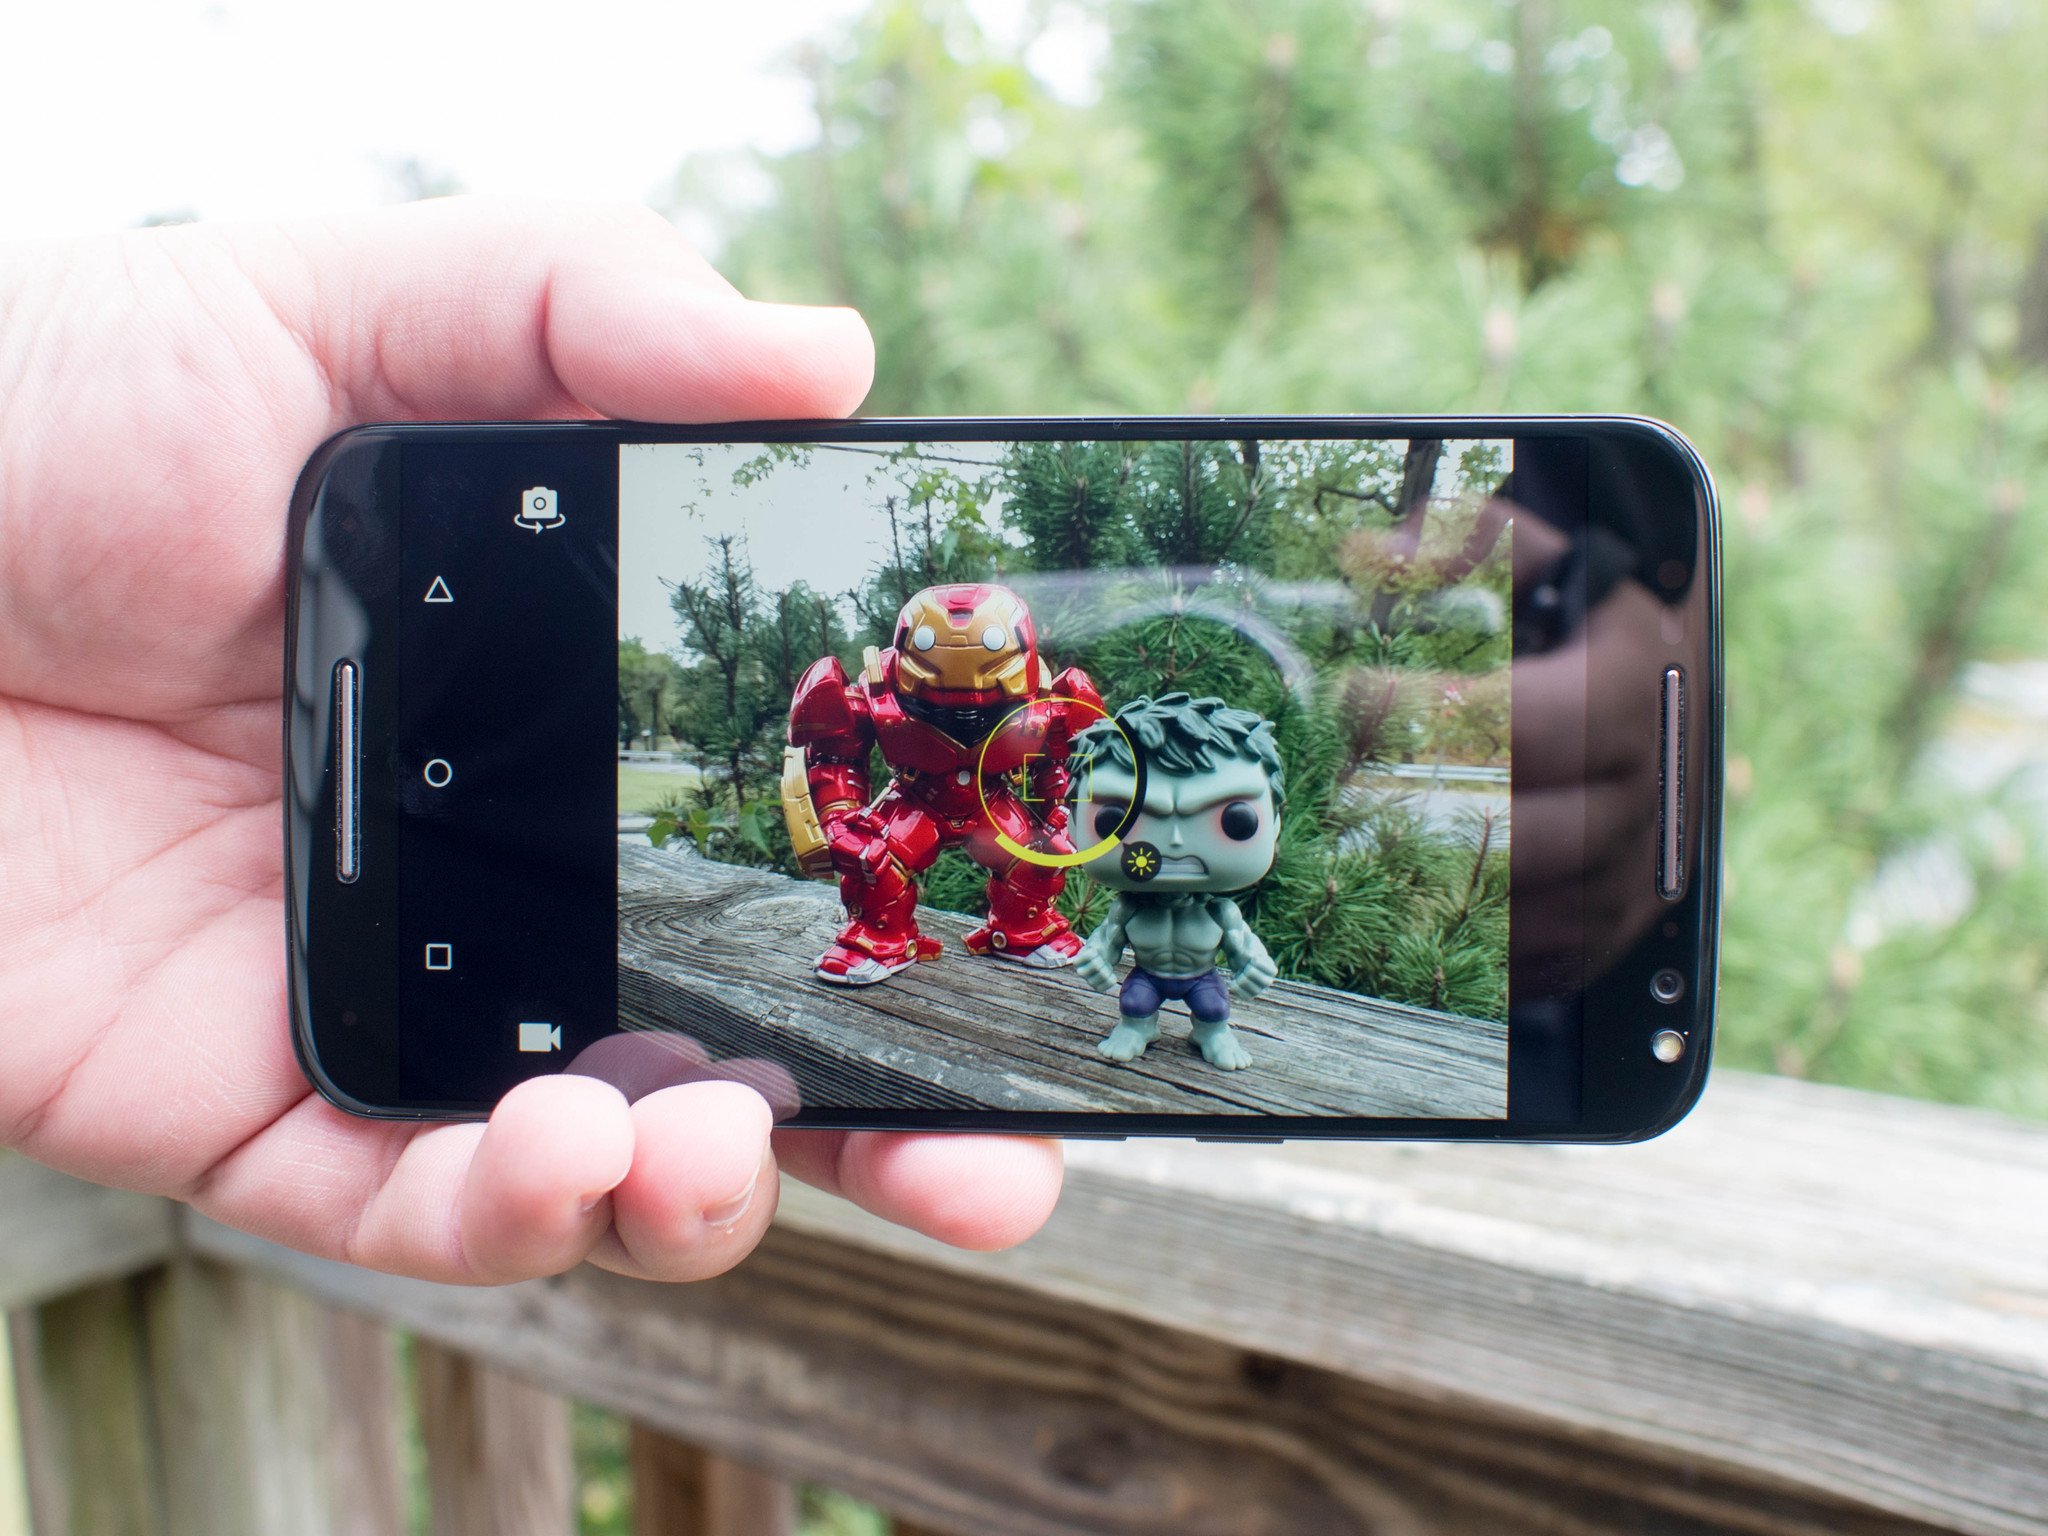
Motorola cameras have never really been top-of-the-line, but the software that drives the experience certainly is.
One of the things that has always helped the Moto X line of phones truly stand out has been the camera app. Despite the camera itself not being much to talk about in previous iterations of this phone, the software that drives the user experience is excellent. There's nothing in between you and the thing you want to capture, and when you do decide to look in the settings it can be navigated entirely by your thumb without moving around.
It's a great, clean experience with a few hidden gems and a few things you should know before you find yourself ready to take photo or capture some video on your Moto X Pure Edition.
Use the whole sensor
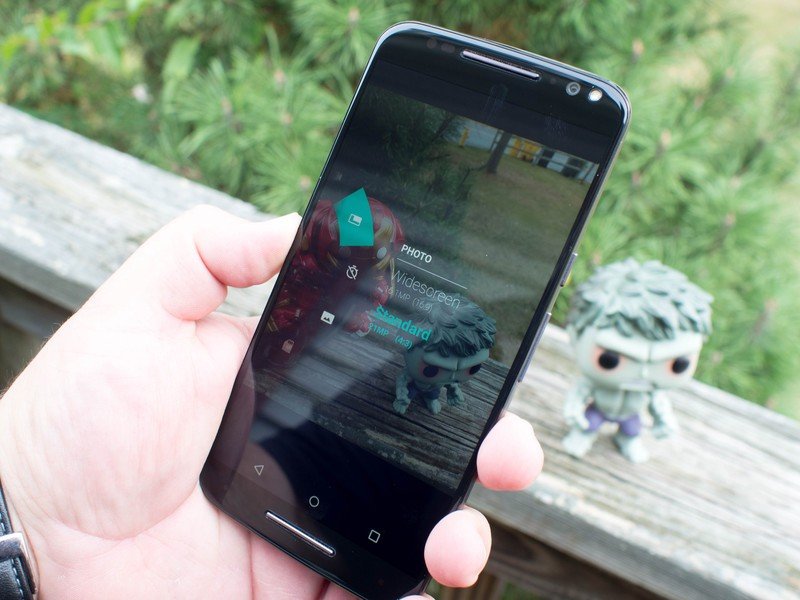
Step one with every Moto X Pure Edition should be to head into the settings where and enable Standard mode instead of Widescreen mode. The Moto X Pure Edition comes with a 21MP sensor, but to make sure the camera app looks nice the app default to cropping down to a widescreen 16.1MP shot. That's just plain wasteful, you should be using the whole sensor when taking your photos.
Making the switch is easy, just scroll the settings wheel until you see the pair of rectangles, and when you tap that icon you'll see a pair of options. When you choose Standard you'll see the app has some black space on the side, which is because the sensor and the screen are different shapes. When you take photos, it'll be the whole 21MP shot and not something automatically cropped so your app looks a little better.
Enable Control Focus and Exposure mode
Be an expert in 5 minutes
Get the latest news from Android Central, your trusted companion in the world of Android
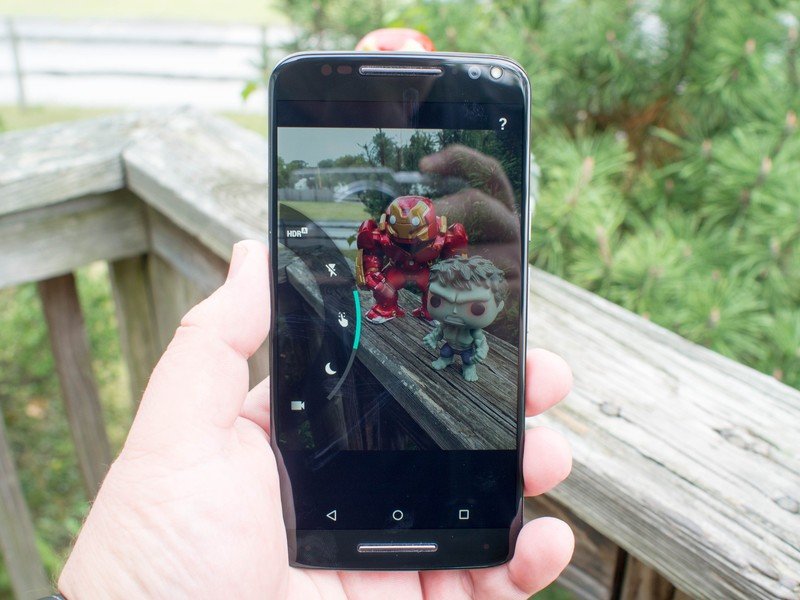
Your next step on the settings wheel should be the Control Focus and Exposure mode. The Moto X Pure Edition camera doesn't offer a tap to focus mode like most cameras. when you tap the screen, it captures a photo instead. This works well if the app is focusing on and exposing the parts you want when taking a photo, but if that's not the case your photo is in trouble.
Enabling this Control Focus and Exposure mode gives you a target you can move around to choose focus points and exposure. All you have to do is drag the icon to where you want the focus, or move the little sun icon if you want a photo to be brighter or darker. This mode can be disabled if you feel you don't need it, but having it handy makes those quick adjustments a lot faster.
Your video settings won't stick

The video part of the settings wheel gives you access to slow-motion and 4K recording options, and it does so nice and quick. You tap the option you want, hit the camcorder button the screen, and the recording starts. Unfortunately, if you want one of these modes to stick around you're out of luck. Slow-motion and 4K need to be enabled every time you open the camera app, and there's no way around it.
Navigating to the correct option in the settings wheel is fast, but obviously not as fast as having 4K available to you as soon as you launch the camera app. Its not a huge deal, just something to keep in mind as you capture. For video, the default every time you launch the app will be standard 1080p.
Speak up for selfies
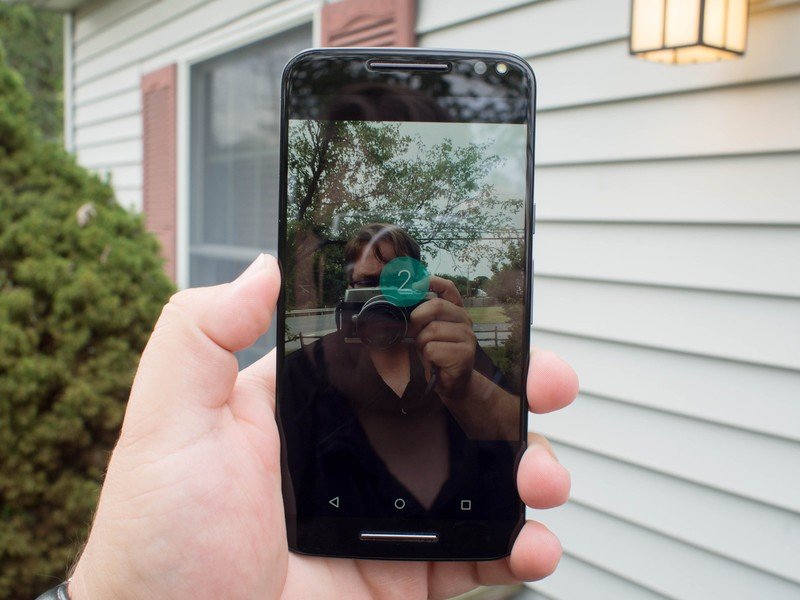
Tapping the screen isn't the only way to take a photo on the Moto X Pure Edition. You can also tap the volume down key anytime you want to grab a photo, from the front or the rear of the camera. Depending on how you hold your phone when grabbing a picture, that may not be the most convenient way to tap the shutter key, and unfortunately the phone is so large and thick that holding the phone and tapping the screen with the same hand isn't always an option. For those rare situations, remember your voice is also an option.
Moto Voice has commands for "Take a photo" as well as "Take a selfie" and these options immediately launch the camera to grab a photo. For selfies, this voice command enables a countdown from three, follow by the shutter. All you need is your personal Moto Voice trigger followed by one of the above commands, and the capture is complete.

