Make the best Google+ 'Auto Awesome' photos you can
From flashy to subtle, you can now make your Google+ photos come to life
Google+ picked up a facelift and a big group of new features back at Google I/O 2013, and two of them -- Auto Awesome and Auto Enhance -- have opened up cool new photography possibilities on the network. Auto Awesome is especially intriguing, as it automatically turns groups of similar pictures you take into an animated image, HDR shot, panorama or collage to share on Google+, without any extra processing on your part.
With just a few minutes of your time you'll be ready to make your own Auto Awesome images to share on Google+, and we're going to make sure you've got things set up properly. Once you're comfortable with the process, we also have a few tips and tricks to help make the best of this new feature. Let's make some awesome images after the break.
Get your settings right first
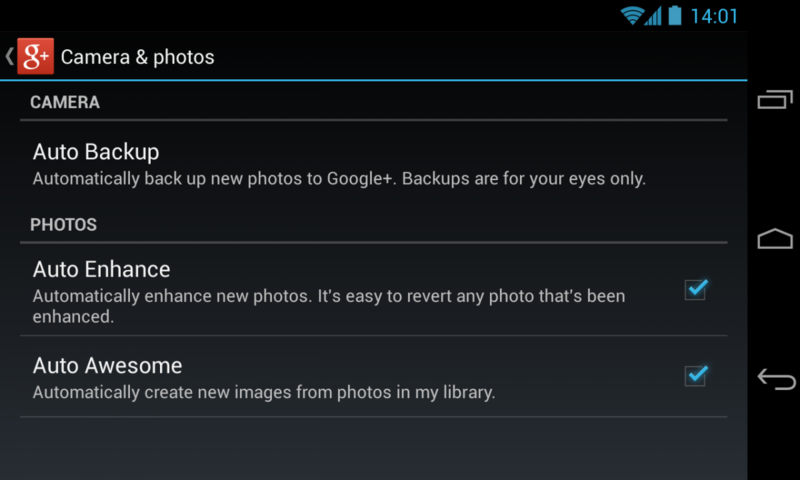
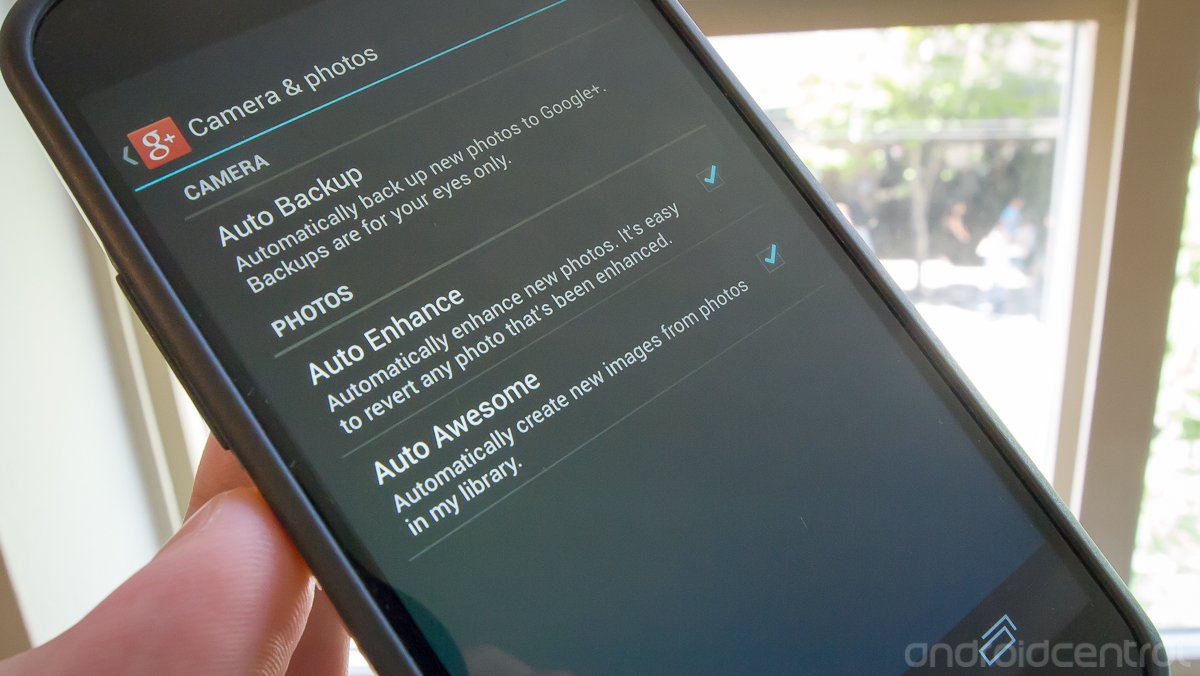
There are two different ways to get your pictures up to Google+ to then be converted into Auto Awesome images -- from your phone's "Auto Backup" and manually through the web interface. For the former, you'll want to be sure that "Auto Awesome" is checked in the Google+ app settings under "Camera & photos" and that "Auto Backup" is also enabled (either over mobile data or Wifi).
If you would prefer to manage specifically which photos are put up into an Auto Awesome or want to bring in other photos from a non-connected device -- such as a dedicated camera -- that option is available as well. Simply take several photos in succession or with similar backgrounds and scenes from your camera, and upload them to Google+ through the web interface. Although it is turned on by default, you'll want to double check in the Google+ settings on the web and make sure "Auto Awesome" is checked.
Tips and tricks
While Auto Awesome images have been associated with the animated GIF-style moving images, there are actually five different types of Auto Awesomes that can be made from uploaded pictures:
- HDR: If you upload multiple images of the same scene with different exposures -- low, normal, high -- Google+ will merge them together to form a picture with better contrast and clarity of all parts of the scene.
- Motion: This is the one we're all familiar with. Take at least 5 sequential images of a similar scene with movement and Google+ will make a short animated and looping image from them.
- Smile: Take multiple photos of a group of people, Google+ will attempt to choose the best shots of each person in the image and merge them into a single photo with the best elements of each.
- Pano: Take a series of photos panning across a scene and Google+ will stitch them together into a single panoramic image. (Useful for stand-alone cameras without a pano mode.)
- Mix: Take several portraits with similar backgrounds or scenes and Google+ will put them together in a photobooth-style grid. This is meant to showcase a group of close-up portraits.
While many modern phones and cameras may possess the ability to do many of these things on-device, like the HTC One -- especially HDR and Panorama -- it's nice to know that you now have a simple way for any of your photos to be put together in the above ways.
Be an expert in 5 minutes
Get the latest news from Android Central, your trusted companion in the world of Android
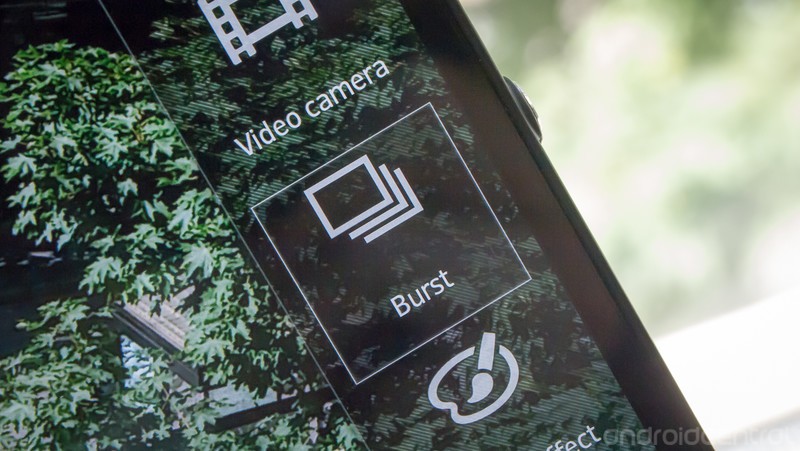
Once you've enabled Auto Backup and Auto Awesome on your devices and the web, in order to create these various Auto Awesome images just take several pictures in short succession and let Google+ do its magic from there. While there aren't any strict rules for what gets made into an Auto Awesome and what doesn't, looking at the guidelines above you can get an idea of how to make each one appear. While HDR and Pano may take some tinkering in your settings, Motion and Smile can be accomplished easily with a "burst" mode on your phone's camera app.
Android Central Photography Forums
The great part about Auto Awesome is that you don't necessarily need to be mindful of what's required to make each one if you don't want to. Simply have the setting turned on and you can come back hours or days later and see what Google+ has created for you. Auto Awesome images will auto-generate after the individual images have been uploaded and show up under the "Highlights" and "Auto Backup" areas of your Google+ photos, and can be simply shared out as any other still image would.
Now that you have the proper settings and a little know-how, get out there and take some pictures that can really pop when sharing on Google+.
Andrew was an Executive Editor, U.S. at Android Central between 2012 and 2020.
