How to install the Android SDK on Windows, Mac and Linux
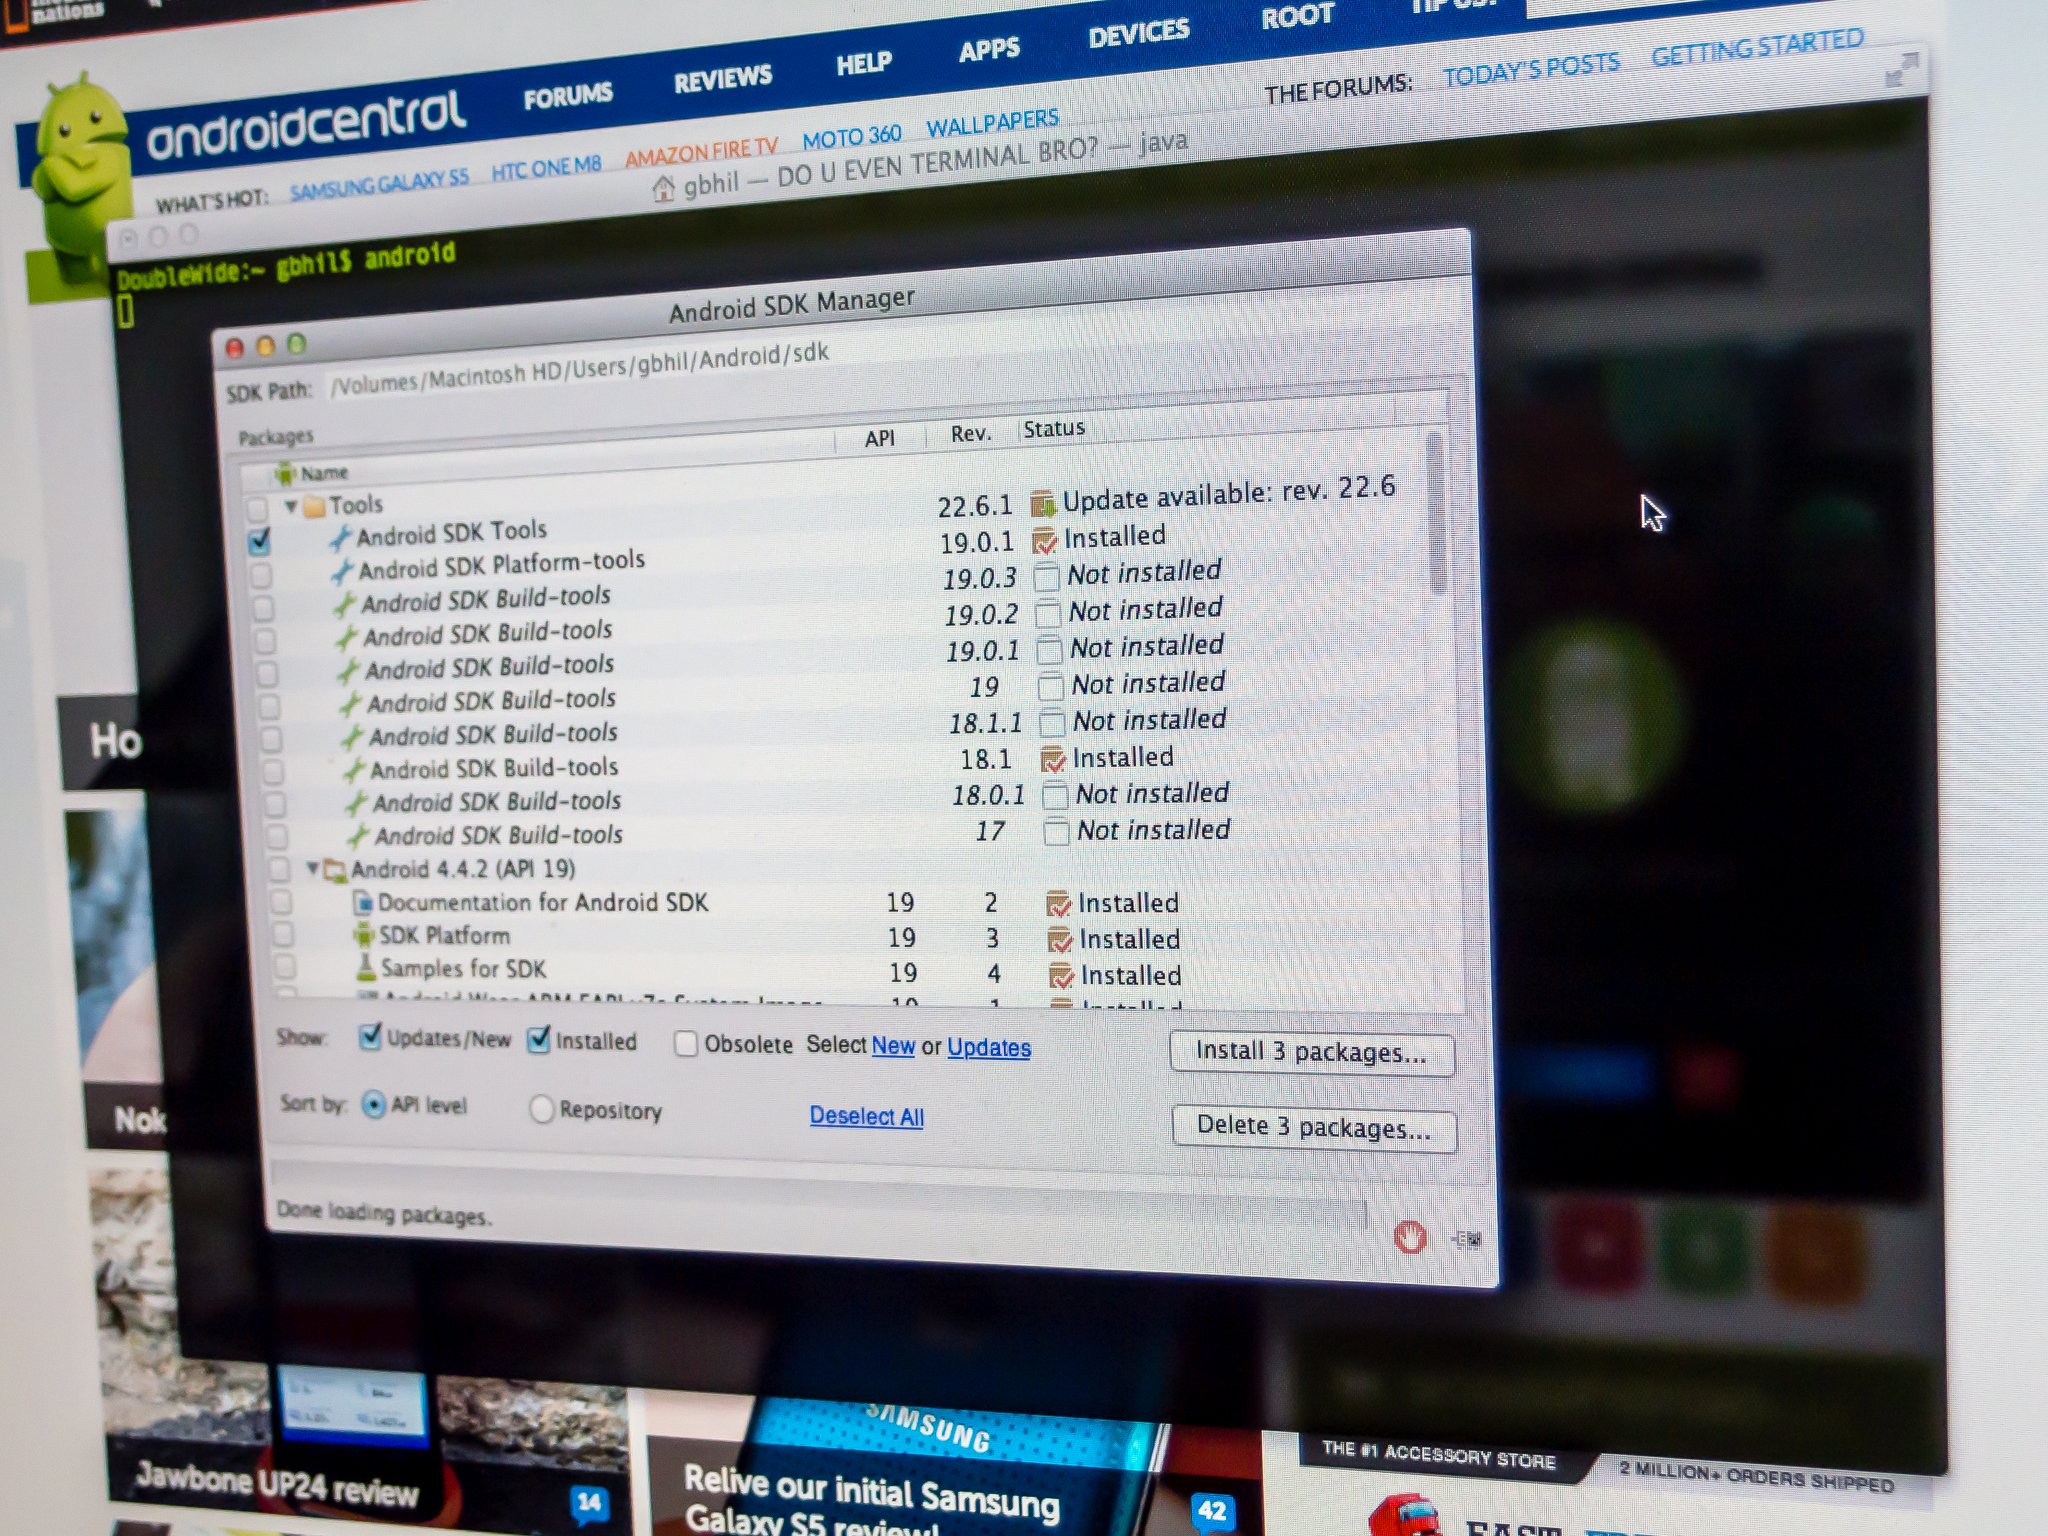
Most of us will never need to install the Android SDK. The reason why is right in the name — Software Development Kit. It's built for people writing Android apps who need tools to work with Android from a computer.
But those tools can also be handy for folks wanting to do some more advanced stuff. Stuff like manually updating software or rooting their phone. Fastboot and ADB are vital if you're into "hacking" at the Android software. And Google provides it free for everyone.
What to choose?
There are two ways to get a working set of Android tools on your computer. The easy way is just to install Android Studio. Everything needed to run and use the Android command line tools is part of Android Studio, as well as a way to keep the tools updated. While it's designed for folks who want a complete development environment and includes a code editor, Android emulator, and compiler, you can use just the command line tools and never open the rest.
If you're not afraid to get your feet wet, you can install just the SDK components outside of Android Studio. Installing them is easy (they're inside a zip file), but setting up your computer to use them isn't a straightforward process.
Manually installing the Android SDK
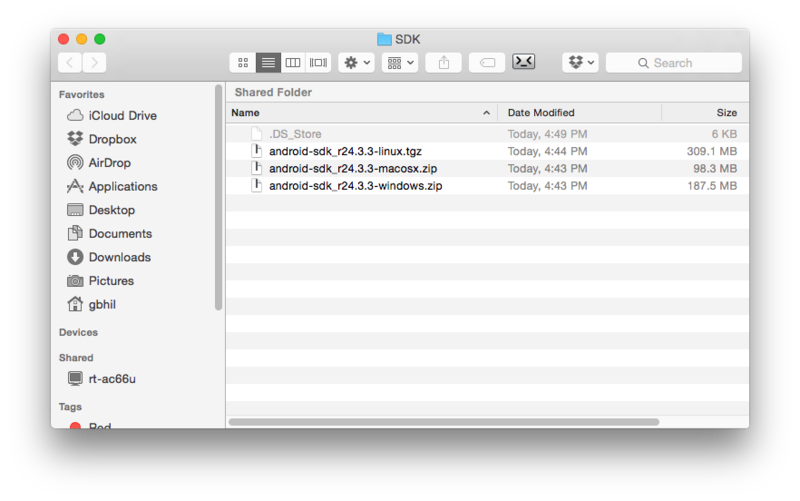
Download the SDK direct from Google by clicking here. Scroll down a bit and find the section marked "Get just the command line tools" and save it somewhere easy to get to, like your desktop. We'll be extracting it to a better location in the next step.
The file you downloaded is compressed. You'll need to be familiar with compressed files — and how to extract them — to go any further. If you're not, stop here and spend the time to learn about them.
Extract your compressed file into the following location:
Get the latest news from Android Central, your trusted companion in the world of Android
- Windows: The root of your C: drive
- OS X: Your home folder
- Linux: Your home folder
Rename the extracted folder to "Android". This will make the rest of this guide, and your time with the SDK, much easier.
Prerequisites
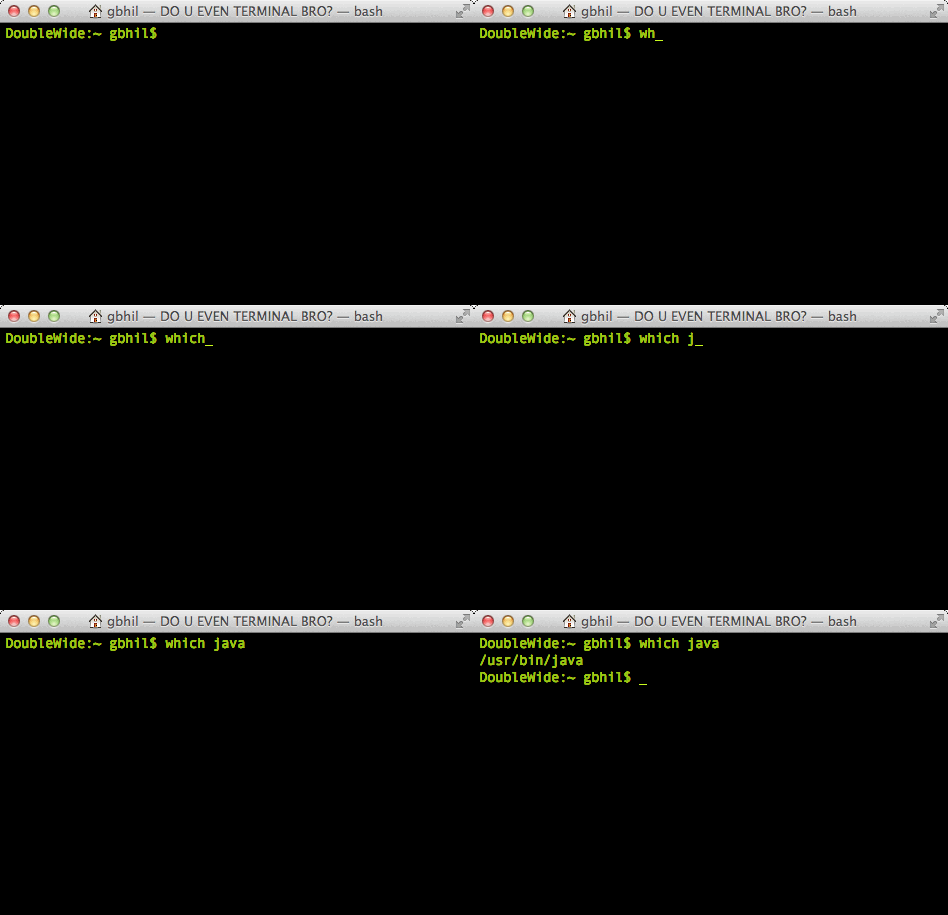
You'll need a working version of Java to run the SDK components. For most things, you'll be doing with the SDK, both Open Java and Sun Java from Oracle (yes, that Oracle) will work.
- On a Mac, it's pretty easy because you'll already have it installed unless you uninstalled it. If you did, install it again — you should know how to do that if you knew how to uninstall it.
- On Windows, head to the Oracle website and download the correct version (32- or 64-bit) for your computer. Again, if this gives you any trouble, stop what you're doing and learn a bit more about your computer. If you can't install Java, maybe you're not yet ready to use the Android SDK.
- On a Linux computer, you'll also need to install Java. You can find x86 and x64 binaries for Sun Java from Oracle at their website. OpenJDK also works for most things you'll need to do with the SDK. (OpenJDK is now bundled with Android Studio which includes the SDK as well as a development environment) and you'll find complete instructions to get it installed at the OpenJDK website. If you need more assistance or want to use a package manager to install Sun Java, you'll need to refer to the documentation for your particular distro.
Linux users will also have to make sure they have some 32-bit libraries installed if they are running a 64-bit version of the operating system. If you're using Ubuntu or another Debian variant, install ncurses5 and stdc++6 through your terminal:
sudo apt-get install lib32ncurses5 lib32stdc++6If you're using a different flavor of Linux, find the correct packages for ncurses5 and stdc++6 and install them.
Installing the tools
Extract the file you downloaded above into a folder named Android on the root of your C drive (Windows) or into your Home folder (Mac, Linux). You might notice a few things are missing if you've ever downloaded the command line tools before as the tools and platform-tools folders are missing. That's OK; we're about to get them using the included SDK manager.
Open the bin folder in the extracted download and find the SDK manager executable file. It may look like a terminal or shell command, but it will open a GUI as long as you have Java installed correctly.
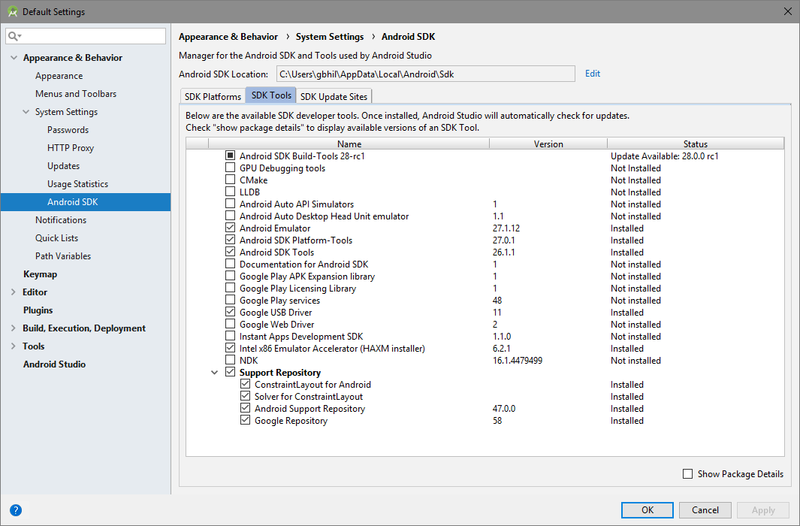
In the SDK manager, you'll choose to install Android SDK Tools and Android SDK Platform-Tools. If you're using Windows, you'll also want to install the Google USB Driver, and if you plan on building AOSP from the source, you may want to install the Android SDK Build-Tools.
Choose the correct files and proceed through the process (it will show you a license agreement you should read), and both tools folders will be installed. But you're not quite finished!
The tools will be installed into the application data folder. On Windows, it's in Windows\users\YourUserName\AppData\Local\Android, and on a Mac or Linux, it's in .Android (notice the dot!) in your home folder. Create a symbolic link (information for Windows users here) for both tools folders in the Android folder you created earlier. This will help get them into your PATH and make life a lot easier.
Setting your PATH
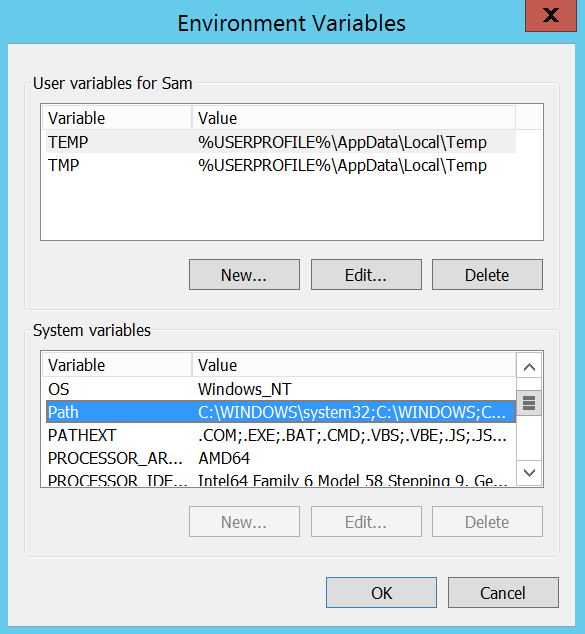
The PATH variable in your computer's operating system tells it where to look when you want to run a command from a terminal or the command line. For example, to run the ADB command, you either need to type and provide the complete path — ie, the folder ADB is actually in, inside the SDK folder — or have the location set in the PATH variable itself. It's a bit confusing, but the good news is that doing it is easier than explaining it.
For these directions to work as written, you will have to have extracted and renamed the SDK download folder as mentioned above, and to the correct location for this tutorial.
On Windows
Unless you're still using an older version of Windows, you no longer can set the PATH in the autoexec.bat file or autoexec.nt file. You'll need to update the system Environment Variable settings instead. Here's how it's done on a Windows 10 machine:
- Hit the Start key on your Keyboard.
- Start typing the words Environment Variables.
- As you type, you'll see the choice to Edit the system environment variables. Choose it.
- In the Environment Variables window, select the PATH line item in the User variables for (your user name) section, then click the Edit button.
Add the full path to the Android SDK tools and Android SDK platform-tools folders in the edit box, separated by a semi-colon. It should look something like this:
C:\Android\tools;C:\Android\platform-toolsFor older versions of Windows, refer to the documentation that came with your computer for assistance on setting the PATH. And, again: If you've installed your SDK somewhere other than \Android, you'll need to adjust accordingly.
On a Mac

You can set your PATH variable on a machine running OS X in your bash profile. Doing so is easy, and is all done in one file.
In your Home folder is a file named .bash_profile. Open it with any text editor. Never touch the .bashrc or .bash_profile files you might find in the /etc. directory!
You may see a blank file, or it may be full of other information. All we need to do is add a couple of lines to the top of the file:
export PATH="$HOME/Android/tools:$PATH"export PATH="$HOME/Android/platform-tools:$PATH"(Did we mention that if your SDK is in another location, you'll need to adjust things accordingly? Good.)
Save the file and reboot your computer so that the new PATH is sourced properly.
On Linux
Setting the PATH on a Linux computer is almost the same as on a Mac, you just edit a different file.
Using your favorite text editor, open the ~/.bashrc file. It will probably exist and have multiple entries. If you get an error that the file does not exist, simply create a new file and save it as ~/.bashrc when finished.
You'll want to add the following two lines to the END of the .bashrc file:
export PATH="$HOME/Android/tools:$PATH"export PATH="$HOME/Android/platform-tools:$PATH"Save the file and close the terminal window. Open a new instance of the terminal and type this command:
source ~/.bashrcYour session will reference the changes you made, and the SDK will be in your PATH.
Wrapping it up
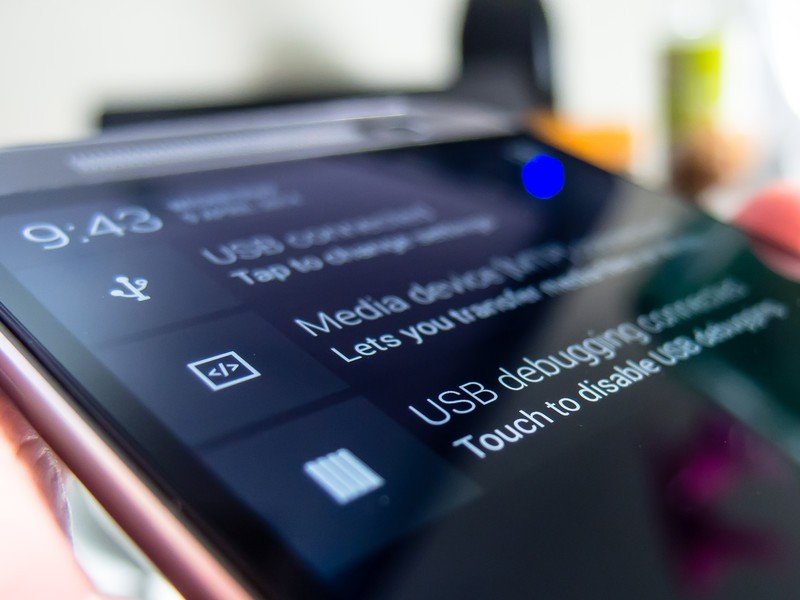
You should now have a working set of Android command-line tools and be able to do things like flash the latest factory images or manually update your phone with a zip file. And because you did it yourself, you have what you need to fix it when things go wrong.
Good luck, and have fun!
Have you listened to this week's Android Central Podcast?

Every week, the Android Central Podcast brings you the latest tech news, analysis and hot takes, with familiar co-hosts and special guests.

Jerry is an amateur woodworker and struggling shade tree mechanic. There's nothing he can't take apart, but many things he can't reassemble. You'll find him writing and speaking his loud opinion on Android Central and occasionally on Threads.
