How to use Virtual Desks on a Chromebook
One screen, many workspaces.
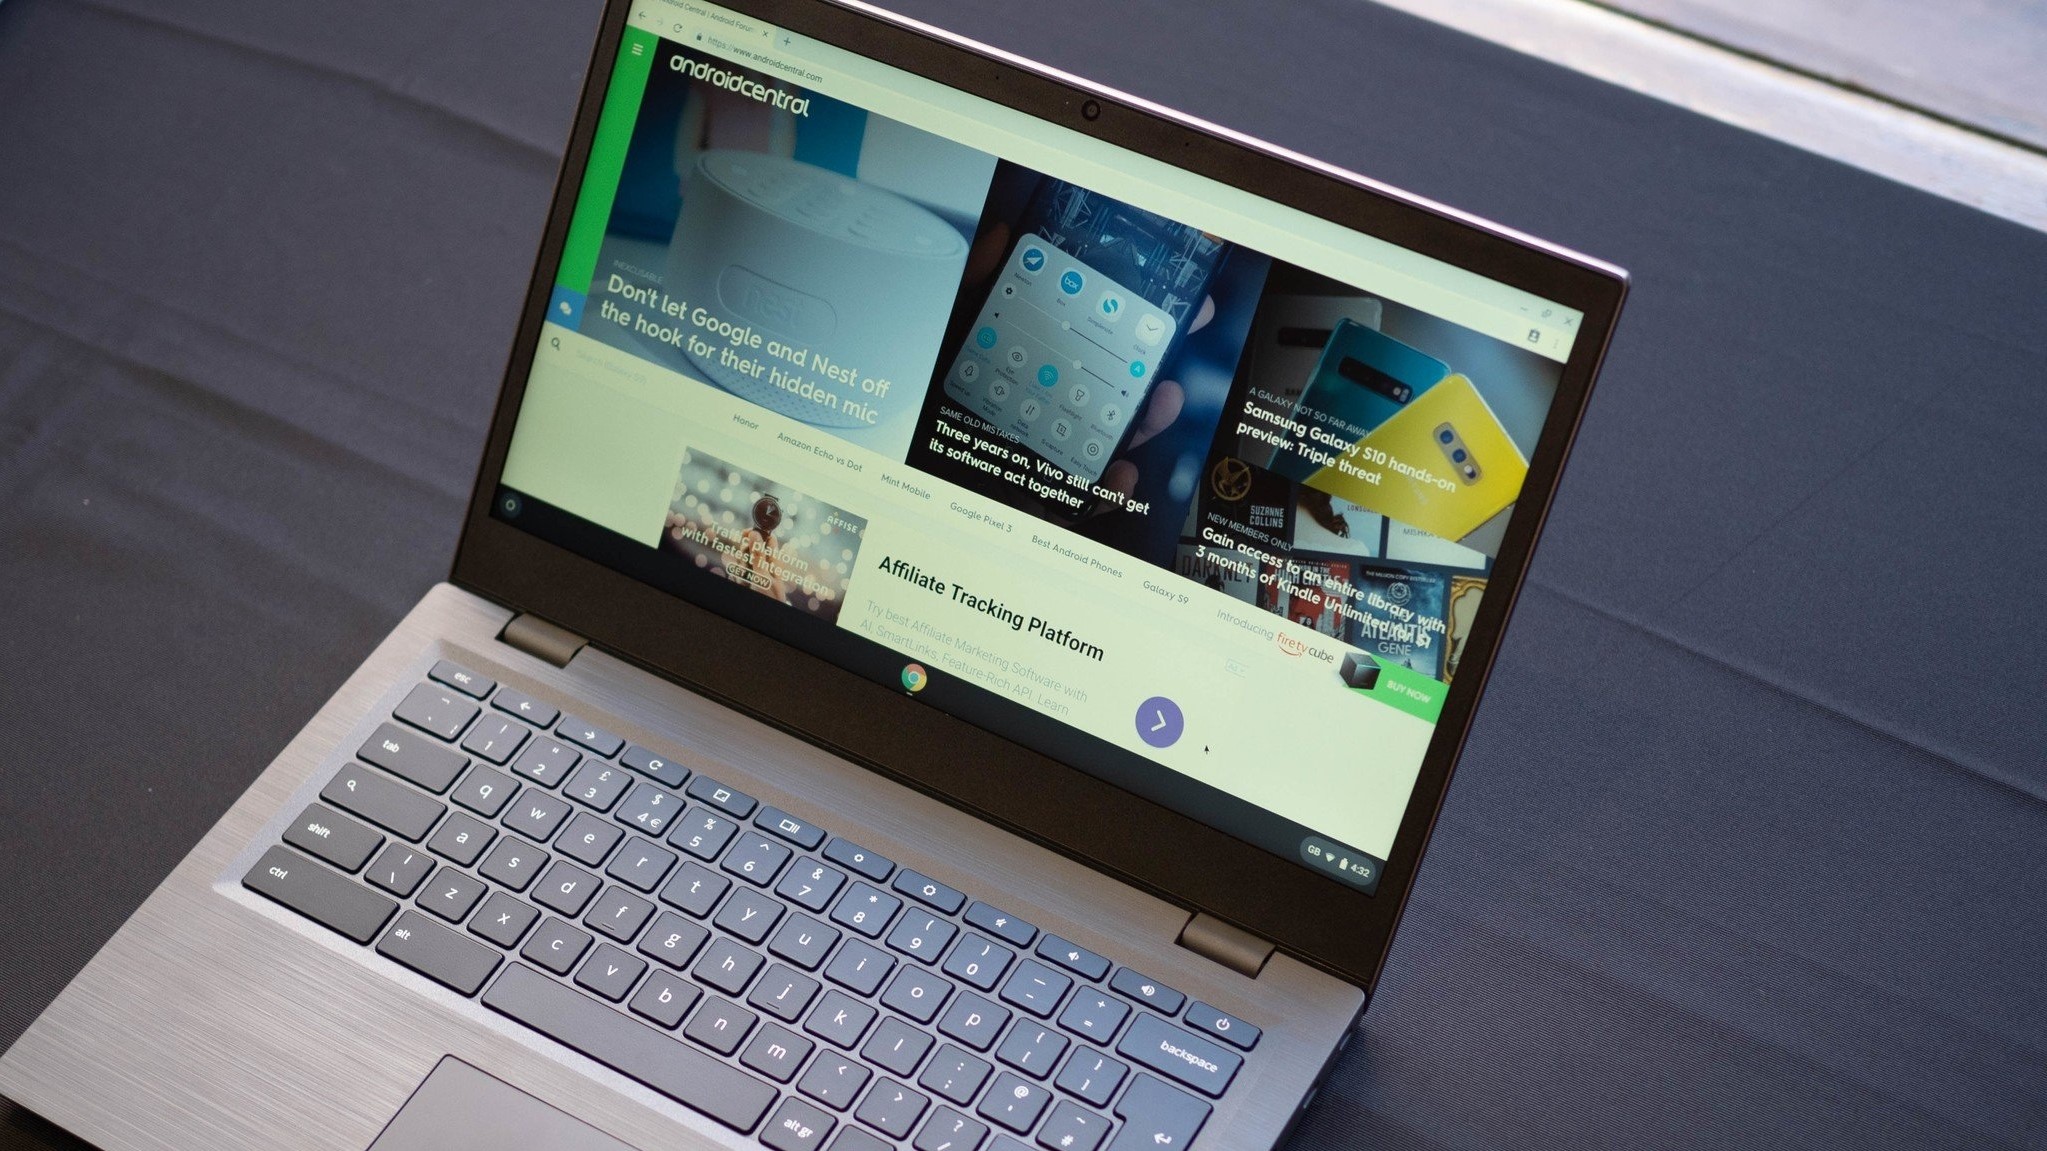
You may already know how to enable multiple virtual desktops on a more traditional operating system such as macOS, Windows, or even Linux, but did you know that Chrome OS also has this handy feature? Google added support for multiple desktops to Chrome OS in late 2019, and we've been using it like crazy to get even more work done on our devices. No matter what size screen your Chromebook has, you can turn it into a multiple-display powerhouse in just a few steps.
How to use virtual desks on a Chromebook using the mouse
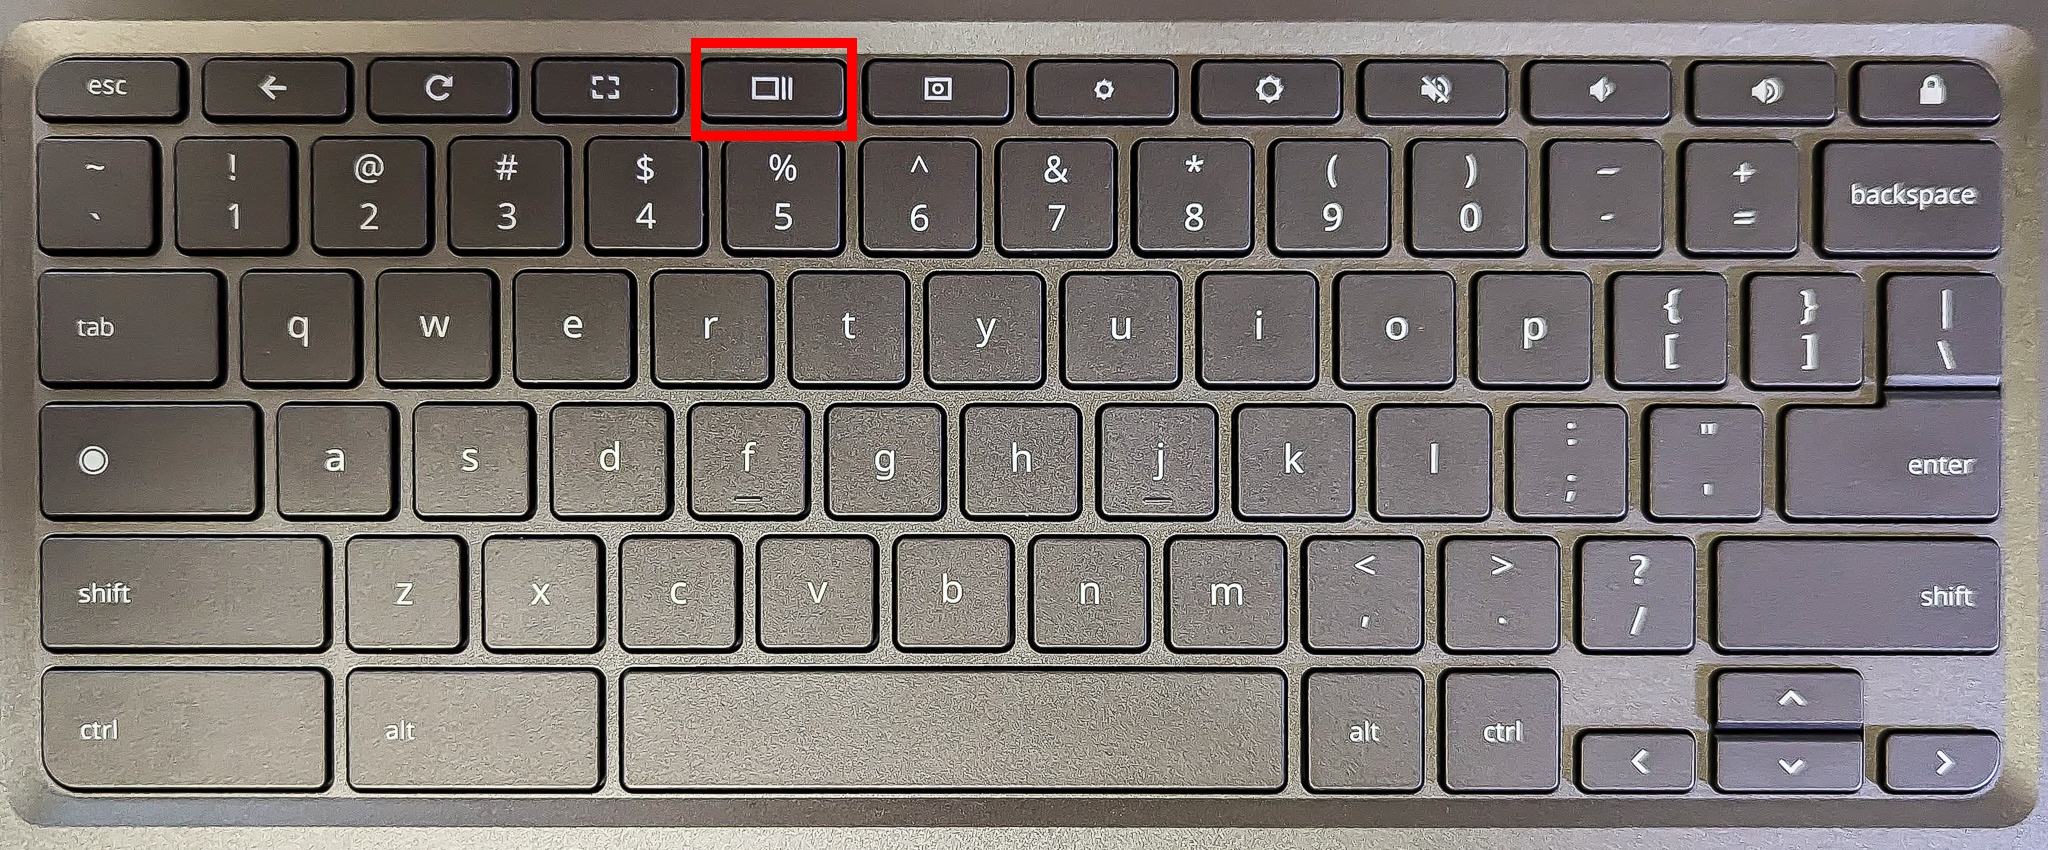
In case you didn't realize, Chromebooks have special keyboards with a few different buttons here and there. One of these special buttons is the Show Windows key. This button appears among the function keys, above the number keys, and looks like this: []]].
That's the key you use to manage your windows and virtual desktops.
- Take a look at your Chromebook keyboard and press the Show Windows key (it looks kind of like this []]]).
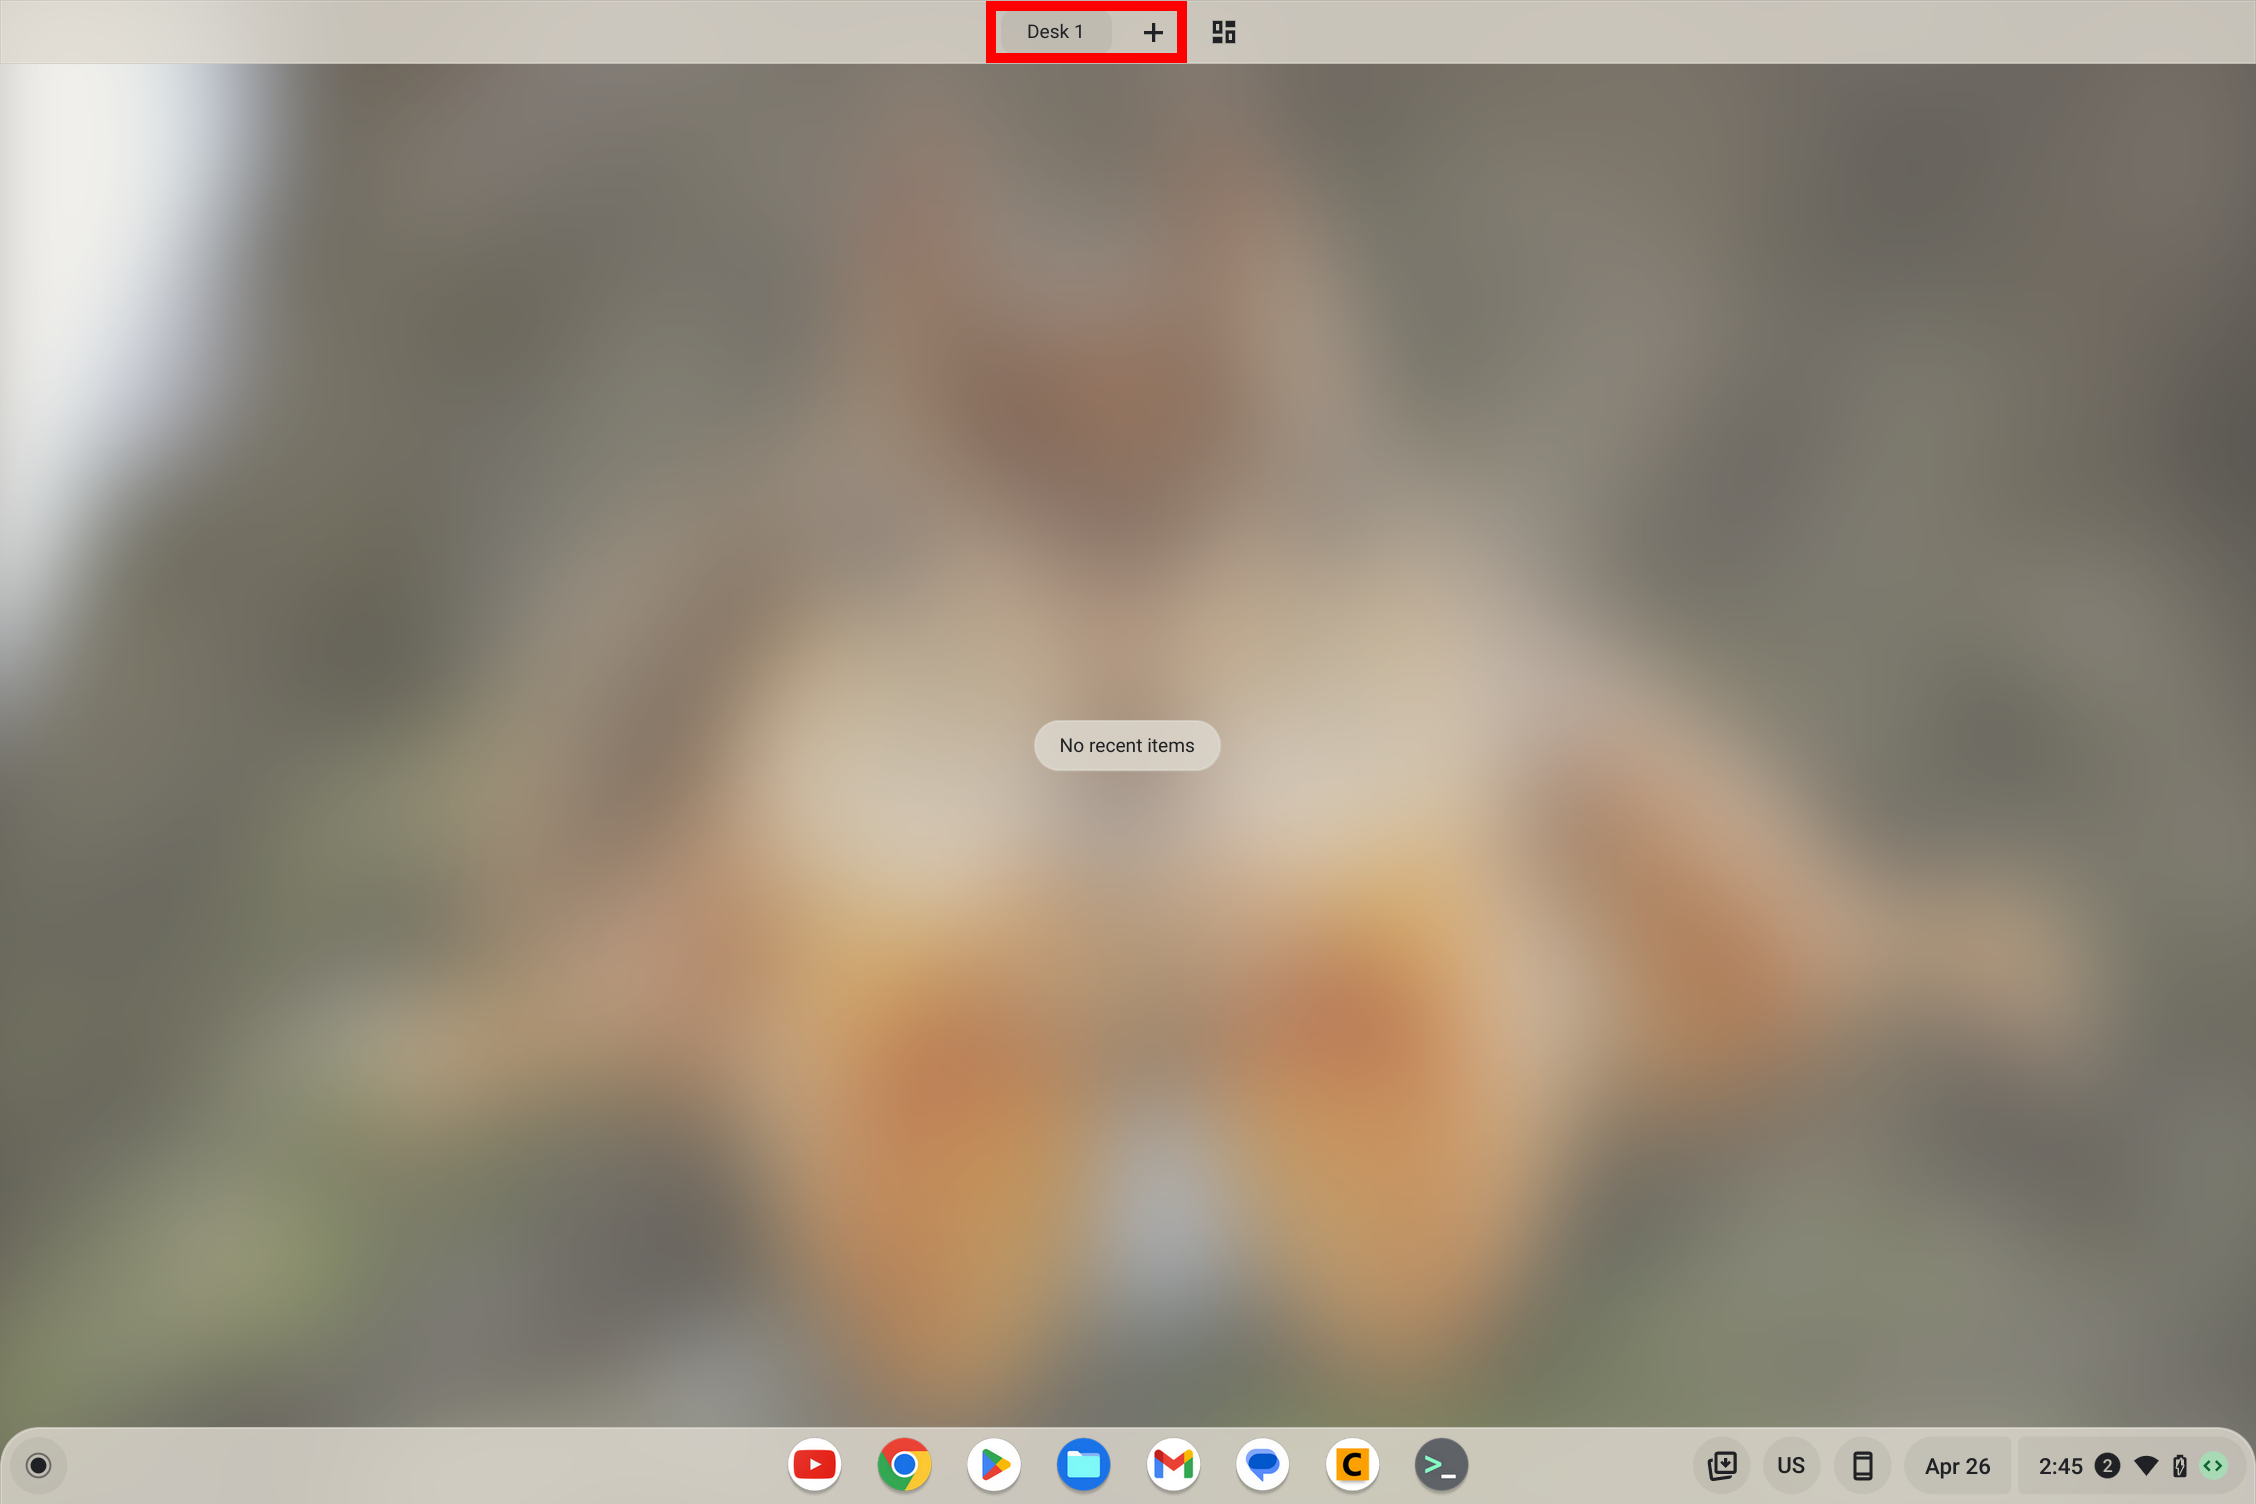
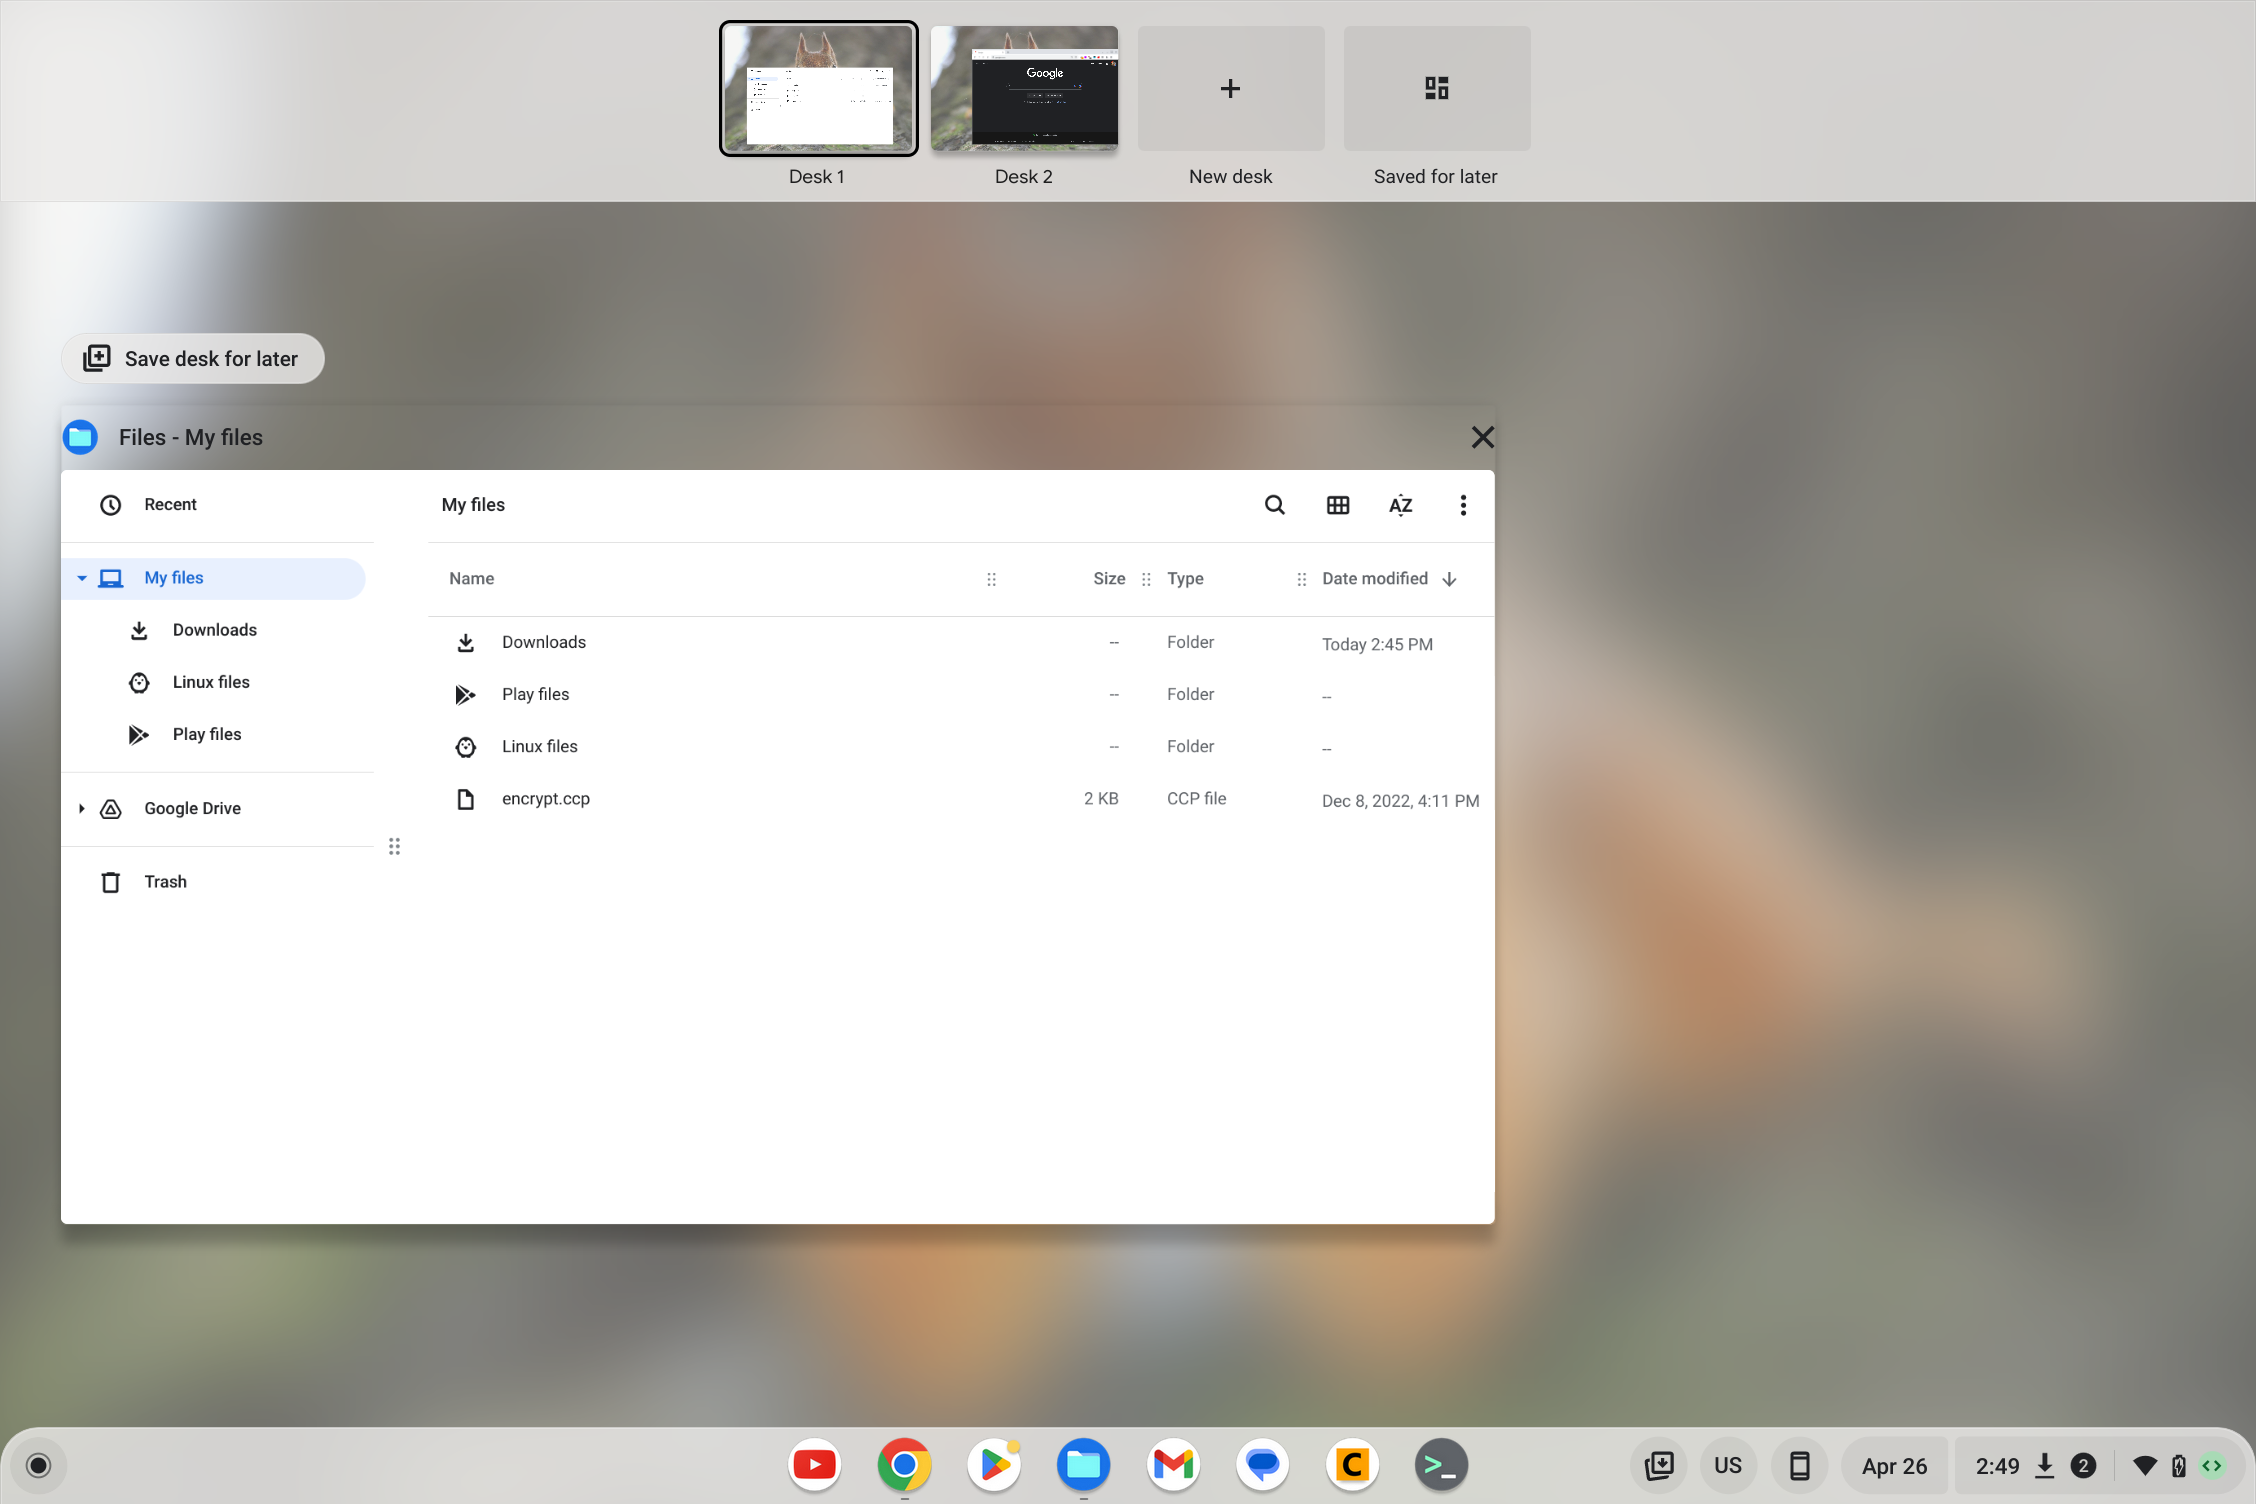
- On the top of your screen, you will see a label for the current desk. Next to it is a plus symbol. Click that to add a new virtual desk.
- Now you can drag a window from your current desktop to this new desktop space, and separate out your workflow for more virtual breathing room.
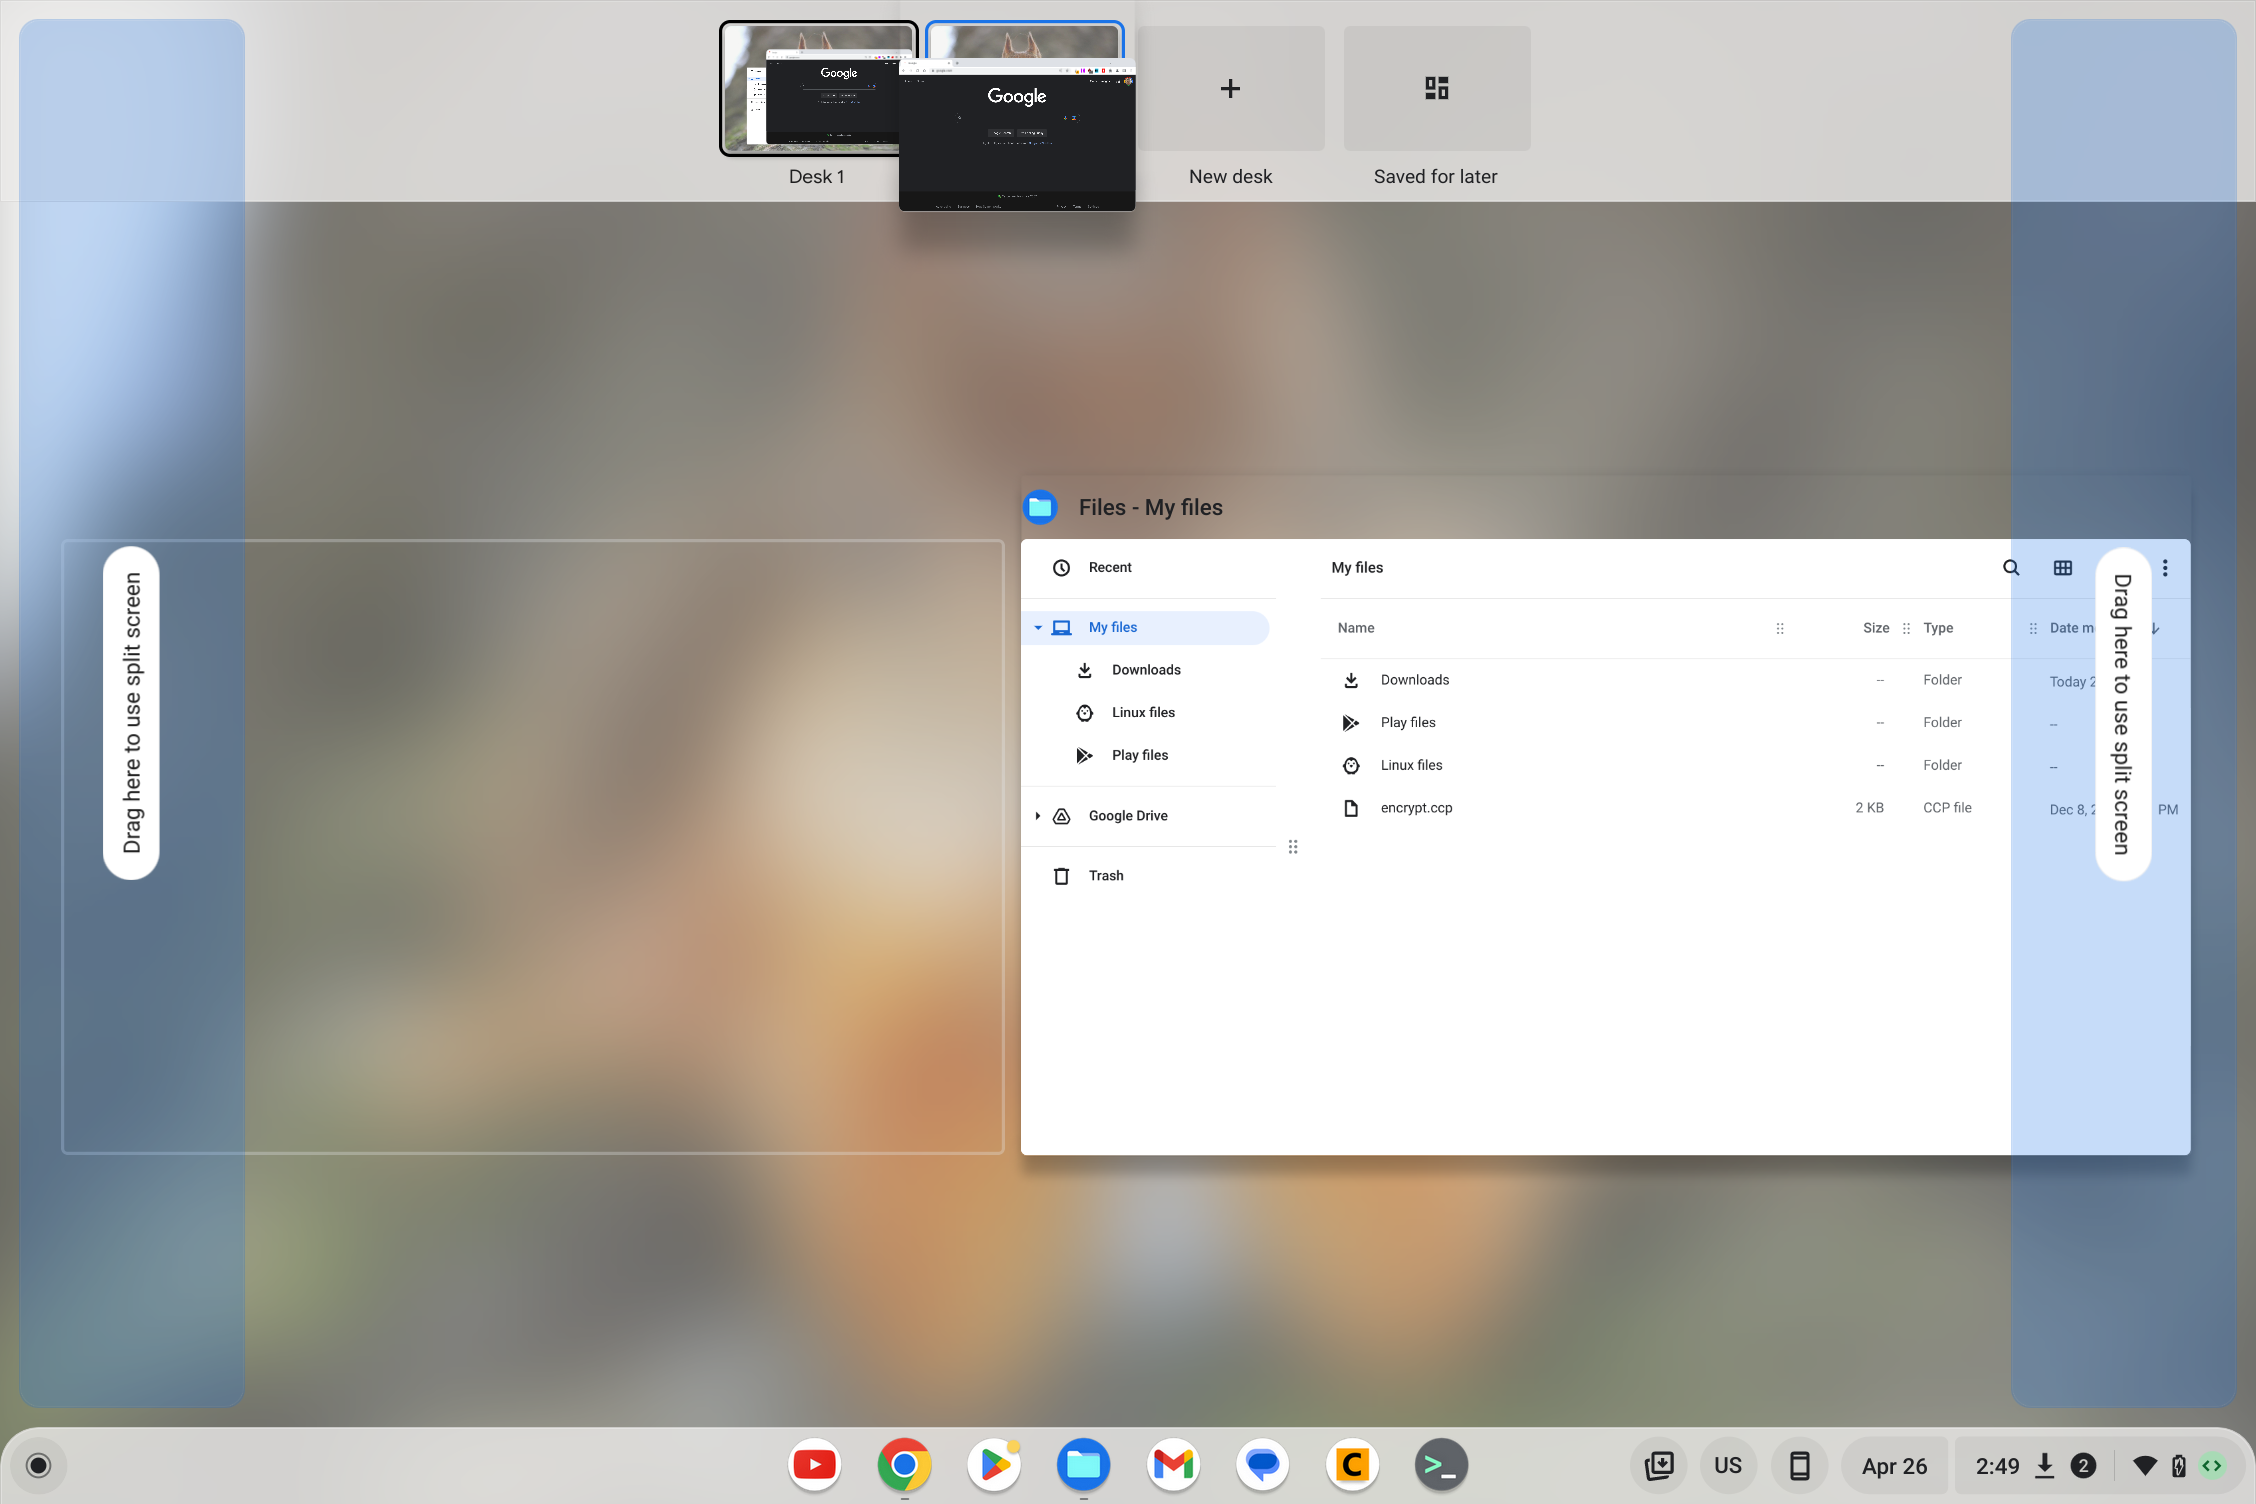
- You will then see your window in the second desktop. This process can be repeated to create up to four unique desktop workspaces.
How to manage virtual desks on a Chromebook with your keyboard
There are five dedicated Chrome keyboard shortcuts for dealing with virtual desks if you would rather not use the trackpad.
- Use Shift + Search + = (press them in that order) to create a new desk.
- Use Search + [ or ] to switch to a desk on the left or right.
- Use Shift + Search + number 0 - 9 to switch to a specific desk.
- Use Shift + Search + [ or ] while working in a window to move it to a different desk.
- Use Shift + Search + a to move a window to all desks.
How to reopen Virtual Desk on Chromebooks
- On your keyboard, press the Show Windows button. It's on the top row and looks like this: []]].
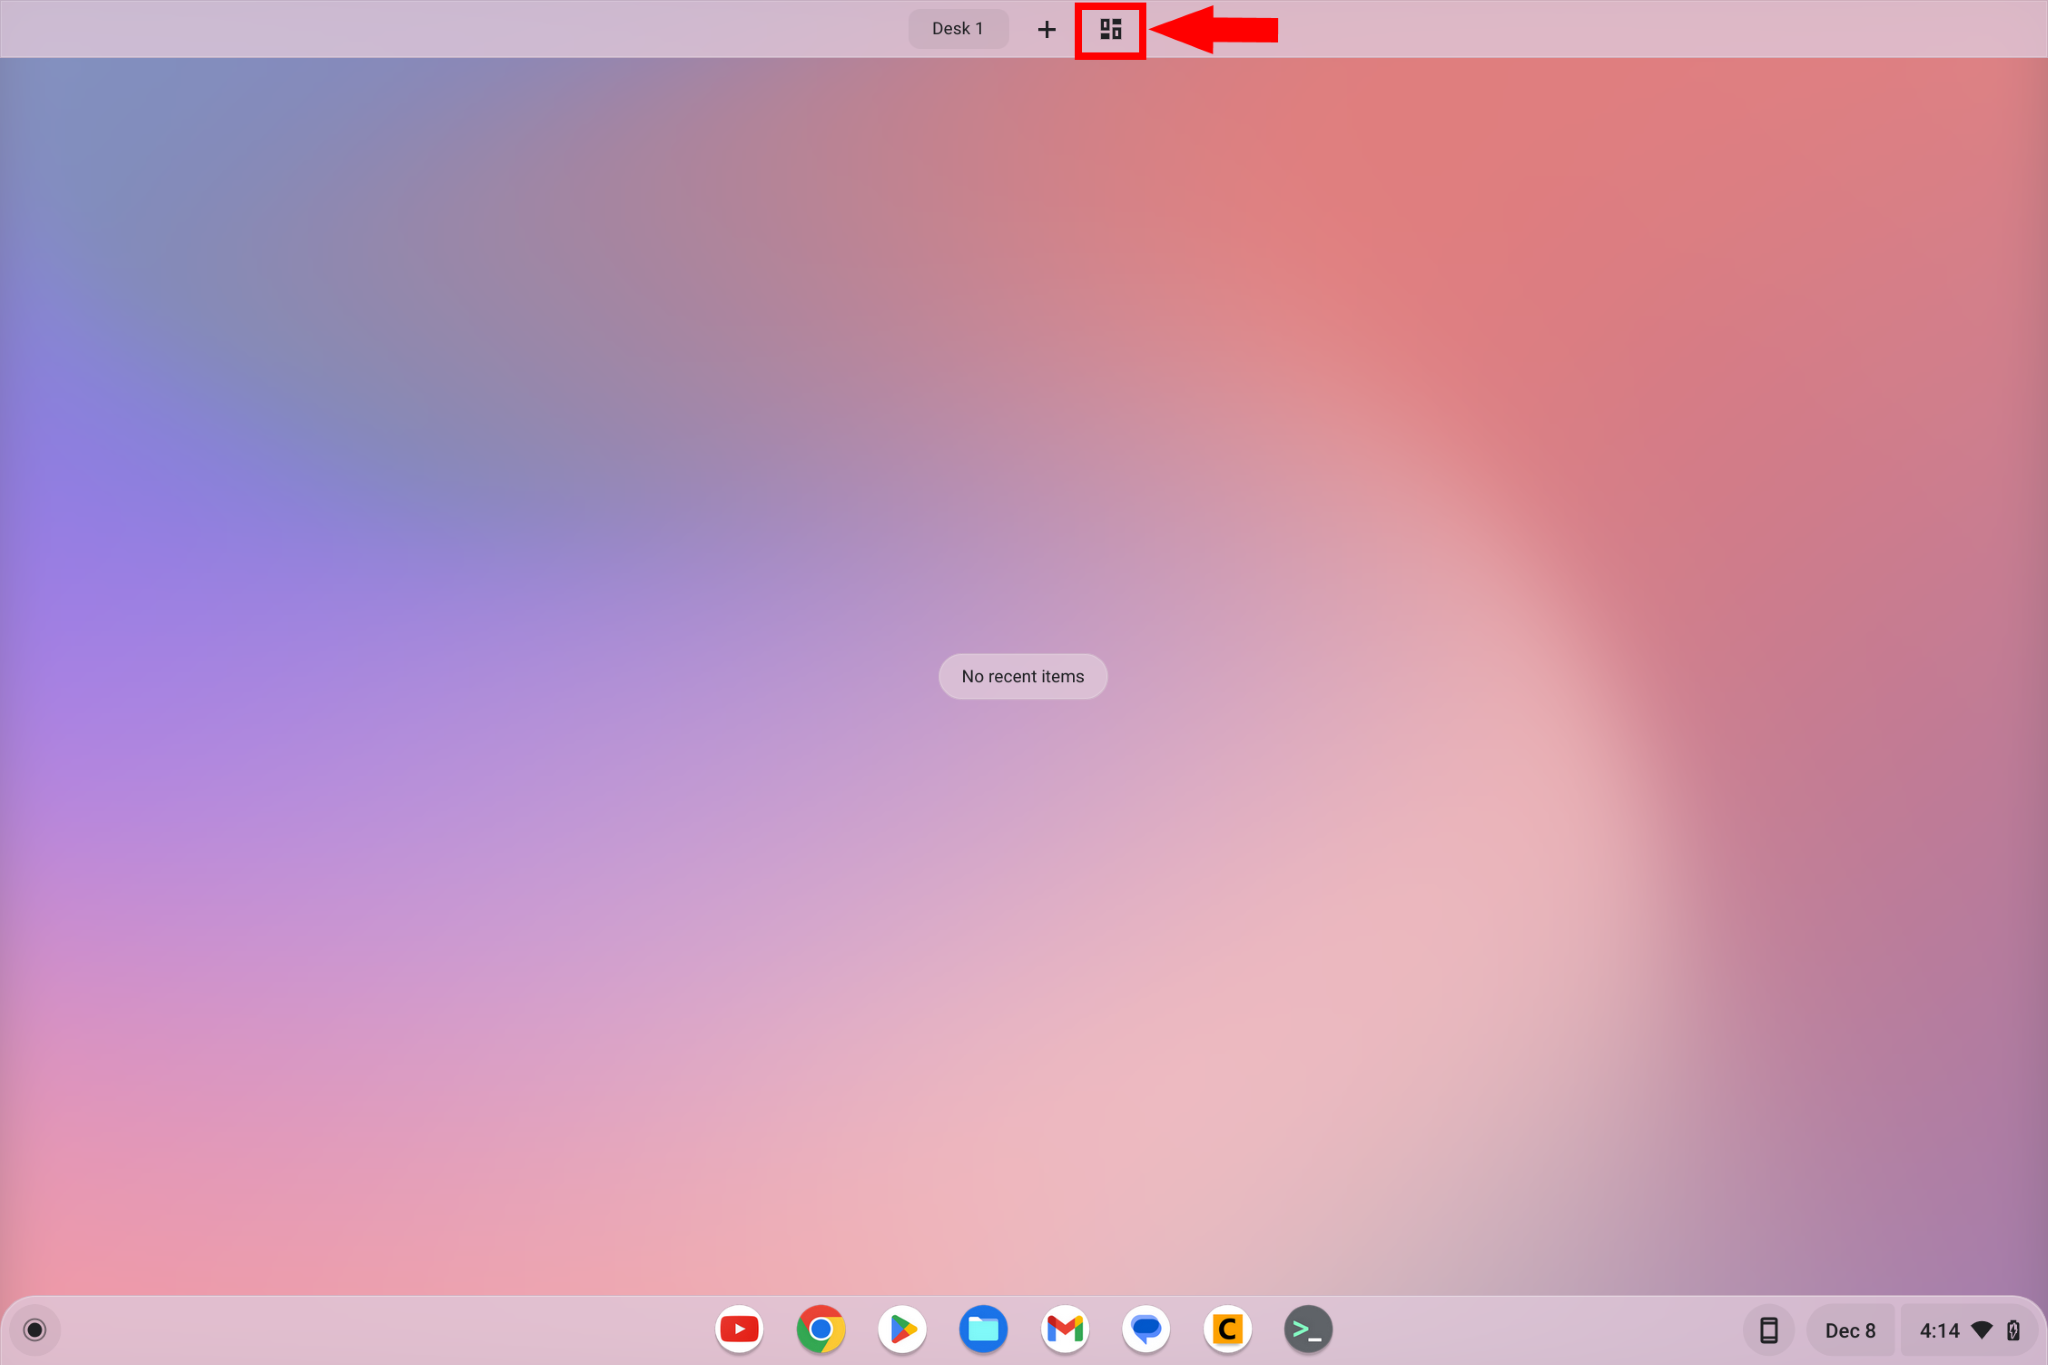
- At the top right, pick the button that looks sort of like a jigsaw puzzle piece.
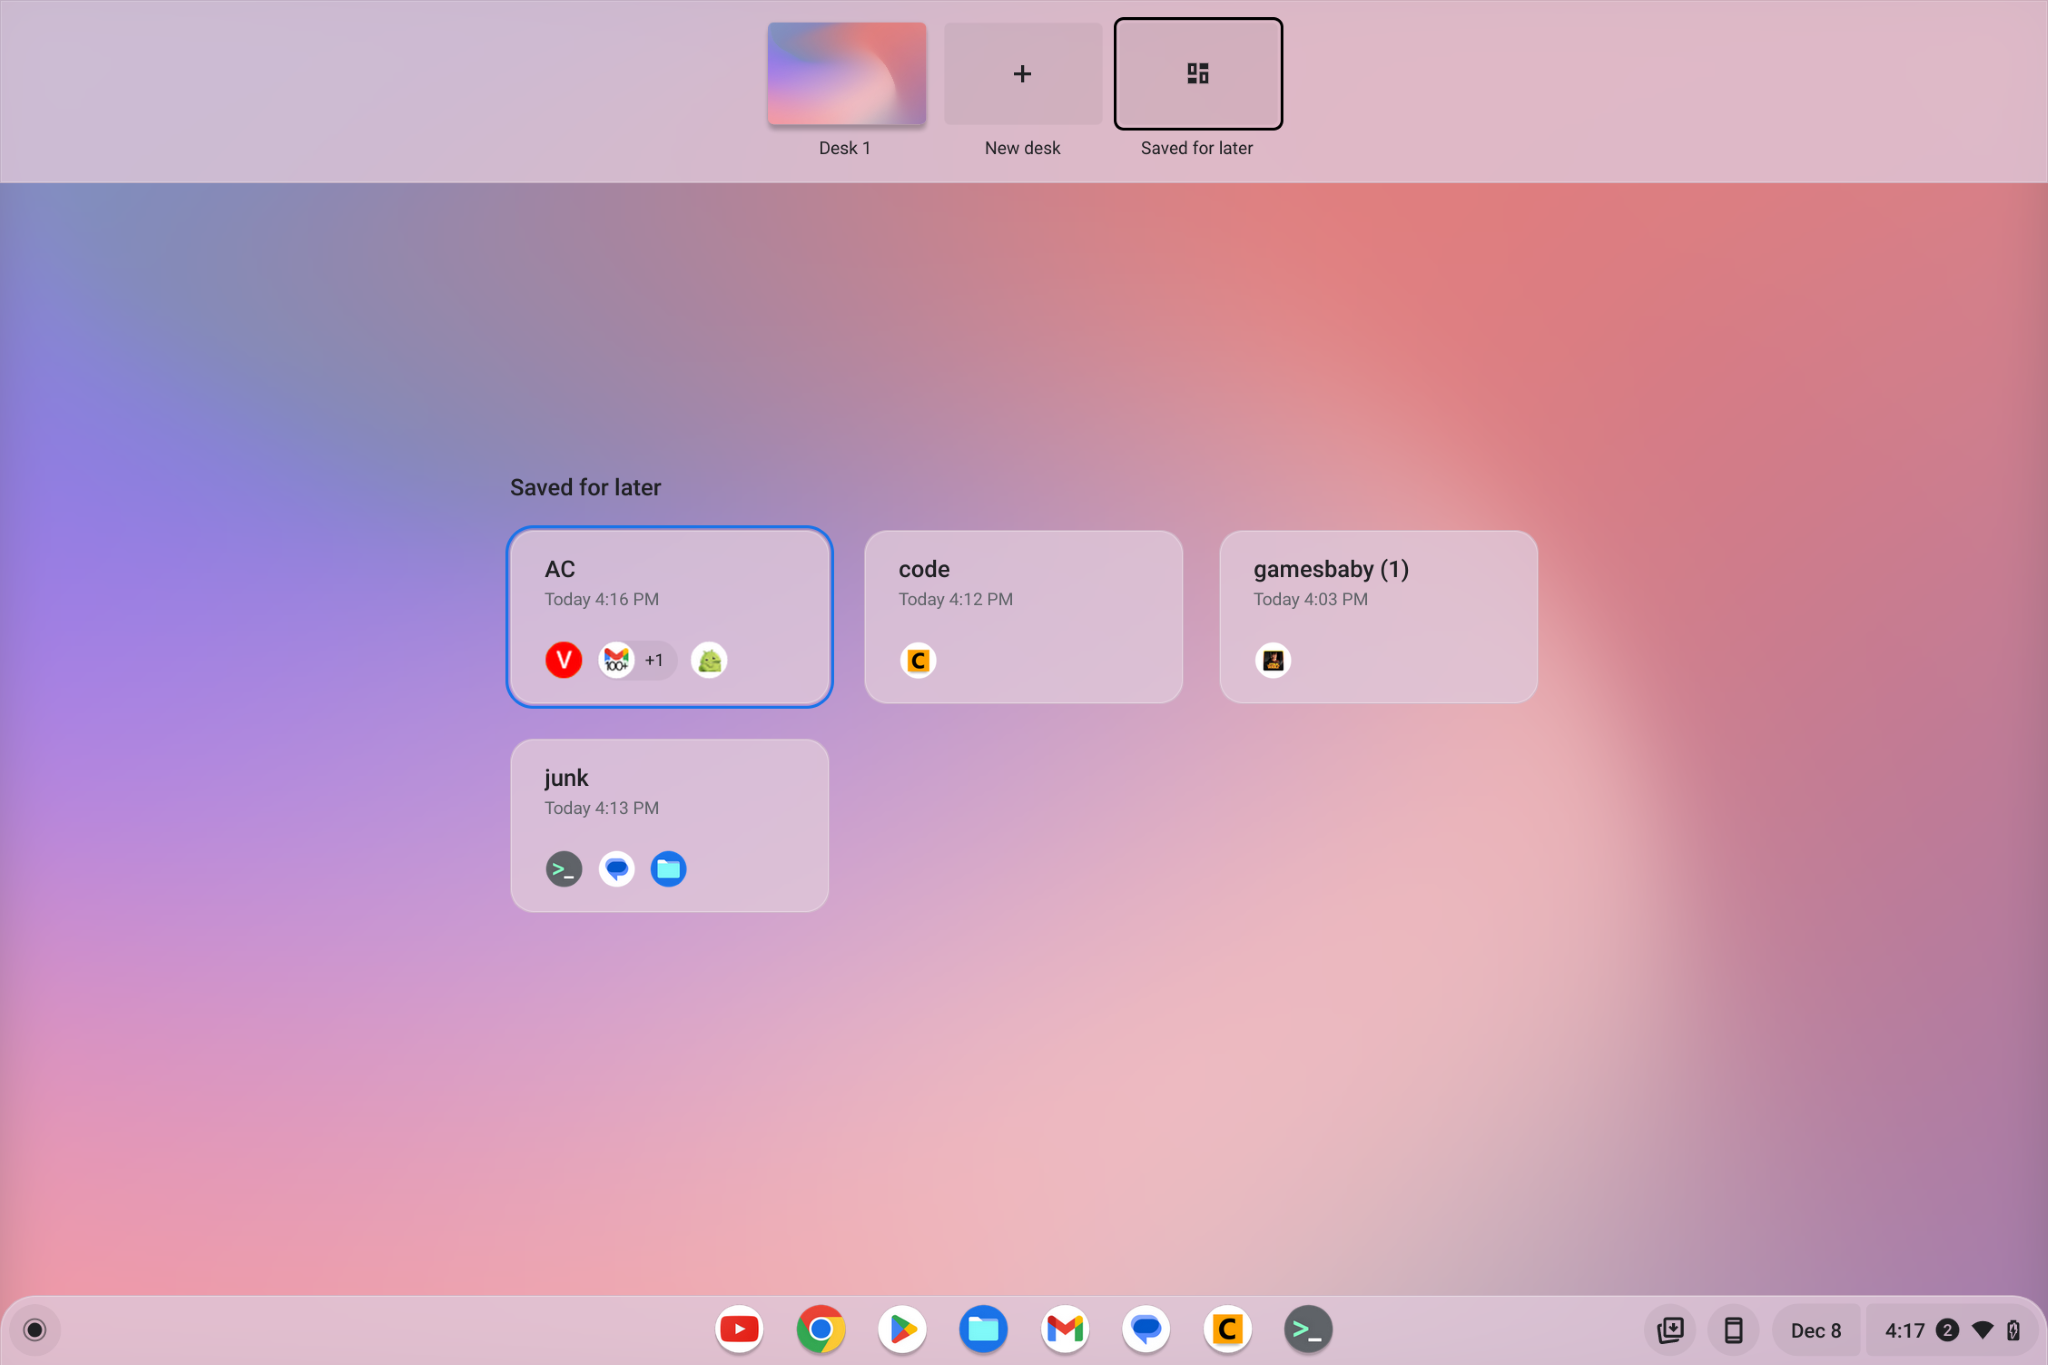
- All the virtual desks you have saved for later will appear and you can pick one or choose to delete it.
- To open it, just click or tap on it.
- To delete it, click or tap on the trash can icon you'll see when its preview is selected.
It's worth remembering that once you reopen it you'll need to save it for later again. That's easy, too — you do it using the Show Windows button and just press the save for later button you see.
Using virtual desktops might make you more productive with your favorite Chromebook or you might hate it. But if you're going to try it, this is what you need to know.
Now you're ready to get everything set up the way you like it and keep it that way using either the trackpad or the keyboard!
Be an expert in 5 minutes
Get the latest news from Android Central, your trusted companion in the world of Android

Jerry is an amateur woodworker and struggling shade tree mechanic. There's nothing he can't take apart, but many things he can't reassemble. You'll find him writing and speaking his loud opinion on Android Central and occasionally on Threads.
