How to organize Google Maps by using its Saved Lists feature
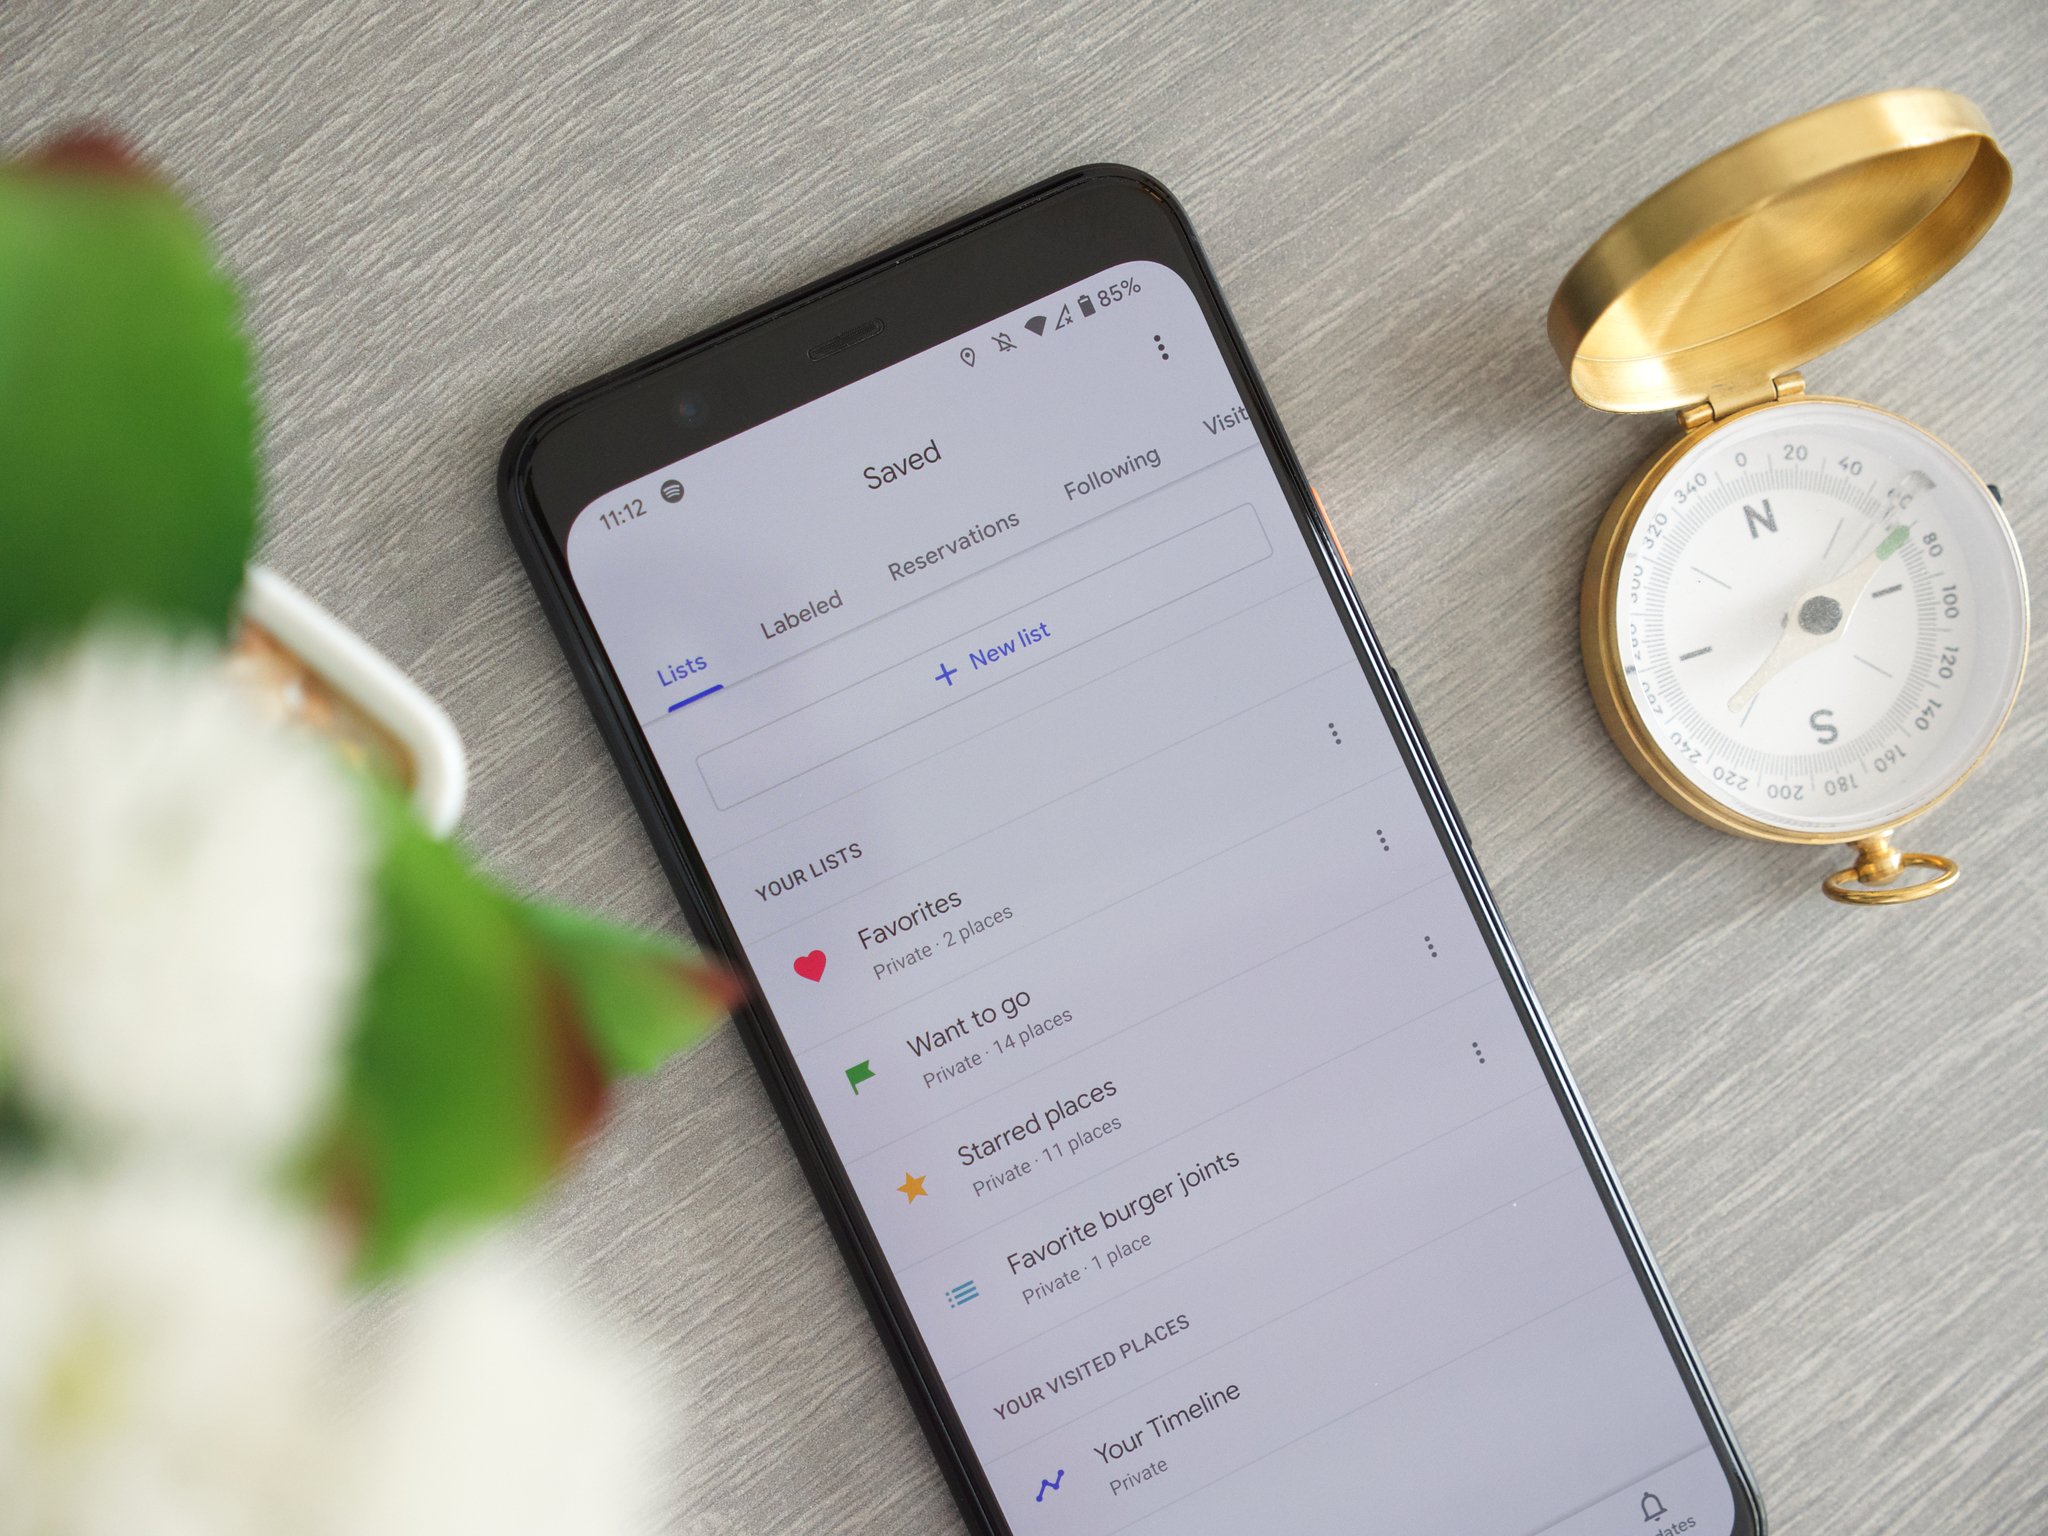
If you've ever opened Google Maps and felt a little overwhelmed with everything it has to offer, we don't blame you. Maps is one of the strongest services in Google's arsenal, but learning the ropes of how everything works isn't exactly easy.
A few of Maps' biggest and best features can be found on its bottom navigation bar, one of which is Saved Lists. Taking full advantage of your Saved places in Maps can really help to streamline your experience of using the app, but getting started with it can be tricky.
Today, we're going to take the mystery out of Maps' Saved feature and show you how it works to make sure you're getting the most out of it.
How to access your Saved Lists in Google Maps
First thing's first, you need to know how to access Saved Lists in Google Maps. Thankfully, it couldn't be easier. You ready for this?
- Open the Google Maps app on your phone.
- Tap Saved on the bottom navigation bar.Source: Joe Maring / Android Central
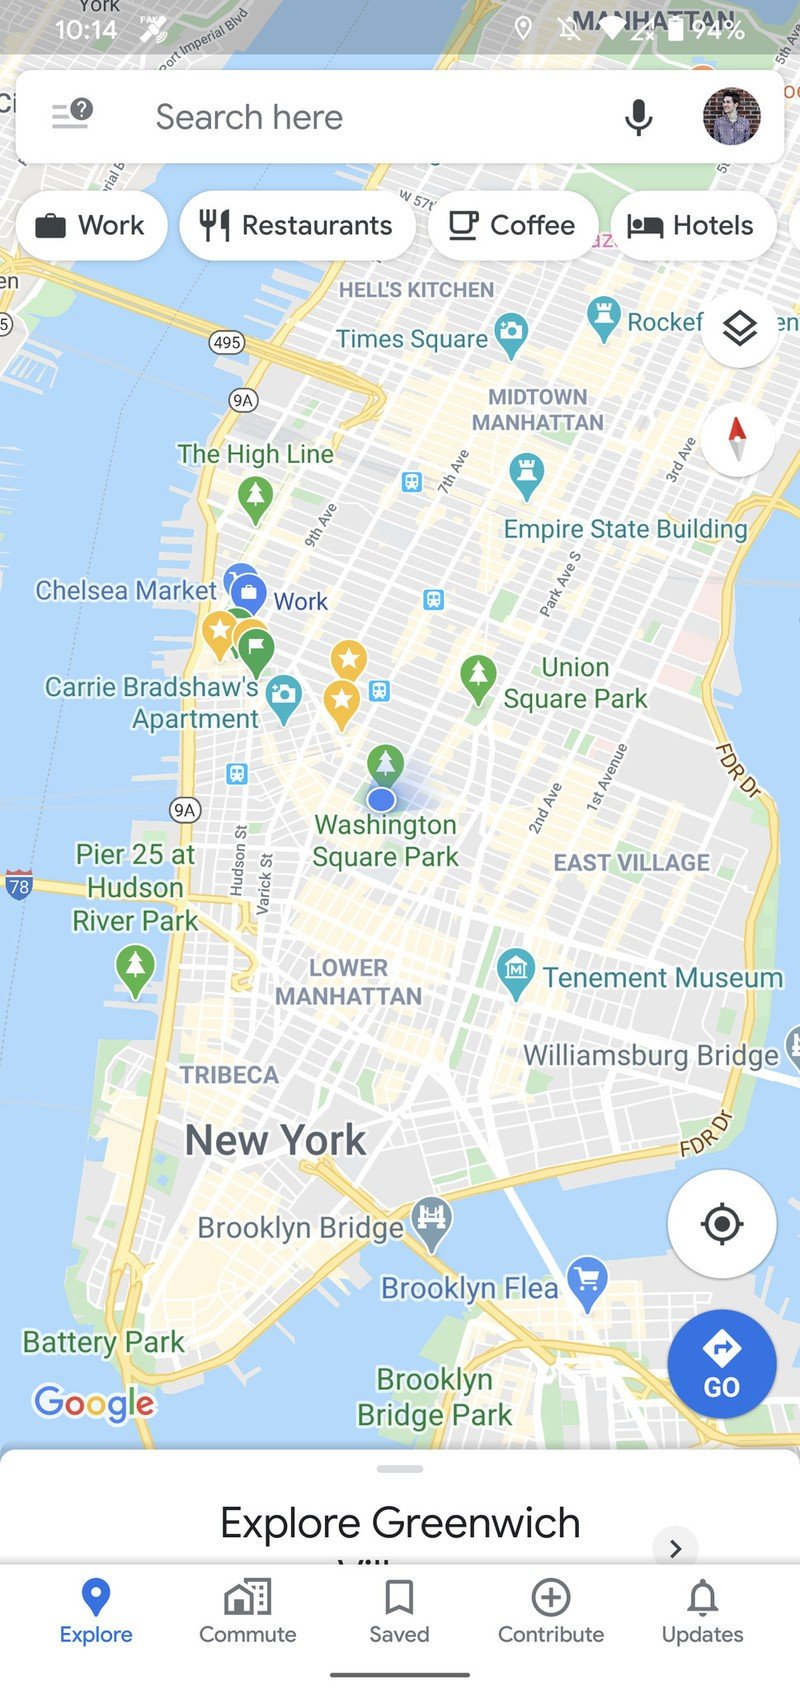
See? That's wasn't so bad.
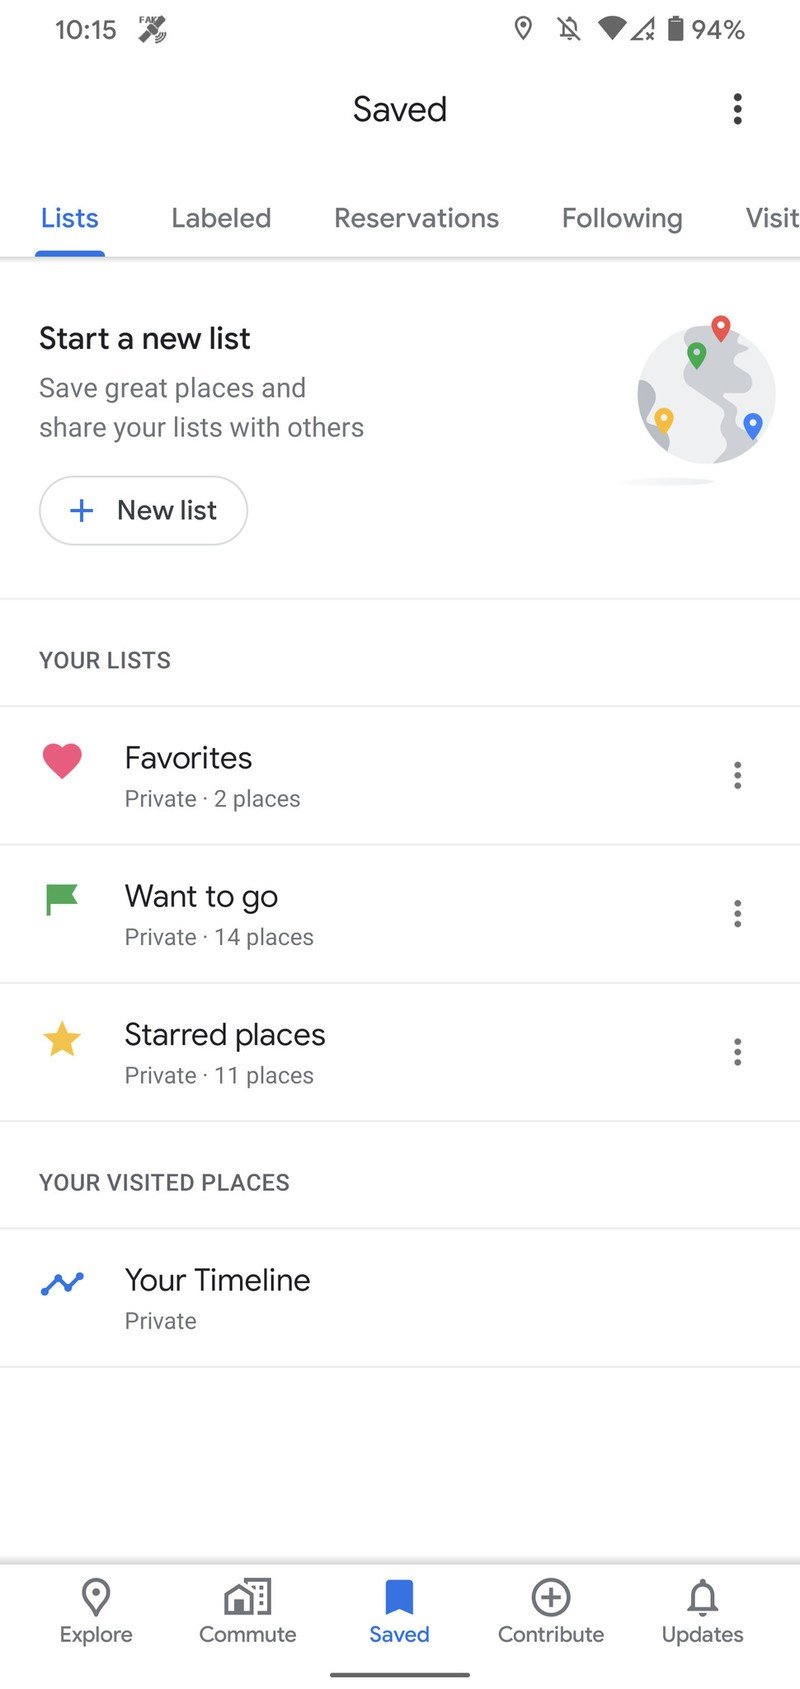
Now that you're on the Saved page, let's take a closer look at what's offered here.
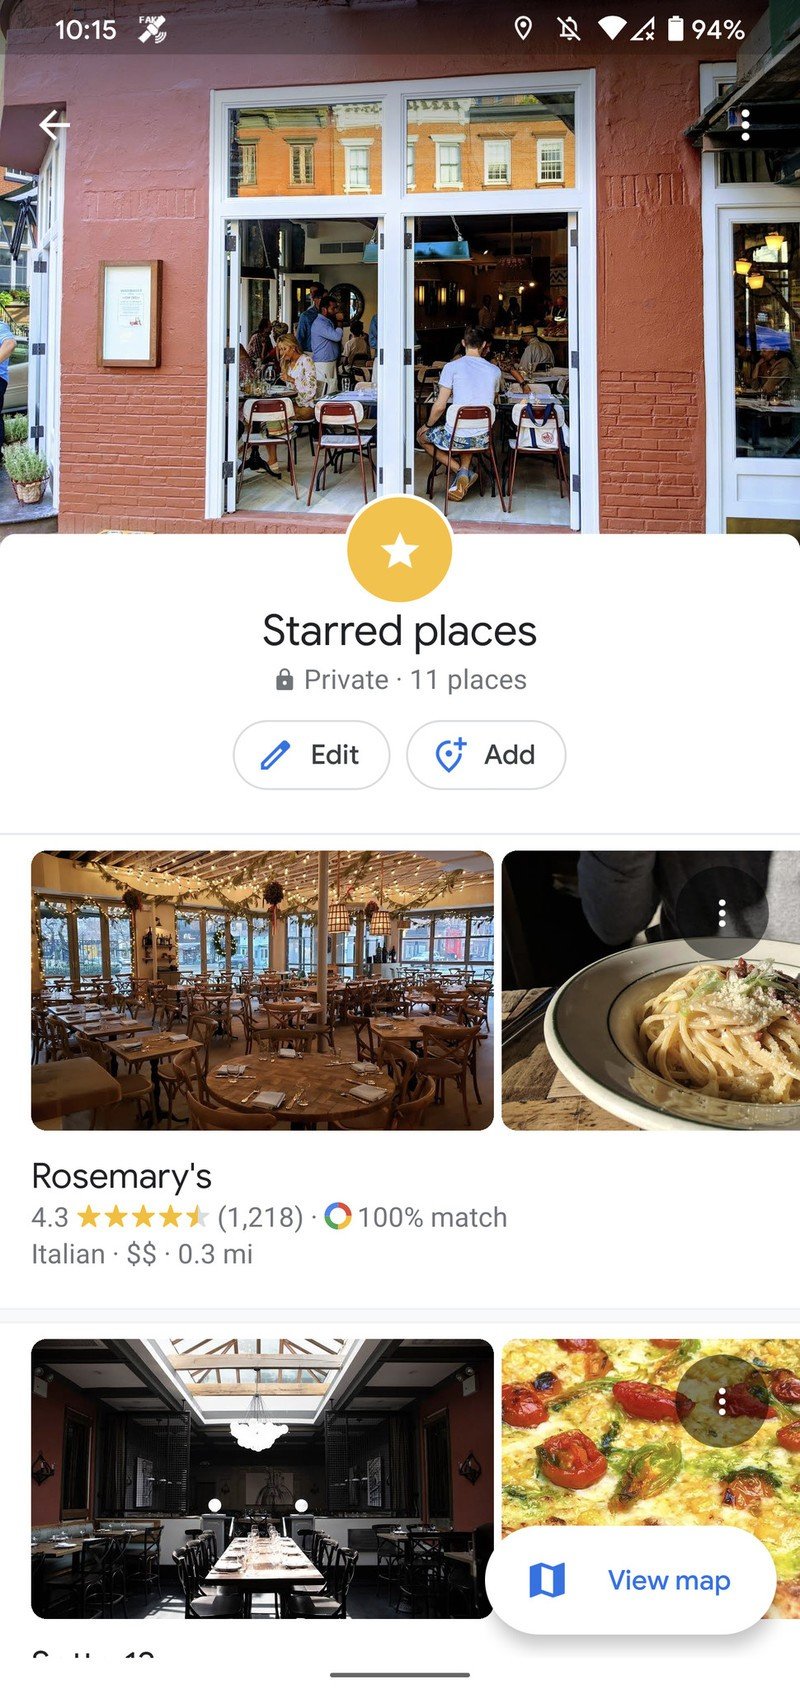
On the default Lists page, you'll see the lists Google Maps makes for you by default. This includes Favorites, Want to go, and Starred places. You can also create your own lists, but we'll dive into that later on.
Be an expert in 5 minutes
Get the latest news from Android Central, your trusted companion in the world of Android
Source: Joe Maring / Android Central
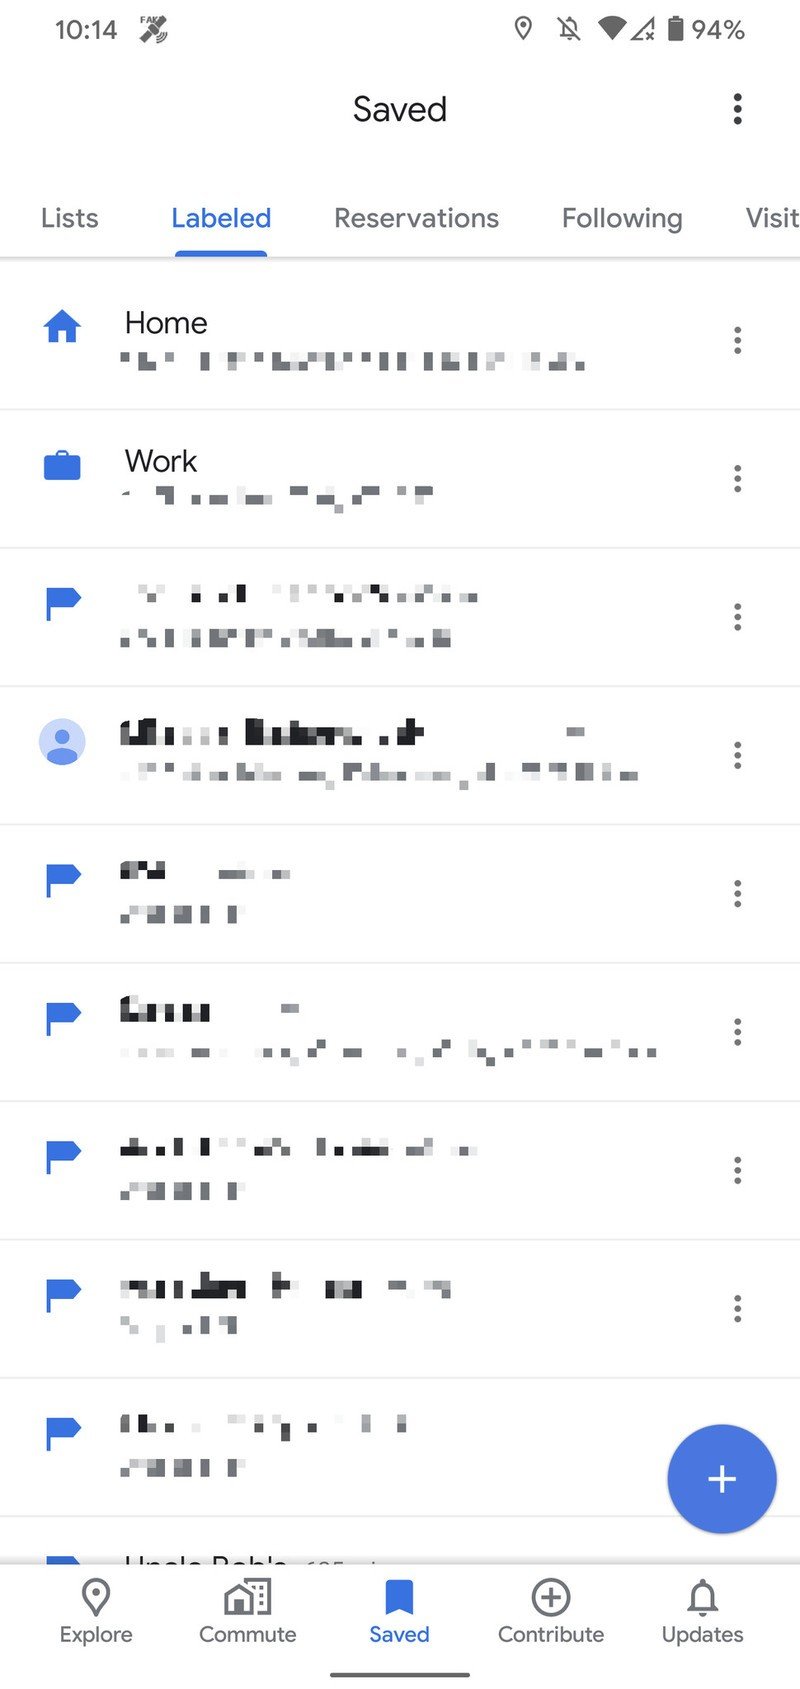
The Labeled tab offers similar functionality, allowing you to create labels/pins for addresses you want easy access to. The two big ones are Home and Work, but you can make labels for just about anything — such as your school, parent's house, etc.
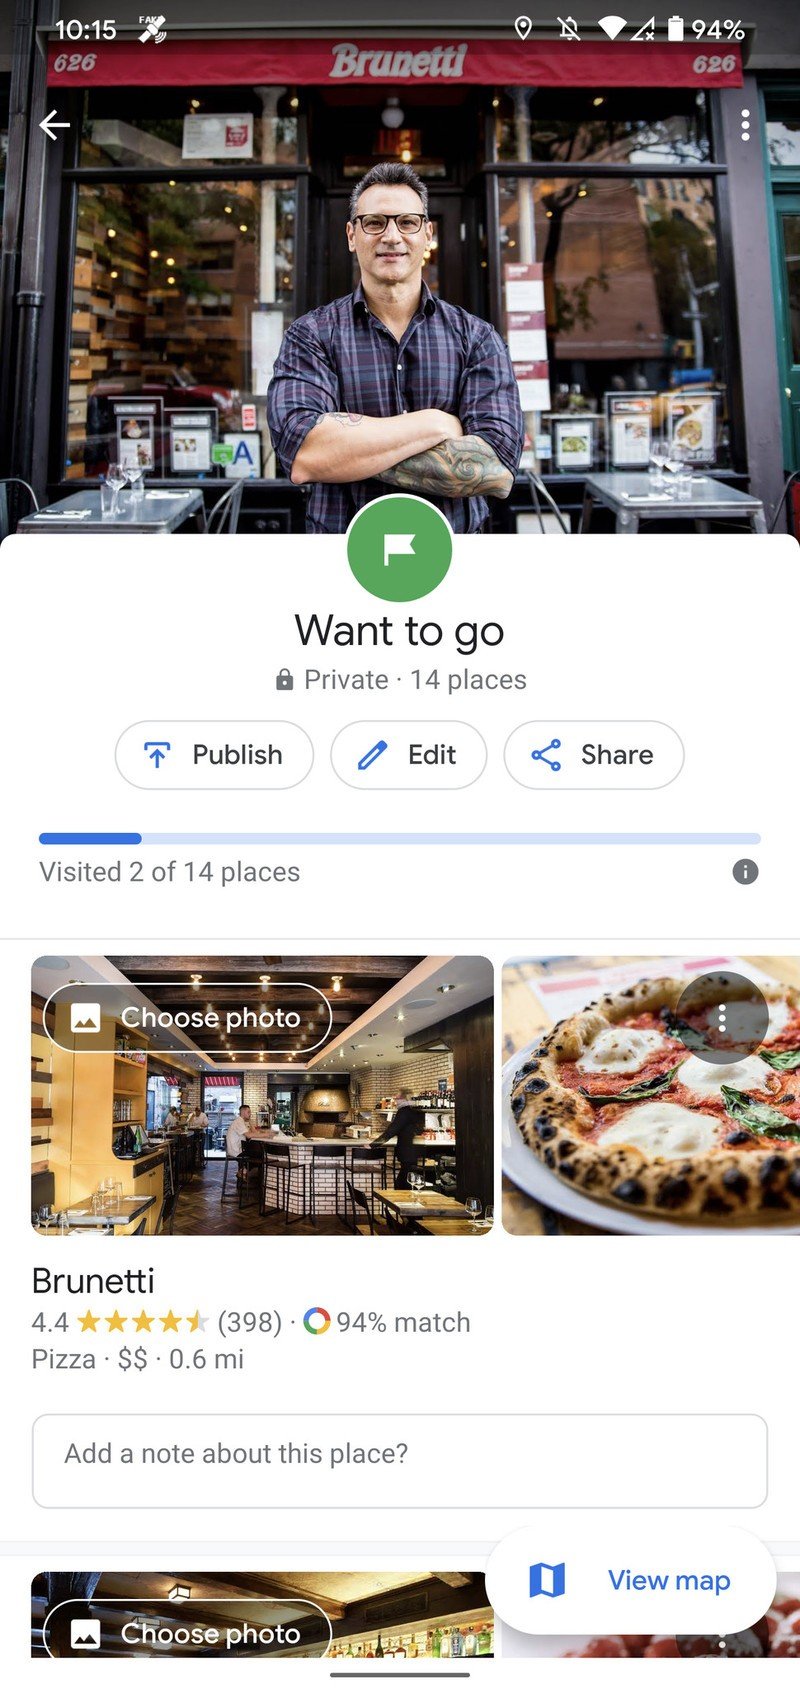
Going back to the Lists page, tapping on any of your lists will show all of the locations added to them. You'll also find tools for editing the list, adding more locations, and viewing them on the map instead of in a scrolling list.
The Want to go list is especially handy, as it'll show a progress bar of the places you've visited so far so you can easily check each one off.
How to create a new list
Now that you know where your lists live and how to access them, it's time to take the next step of organizing your Google Maps workflow — by making a new list!
Creating a new list from scratch might sound daunting, but it's actually wonderfully simple. Here's what you do.
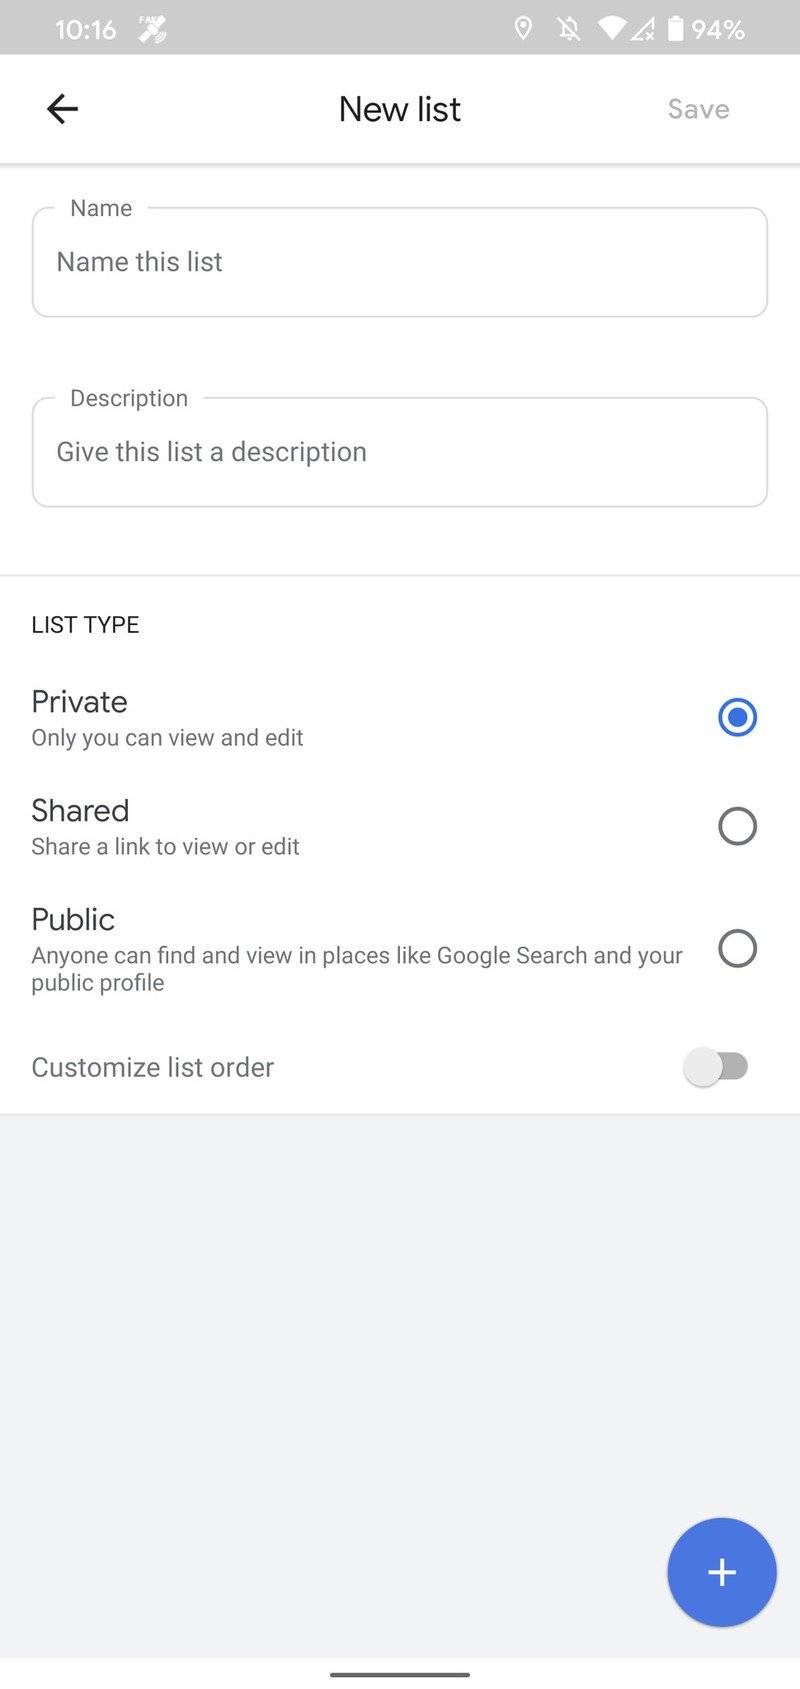
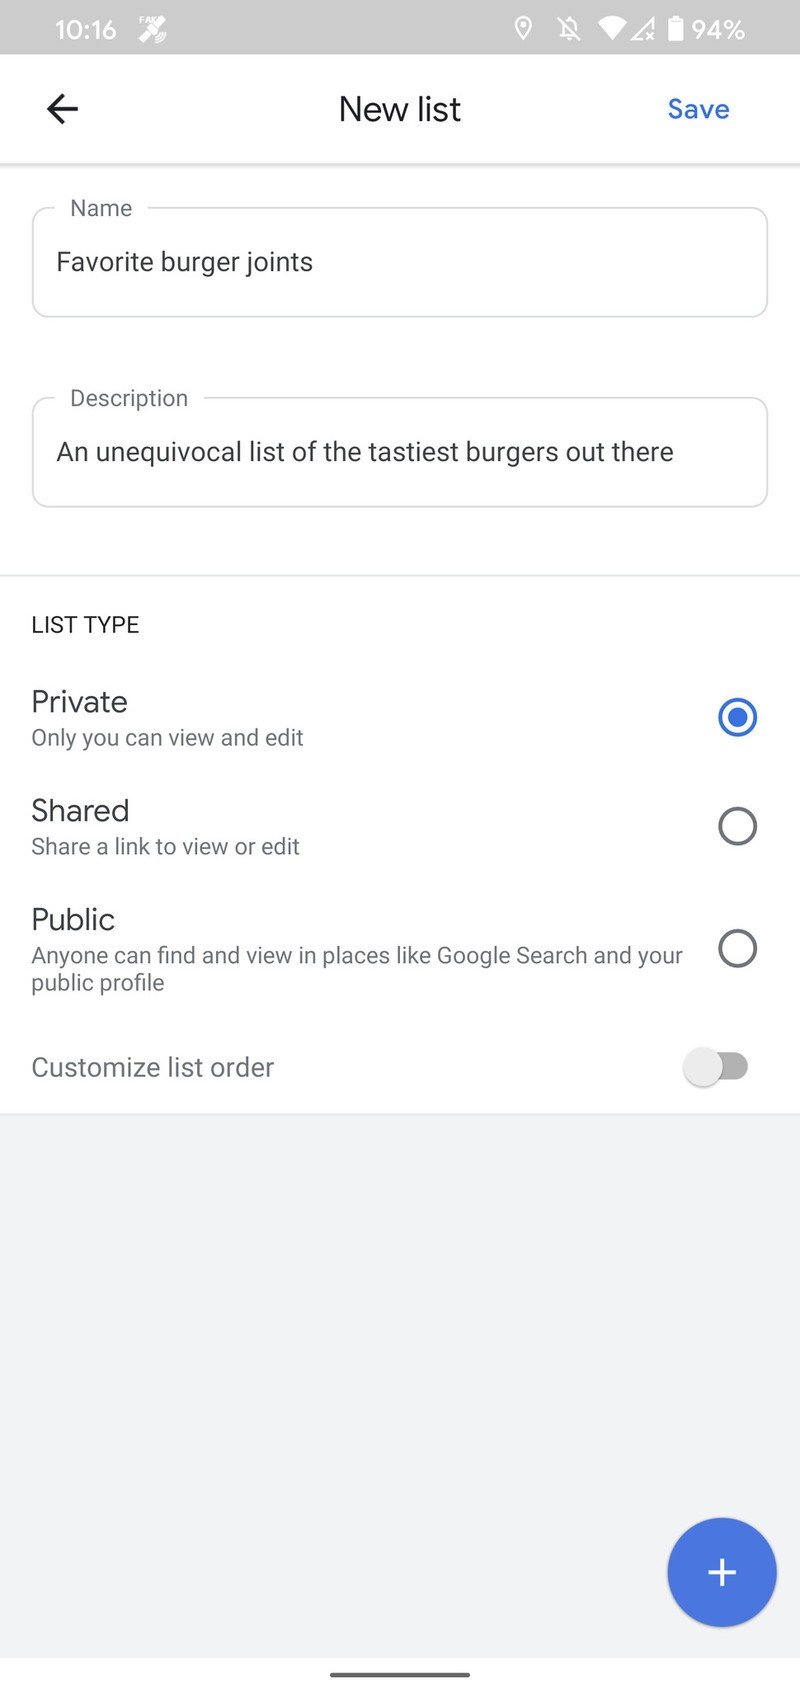
- On the Saved page, tap New list.
- Enter the name of your list.
- Give your list a description.
- Choose whether you want the list to be private, shared, or public.
- Tap the + icon to add your first location to the list.Source: Joe Maring / Android Central

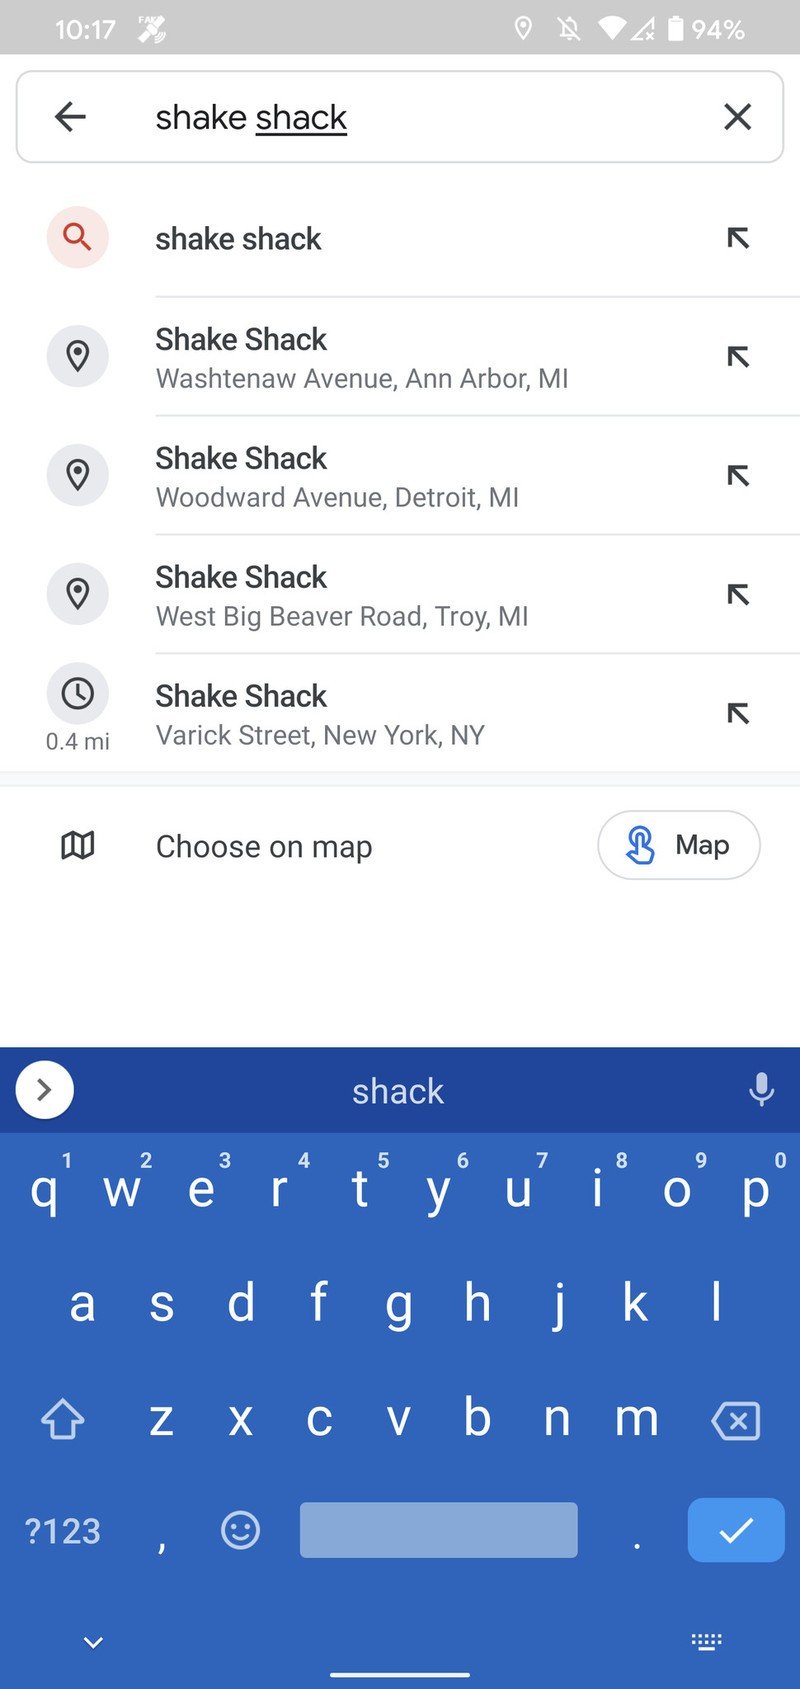
- Search for the place you want to add.
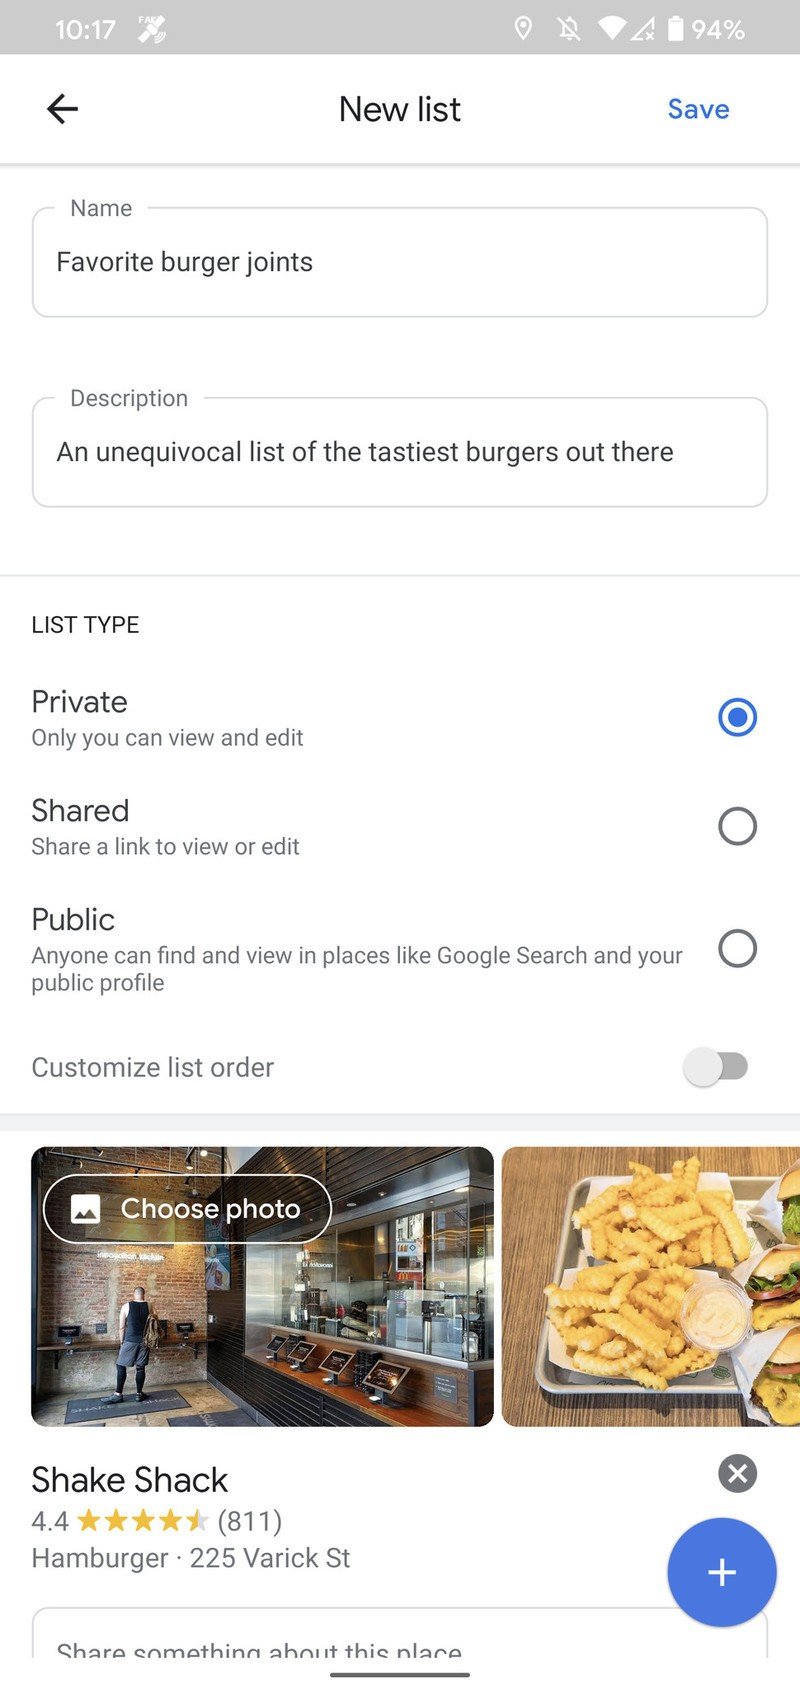
- Tap on it.
- Add another location, or tap Save in the upper-right corner.Source: Joe Maring / Android Central
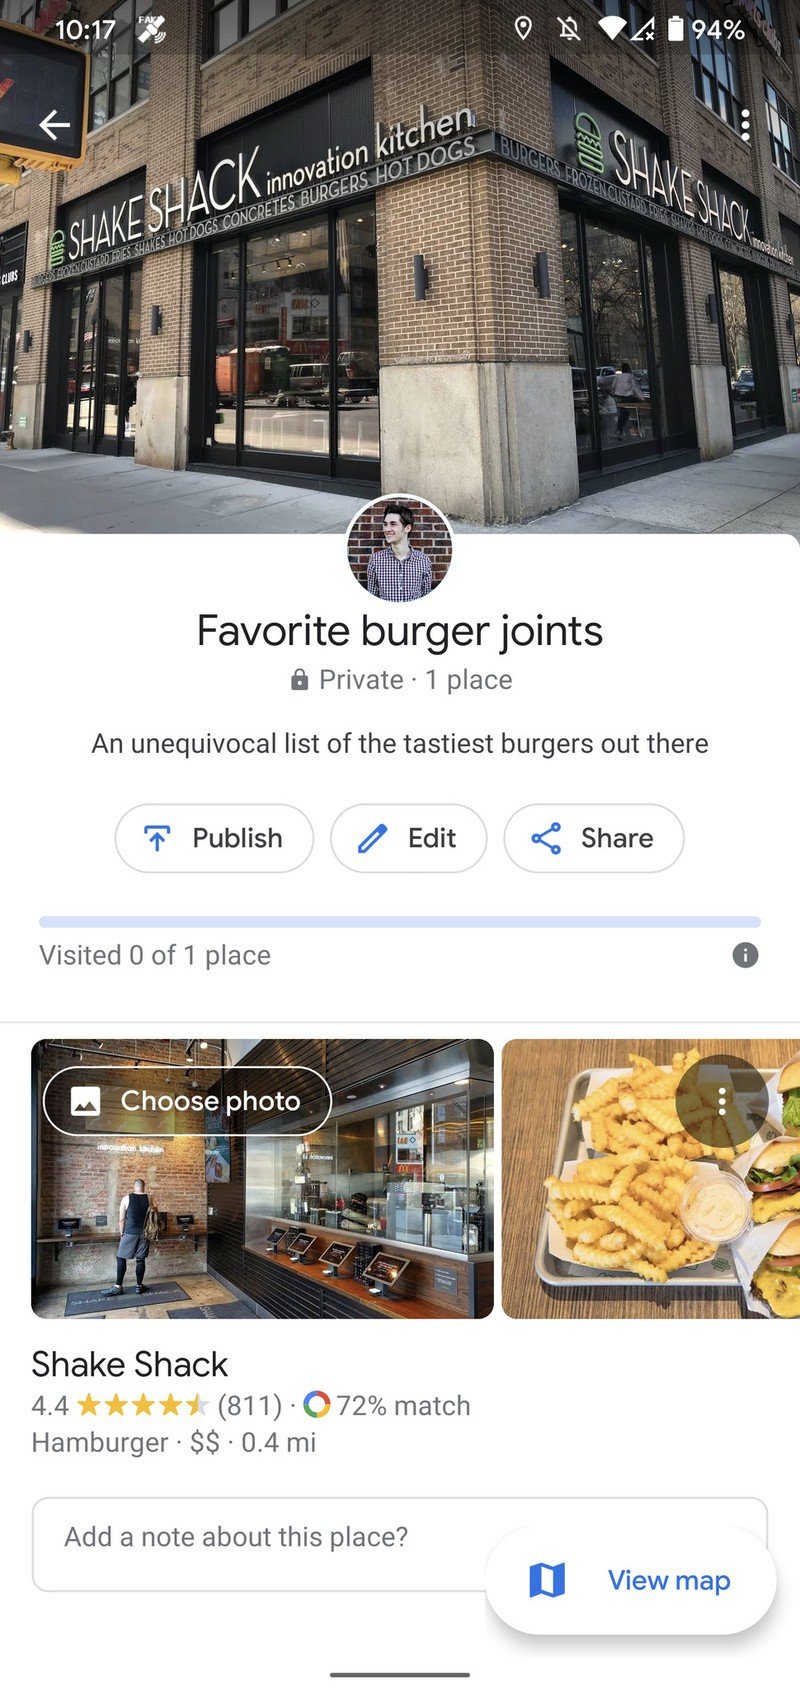
Just like that, you now have a brand spanking new list! You can make as many custom lists as you want, so feel free to get creative and make however many makes sense for you.
Joe Maring was a Senior Editor for Android Central between 2017 and 2021. You can reach him on Twitter at @JoeMaring1.

