How to use photo mode in The Last of Us Part 2 on PS4
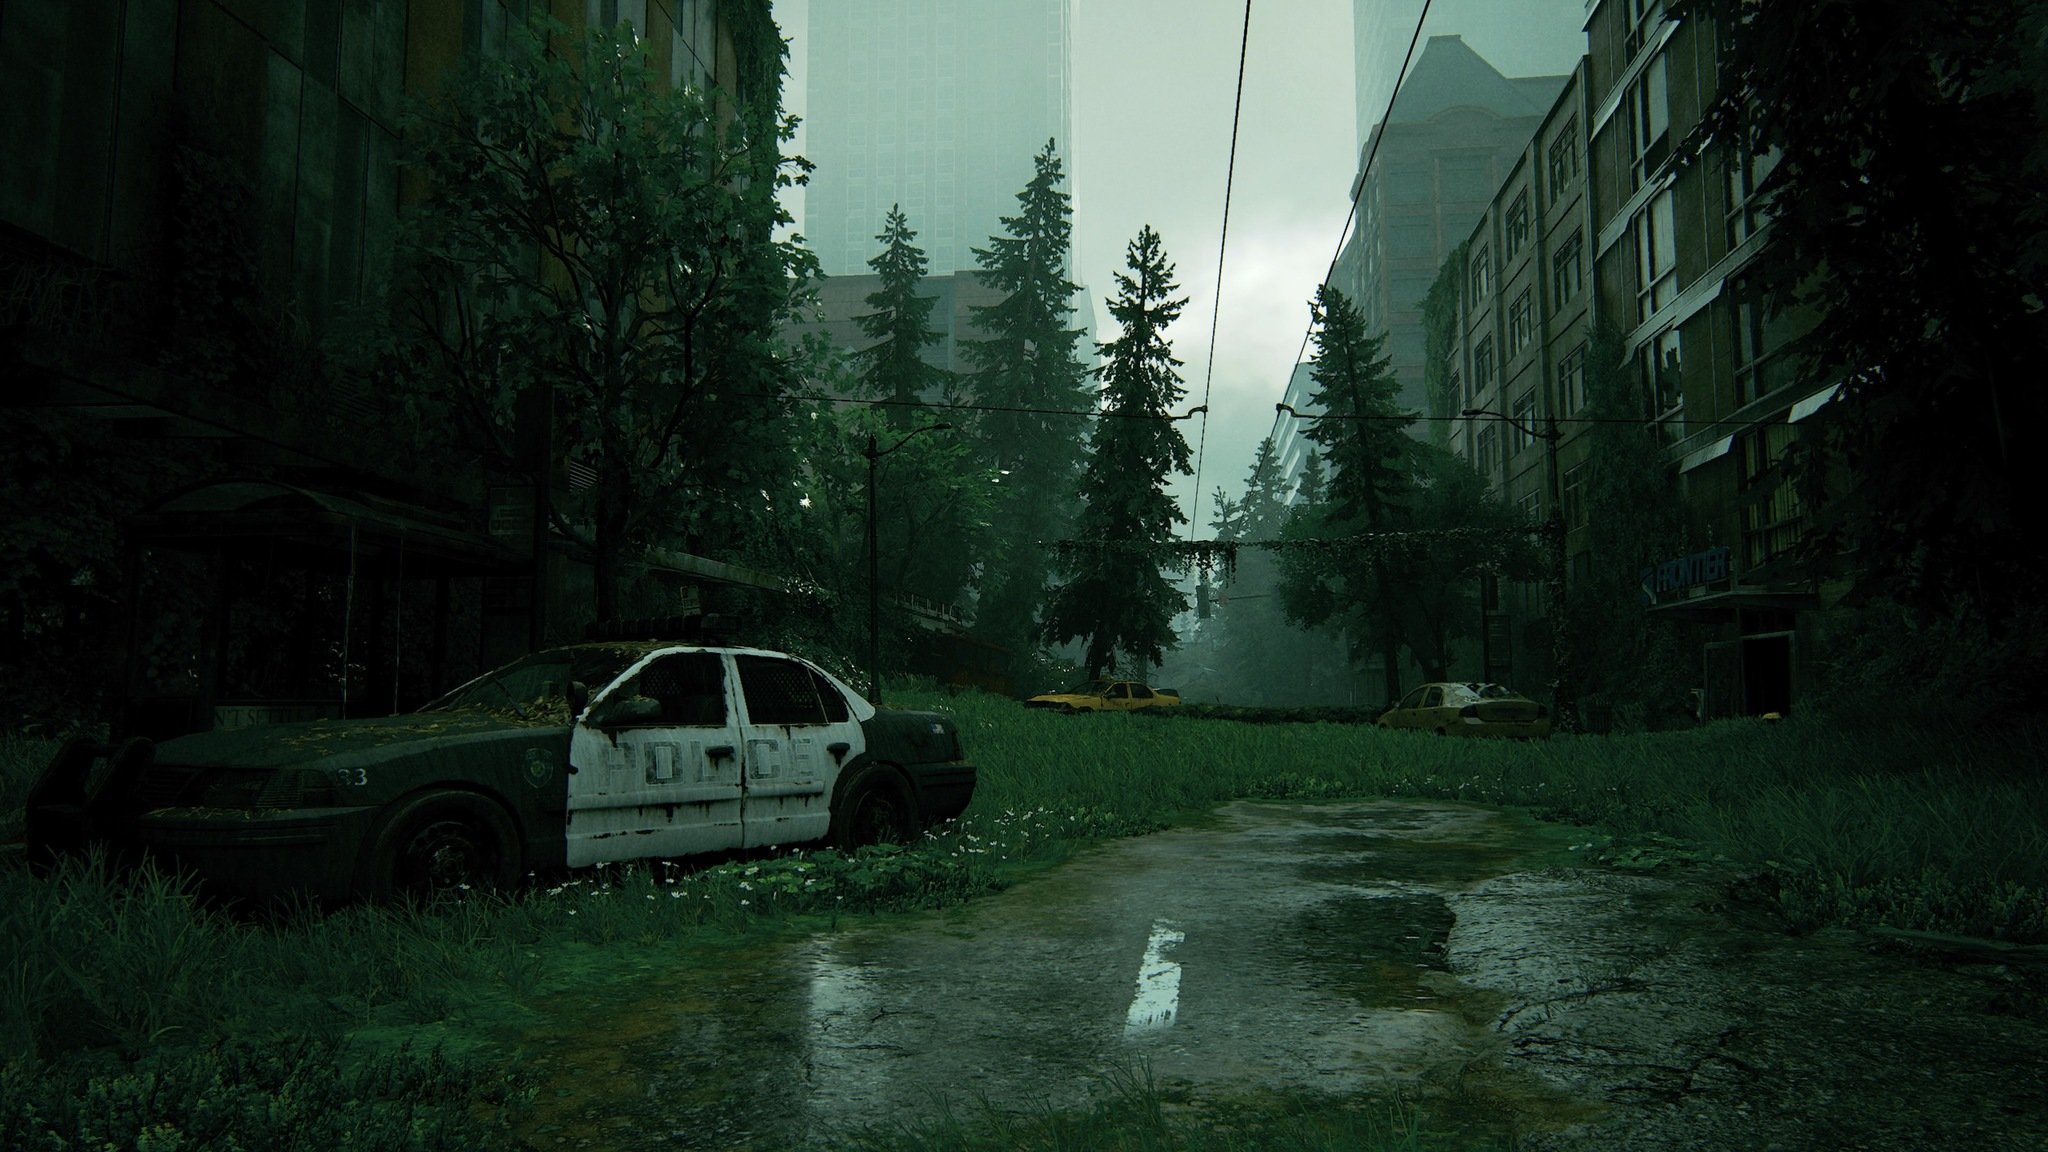
Photo modes in video games are becoming more common, but there isn't a standardized way of implementing them, and they don't always have a good explainer in-game on how to use them to their fullest extent. The Last of Us Part 2 has one of the best photo modes around, and we'll help you to take the best pictures possible if you're a little confused on how to access it.
How to access photo mode in The Last of Us Part 2
- While in-game, press Options on your controller.
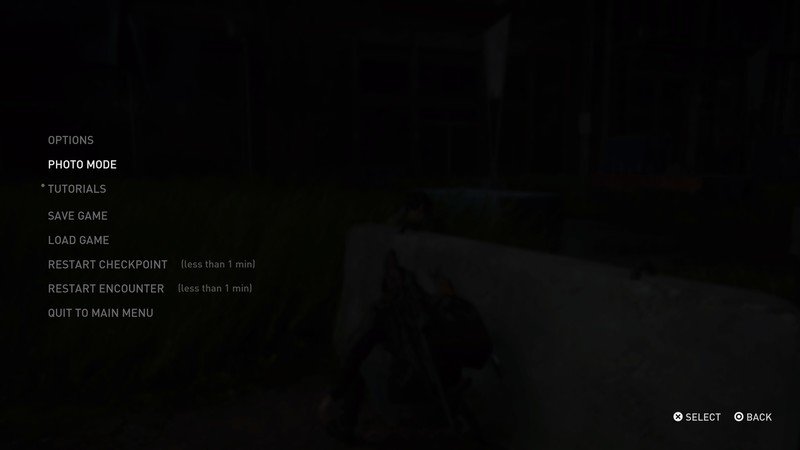
- Scroll down and select Photo Mode.
That's it! Now you're there. Now to play around with all the features.
How to use photo mode in The Last of Us Part 2
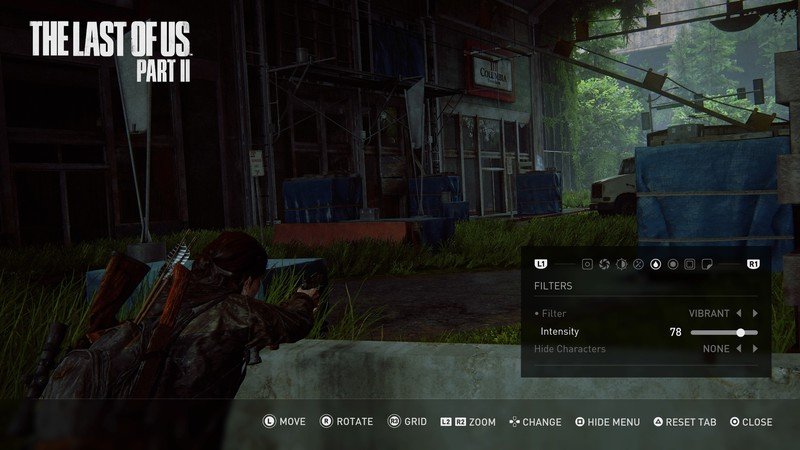
Once you're in photo mode, there are eight tabs you can freely move between. From left to right they are: Camera, Depth of Field, Display, Screen Effects, Filters, Vignette, Frames, and Logos.
We'll break down what you can do in each of these and how they will affect your screenshots.
Camera: In Camera, you can toggle between a custom view or the game view. The game view displays the screen exactly as it would if you were playing the game. In custom, you can tweak the the camera angle and increase of decrease the field of view.
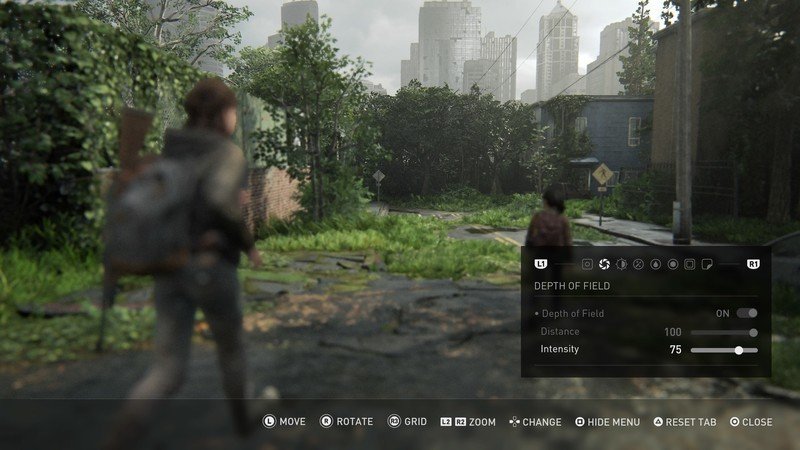
Depth of Field: This setting allows you to control where the focus of the camera lies. If the focus distance is set to zero, everything on screen will look blurry. As you set the number higher, objects closer to the camera become clearer until everything in shot is clear. You can also change the intensity of the blur.
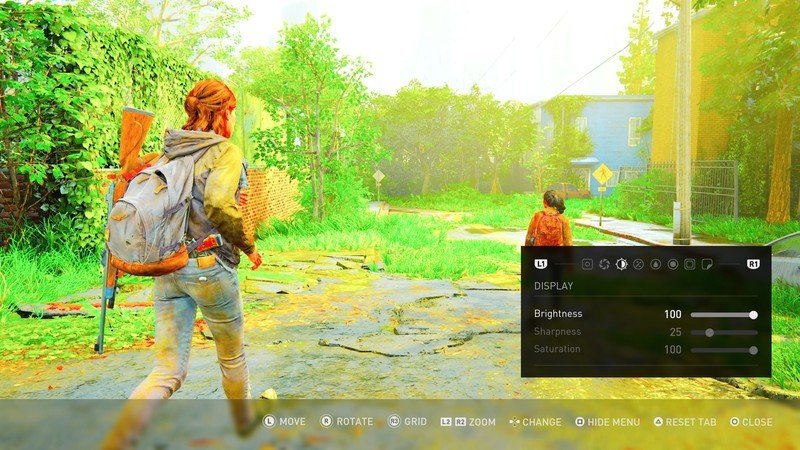
Display: Here you can change the brightness, saturation, and sharpness of your images. This one is really all about color, and how vibrant or dull you want your picture to be. Make it too bright, and it'll end up looking awful.
Be an expert in 5 minutes
Get the latest news from Android Central, your trusted companion in the world of Android
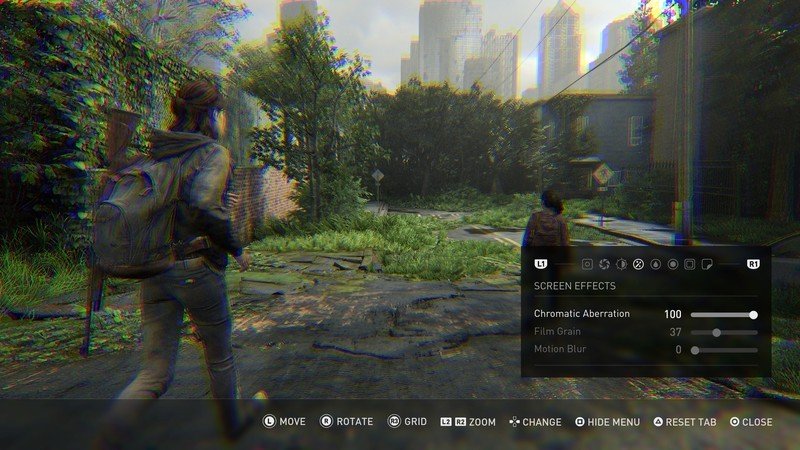
Screen Effects: Screen Effects lets you mess around with chromatic aberration, motion blur, and film grain. Motion blur makes objects in motion appear blurrier, as the name suggests. Film grain adds granular textures to a screenshot. Chromatic aberration is a bit less self-explanatory, but using this setting will distort the image. The effects of this can sometimes make it appear as if the image is being stretched while you are adjusting it. In actuality, the colors are being refracted incorrectly, almost as if you are looking at a 3D image without 3D glasses.
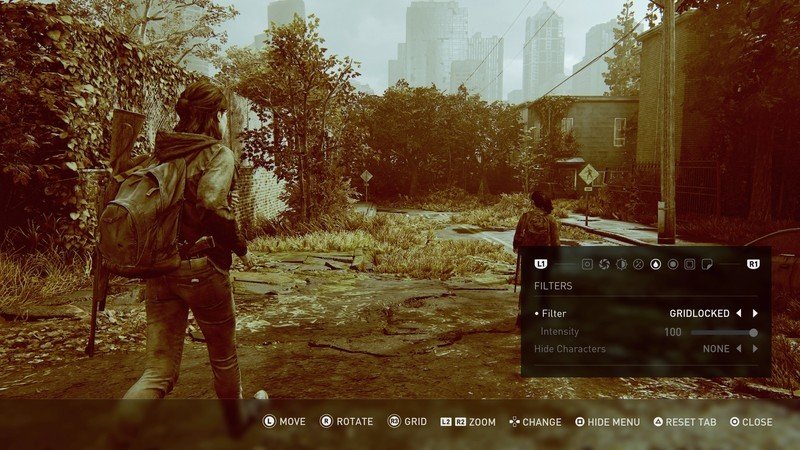
Filters: Like any good photo mode, you have a variety of filters to choose from. Once you've selected one, you can tweak its intensity. This tab also allows you to hide characters from screenshots entirely.
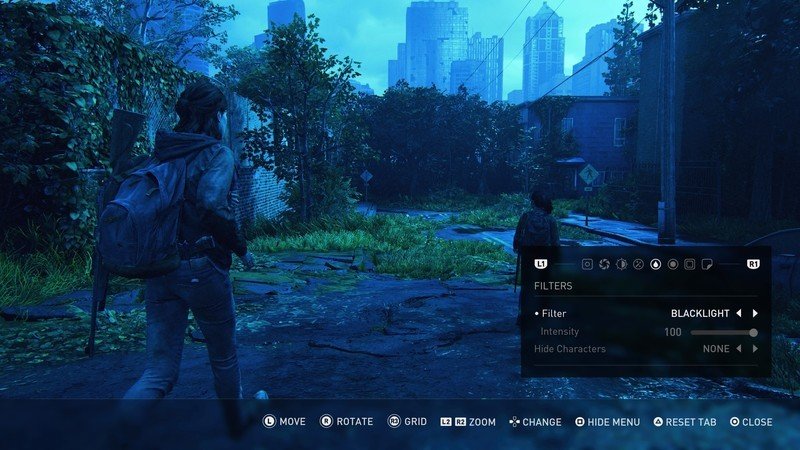
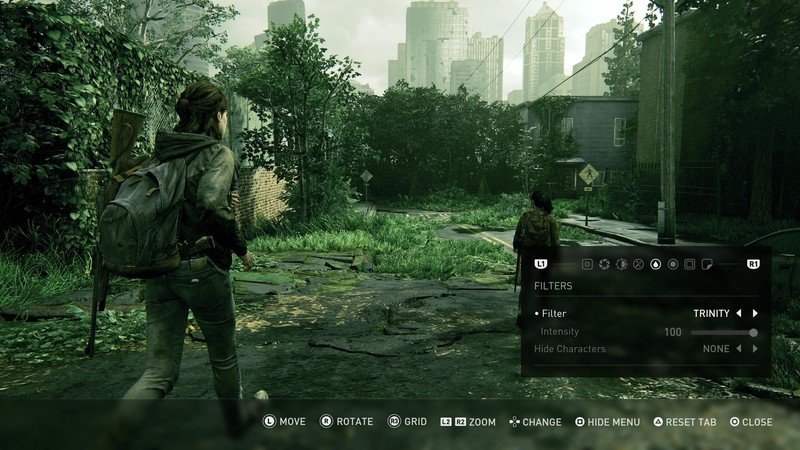
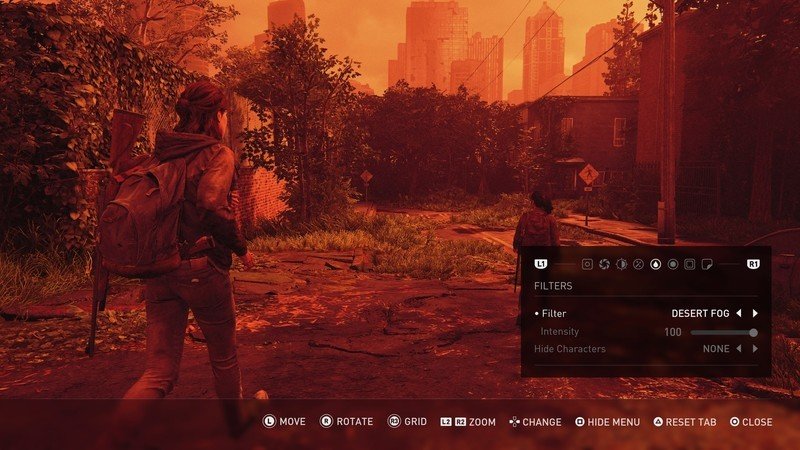
Source: Android Central
Vignettes: By using vignette, the edges of your photograph will slowly fade out and become darker. You can change its intensity and size in this tab.
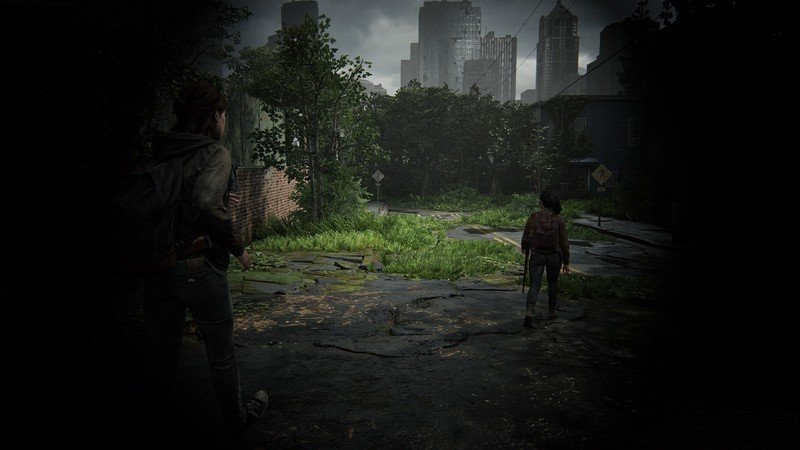
Frames: You can add different frames to your screenshots from this menu, but they're pretty standard.
Logo: This setting lets you add a logo to your screenshot, like The Last of Us Part II or Naughty Dog. You can change its size and position.
The left trigger and right trigger can be used to zoom in and out of a frame. To reset a particular tab back to normal, press the triangle button on your controller. If you'd like for a grid to appear on screen so you can better measure and center whatever you're trying to take a picture of, click the right thumbstick.
How to access your screenshots from The Last of Us Part 2
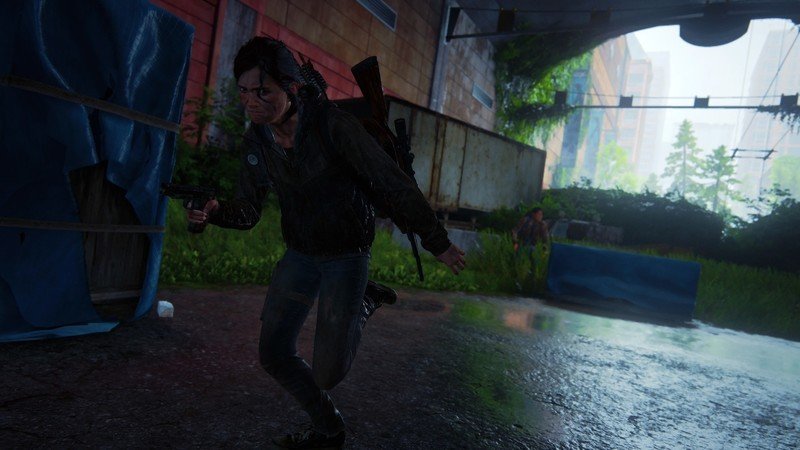
When you're ready to take a photo, simply hit the square button on your controller to hide the photo mode menu, and then take a screenshot as you normally would by pressing the Share button.
You can access these screenshots like you would any other screenshots through your Capture Gallery on PS4.

Jennifer Locke has been playing video games nearly her entire life. You can find her posting pictures of her dog and obsessing over PlayStation and Xbox, Star Wars, and other geeky things.
