Updating your Nexus — Everything you need to know

Nexus phones are easy to update by design — here's how to take advantage of that
More people than ever own a Nexus device. From the introduction of the Nexus One in January 2010, and through the subsequent releases to the Nexus 6 in 2014, the numbers keep growing. Plus, we've got the Nexus 7 tablets (one name, two models from 2012 and 2013) that are still popular devices, as well as the new Nexus 9. And we can never forget the Nexus 10.

While the idea of what "Nexus" actually means seems to vary from release to release, what hasn't changed is that these remain some of the most "open" and "developer-friendly" devices available. They're great for veteran hackers who want to do some serious customizations, or for the inexperienced folks who want to get their feet wet and learn their way around Android. (Or, they can just be great phones for those who don't care to tinker.)
Nexus devices also generally are the first to receive new Android operating system updates. When a new version of Android is announced, it's safe to say it'll be available on a Nexus device first. And, traditionally, other recent Nexus devices are first in line for updates. That's changed somewhat with the introduction of "Google Play experience" devices, and Motorola's close involvement with Google, and so it's caused a bit of a firestorm.
Regardless, Nexus devices actually offer several ways of updating to the latest operating system. They are:
- A traditional over-the-air update.
- Sideloading an over-the-air (OTA) update file.
- Updating from a factory image file.
- Starting from scratch with a factory image file.
This isn't a step-by-step tutorial of how to update your Nexus device. Think of it as a (relatively) basic primer for the options available. Let's discuss the differences between these options, and which is best for you.
The prerequisites
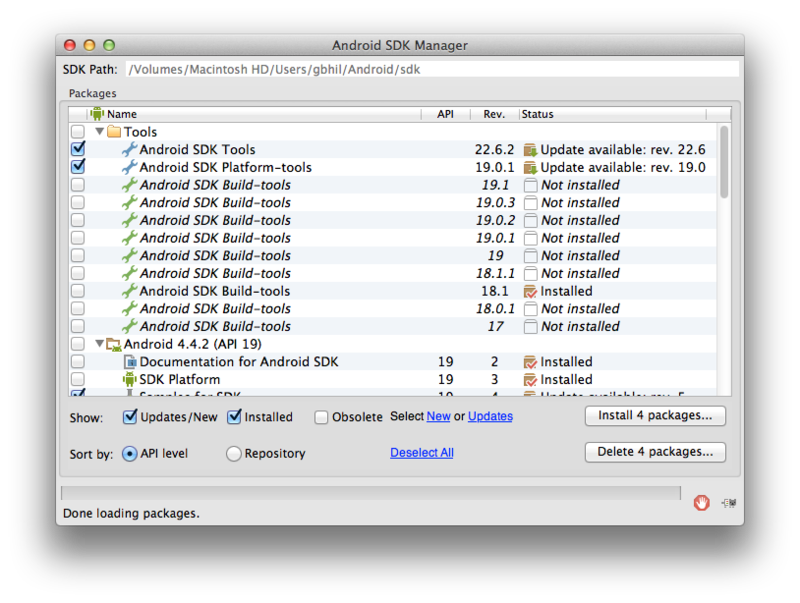
We're going to be talking about a few nerdy (but not overly difficult) things here, so there's some homework to be done. For everything except the traditional over-the-air update, probably going to want (need, really) to have the Android SDK installed. Right here is everything you need to know to get the Android SDK up and running.
Be an expert in 5 minutes
Get the latest news from Android Central, your trusted companion in the world of Android
If you installed the Android SDK some time ago, you may need to update parts of it. Launch the Android SDK Manager (look for the "Android" executable in in the Tools folder wherever you installed the SDK) and make sure the "Android SDK Tools" and "Android SDK Platform-tools" are up to date.
And for working with the factory image files, you'll need to have an unlocked bootloader on your phone or tablet. Nexus devices make unlocking (and relocking) your bootloader a trivial endeavor. But do remember that this also makes your device less secure. When you unlock the bootloader, your phone's data is automatically wiped, and you'll be starting from scratch. Data remains intact if you lock it again, but will be wiped if you choose to unlock it again down the road.
Also, yes, there are "toolkits" out there that will do a lot of this work for you. And that's fine. But we highly recommend learning these steps and why things work the way they do. It's not that difficult, and you'll be a more educated Android user for it. Doing things by hand gives you the knowledge and tools to fix things when the toolkit method goes wrong.
With that, let's look at the different options for updating your Nexus device.
1. The traditional over-the-air update
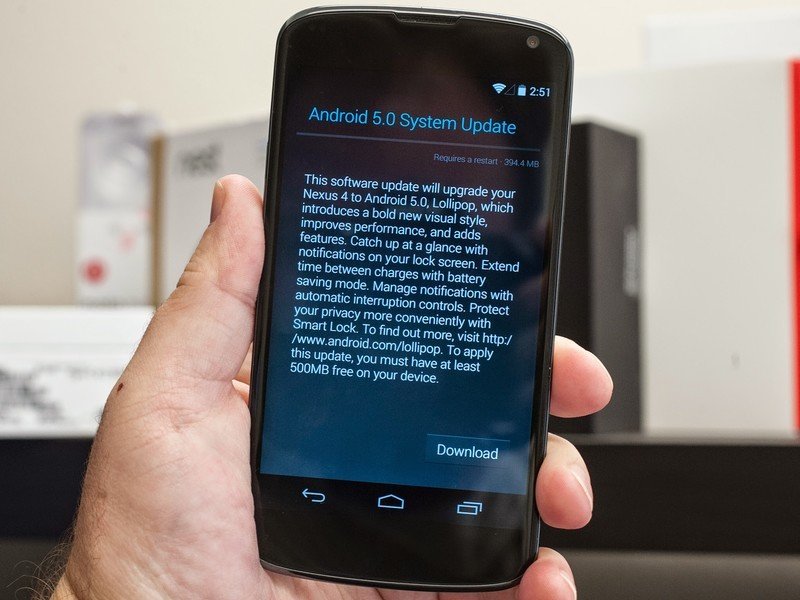
This usually — but not always — is the slowest way of going about things. Or maybe it just feels like that. An update is announced, and you sit back and wait for it to arrive as a download on your phone, over the air. Sometimes this is immediate. Maybe you got lucky. Or maybe the update is that important, and Google is rushing it out to everyone all at once. Google's prerogative.
But most of the time we experience what's known as a staggered rollout. That is, a certain percentage of devices — usually 1 percent to start with — gets the update first. Google hangs back, checks out how things are going for a day or two, then sends out another batch. Google's Dan Morrill has said it goes in increments of 1 percent, 25 percent, 50 percent, 75 percent and finally 100 percent of users.
And it feels like it takes forever. ...
But what if you didn't have to wait? That brings us to the first of the manual methods of updating your Nexus.
2. Get that OTA file and sideload it
When your phone receives an over-the-air update, it downloads it from a server. And with Nexus phones, you can see where it's downloading from. The link is in the logcat file, and will look something like this:
http://android.clients.google.com/packages/ota/google_hammerhead/c1a33561be84a8a6a7d5a4c8e3463c4db9352ce6.signed-hammerhead-LRX21O-from-KTU84P.c1a33561.zip
If you look closely, you see the server, the device name (hammerhead is the codename for the Nexus 5), an MD5 hash, and the build version that you're updating from followed by the version you're updating to. In this particular case, that's KTU84P (the latest Android KitKat build) to LRX21O (the new Lollipop build).
That's simple enough, and it's good to be able to parse that stuff out, as to make sure you're working with the right update. (You can find the your build version in the "About" section of your settings menu. And don't worry about breaking anything — your device should balk if the build versions don't match up.)
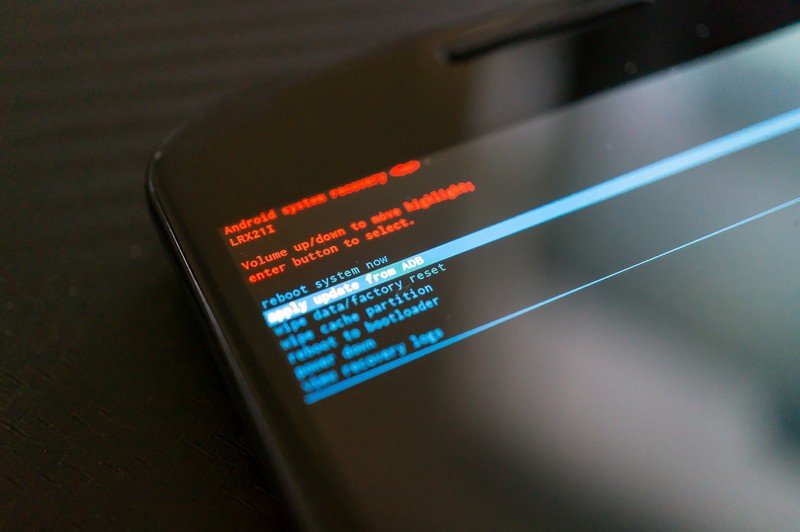
So, you download that file. From there, you reboot into recovery, choose to sideload it over adb, and you're off to the races.
Those are a lot of words for what's really a quick and easy process. You've used exactly the same update file that your phone would have if it downloaded the update itself. You just did the work for it, with no waiting.
Protip: You can look at the log file with the adb logcat command from your computer (example: adb logcat -v long > filename.txt) or with an app from Google Play right on your phone. CatLog is a good one to try. You'll see the download URL once your device starts downloading the OTA, and you can share it with the rest of us!
3. Updating from a factory image file
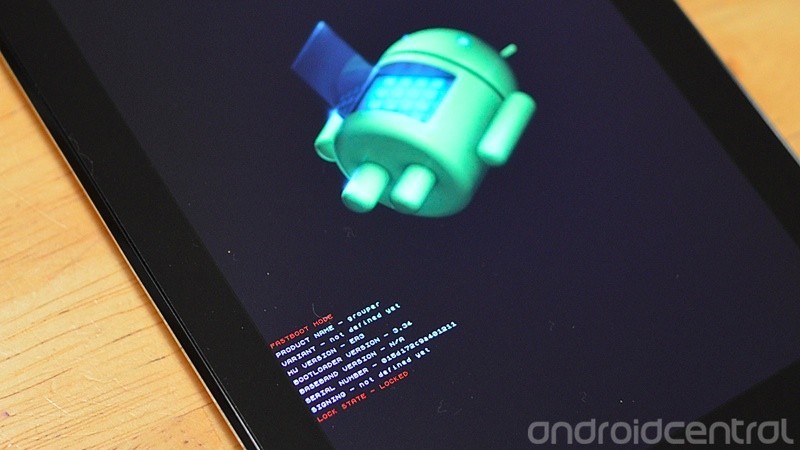
Nexus devices get what, in our opinion, every single smartphone should have access to — a "factory image" that, when applied, reverts your phone back to the state it was in when you bought it. Actually, Google does one better and provides factory images for the most recent software version, so you don't start from scratch and then have to apply every update after that.
Factory images aren't just used for wiping your phone, though — you can update from them while keeping all your data intact as well, which can come in handy if factory images are available before an over-the-air update. Flashing a factory image has a couple more moving parts, but it's really not much more complicated than sideloading an OTA update.
Factory images contain different files — these are the "images" — that get flashed to your phone. There's the radio. And the bootloader. And then a zip file of even more images, including the boot image, cache, recovery, system and userdata. These are the basic parts that make up the software on your phone.
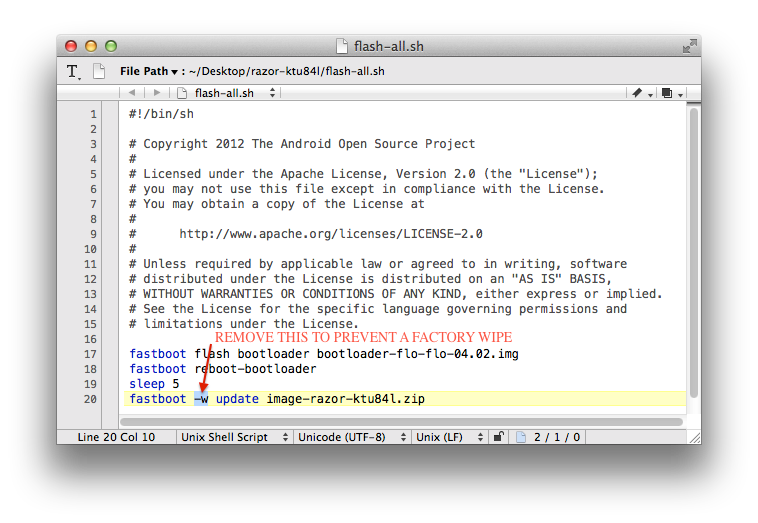
The thing you need to remember when updating from a factory image and are running the included script (that's just another file that automatically flashes the images, but you're free to do them manually as well) is to remove the "-w" flag. That takes about 10 seconds in a text editor. Run the script and the bootloader (and sometimes a radio) will be flashed. Then on to the main image (and the other images included therein), and you're done.
Another option is to just do all this manually. Type in the commands to flash the bootloader and radio yourself (don't forget to reboot the bootloader after flashing it), then just do "fastboot update IMAGE.zip" yourself.
4. Starting from scratch with a factory image
This is basically everything in No. 3, only you wipe the phone in the process. (Hope you backed up your data first!)
When the phone reboots, you'll have the most recent version of your operating system, just like if you got it out of the box. Usually, it's pretty safe to update via the factory image without wiping everything (like the step above). But if you see any weirdness or wonkiness after your update, reflashing with a full wipe is usually the first step in troubleshooting.
Getting help
These instructions are (as mentioned) your primer to get you pointed in the right direction. Computer-savvy types can probably use this information and just roll, but many of us would need a little more guidance. The good news is that guidance is easy to get.
Point your browser at the Android Central Nexus device forums, where you'll find folks who live and breathe Nexus who are happy to help you along. To them, this is all old hat and they will have the answers to all of your questions, and likely have shortcuts and tips we didn't cover here.
The next time you read headlines about a Nexus update, you'll be ready to roll up your sleeves and get things done!

Jerry is an amateur woodworker and struggling shade tree mechanic. There's nothing he can't take apart, but many things he can't reassemble. You'll find him writing and speaking his loud opinion on Android Central and occasionally on Threads.
