How to transfer your Google Photos albums to Amazon Photos
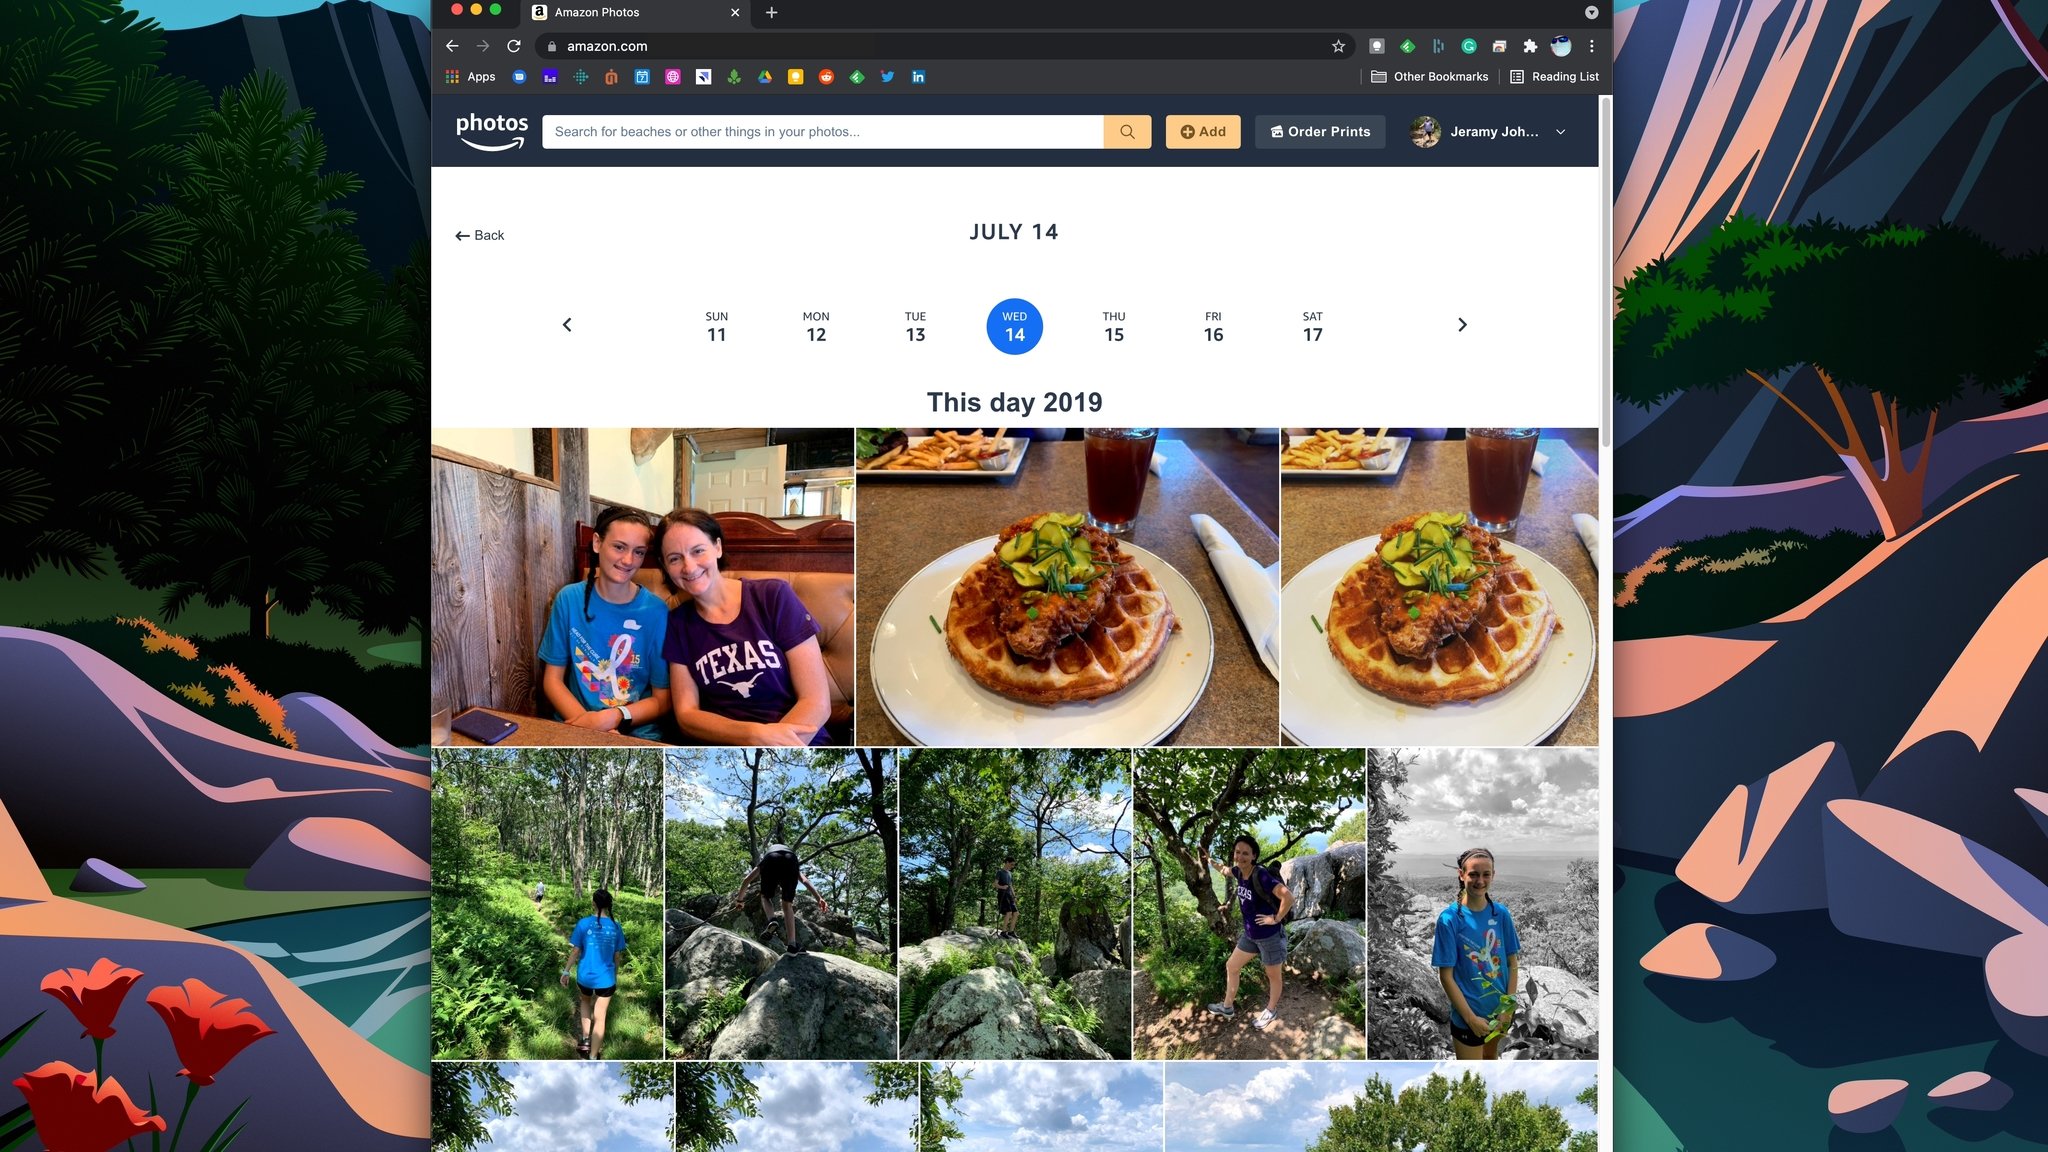
Over the past year, many disgruntled Google Photos fans have faced a dilemma: Should they stick with their beloved service and pony up extra cash for high-quality backups, or should they test other waters? I'm not here to definitively recommend or push one photo backup service over another, but I do think it's worth your time to consider all options and even have "backup" backup services lined up. After all, what if something horrible happened to your online photo collection? What would you do then? One of our favorite Google Photos alternatives is Amazon Photos. Here's how to transfer your Google Photos albums to Amazon Photos in just a few easy steps.
How to transfer your Google Photos albums to Amazon Photos
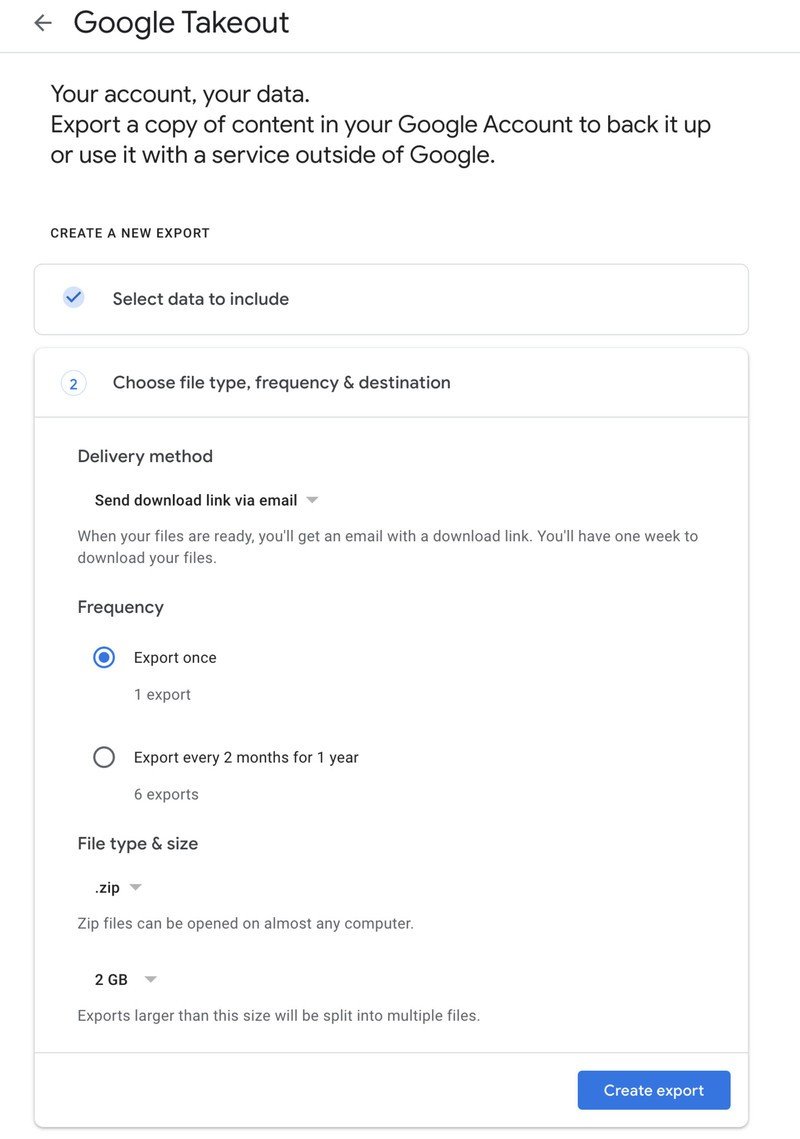
We've covered the basic process of how to export your photos from Google Photos before. Still, just in case you haven't read through that article, we're including those steps below, starting with familiarizing yourself with Google Takeout.
- Open Google Takeout in your desktop or laptop browser of choice.
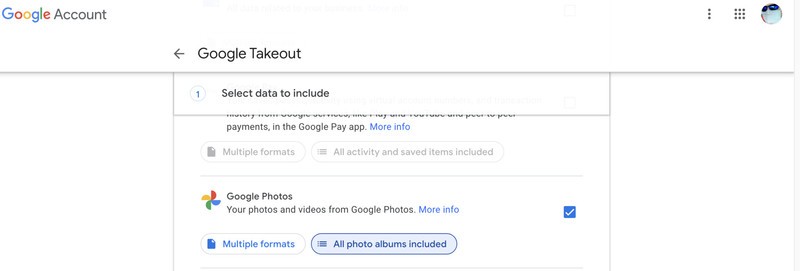
- Select Google Photos from the categories of data that you wish to download.
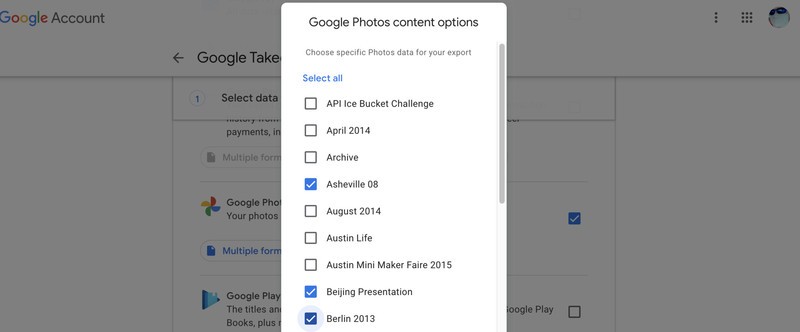
- Then, select which albums, folders, or options you wish to export.
- Click on the blue Next step button at the bottom of the list.
- Choose which Delivery method you want to receive this data from (Drive, Dropbox, OneDrive, Box, or link).
- Choose if you want this to be a one-time or recurring download under the Frequency section.
- Choose which File type & size you wish to download.
- Click to Create export.
Once you've received your exported photo albums, then it's time to upload them to Amazon Photos. Here's how that's done.
- Download your Google Photos Takeout order from your selected source to your computer.
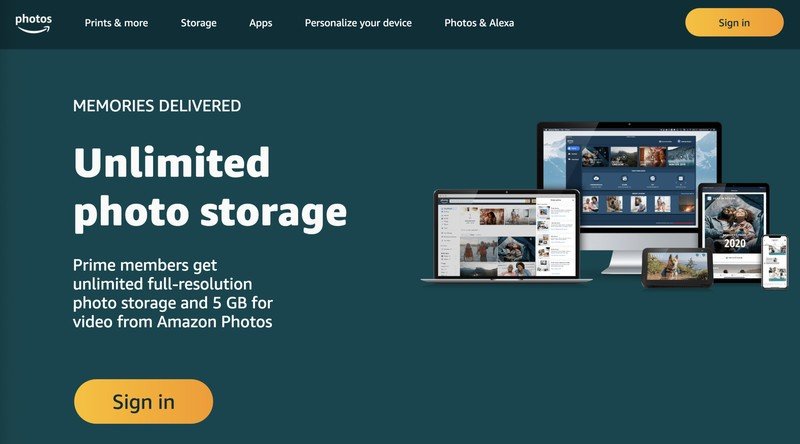
- Open Amazon Photos from your desktop browser.
- Sign in to your account.
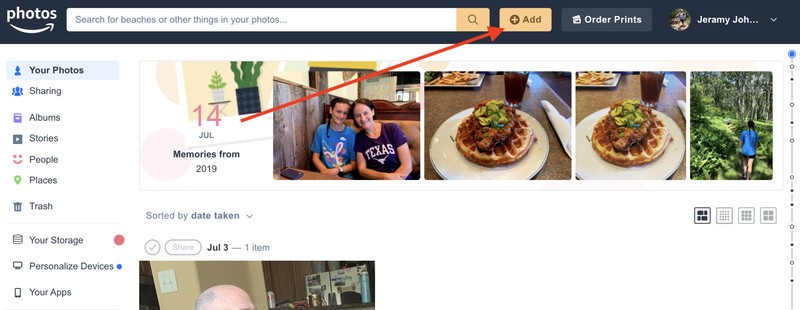
- Click on the big yellow +Add button at the top of the screen.
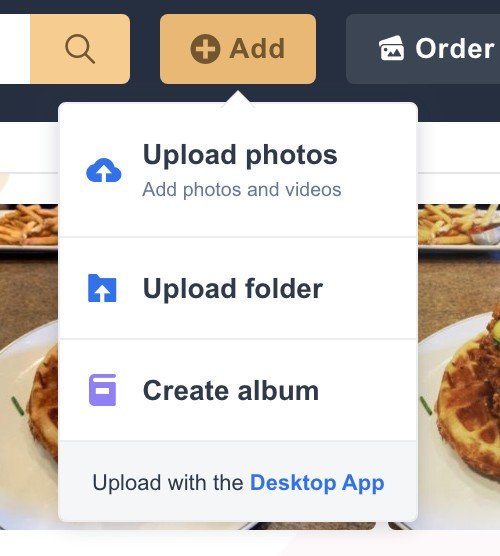
- Select Upload photos or Upload folder, depending on how you want to import your albums.
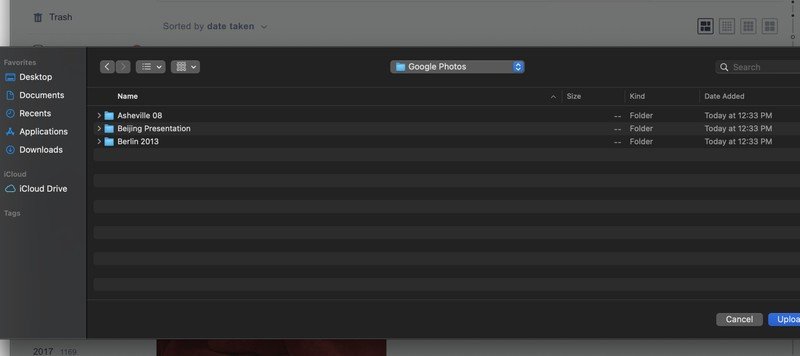
- Locate the Google Photos albums you wish to upload, and click the Upload button (note that you may only be able to upload one folder at a time, so you may have to repeat this process as necessary).
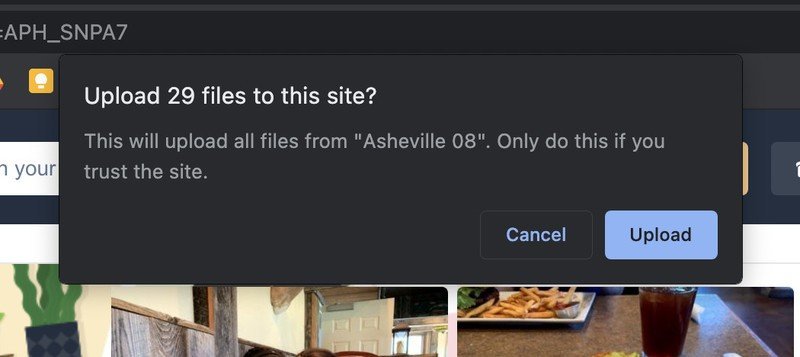
- Click Upload to confirm.
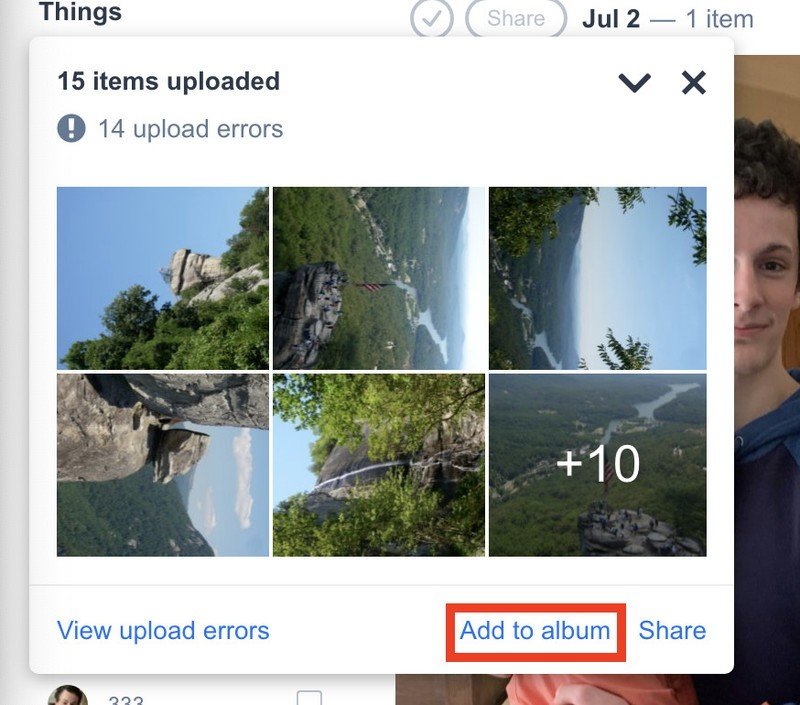
- Once you see the confirmation box, click Add to album.
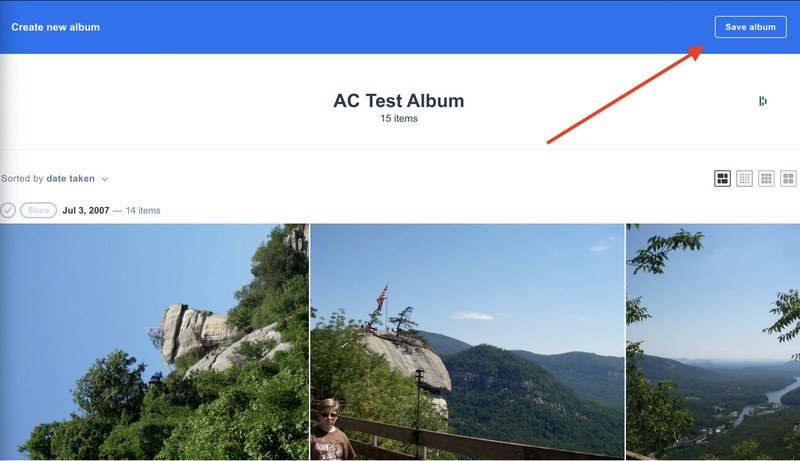
- Opt to create a new album (perhaps with the same ablum name that you had in Google Photos), or add to an existing album.
- Click Save album in the top right corner to finish the transfer.
That's it! It may seem like a lot of steps, but it's actually a fairly quick and easy process.
Google Photos is a great product, especially if you snap a ton of photos using your best Android camera. But we've long been singing the praises of Amazon Photos — particularly for Amazon Prime subscribers. Whether you elect to move your photos and photo albums to Amazon permanently or just want to use it as a backup, it's a great service that you should be taking advantage of.
Be an expert in 5 minutes
Get the latest news from Android Central, your trusted companion in the world of Android

Jeramy was the Editor-in-Chief of Android Central. He is proud to help *Keep Austin Weird* and loves hiking in the hill country of central Texas with a breakfast taco in each hand.
