How to take great pictures with your Nexus 6
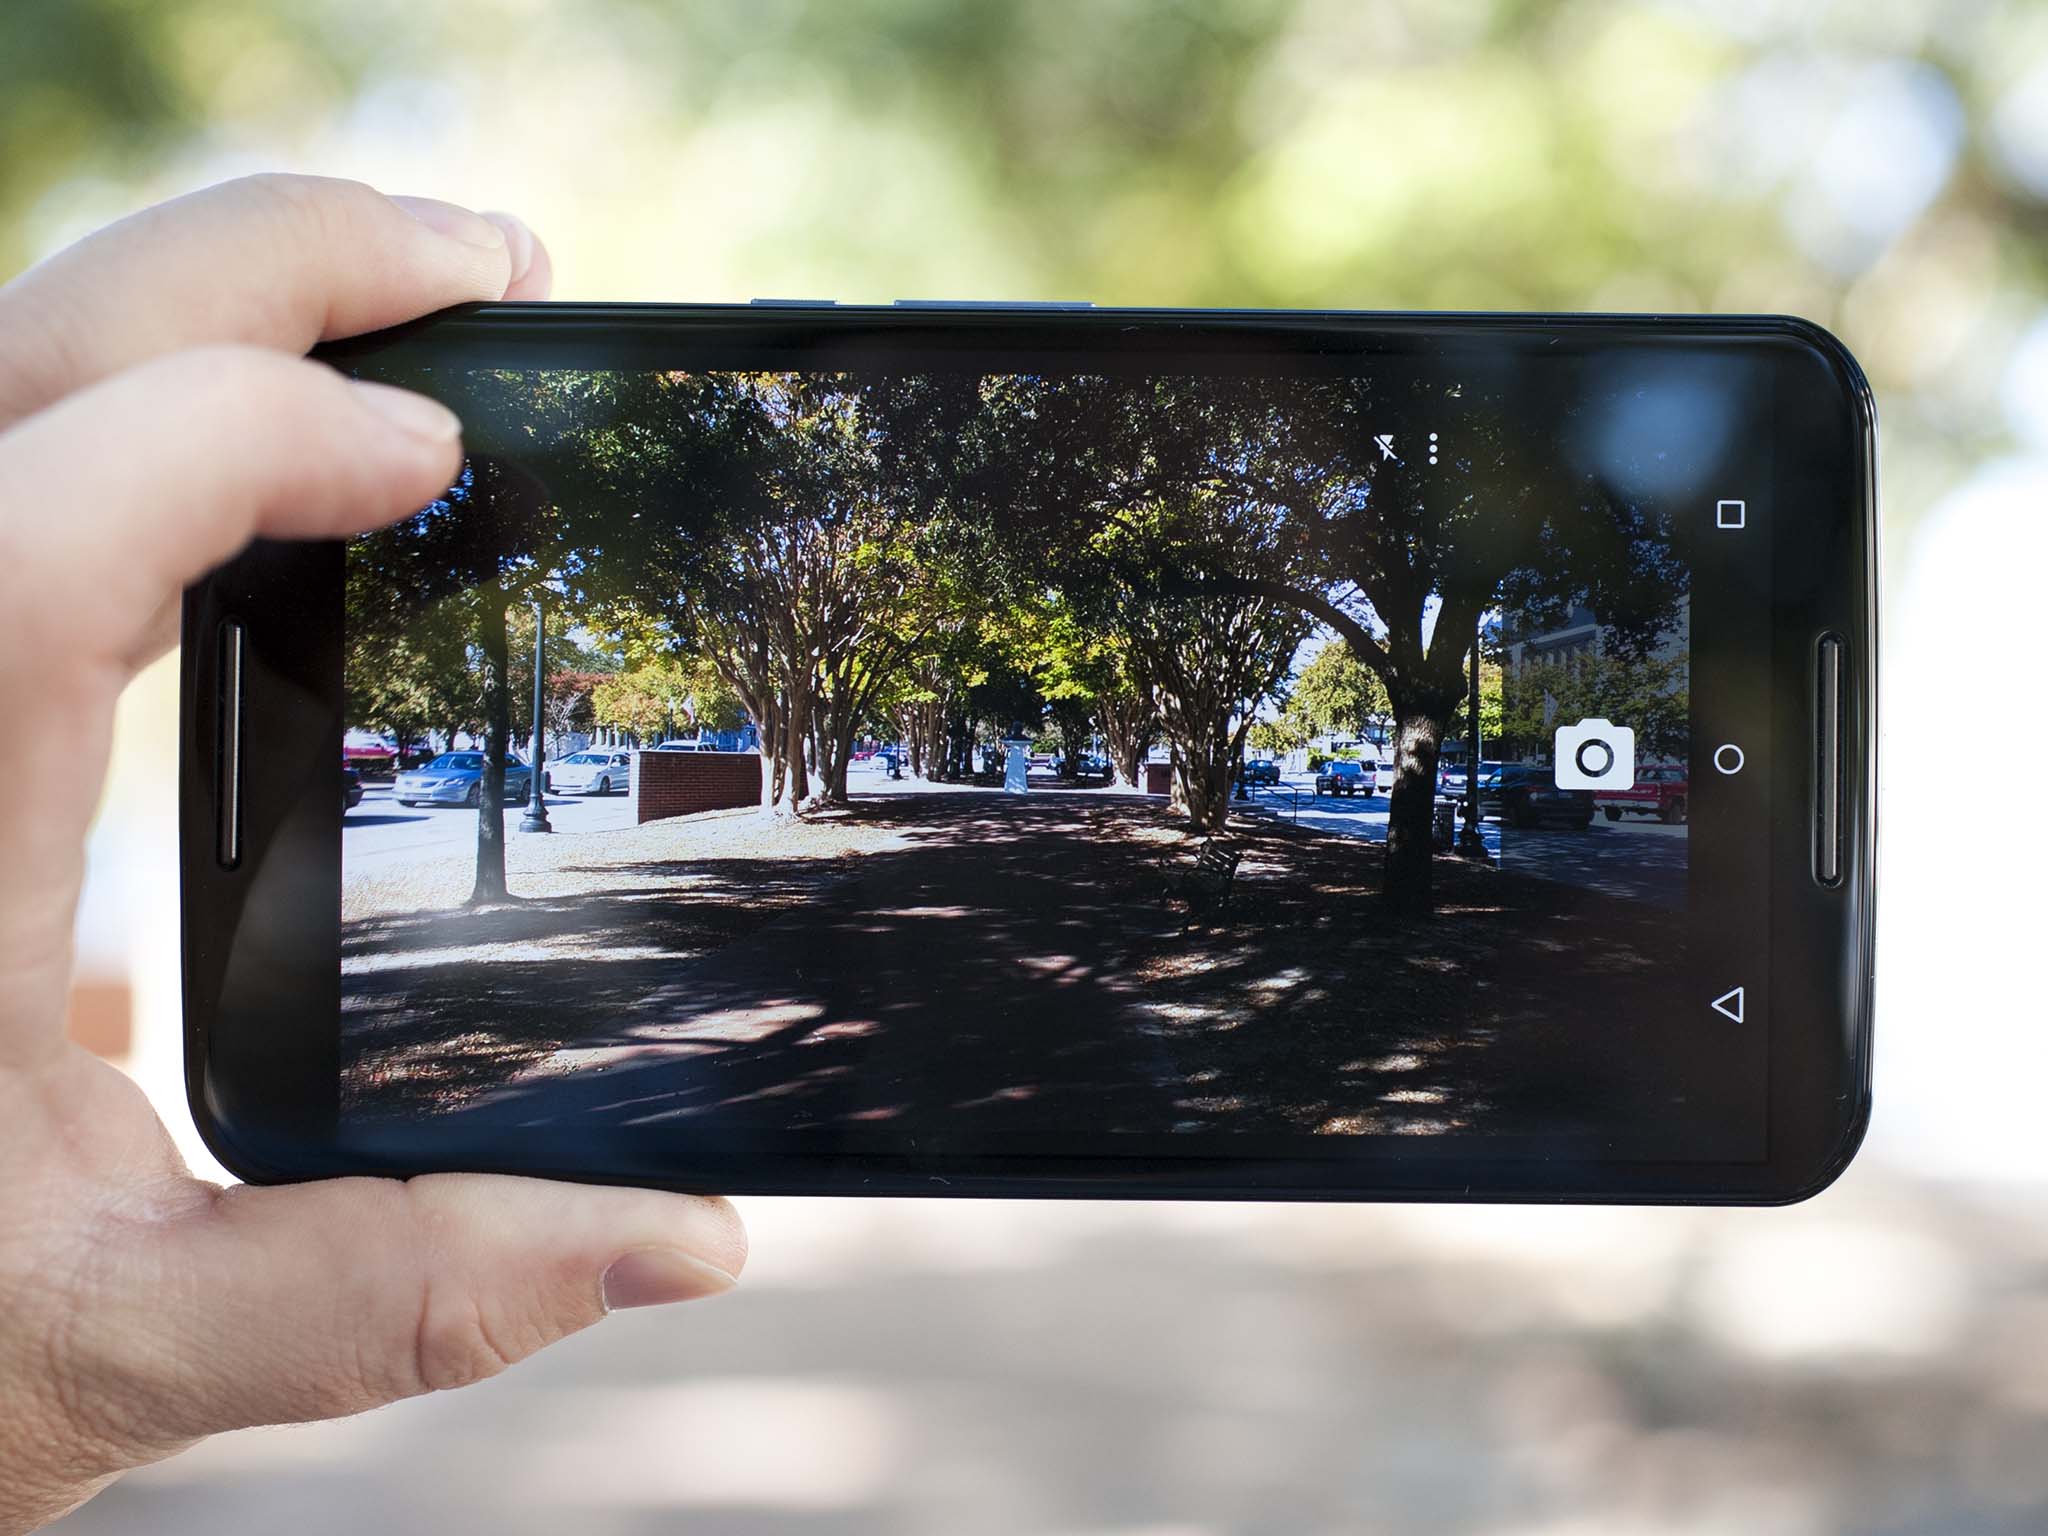
A few simple tips to get better shots from your Nexus 6's camera
Let's face it — Nexus devices aren't exactly renowned for their imaging prowess. Even with new additions like optical image stabilization (OIS) and HDR+ mode, the cameras of the Nexus 6 (and the Nexus 5 before it) are best described as finicky. It's possible to get great photos from the Nexus 6's 13-megapixel shooter with a little patience, but there are a few simple directions you can follow to maximize the number of high-quality shots, and reduce the likelihood of coming out with a dud.
On the whole, these come down to knowing the strengths and weaknesses of the Nexus 6's camera setup, and adjusting your shooting accordingly. Join us after the break for a quick primer on using the Nexus 6's camera.
HDR+ is your friend
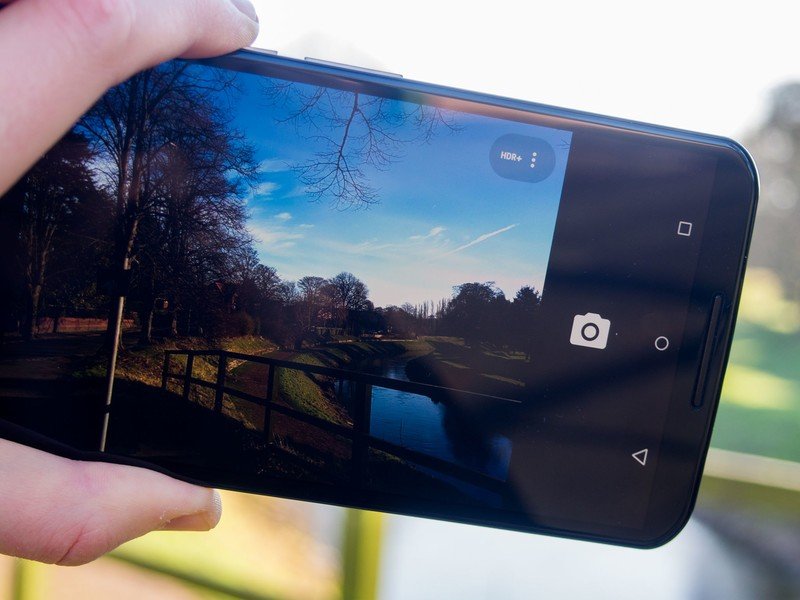
Like the Nexus 5, the Nexus 6's rear camera performs best when used in its unique HDR+ — as in high dynamic range (plus) — mode, which uses data from multiple exposures to build an evenly-exposed and sharpened image with reduced noise. Most of the time, HDR+ mode is what you'll want to use to get the best possible images from the Nexus 6's rear camera.
The main tradeoff for HDR+ is speed, so if you're shooting kids, pets or anything else that's likely to be moving around, auto mode is still your best bet. It's also worth bearing in mind that HDR+ takes a heavier toll on your battery than regular shooting mode, because of the extra number-crunching involved.
That said, HDR+ is our mode of choice for the majority of Nexus 6 pictures we take.
Tap-to-focus (and set exposure) is also your friend
In addition to tap-to-focus, the Google Camera app on the Nexus sets exposure based on the focal point you select. You'll want to do this for most shots, especially in darker scenes, or scenes with less than perfect lighting.
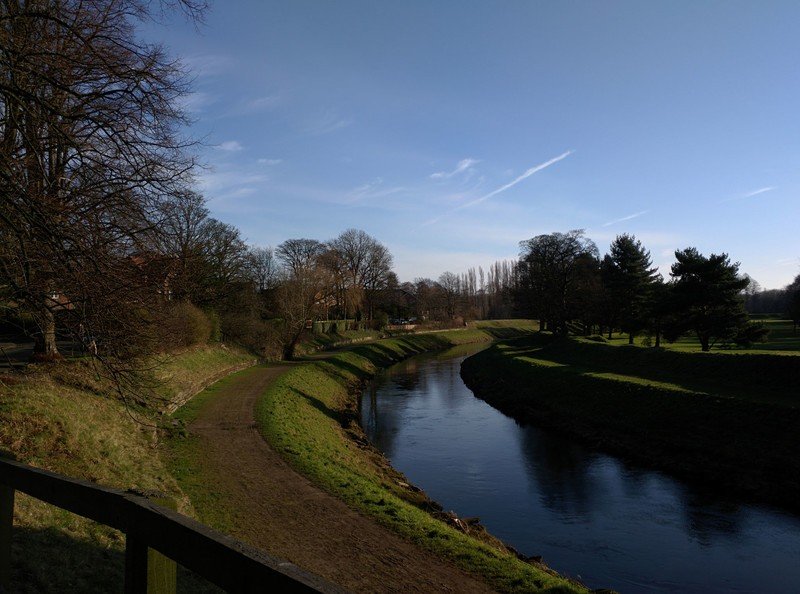
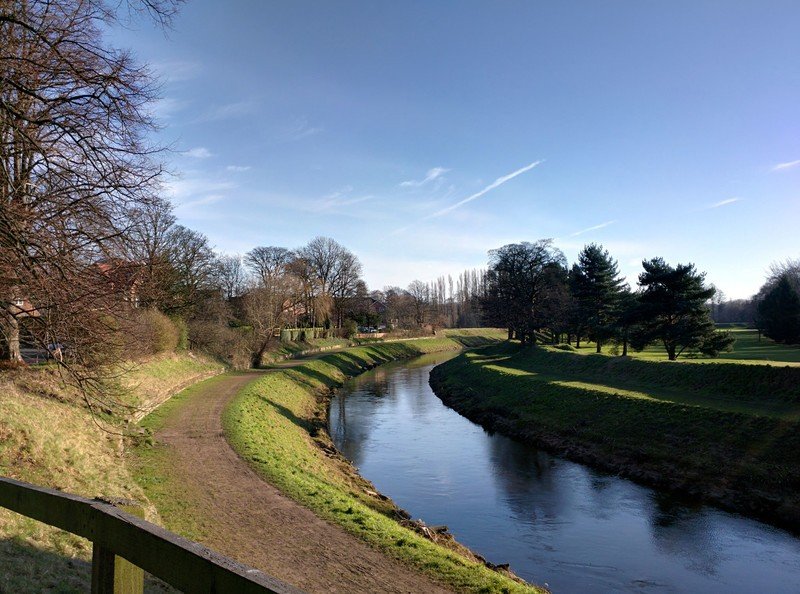
And even though HDR+ combines images at different exposure levels, you can still set a base exposure level by tapping somewhere on the screen when shooting HDR+ images. If the preview seems too dark, try tapping on a darker area to bump up the exposure level a little.
Be an expert in 5 minutes
Get the latest news from Android Central, your trusted companion in the world of Android
As you'll see in the shots below, the difference can be quite striking. The first image was taken with HDR+ using the standard auto-exposure, the second after tapping on the dark trees to set the exposure level.
Enable the hidden manual exposure mode
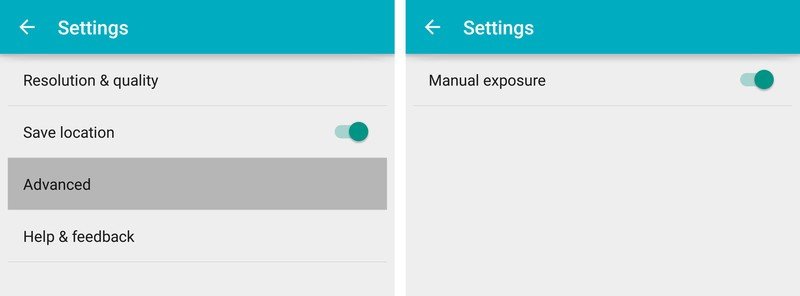
The Google Camera app on the Nexus 6 has a manual exposure setting, but it's hidden by default. To enable it, press the menu bar by swiping inwards from the right edge, then press the cog icon. Under "Advanced" you'll find "Manual exposure" — enable it and you'll get an exposure (+/-) control next to the other shooting options when you press the menu button (three dots ...)
Use this to set your base exposure level from -2 to +2 when shooting in normal mode. (You won't get a manual exposure option when using HDR+ mode, but you can still tap to set a base exposure level.)
Shoot panoramas and photospheres in portrait orientation
This one's pretty simple. To capture a taller view in panoramic images, hold your Nexus 6 in portrait (vertical) orientation as you pan across. Because of the orientation of the sensor, you'll capture a more complete view of the scene when doing this.
The same goes for photosphere images — we've found it's easier to avoid unsightly blank areas in 360-degree photos by shooting photospheres in portrait orientation.
Crank up the screen brightness for more accurate previews
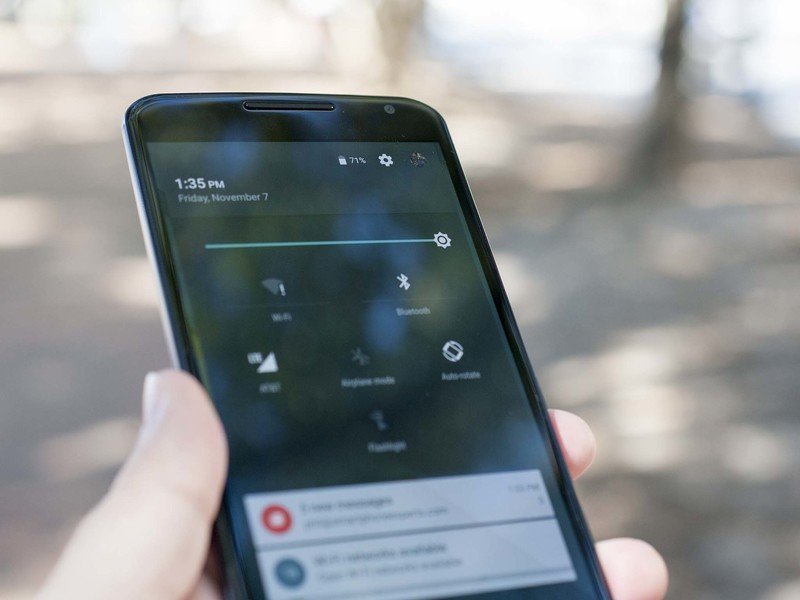
Part of the problem when shooting dark scenes on the Nexus 6 is the phone's display, which has a tendency to lose details in darker tones when the screen brightness is set to a low level. Some other phones counteract this problem by automatically boosting screen to maximum brightness when the camera is active. The Nexus 6 doesn't do this, but it's easy to crank up the brightness manually while in the camera app.
Swipe down from the top of the screen to display the status bar, then swipe down from that to view the notification shade. Finally, swipe down a third time to show the quick settings panel, from which you can increase the screen's brightness level.
Just remember to turn it back down when you're done to save your Nexus 6's battery power.
Be smart when using that ring flash
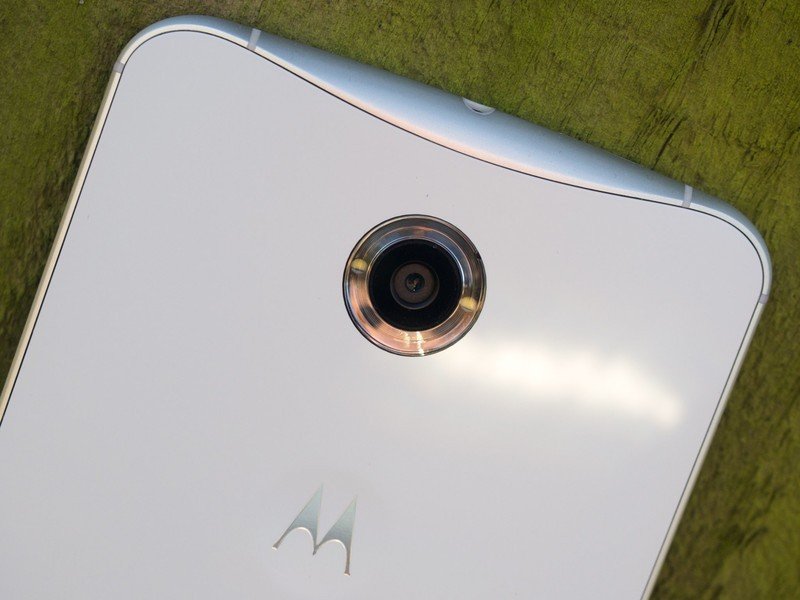
As with most smartphone cameras, you'll want to use the Nexus 6's flash sparingly. If your subject's too close it'll appear washed out. Too far away and the two flash LEDs won't be much use. In our experience the ideal distance is between 10 and 25 feet from your subject.
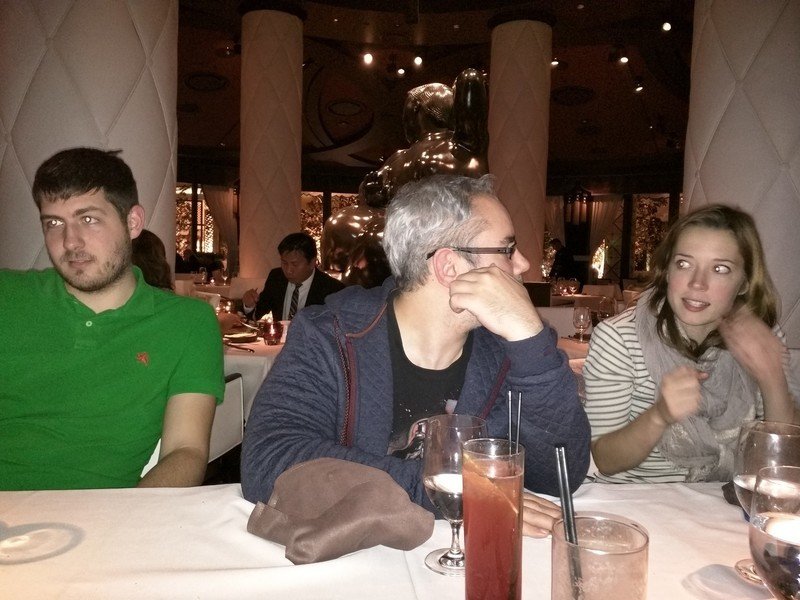
That said, we've found that it's better to rely on HDR+ mode in the dark, with exposure set through tap-to-focus.
Explore the Settings menu to increase quality and change aspect ratios
It's worth checking out the other options in the camera settings menu, hidden away under the cog icon in the camera modes menu. From here you can change aspect ratios and shoot cropped-in 16:9 photos if you want, or up the video resolution from 1080p to 4K Ultra HD.
If you want more detailed panoramic images, you can also change the panorama resolution from the default "medium" to "high."
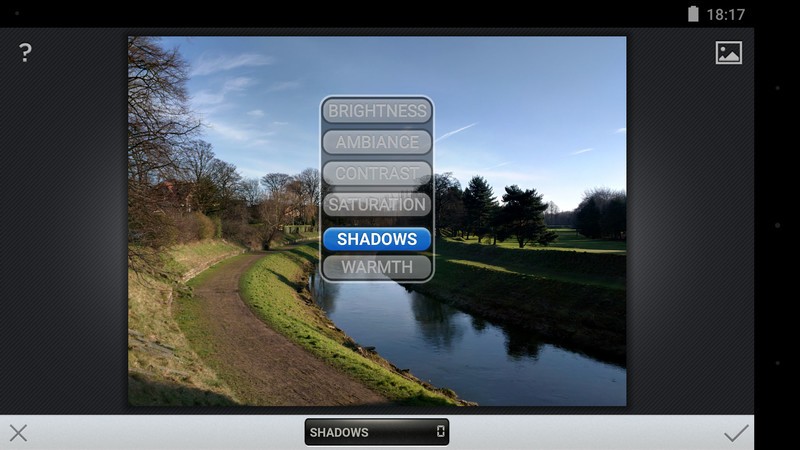
Tweak your photos and bring out the shadows with Snapseed
Finally, even if you capture a less than perfect looking image, Google's Snapseed app can be used to tweak and enhance your photos. When it comes to the Nexus 6, night shots often benefit from boosting shadow brightness a little. Go to "tune image" to find this option.
There are also automatic enhancement options that can add life to dull-looking photos, and it's worth experimenting with the full suite of Snapseed tools to figure out what works best.
Nexus 6 owners, how have you been getting on with the phone's camera? Any tips of your own? Shout out in the comments!

Alex was with Android Central for over a decade, producing written and video content for the site, and served as global Executive Editor from 2016 to 2022.
