How to take better selfies with your smartphone

When a type of photo gets its own entry in the dictionary, you know it's become ubiquitous. How else to describe the selfie? People take them everywhere, sometimes risking injury or death, to get the best possible angle or imagery to tell a story.
Bad selfies are abundant, and you don't have to try hard to find them out in the wild. Those who crave them will take many to get the "right" one, and whether you're doing it for the sake of vanity or posterity, there are some rules worth following to do it well.
Find a good angle
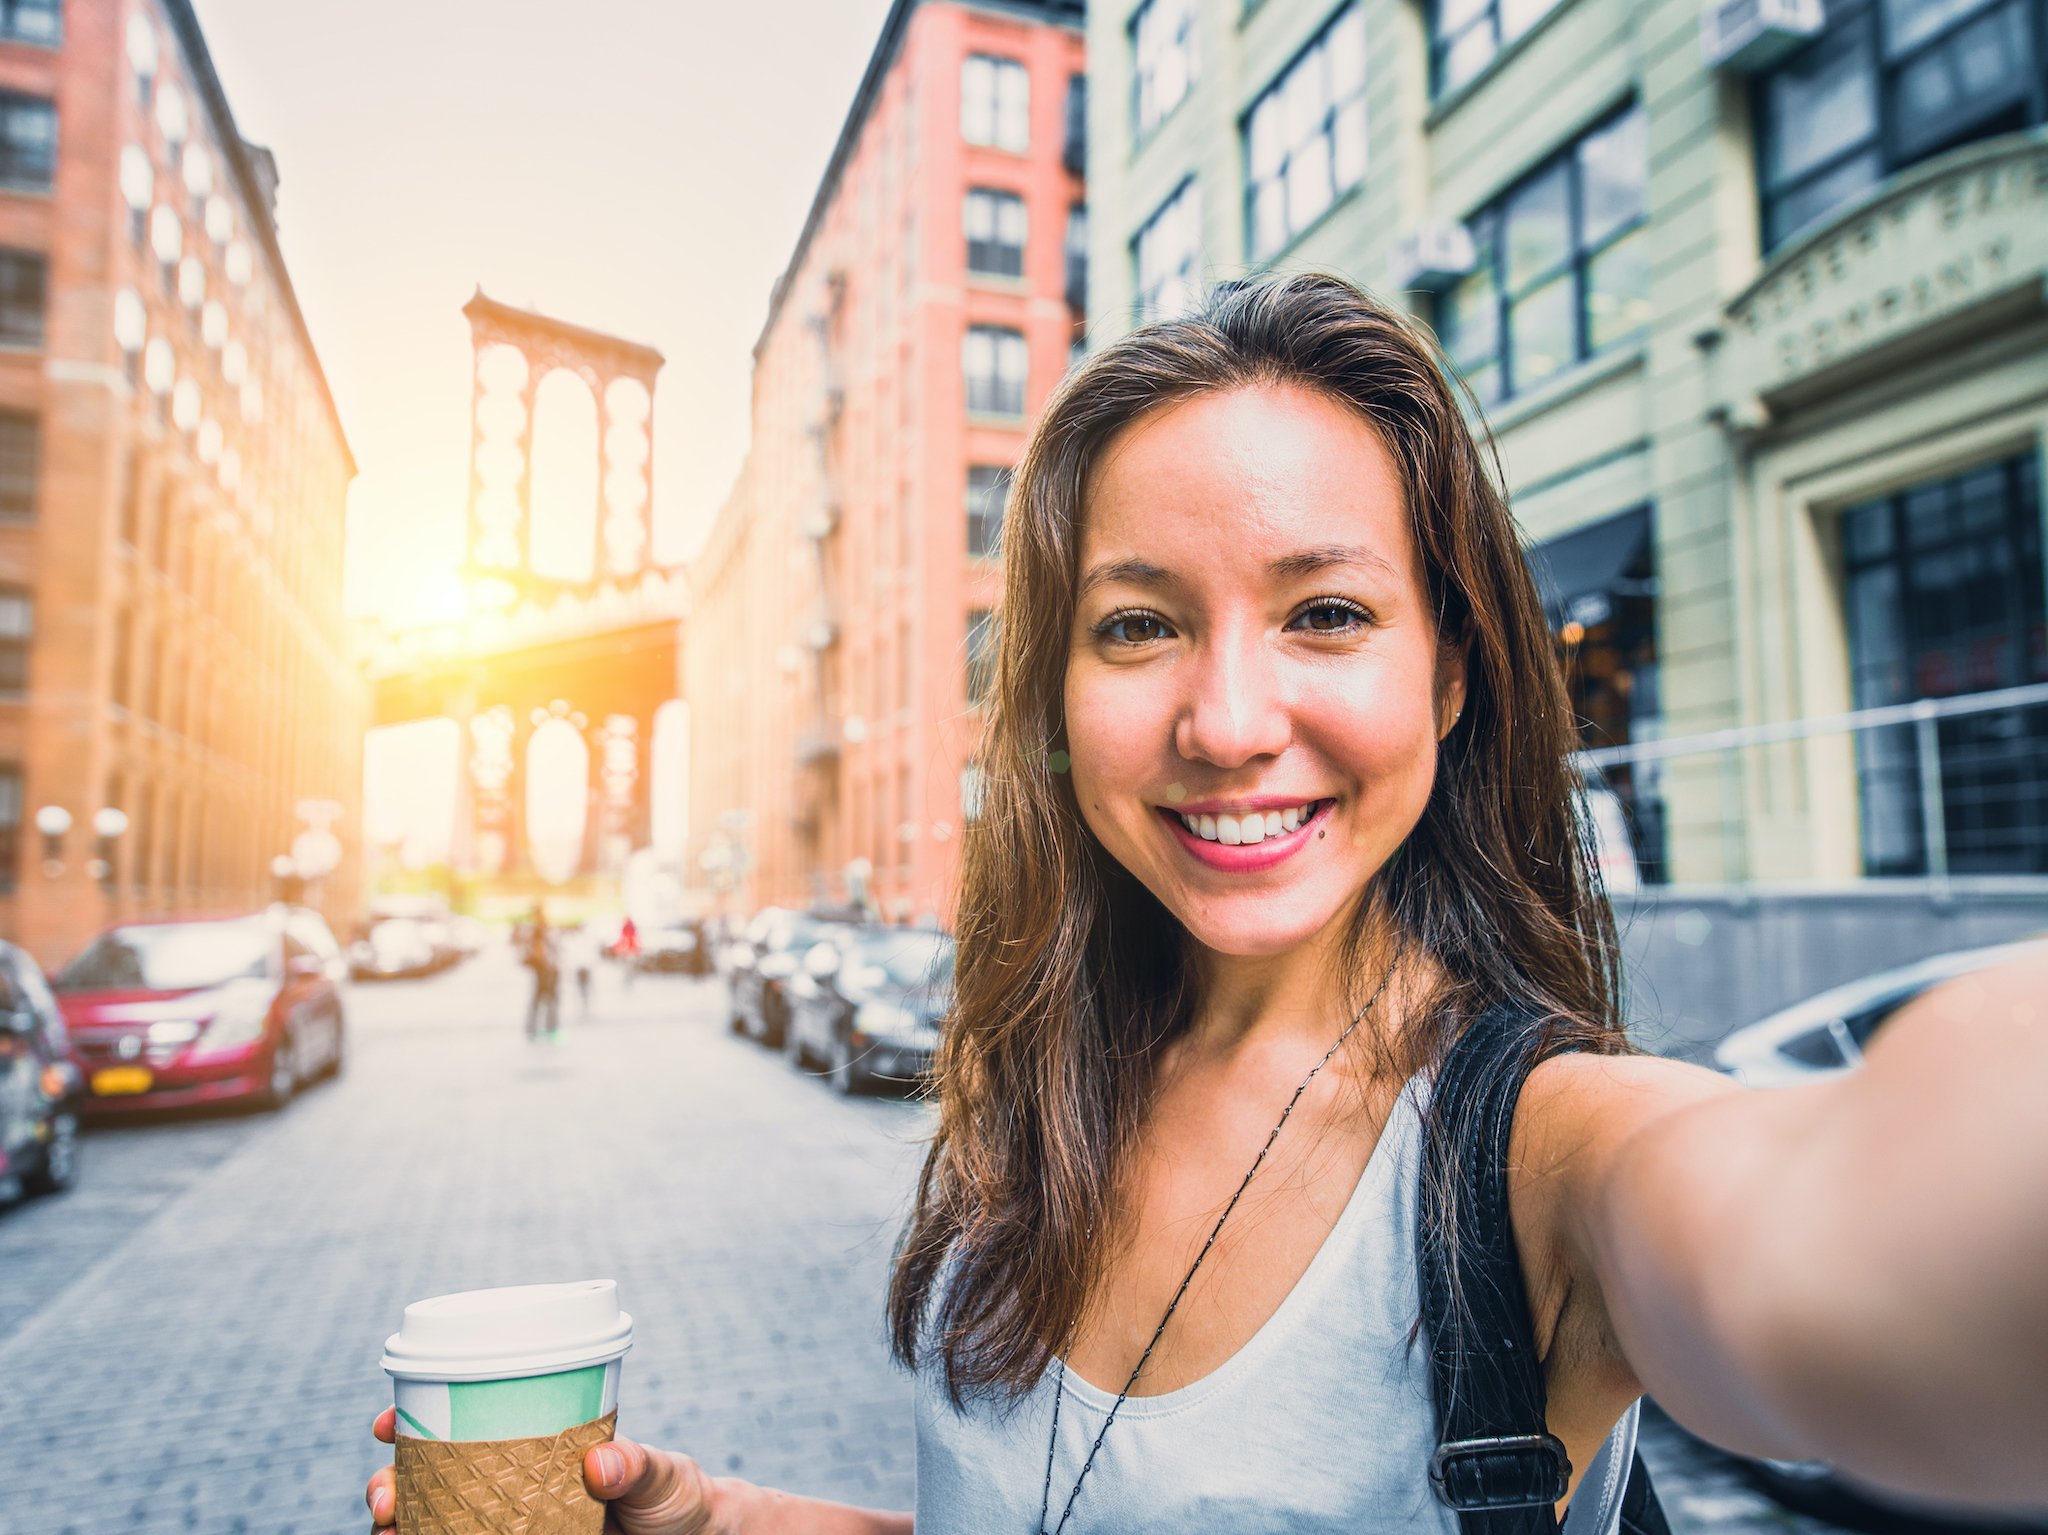
If the scenery is ultimately yourself, then always shoot at a straight or elevated angle.
Not every selfie has to be conventional. Perhaps that's bad advice, considering the lengths some will go to, but it's with safety in mind first. Selfies that look up at you might be worth trying if they convey a sense of size and scale. Tourists do this all the time in places like Christ the Redeemer in Rio de Janeiro and pretty much any other statue commanding some reverence.
Majestic selfies like that often don't turn out too well because they warp how bodies look. One way to try a shot like that is to prop up the phone on the ground and point it up on an angle toward you. This works better with a phone's ultra-wide lens because it captures a greater sense of scale, and you could probably squeeze in more people or whole bodies in there. Otherwise, avoid this kind of angle if you don't want your chin to be the centerpiece.
No matter which angle you choose, it's often dictated by what you're trying to get behind you. That can be tricky sometimes if it's a tall structure or a wide vista. Tougher still if you have to deal with the lighting dynamics of a sunset or sunrise behind you. No matter what, play around with the angle you're shooting at to get both the scenery and a flattering side of you.
If the scenery is ultimately yourself, then always shoot at a straight or elevated angle. It will give you a more chiseled appearance.
Use light to your advantage

It's always best to utilize the best natural light available to you.
Taking a selfie with a light source behind you isn't always the brightest move. As a backlit subject, the darkest shadows will fall onto you, making for an awkward photo. Some phones may offset that by lighting up the screen in bright white to help, except the efficacy isn't always guaranteed.
Get the latest news from Android Central, your trusted companion in the world of Android
It's always best to utilize the best natural light available to you. That's easy enough to do outside (unless the sun is right behind you), but when indoors or in darker locales, it's better if you're facing the light. So then, what do you do if the action or scenery you want is where the light is?
A good way to deal with that is to enlist the help of friends or family who are with you. They probably have their own phones. Ask two of them to turn on the flashlights on their devices and point them at you from your left and right. If you're using your right arm to take the selfie, instruct the person on that side to angle the light from above your arm and down toward you. That will help eliminate excessive shadows, especially if you tell the person on the other side to angle the light the same way.
If you have no one with you, try taking the selfie from an angle where there is some light hitting you, or move the phone closer so the white screen can lighten you up more. Even better, use the rear camera instead, and take advantage of any night mode available. You could try using the LED flash, but I don't recommend it because it will black out the scene behind you.
Make use of the self-timer
This is a biggie if handling is an issue, or you're using a selfie stick or tripod. The timer is an excellent way to avoid both camera shake and awkward angling with an outstretched arm. Plus, it's a great way to utilize the rear camera, which will always deliver better results. It also helps if you or whomever you're with focus on that rear lens, rather than the screen in front. The timer should eliminate potential blur and present more composed images.
In lieu of a stick or tripod, rest it and prop it up on a flat surface that enables you to take a good shot without using your hands at all. Face detection in camera apps should be enough to ensure you're in focus, so all you would need to do is press the shutter and wait for the timer to snap the image.
Try a tripod

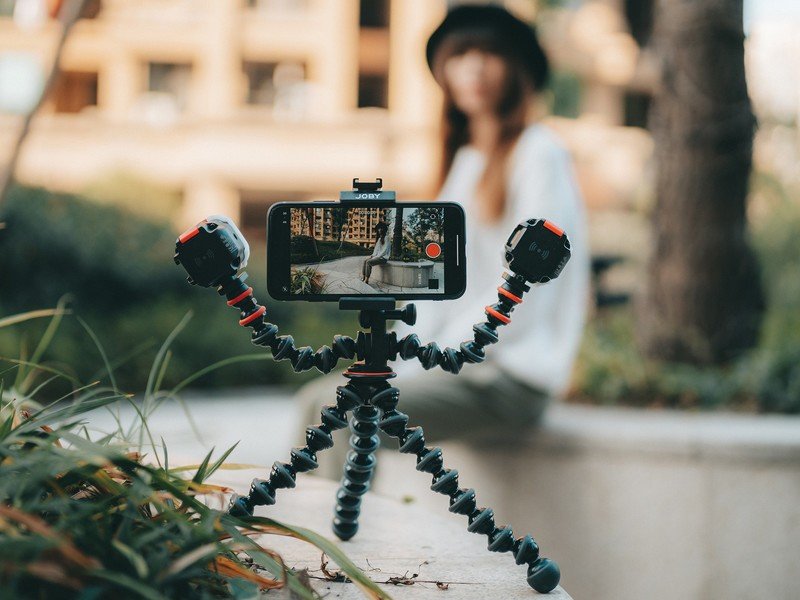
Selfie sticks are useful enough, and they also tend to be the butt end of a lot of jokes. A small tripod may actually be the better option if you want some versatility in where and how you shoot. Plus, you won't necessarily stand out for the wrong reasons, in case that matters to you.
Tripods are good in that you can use them to take still photos, selfie videos and not accidentally hit someone in the process. Selfie sticks come with that caveat because of their length, but they are also almost entirely handheld props. A tripod isn't because it can stand up on its own. That means you can shoot from a variety of angles or surfaces — and with the timer on — without your hands, too.
Try different lenses and modes
If your phone has multiple lenses in the rear, try them out. A telephoto lens can be great if you're using a tripod, where you can be more unfettered and get a nice bokeh effect. I mentioned the ultra-wide lens earlier, and that can be great for squeezing in a group or getting a sense of how small you are relative to your location. Most often, the best quality will come out of the standard wide lens. The front-facing camera may be okay, but if quality and composition are what you're after, move to the rear. And you may also get even better by attaching an external lens.
Various modes could also be worth testing. Night mode is a given for low-light, but so would be a pro or manual mode where you can control shutter speed, ISO, white balance, and exposure. I'm not a fan of any "beauty" modes, given the prevalent skin-softening they come with, but they may be more up your alley.
Do it your way
How you apply tips like these depends on you. Selfies are supposed to be personal in nature, though they are often looking to evoke an outward appearance. The technical aspects are what help make a shot what it is, but the composition and vision is entirely on you. Whatever it is you're looking to convey, using the tools in the best way possible can help get you there.

Hosted by Android Central's Alex Dobie
Join us for a deep dive into everything you need to know to take better photos. Composition, software features, and editing are just some of the features we'll be tackling together in this course.

Ted Kritsonis loves taking photos when the opportunity arises, be it on a camera or smartphone. Beyond sports and world history, you can find him tinkering with gadgets or enjoying a cigar. Often times, that will be with a pair of headphones or earbuds playing tunes. When he's not testing something, he's working on the next episode of his podcast, Tednologic.
