How to take better food photos with your smartphone
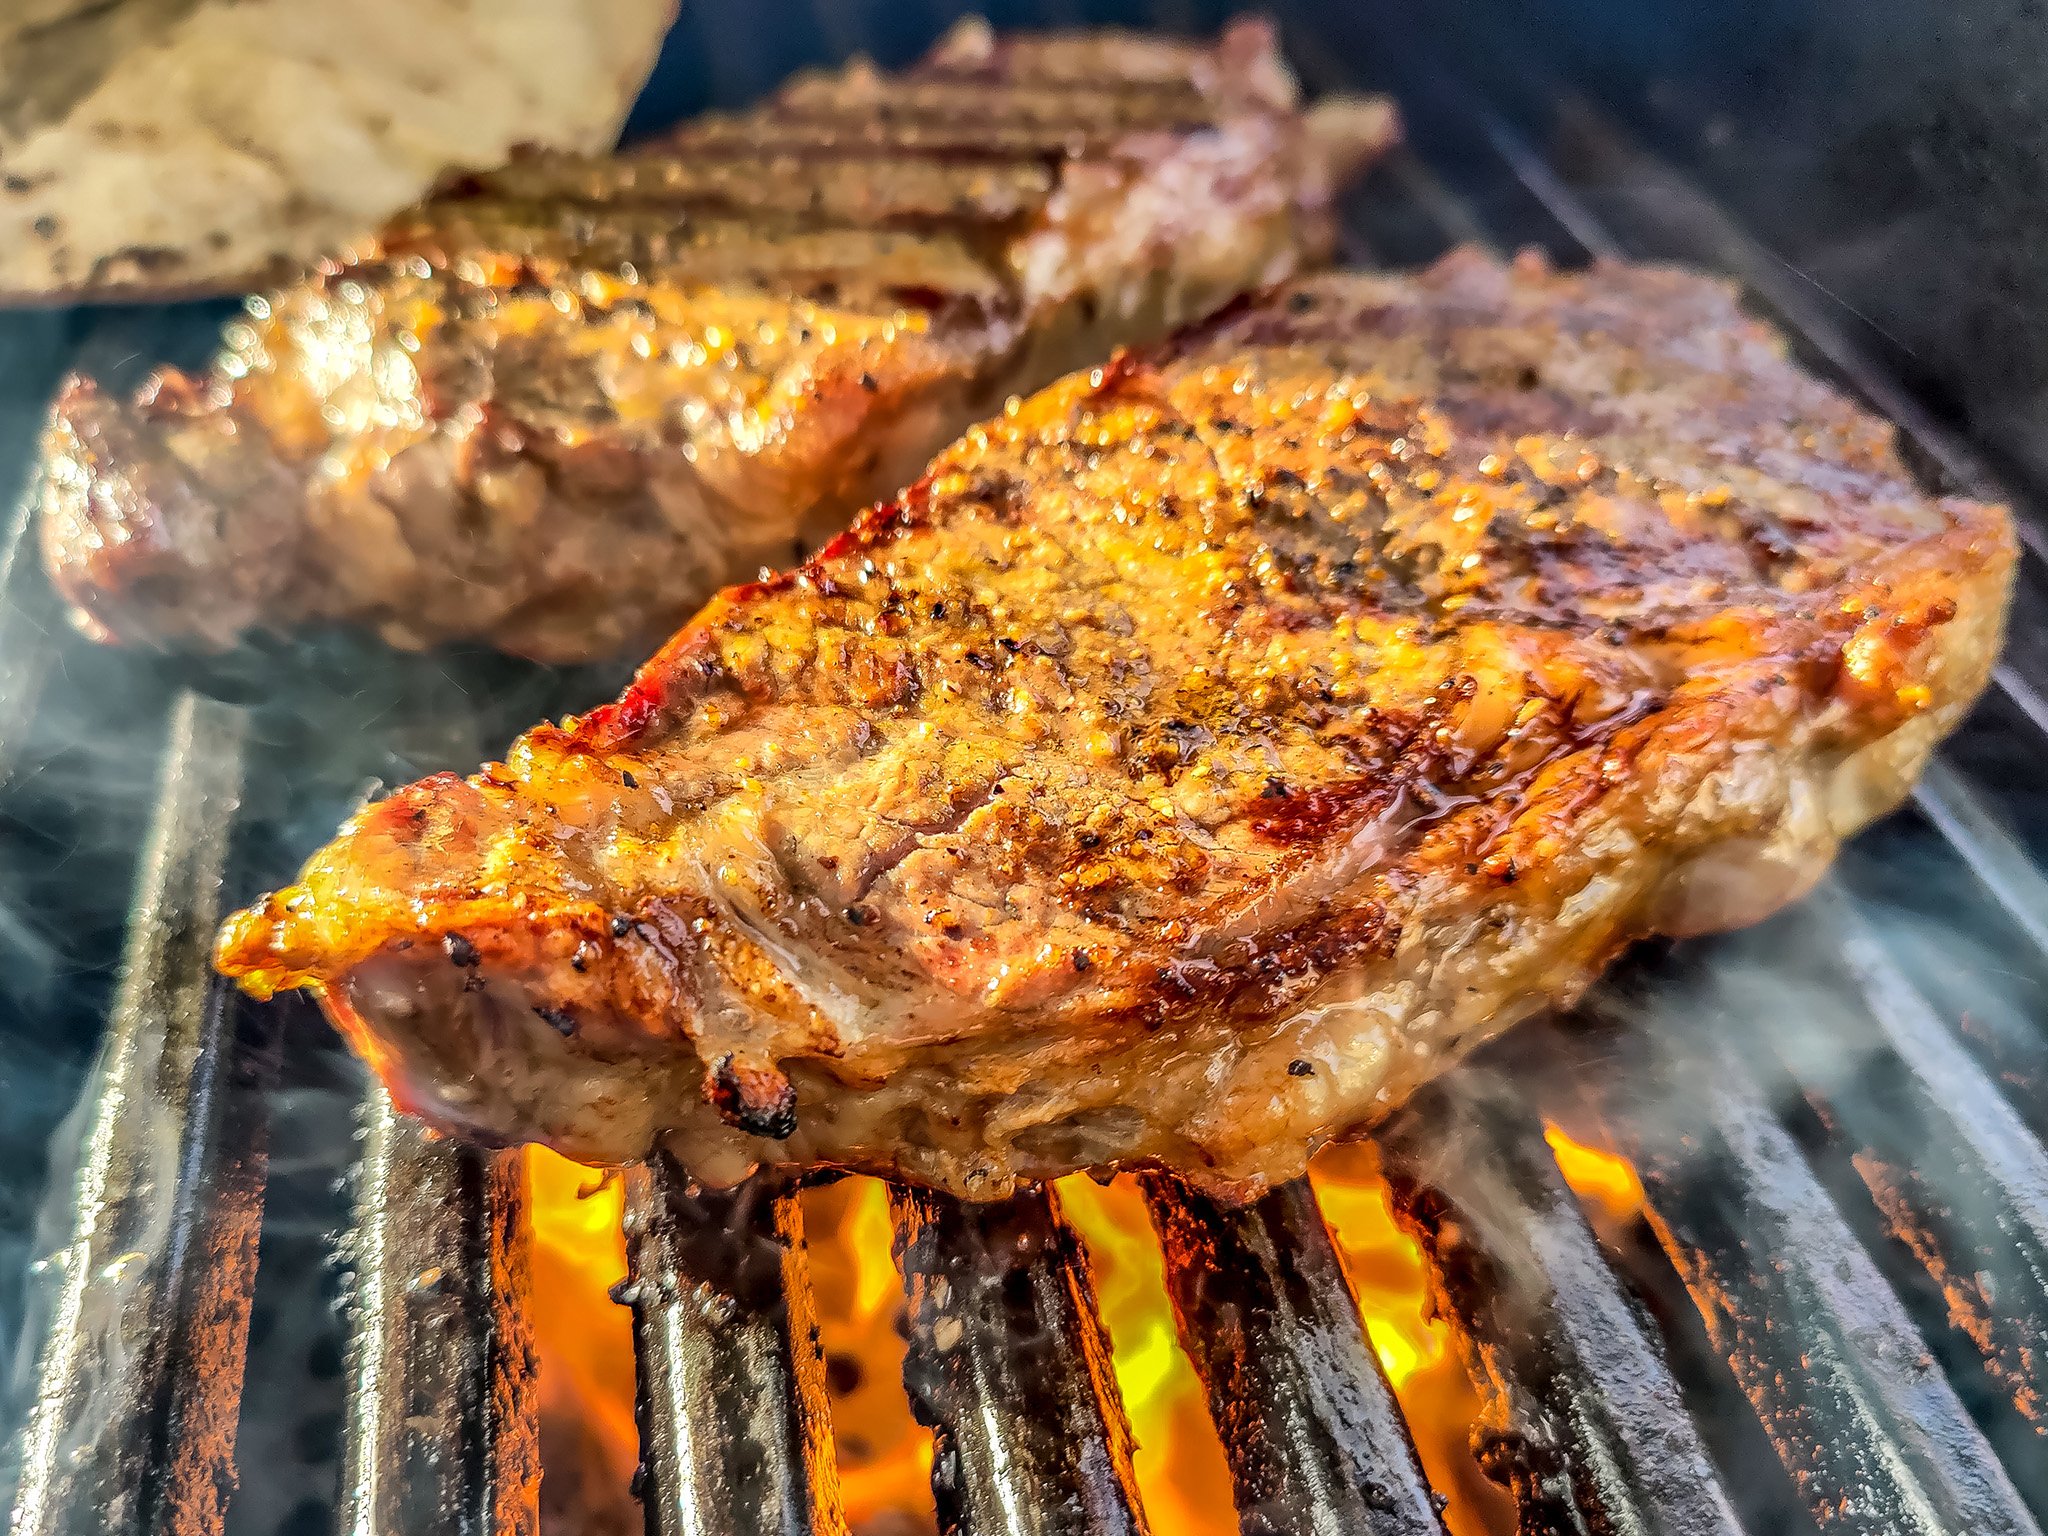
You've either done it yourself, or seen someone else do it countless times. A server brings a dish to the table, and before digging in, the patron takes a photo to capture or share it on social media. The ubiquity of smartphones has made food one of the most common subjects, yet it's also among the most challenging to shoot.
Making food look good isn't just about the substance of the dish itself, but also the style that goes with it. There's a big difference between a snapshot and a nice composed image to capture the culinary beauty of whatever is there to see. Here are some of the ways you can do that.
Don't use the flash
I get it. You're in a dark or dimly-lit environment, and you want to bring out all that succulent goodness out of the meal in front of you. Resist the urge to show that with the LED flash on your phone. It will wash out the food contents and the white on the dish itself will completely lack detail or texture.
You're better off asking a friend to turn on the flashlight on their phone and illuminate the dish from an angle for you. Shoot it overhead without the flash and you will have something that looks less like a burst of light, and more like a soft flood that maintains texture. If your phone has a night mode, try using that as an alternative. If it comes out a bit dark, you can always brighten it later when editing.
Use the grid and exposure control
Some phones will have the grid on by default on their camera apps, but if you don't see it, go to the settings and turn it on. It's the simplest way to properly line up a food shot for both alignment and symmetry. It also enables you to properly frame a food shot if it includes other elements in it, like supporting dishes, cutlery or table decorations, for example.
As you frame the shot and focus on it, you will likely have to adjust the exposure as well. It's usually the sun icon slider that shows up when tapping to focus. On the Pixel 4 and 4 XL, you can also adjust shadow, which may be useful if you want to add a little more of a dramatic look to the dish.
Use natural light wherever possible
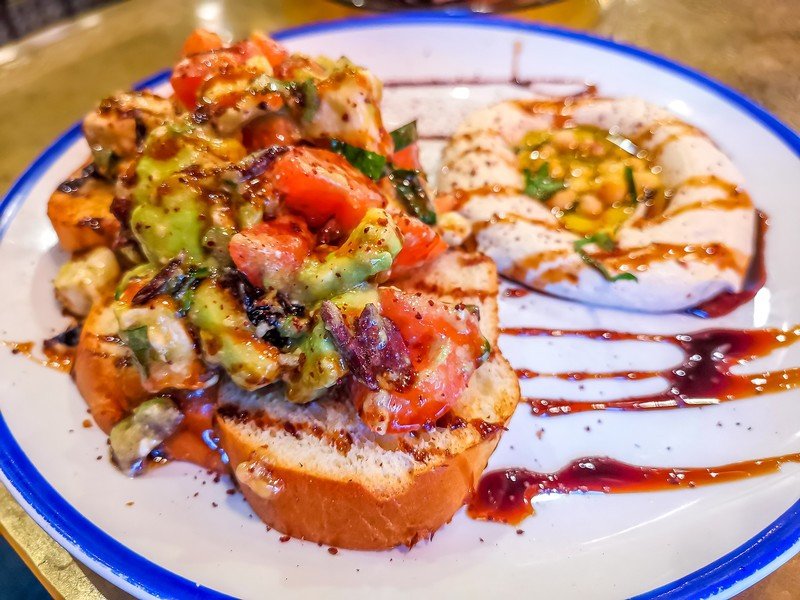
This isn't always possible if you're indoors and not near a window, but better weather may also mean you're eating outside more often, which is perfect for these situations. Either way, natural light is your friend, and when you can control exposure or shadows, you can capture more of the depth and texture associated with food. Even indoors, use a secondary light source, like the flashlight from a friend's phone, to light the dish from an angle to achieve a similar result.
Get the latest news from Android Central, your trusted companion in the world of Android
The beauty of natural light, especially if it comes from one direction, is that you can control it to a certain degree. For example, if you have harsher sunlight hitting it from one side, use something like a menu to block the sun and try shooting it that way. If the menu is made with white or off-white paper, it could also act as a makeshift diffuser. When you have natural light available, use it to your advantage and be creative with it.
Use different angles
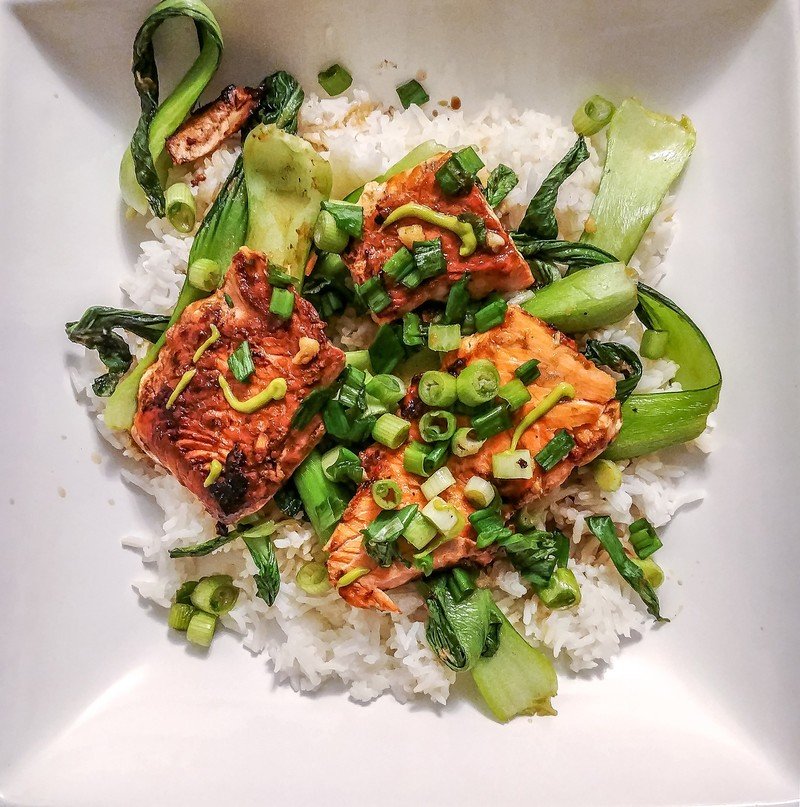
The most common angle for amateur food shots is at about a 40-degrees above the dish because people take those shots while sitting down in front. That's fine, but it's often not the best vantage point. Directly overhead or closer at a lower angle are better bets — though you will have to assess what will work best for the particular thing you're shooting. As an example, a "busy" dish with various ingredients and colors might look better overheard. However, one with height and texture could look better from up close or at a lower perspective.
You will notice both of these in more professional shots in cookbooks or restaurant photography. There may be variances in contrast or color, but the angles are pretty consistent and it's because they are the best ways to convey food's appetizing appeal. Once you get the angles right, you can focus on how the other elements contribute to making a great photo.
Try portrait mode
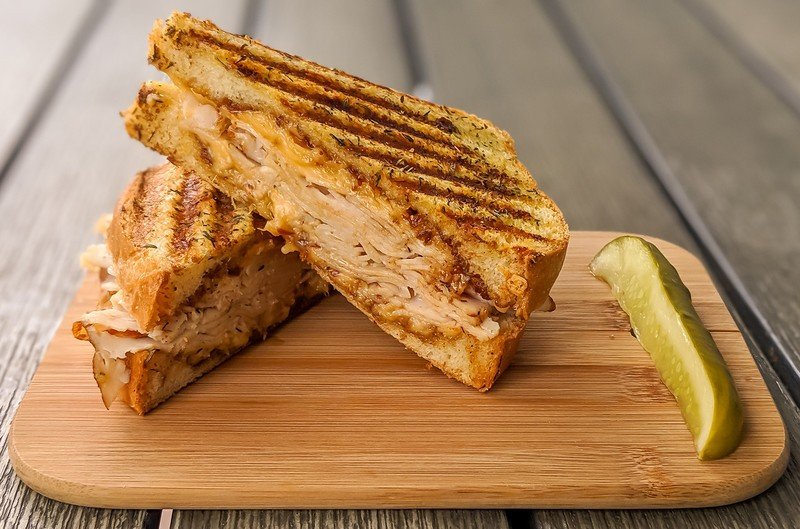
Phones generally have this mode now, and while it is aimed at capturing people, the effect can be equally satisfying for food shots. Bokeh effects add flair to a dish, but they work best for those that have some depth or height to them. Lower angles work best for the blurred background to accentuate the food in the foreground.
One thing to keep in mind is that distance will determine how much is in focus. Portrait modes usually use a longer focal length with a tighter crop, forcing you to physically move back to capture more in the frame. However, lighting also matters, and if the phone uses the telephoto lens, the aperture will be tighter. That will make it challenging to shoot well in dimmer settings. External light sources can always help with that, too.
Add other items to the food
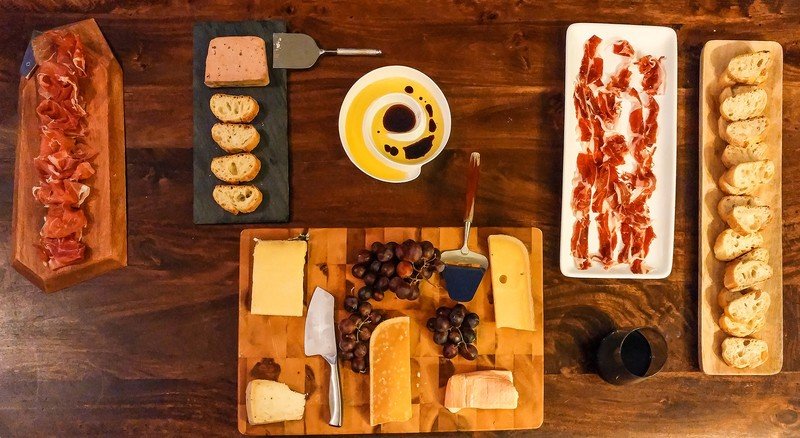
A single dish may not be enough to tell a story. If there is a garnish or appetizer that helps add more depth to the dish, don't be shy to add it in, even if it's not going to be in focus. It can even be a glass of wine or cutlery with a clean napkin. Maybe even a restaurant or table setting that adds to the ambience of the food itself. This particular element has tons of variables, and it often comes down to personal taste.
This also affords you the opportunity to shoot a dish without it taking up the whole frame. For instance, if it's something with a uniform pattern, you could theoretically shoot it to take up half the frame, while putting other items in the other half. The "rule of thirds" applies to food, too. You don't always have to frame it all right in the middle if there's a way to make it look good otherwise.
Food offers plenty of opportunity
Unlike a landmark or one-of-a-kind photo ops, food is a subject you encounter daily in one form or another. Even if what's in front of you isn't all that special, use it as an opportunity to practice technique. In time, you'll gain an understanding of how some of these fundamentals apply and when to utilize them. The dishes you consume will only look better in due time.
Hosted by Android Central's Alex Dobie
Join us for a deep dive into everything you need to know to take better photos. Composition, software features, and editing are just some of the features we'll be tackling together in this course.

Ted Kritsonis loves taking photos when the opportunity arises, be it on a camera or smartphone. Beyond sports and world history, you can find him tinkering with gadgets or enjoying a cigar. Often times, that will be with a pair of headphones or earbuds playing tunes. When he's not testing something, he's working on the next episode of his podcast, Tednologic.
