How to take the best Night Sight photos with your Google Pixel
Google's cameras have always been spectacular in low light, but with the new Night Sight feature they're truly spectacular even in extreme darkness. One of the best parts about Night Sight is that it was released for all Pixel phones, not just the latest models. And if you want to make the most of Night Sight on all of these phones, you'll want to know these tips and tricks.
Products used in this guide
- Google Store: Google Pixel 3 ($799)
- Amazon: Vastar Universal Smartphone Tripod Adapter ($8)
- Amazon: JOBY GorillaPod Magnetic Mini ($13)
- Amazon: UBeesize Adjustable Holder with Remote and Universal Clip ($14)
Hold the phone steady
The biggest improvements to Night Sight come from keeping the phone still during capture.
Night Sight relies on taking several longer-exposure photos and layering them to create an altogether new photo. Because of this, the biggest thing you can do to improve Night Sight photos is keep the phone incredibly still. The camera app reads the movement of the phone and adjusts accordingly, but it can only do so much to compensate for your hand shaking — it's best to just take this out of the equation entirely by having a steadier hand.
Whatever you need to do to steady your hand is going to help the shot. If you can lean against a wall, pole, street sign or a friend, that helps. Or set your phone on a railing, window sill, computer or coffee cup! That works too. Not only will steadying the phone dramatically reduce the chances that the resulting photo will be blurry or soft, but the camera will actually take even longer exposures when it detects the phone is stationary — which leads to better photos in the end.
Use the 3-second timer
This is more of a continuation of our first tip, but an important one if you're hunting the perfect Night Sight shot. The camera offers a 3-second timer option in Night Sight, which is incredibly useful for those times when you're propping your phone up against something to keep it still. By using a timer, you won't disturb the (potentially precarious) position your phone is in. Frame it up, hold the phone steady to press the shutter, then let it sit for three seconds before capture.
You can find the timer on the left side of the camera interface, behind the little stopwatch icon. It doesn't make sense for every shot or situation, but any time you can add the few extra beats between pressing the shutter button and actually capturing, you're going to improve your photo.
Wait longer than you think to finish the capture
In an effort to keep things steady as possible, it's important to keep the phone held solid even after you think it's finished capturing. Google provides a nice little progress circle that's your indication it's taking the photo, but don't let your anticipation get the best of you as it winds down to the end. It's aways a good idea to let that progress circle complete, then wait an extra beat before pulling down the phone to check your results.
Be an expert in 5 minutes
Get the latest news from Android Central, your trusted companion in the world of Android
With a long exposure system like Night Sight, that final shot may not be finished at the exact time the interface shows it, and you wouldn't want the final frame to be soft because you were antsy and moved the phone a moment too early. You may be sensing a theme here: it takes patience to get a great Night Sight photo. This is a perfect example of why.
Tap to focus and meter
When you start taking photos at night, it becomes even more important to manage the minimal light that you have. Night Sight can bring brightness out of scenes that seemingly have none, but that doesn't mean you can just point and shoot expecting the best photo. In scenes with mixed lighting, be sure to utilize the camera's ability to focus and meter on a single point, and even adjust the exposure manually with the slider that pops up when you tap.
Counterintuitively, you want to tap the brighter part of the scene to darken it before using Night Sight.
In the case of Night Sight, it's a bit counterintuitive: you often want to tap on the brightest part of the scene and lower the exposure to start, because the Night Sight processing will do the work of brightening the scene with longer shutter times. By tapping on a dark part and raising the exposure to brighten the scene, you'll be increasing the ISO unnecessarily considering how much brightness is added by the multi-frame processing.
Play around with using adjustable exposure in some mixed-lighting situations, and you'll get a better feel for how Night Sight interacts with pre-set exposure ratings. Some parts of this function are counterintuitive, but make sense as soon as you're comfortable with Night Sight.
Use manual focus in really dark situations
Continuing on best practices for focus, shooting at night makes auto focus systems far less effective and in many cases entirely useless. That's why Google has added manual focus controls, so you can get an in-focus shot even when the camera has no way to set focus automatically. When your phone is having trouble focusing in the dark, start with a tap on the part of the scene you want to focus on — sometimes simply giving it a specific point to focus on will be enough.
If even tapping to focus doesn't work, switch to manual focus: you'll see the focus option icon in the top-left corner of the camera interface. Here you can set "near" focus for anything within a typical portrait range, or "far" for anything beyond that. By locking focus to one of these points, the camera won't try to find focus and "hunt" back and forth to find a random focus point it can lock on. This will speed up your capture time, and in many cases give you a crisper photo that is focused on the actual subject you want to capture.
Manual focus is basically the only way you'll get Night Sight to take a crisp shot in pitch-black scenes, so if you're really pushing it to the limit you'll need to know this trick.
For pros: Use a tripod
You get the most out of Night Sight with a tripod — even a cheap one.
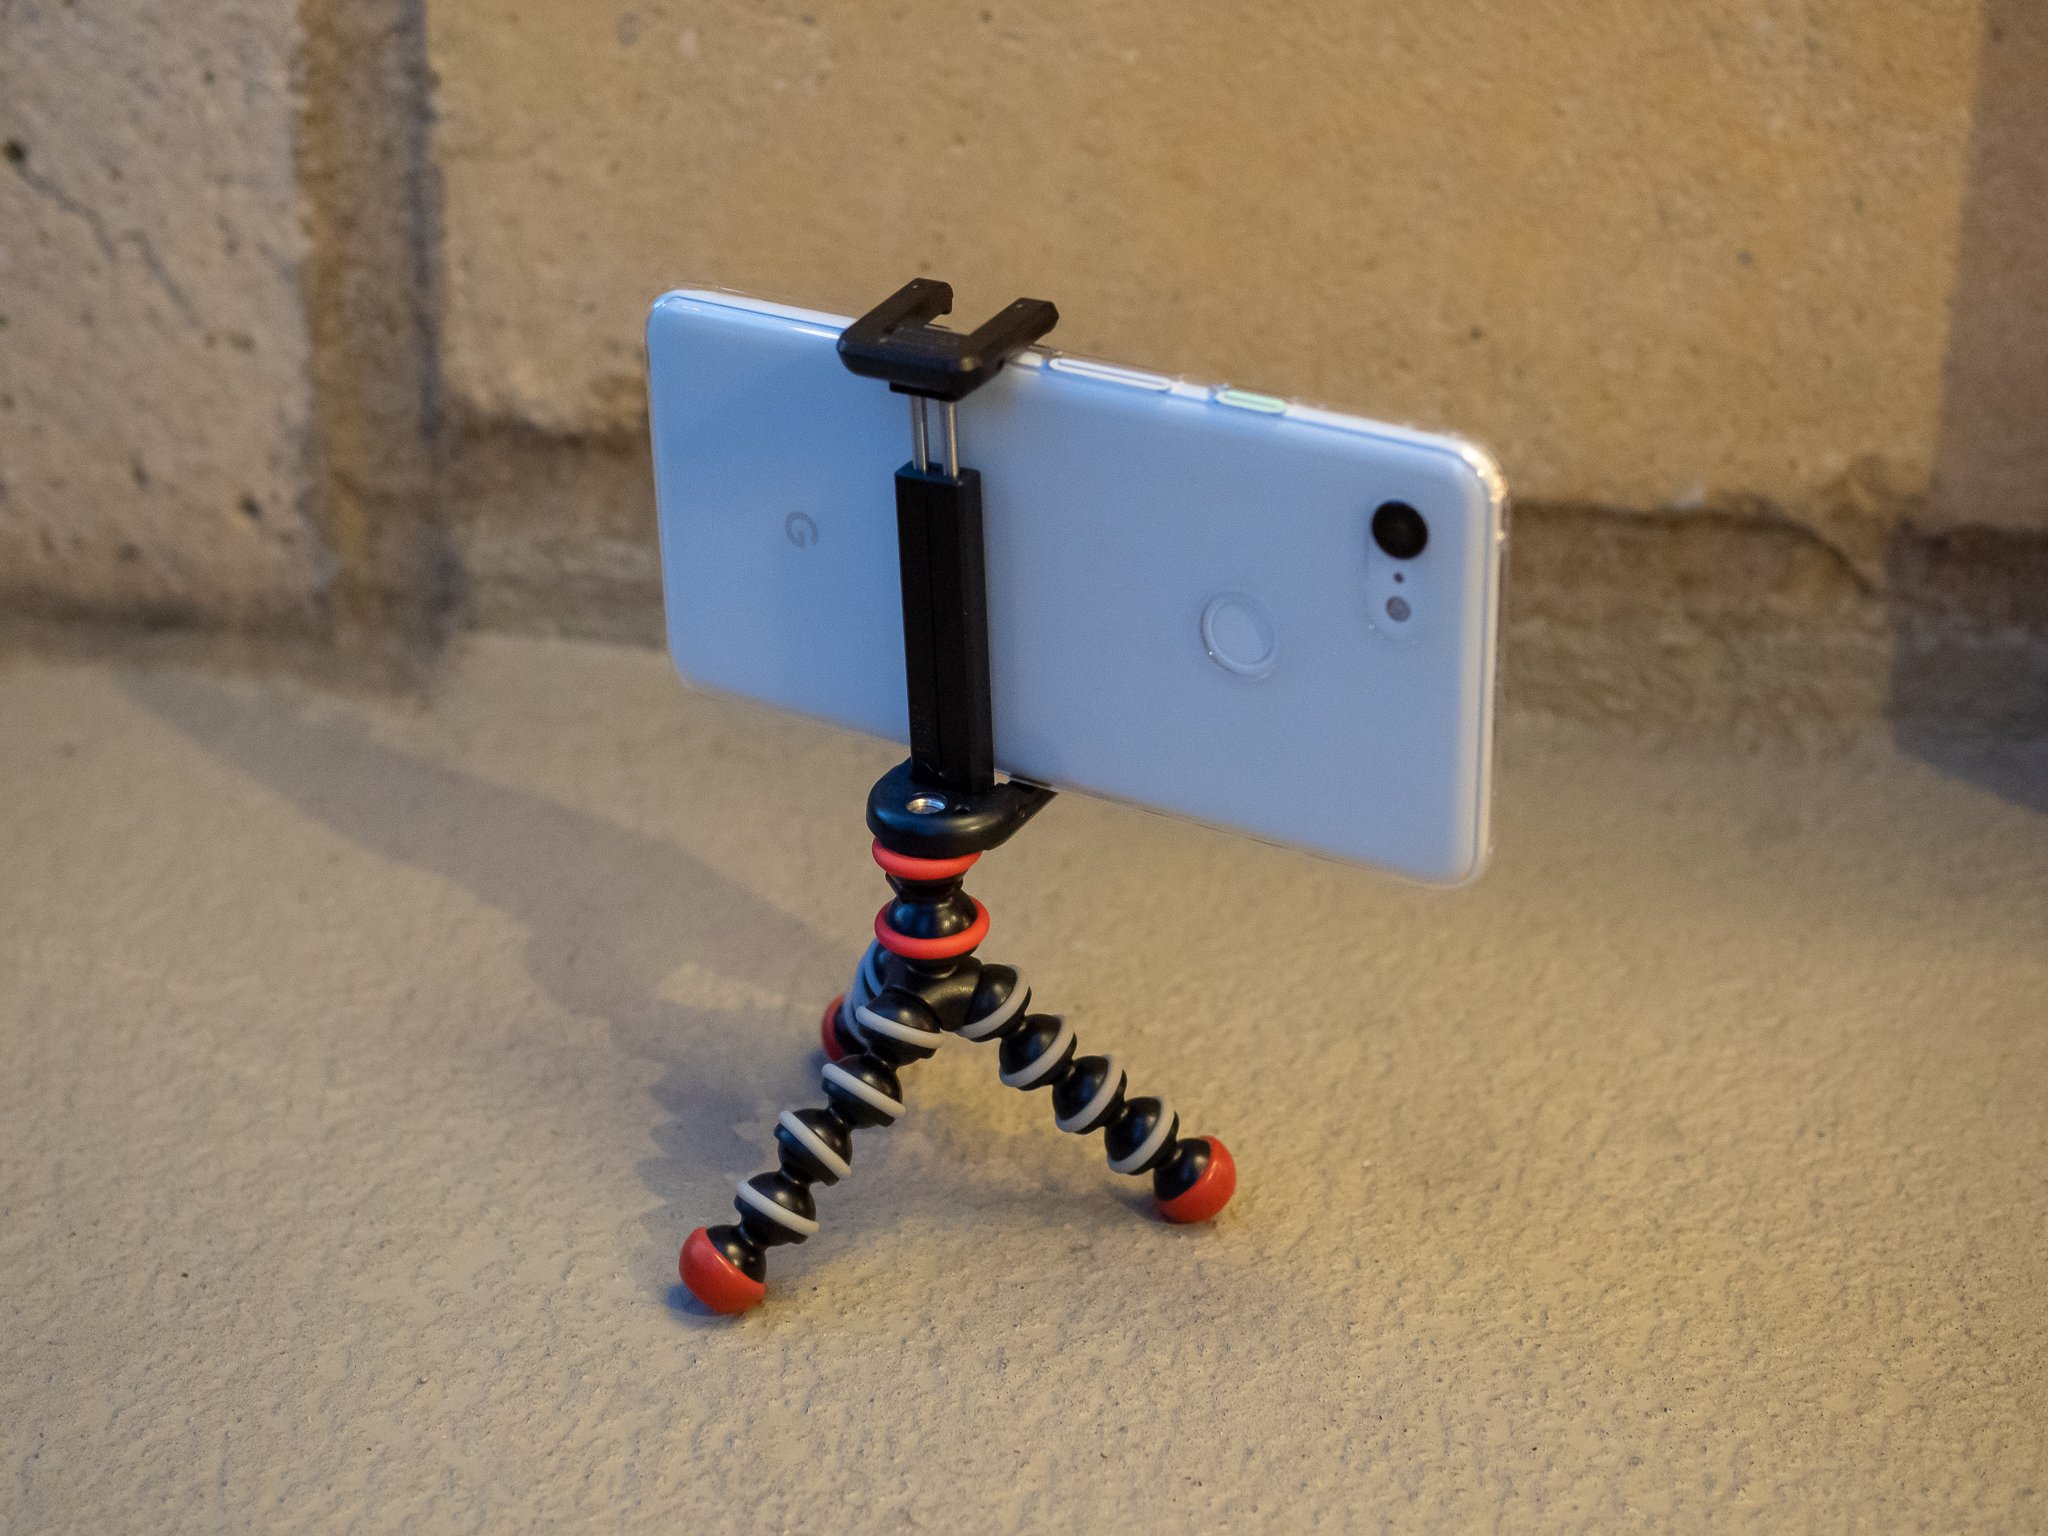
This is a bit of a pro move, but one that unlocks the top level of Night Sight's capabilities: put your phone on a tripod. This has always been true for low-light photos, particularly when shooting with professional-grade cameras or phones with full manual controls, but with the new Night Sight feature it now becomes a viable way to take excellent super-low-light photos on Pixel phones. When shooting in Night Sight, the phone can detect when it's stationary in a tripod, and will turn up all of its parameters to take even longer exposures at even lower ISOs for improved photos. Without any potential hand shake to be introduced, Night Sight can go wild and get as much data as necessary, producing amazing shots that you just can't get handheld — even when you brace against something as suggested above.
You can get a phone grip that threads onto any tripod for under $10, and pair it with a mini tripod with magnetic feet for easier placement — or get a cheap all-in-one solution if you aren't too picky about the details. No matter which way you do it, Night Sight becomes a serious photography tool once you spend a little money and time learning how to use it with a proper tripod setup like a professional photographer. Conclusion of what the guide has accomplished. What should the user be able to see or do as a result of this guide.
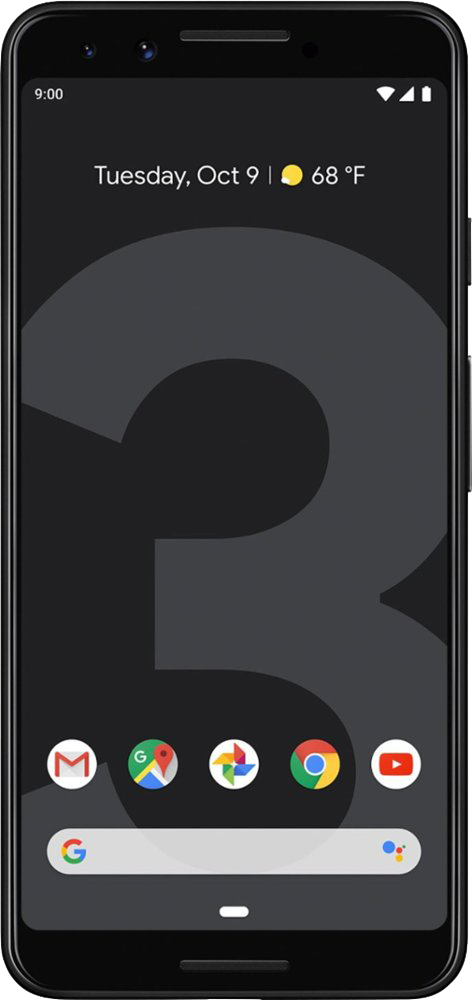
A great phone with a wonderful camera setup
Night Sight is available on every Pixel phone, but the Pixel 3 has the best sensor and lens combo for the absolute best photos in all conditions. It's also just a great overall phone.
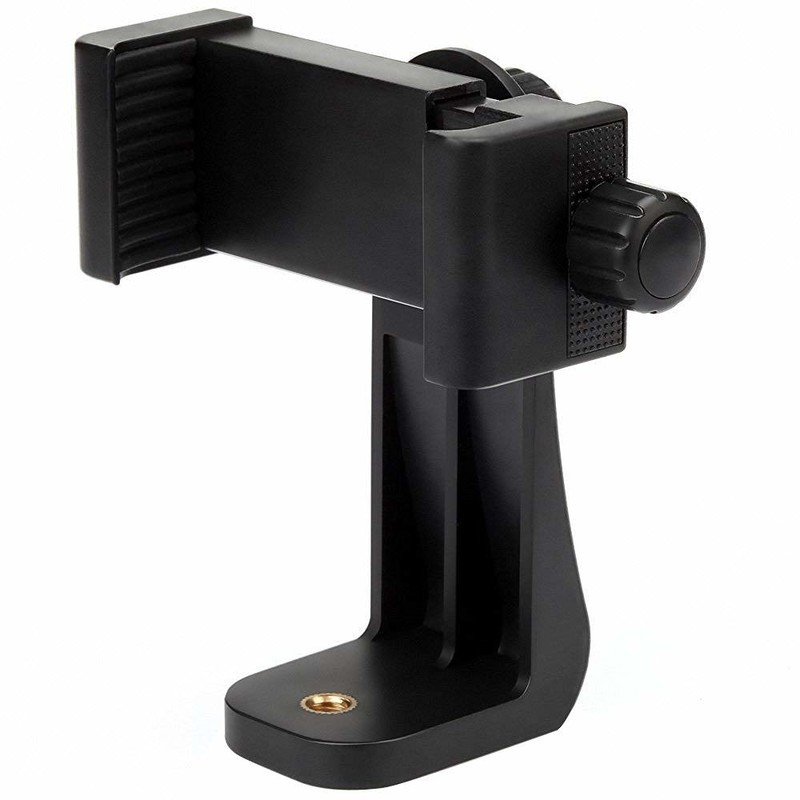
Pair this phone holder with your existing tripod for steady shots
If you already have a tripod of some sort (large or small), you can just buy a phone mount to screw into it. Adjustable mounts like this expand to fit just about any phone size, and are a super cheap way to take great photos with your phone.
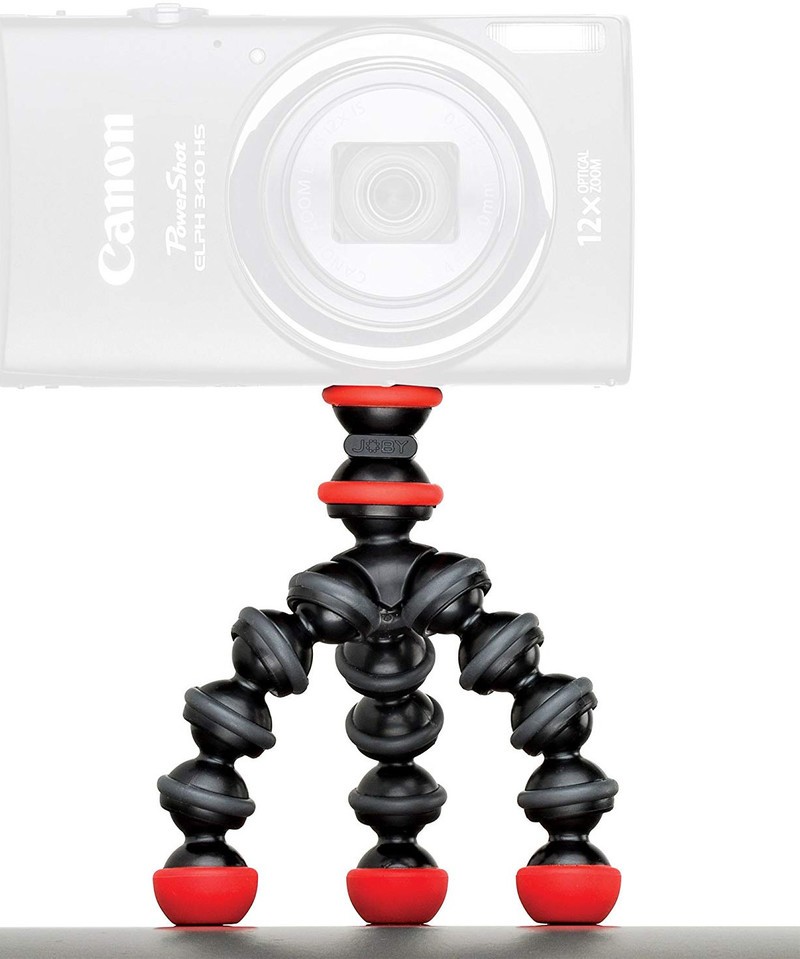
A flexible and small tripod you can carry with you
Instead of dealing with a big camera-sized tripod, bring one befitting the phone you're carrying around. Joby's GorillaPods are infinitely flexible, and have magnetic feet that can be super helpful in positioning your phone for a great shot. Just make sure to get a phone clip to attach to it.
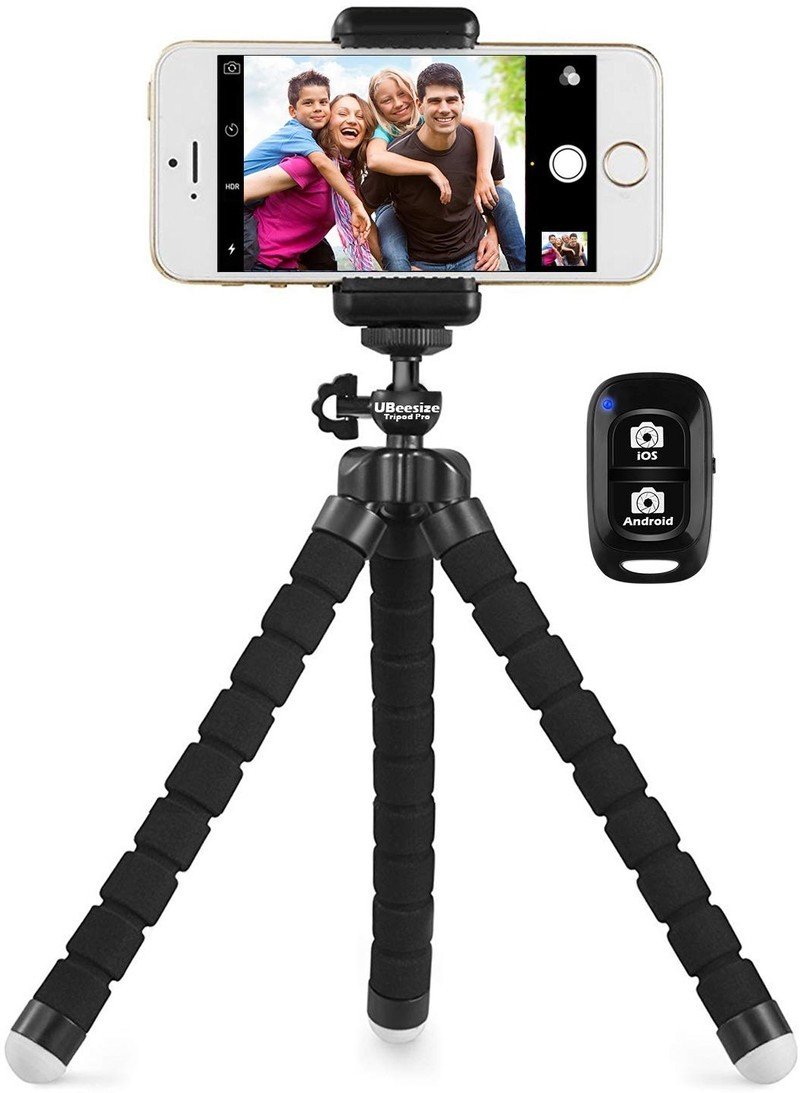
The cheapest way to get your phone mounted to a tripod.
These little phone tripods are a dime a dozen nowadays, so you can't really go wrong with any of them. Look for one, like this from UBeesize, with an adjustable phone holder and even a Bluetooth remote, and maybe a tripod that either telescopes or bends. Either way, it'll be cheap.
Andrew was an Executive Editor, U.S. at Android Central between 2012 and 2020.
