How to set up Kodi on NVIDIA Shield Android TV
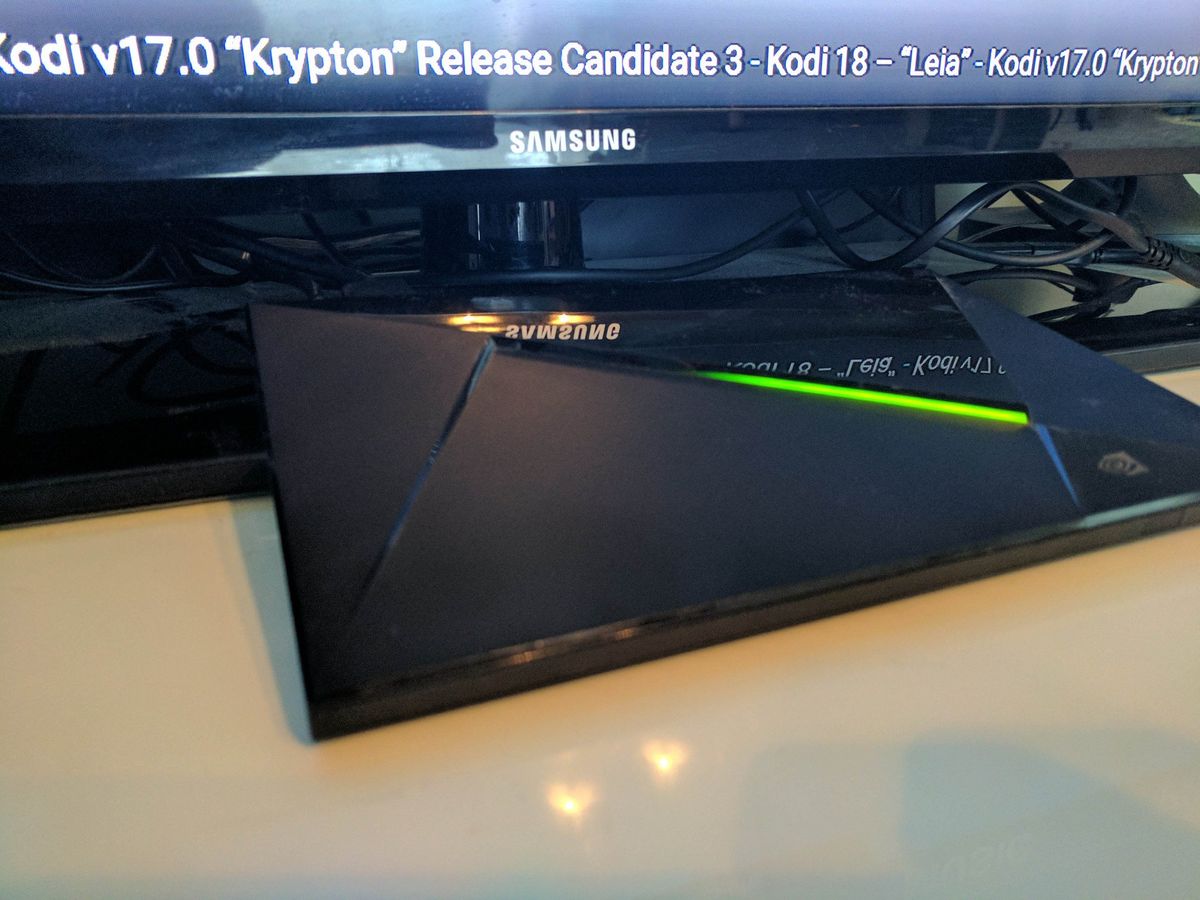
Kodi is one of the most popular and easiest ways for cord cutters to ditch their cable bill for good. It's a very flexible open source media center (formerly known as XBMC) that's available on many different operating systems, including Android. You may have even seen or heard of "Kodi boxes," which are simply cheap Android boxes sold with Kodi pre-installed.
Since it's just an Android app, this means that it's also available for the NVIDIA Shield Android TV, which is far and away the most capable Android TV box than any others you'll find. We'll walk you through the basics for getting Kodi up and running, with some tips for finding and adding content and add-ons!
You can get the basic 16GB model of the NVIDIA Shield TV for $199 and that should be good enough if you're planning on streaming most of your media content through the available add-ons, but if you've got a bunch of media you plan to transfer over to live directly on your device, you'll probably want to opt for the 500GB NVIDIA Shield TV Pro.
See more on streaming TV at CordCutters.com!
NVIDIA Shield TV (16GB)
NVIDIA Shield TV Pro (500GB)
Be an expert in 5 minutes
Get the latest news from Android Central, your trusted companion in the world of Android

Advertisement
How to Install Kodi on your Shield Android TV

Installing Kodi onto your NVIDIA Shield Android TV is by far the easiest part of setting up the app. Since it's available right from the Google Play Store, it's as easy as downloading any app onto an Android device.
- Open the Google Play Store app on the NVIDIA Shield Android TV.
- Search for Kodi.
- Select Install to download the app.
Installing Kodi is just the beginning. You'll need to either transfer your media files to the internal storage on the console or download some Kodi add-ons to stream content over Wi-Fi. We'll discuss how to do both.
How to transfer files to your Shield Android TV
If you've got videos, music, and photos that you'd like to add to your Shield Android TV, there's a couple of ways to transfer them over.
Probably the easiest way to transfer files over would be to go into the Google Play Store and install the ES File Explorer File Manager app on your Shield Android TV. It includes a number of ways to manage and transfer files, including via cloud storage services such as Dropbox, OneDrive, Google Drive, and more. From there, you can simply upload your files to your cloud storage service of choice, then download them to the Shield Android TV using ES File Explorer.
Organize your files based on the folders in the Shield TV's root file system so that it's easiest to organize them in Kodi. Once you've got your files transferred onto the console, it's fairly straightforward to set things up in Kodi:
- Go into Kodi.
- Select the category of files you want to set up (Pictures, Music, or Videos). For this example, we'll use Music.
- Select Files.
- Select Add Music….
- In the pop-up window, tap Browse.
- Tap External storage.
- Scroll down and select the folder that you stored all your music in. Select OK.
Congrats! You have now set up that folder in Kodi as a source for your music. You can continue to add or remove music to that folder and have everything populated nicely for you in Kodi. This works the same for videos or pictures, too, so you can load in all the media you would want on hand at all times.
If you're a little more tech savvy, you can also go about setting up an FTP Server connection between your PC or Mac and the Shield Android TV.
How to install (legal) add-ons to your Shield Android TV
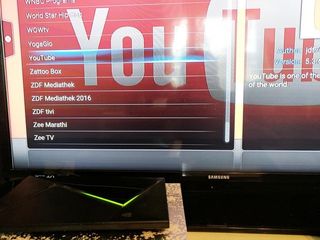
Keeping files directly on the Shield Android TV is one way access your media — but it's 2017 and streaming media is really where it's at. Furthermore, one of the best reasons to use Kodi is its wide selection of add-ons. They are downloaded onto the Shield within Kodi via community-created repositories.
Here's how to find and install an add-on:
- From the main menu, go over to System and select Settings in the submenu.
- Open the settings and click the icon labeled Add-ons.
- Depending on the version of Kodi you're running, you'll see an icon that says Install from repository or Get add-ons. Click it.
- Choose the Kodi Add-on repository.
- Browse through the different add-ons available. The big three you'll want to look for are Music add-ons, Picture add-ons, and Video Add-ons
- Find an add-on that looks interesting. Click it to install.
Once the add-on has been installed, you can access it from the main menu by selecting its category, then selecting "Add-ons" from the submenu. There are dozens of add-ons available from the Kodi repository alone, so definitely take some time looking through them. For example, if you use Plex for accessing your media files across devices, you'll definitely be interested in setting up the Plex add-on for Kodi.
How to customize the look of Kodi on your Shield Android TV

By default, Kodi uses the Confluence skin, which offers a relatively clean and basic user interface that's great for beginners first getting used to using the program. But you also have other skin options available for changing how Kodi is presented on your TV.
- Select System on the main menu.
- Go to Appearance and select Skin.
- Select Get More….
- Browse through the skin options available and select one to install.
From here, you can basically try out as many available skins as you want until you find a style you like. It's essentially the exact same steps to go back and swap skins at any time.
Marc Lagace was an Apps and Games Editor at Android Central between 2016 and 2020. You can reach out to him on Twitter [@spacelagace.

