How to set up your new Amazon Fire TV Stick
Get up and running with your new Fire TV Stick in no time!
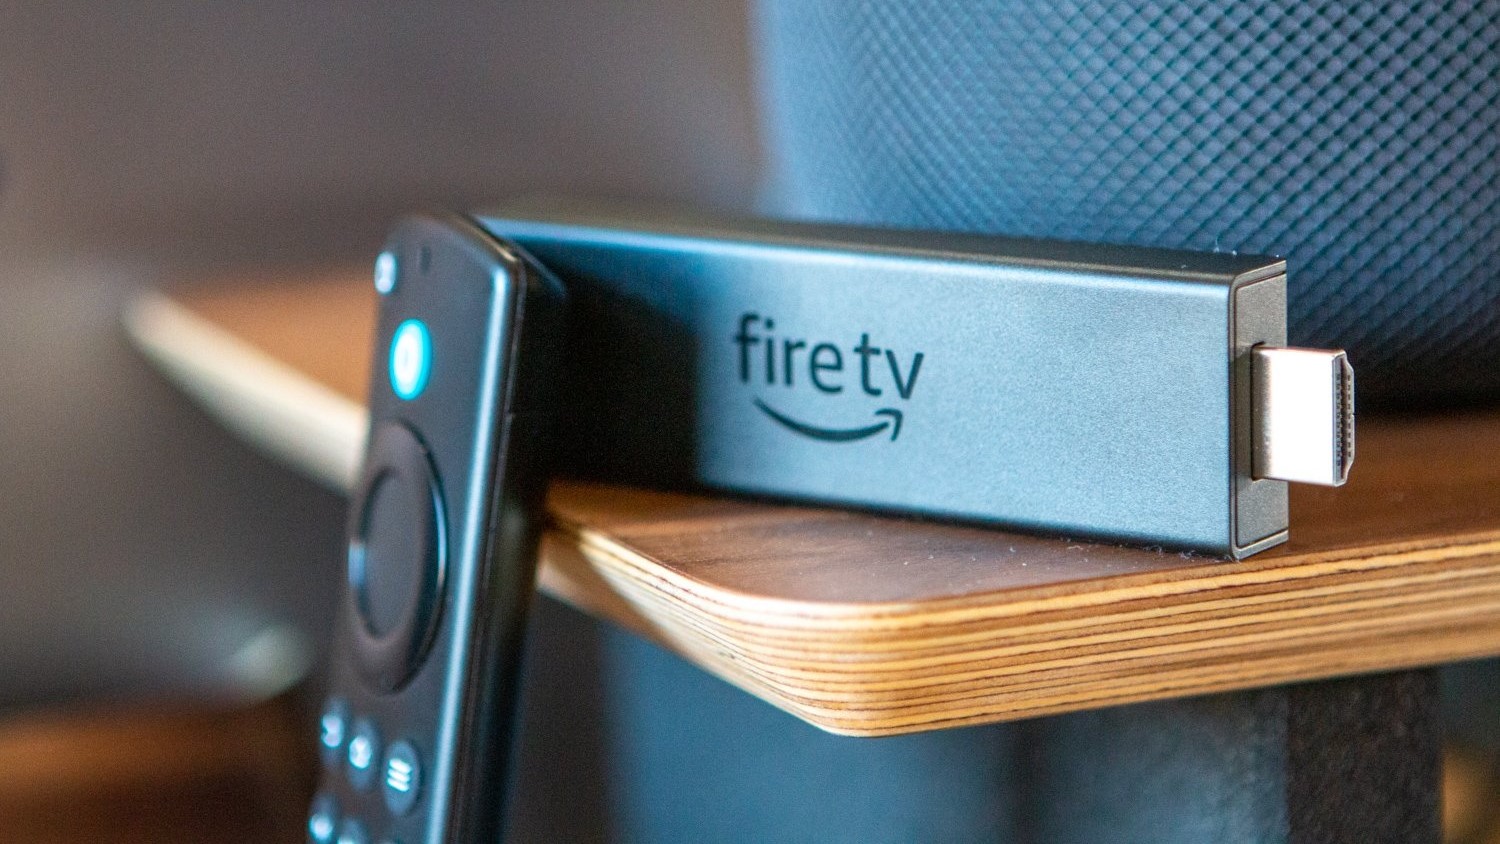
There are many great options to choose from when you're looking for the best streaming devices. But the Amazon Fire TV Stick is not only extremely easy to use, but it's also arguably the most popular streaming stick available. Part of this is its incredibly low cost, but it's also because of Amazon's quick and easy access to the best streaming services such as Disney+, Netflix, and so much more. So whether this is your first time getting a Fire TV Stick or you upgraded from an older version, we're going to take a look at how to set up your Amazon Fire TV Stick.
How to set up your Amazon Fire TV Stick
1. Take the Fire TV Stick out of the box.
2. Plug the Fire TV Stick into one of your TV's HDMI ports.
3. Connect the included power cable to the Fire TV Stick.
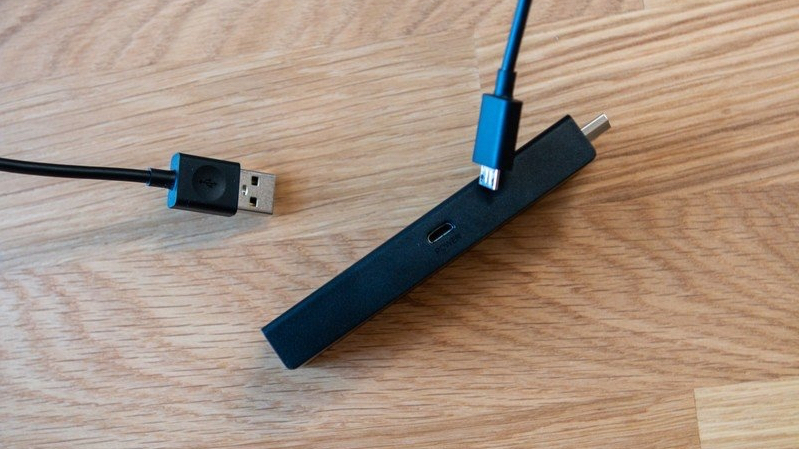
4. Plug the power cable into the included USB-A power adapter or into your TV's USB port.
5. Turn on your TV.
6. Change the input on your TV to the one being used by the Fire TV Stick.
Be an expert in 5 minutes
Get the latest news from Android Central, your trusted companion in the world of Android
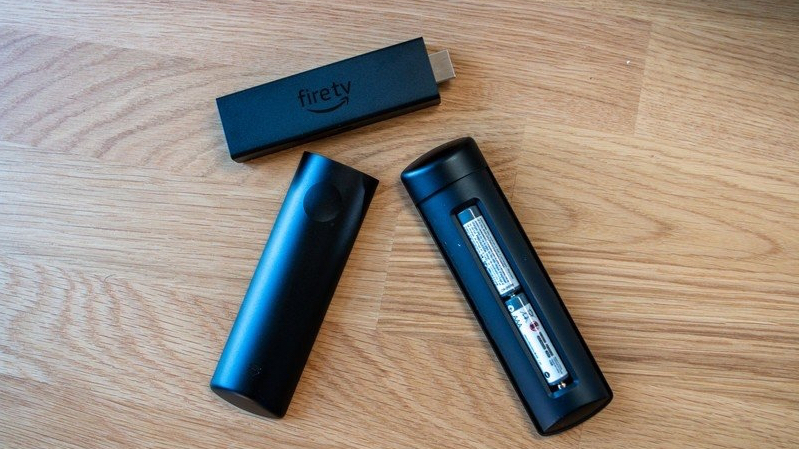
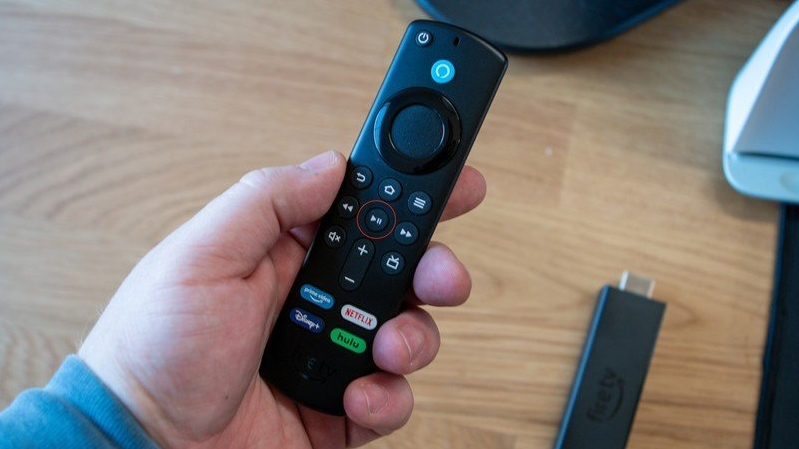
7. Put the batteries into the Fire TV Stick Remote.
8. Press the Play/Pause button on the remote to start the setup process.
Now that your Fire TV Stick is plugged in and turned on, it's time to go through the process of setting up the Fire TV Stick so that you can begin using it.
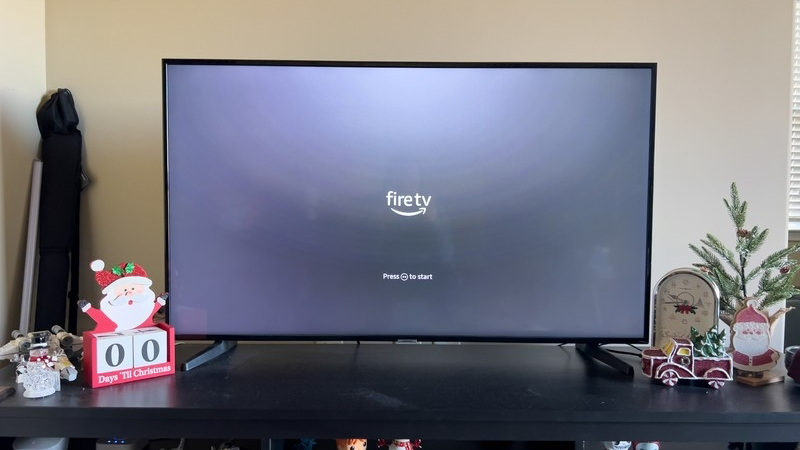
9. Press the Home button on your included remote to begin pairing with the Fire TV Stick.
10. Once paired, press the Play/Pause button to begin the process.
11. Choose your language from the list of options using the remote.
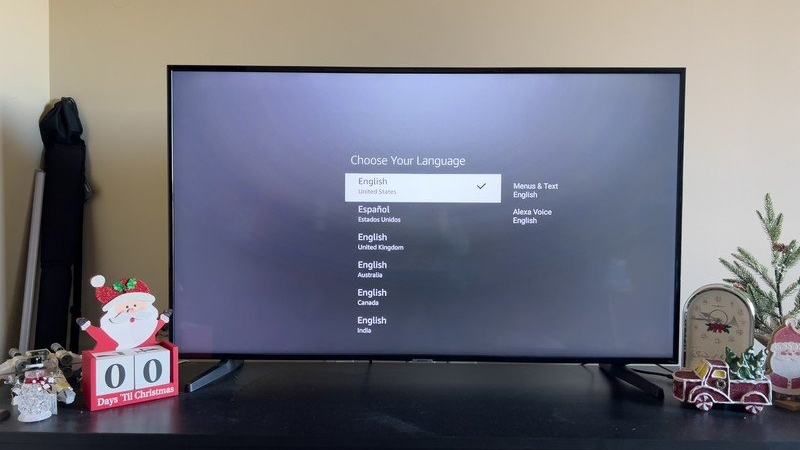
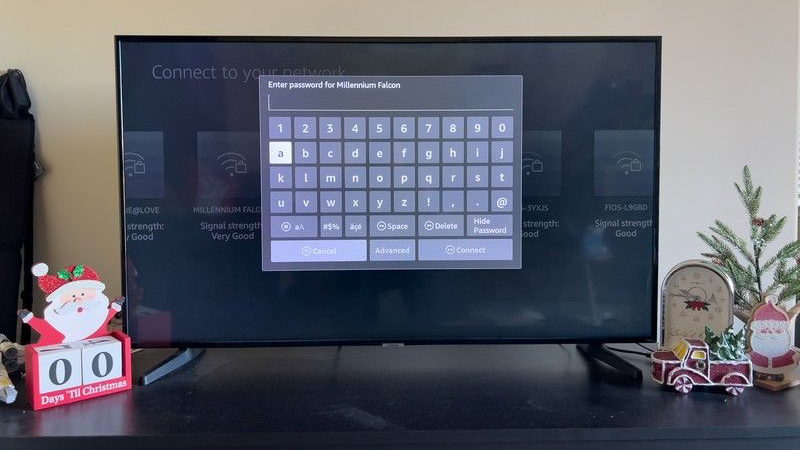
12. Log into your Wi-Fi network, if you aren't using an Ethernet adapter.
13. Wait for any software updates to install.
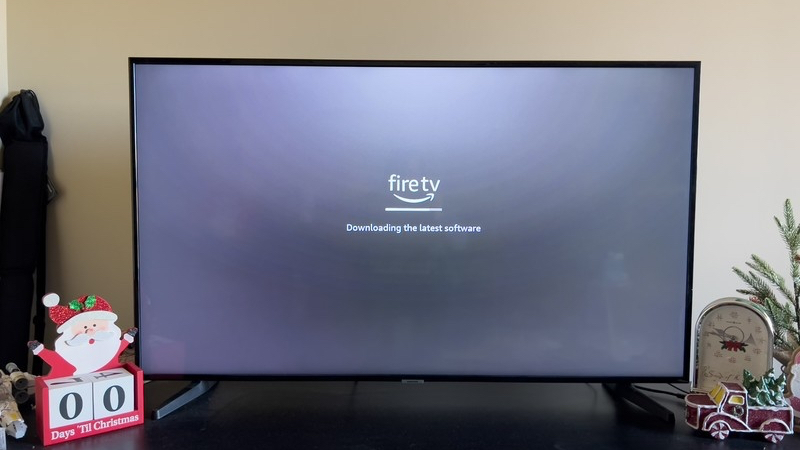
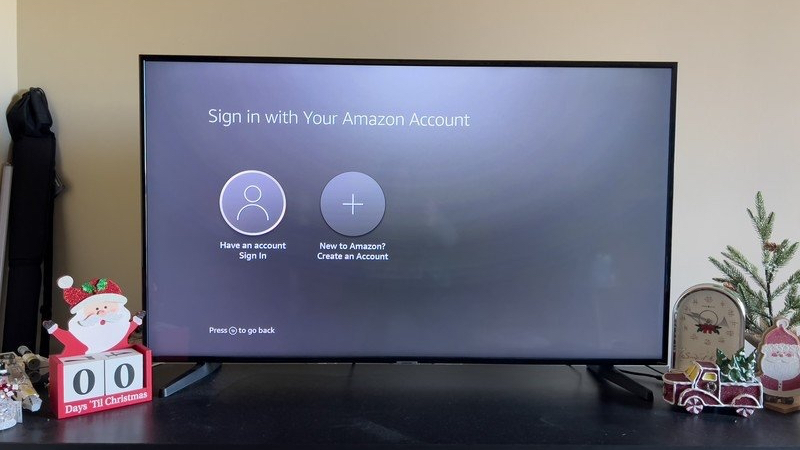
14. When prompted, sign in to your Amazon account. If you don't already have an account, you can create a new one from this screen.
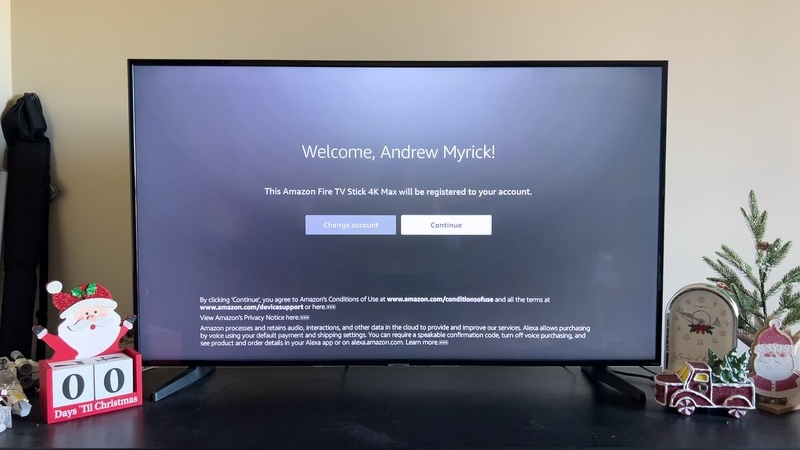
15. Click Continue to confirm that you want the Fire TV Stick to be registered to your account.
16. Select Yes or No if you want to have Wi-Fi passwords saved to your Amazon account.
17. If you are upgrading from an older Fire TV Stick, you will be prompted to restore your apps and settings.
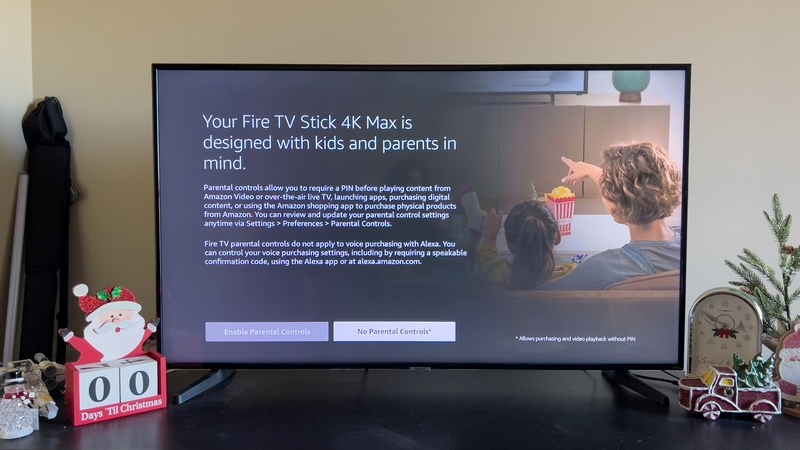
18. If you don't restore, select whether you want to enable parental controls or not.
19. Select Next to begin setting up the ability to control your TV with your remote.
20. On the remote, press the volume up and down buttons to make sure you can control your TV's audio.
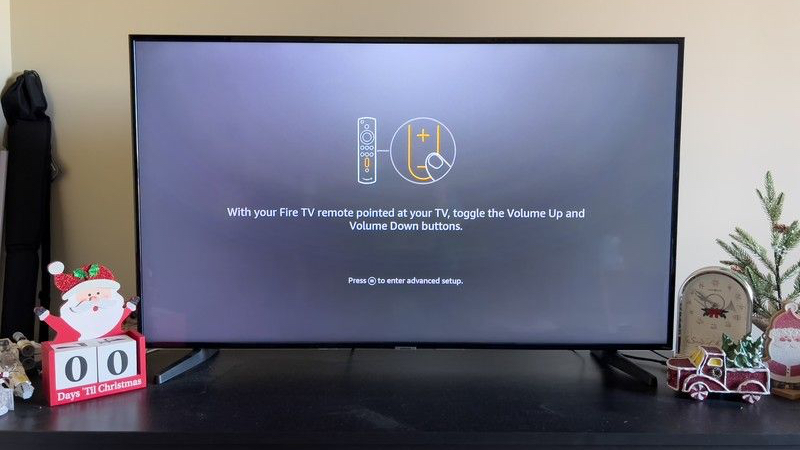
21. If this works, select Yes to continue.
22. Press OK after the setup has been completed.
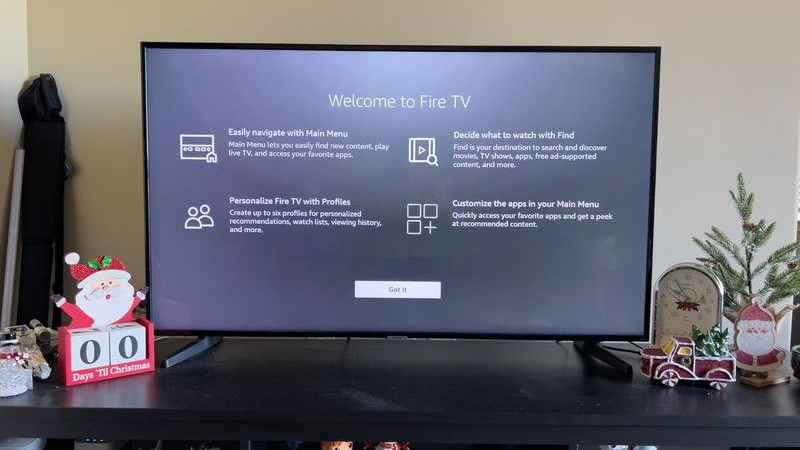
Now that your Fire TV Stick is connected to Wi-Fi and signed in to the right Amazon account, the real fun begins. First, you're prompted to go through and select the streaming services you subscribe to, allowing the Fire TV Stick to download those apps automatically. Or, you can select No Thanks if you want to download the apps and services later on.
Speaking of which, after you're taken to the Fire TV Stick's home screen, you'll want to move around the interface to get acclimated. All of the best Fire TV stick options look the same, so you won't have to worry about different interfaces based on which version you pick up. Once you're ready, you can jump into the App Store to download some new apps, games, and streaming services.
Our top equipment picks
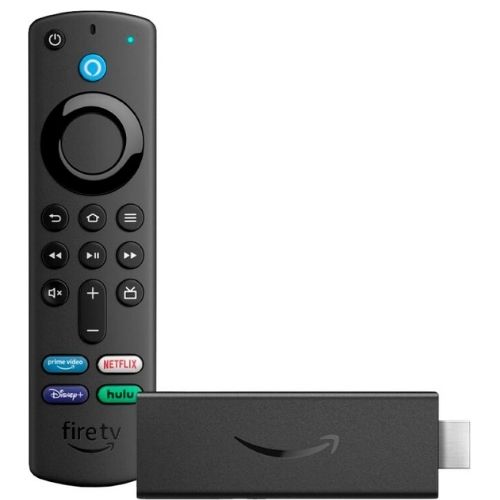
The basics
If you want a no-frills experience and don't care about missing out on 4K content, then the standard Amazon Fire TV Stick is the best option for pretty much everyone.
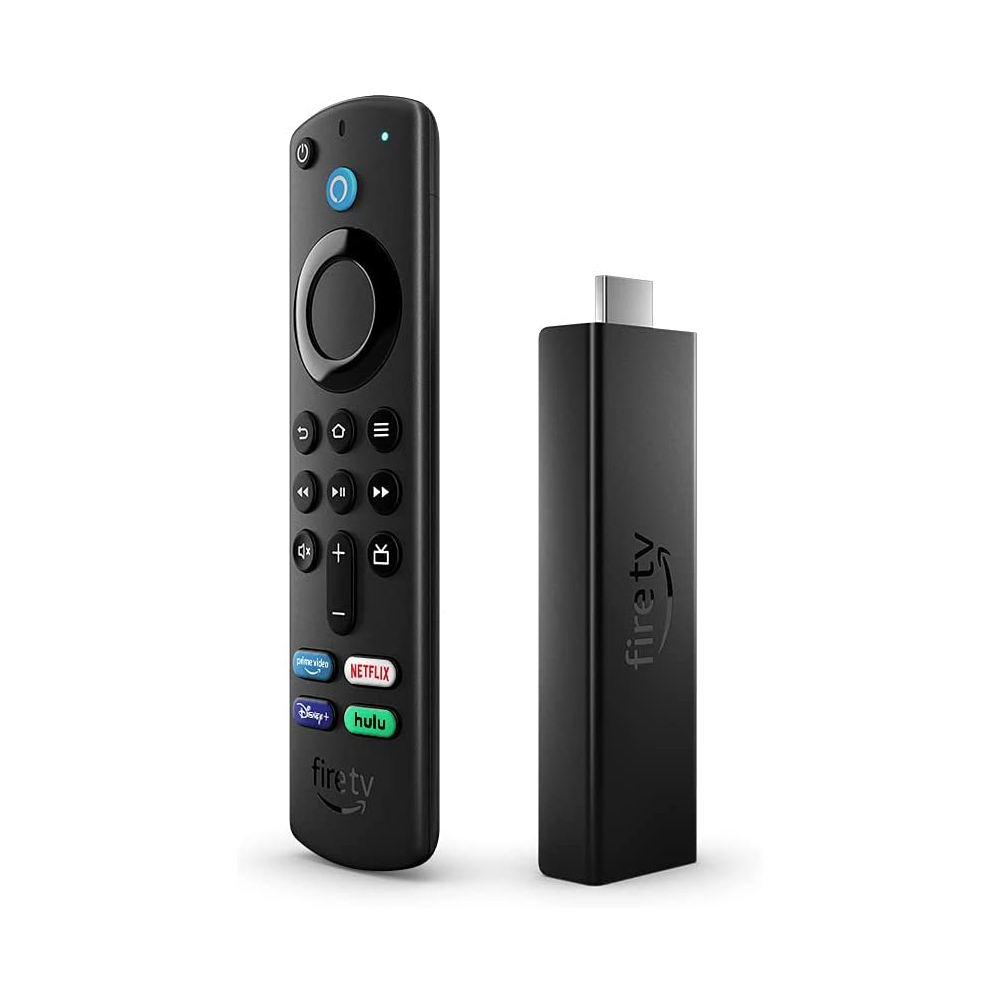
The beast
The Fire TV Stick 4K Max is Amazon's latest entry into the streaming space and offers the most power out of any other Fire TV Stick. Plus, this brings other features such as Live View Picture-in-Picture so you can see who's at the door without pausing your show.

Andrew Myrick is a Senior Editor at Android Central. He enjoys everything to do with technology, including tablets, smartphones, and everything in between. Perhaps his favorite past-time is collecting different headphones, even if they all end up in the same drawer.
