How to set up your Samsung Gear VR
Jumping into VR with your new headset is super easy, but there are a few quick things you need to do before having fun in another world. This guide will show you everything you need to do before putting on the headset, so you're guaranteed to have a good time!
How to assemble your Gear VR
Your Gear VR comes in a few pieces. You should have:
- One plastic visor
- One long strap
- One short strap with a plastic hook
- One elastic tag with SAMSUNG across the bottom
- Two AAA batteries
- One motion controller
- One wrist strap for a motion controller
- One micro USB adapter
- One USB-C adapter (attached when shipped)
Here's the best way to assemble the head straps.
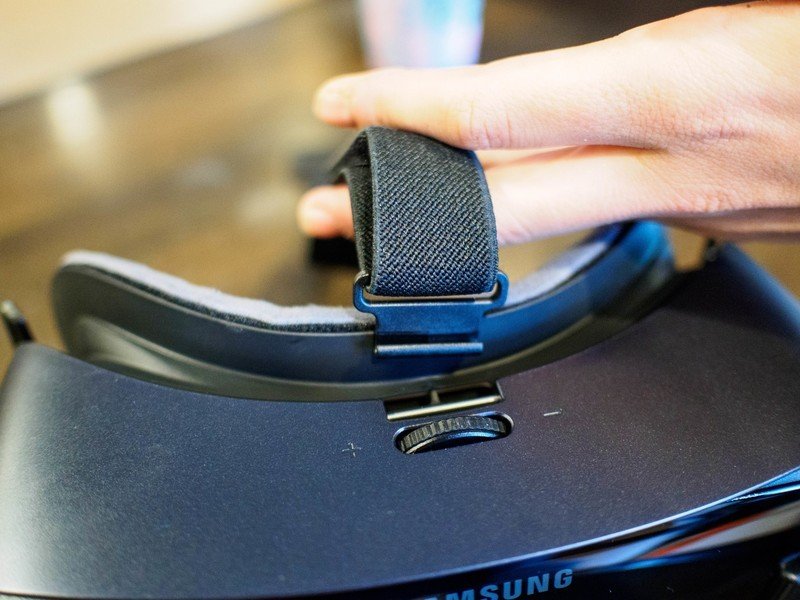
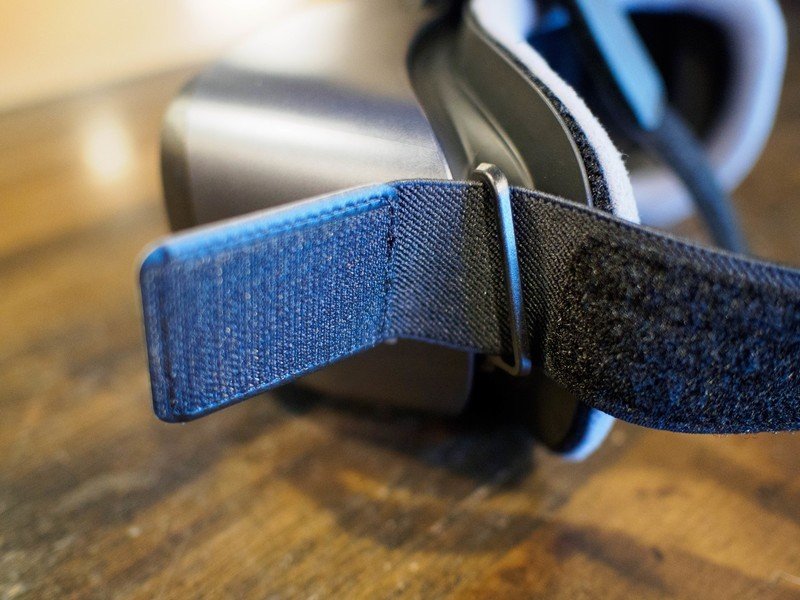
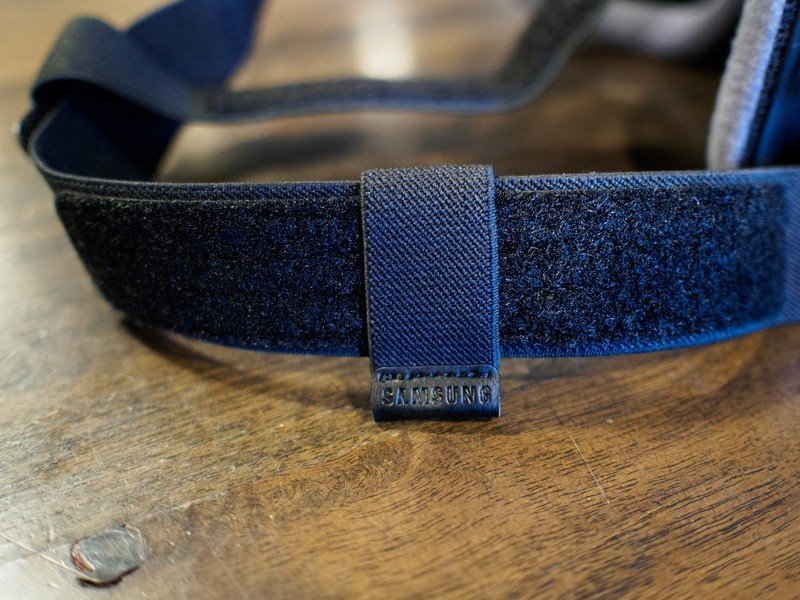
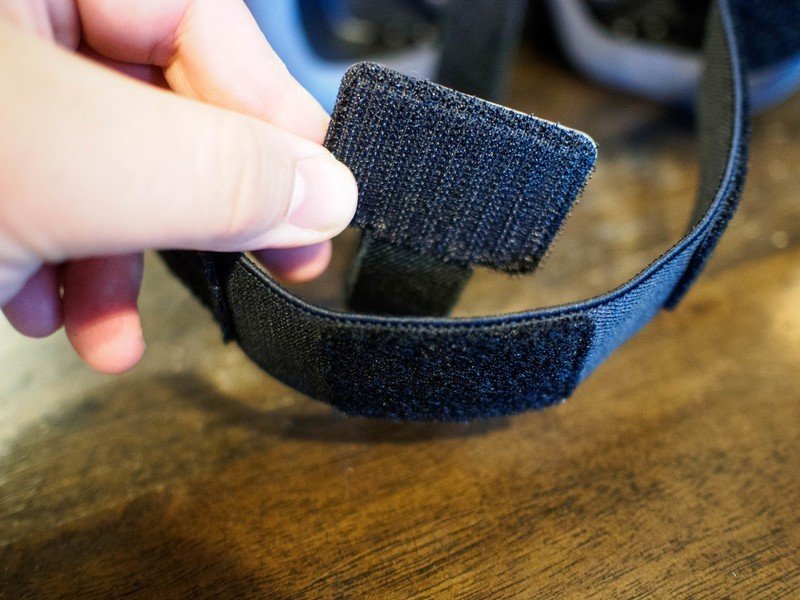
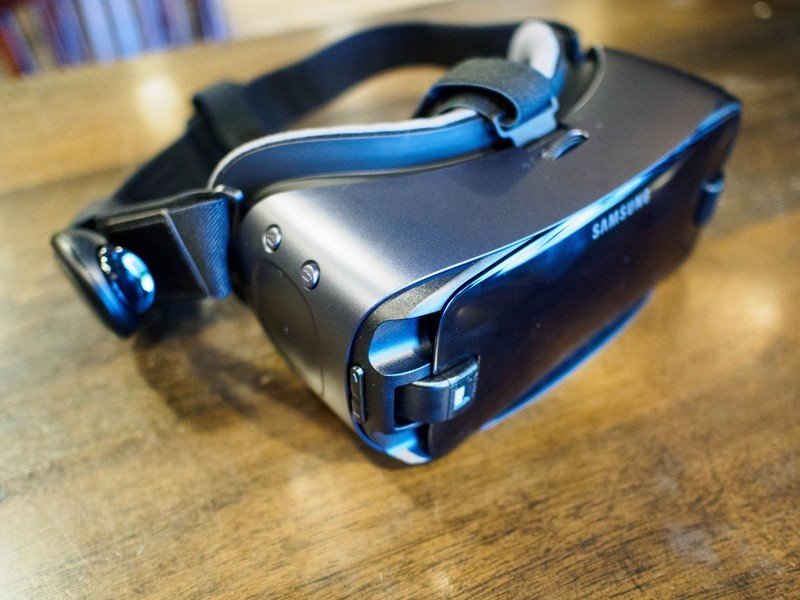
- Take the short strap with the plastic hook, and attach the plastic end to the small metal bar on the plastic visor with the open side of the hook facing the front of the headset
- Slide the elastic tag onto the long strap so the Samsung logo is right-side up
- Insert the two sides of the long strap into the slots on the sides of the plastic visor so the velcro parts face outward
- Attach the velcro side of the short strap to the middle of the long strap
- Place batteries in the motion controller
- Attach wrist strap to the motion controller by threading it through the hole under the battery cover then reattach the battery cover
- Insert the Gear VR Controller into the elastic tag on your side strap
Congrats, your head strap has been assembled! This will need to be adjusted a little when you put the headset on so it fits you perfectly.
Here's how to get the perfect fit with your Gear VR!
How to install Gear VR software on your Galaxy S8 or S9
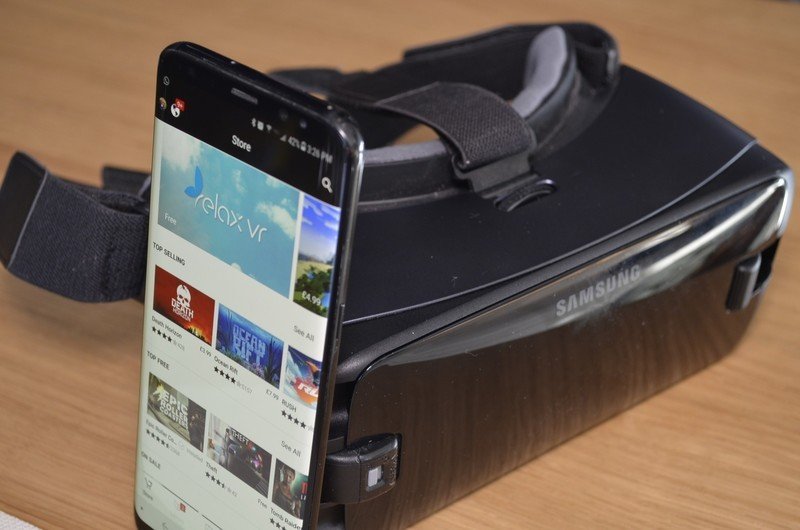
Your phone doesn't come with the Gear VR software already installed, so you need to download it. To do that, you need to:
- Insert your phone into the Gear VR
- Wait for a voice instructing you to remove the phone
- Remove your phone from the Gear VR
- Read the Agreement on the screen and tap Agree, then Next
- Tap Install to download the Gear VR software
Important note: If your phone uses micro USB rather than USB-C you can swap the adapter on the headset by switching the adapter to unlock, removing it, and replacing it with the micro USB version.
Be an expert in 5 minutes
Get the latest news from Android Central, your trusted companion in the world of Android
You did it! Once the software is ready to be used, you'll see the Oculus App in your app launcher.
How to set up your Gear VR software and pair your Gear VR Controller
Now that you've set up the hardware and installed the software, it's time to create an account and have some fun!
- Open the Oculus App on your phone
- Sign in with your Facebook account
- Tap Update Now to get the latest Gear VR software
- Tap Pair and hold down the Home button on your Gear VR Controller to connect
- Calibrate your Gear VR controller using the on-screen video guide
- Tap Left Handed or Right Handed to set Gear VR Controller preference
And you're finished! Your Gear VR is now fully ready to be used.
Important Note: The Oculus App requires your Gear VR use the highest resolution setting in order to show you things in VR. You will see a prompt asking you to enable "WQHD+" on your phone, which is a display mode that consumes more power while it is in use. When you are not using the Gear VR, you may want to return your resolution to the default "FHD+" that you phone uses when you take it out of the box. To make this change:
- Pull down your notification drawer and tap the Settings gear
- Tap Display
- Tap Screen resolution
- Slide the green dot from WQHD+ to FHD+
Now what do I do?

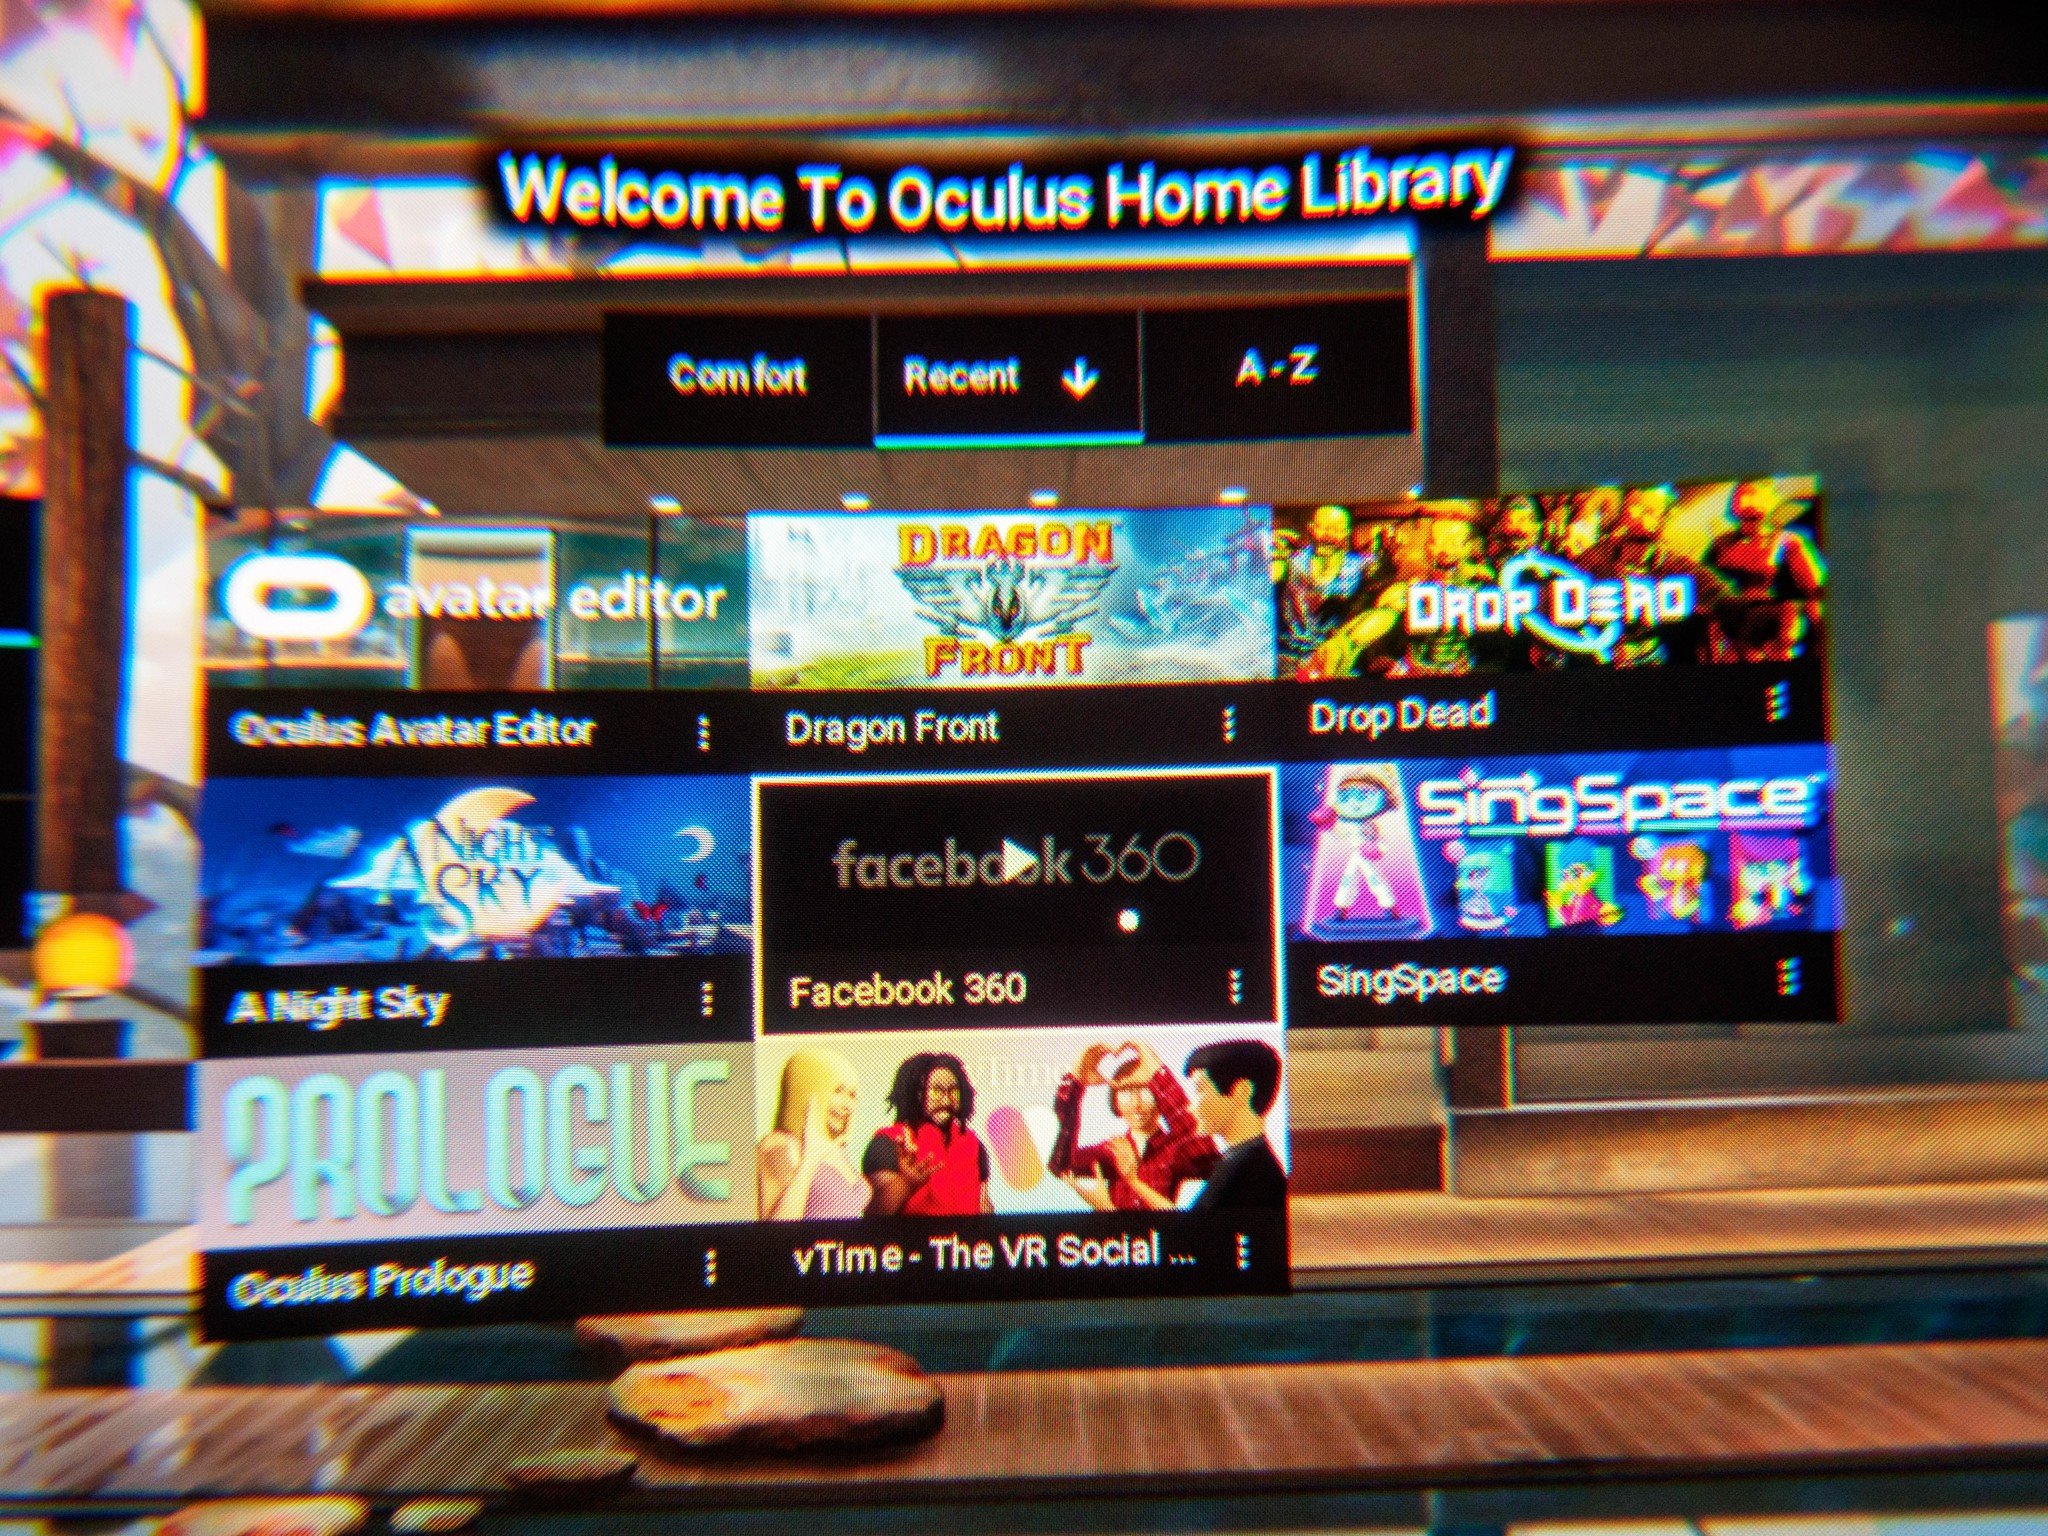
Your Gear VR comes with a free app, Oculus Prologue, that shows you how to use the new Gear VR controller to have some fun. When you're finished with that, here are a few other things you can try!

