How to set up a Project Fi data-only SIM with your tablet
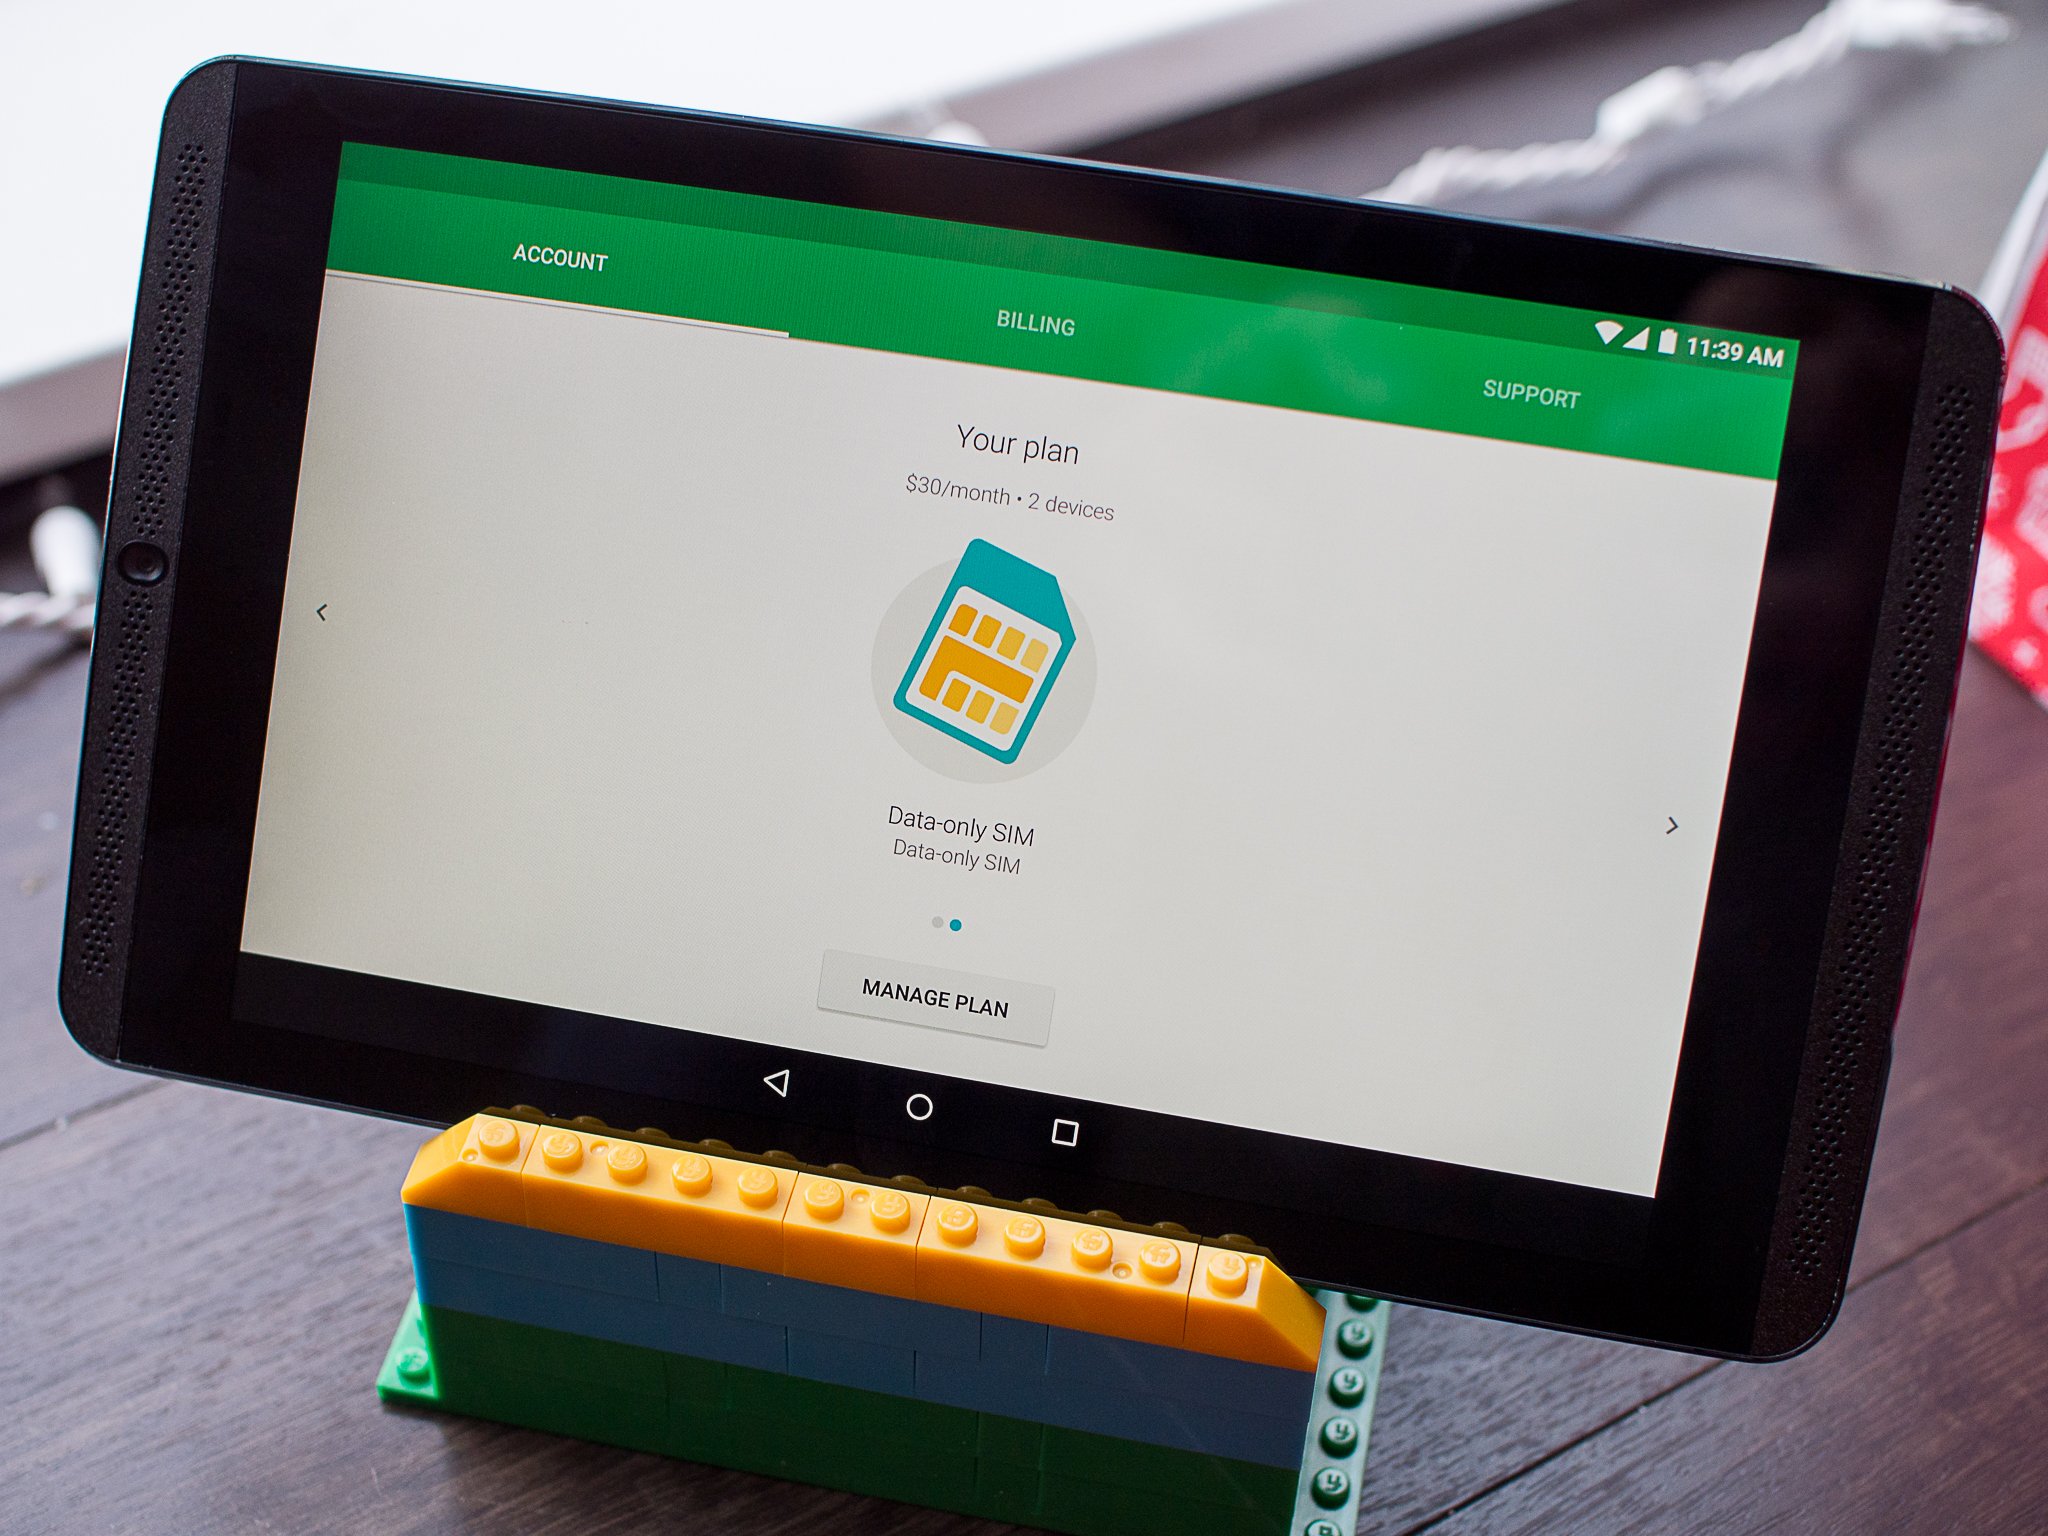
After several months as a phone-only service, Project Fi recently introduced a new "data-only SIM" option to let you share your existing Fi account and data usage with your LTE-enabled tablet. This is pretty standard stuff if you're comparing to the other big carriers in the U.S., but for Project Fi it's always exciting to get new features.
If you're a Project Fi user (or are about to be one) you'll want to know how this all works — here's how you add a tablet to your account.
First, some information
Google lists a handful of tablets that are "verified as compatible" — the Nexus 7, Nexus 9, Galaxy Tab S and the most recent iPads, at launch — with Project Fi, but it's also important to know that any unlocked tablet that you have that's compatible with T-Mobile's LTE network should be good to use as well. We managed to use it just fine on an NVIDIA Shield Tablet, and you're free to use it on any device — just don't expect Google to help much if you have issues with a non-compatible device.
There's also only one SIM card size available when you order, a Nano SIM, which may not be compatible with your tablet. Newer tablets probably have a Nano SIM slot, but many still have a Micro SIM — you'll want to buy an adapter if that's the case. You can look for them on Amazon — they're good and cheap.
In order to have a tablet on Project Fi, you'll have to have an active Fi account in use with your phone first. So that means you can't just come to Fi with only a tablet (at least right now), but if you do have the service already you can add a tablet. Unlike other carriers there's no monthly fee for having a tablet on your Project Fi account — you'll just have another device active that gets billed at the same $10 per gigabyte data rate, and it's all added up onto a single bill.
The one oddball part about Project Fi data-only SIMs is that they explicitly say that using the connected tablet as a hotspot is not permitted. It's weird because tethering is absolutely allowed on Project Fi phones, but also because tethering seems to be completely functional on our tablet with the data-only SIM installed. It's a rather worrying disclaimer either way, though.
Be an expert in 5 minutes
Get the latest news from Android Central, your trusted companion in the world of Android
The setup process
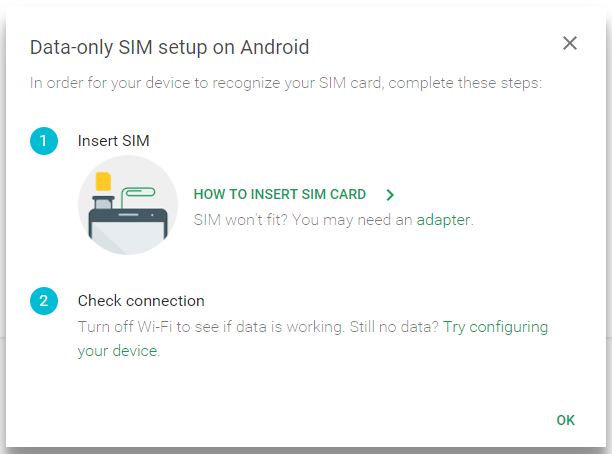
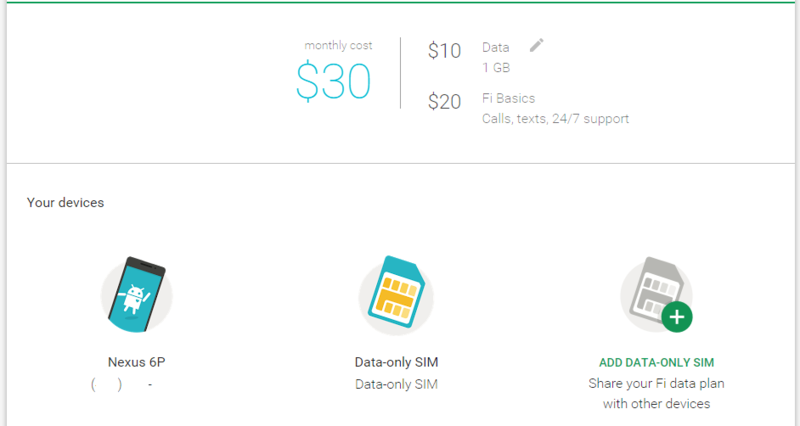
The process of actually getting a Project Fi data-only SIM and setting it up in your tablet is dead simple. Head to the Project Fi website, click on Your plan and click Add data-only SIM — follow the prompts, and you'll have a new data-only SIM shipped to you, free of cost, in a handful of days.
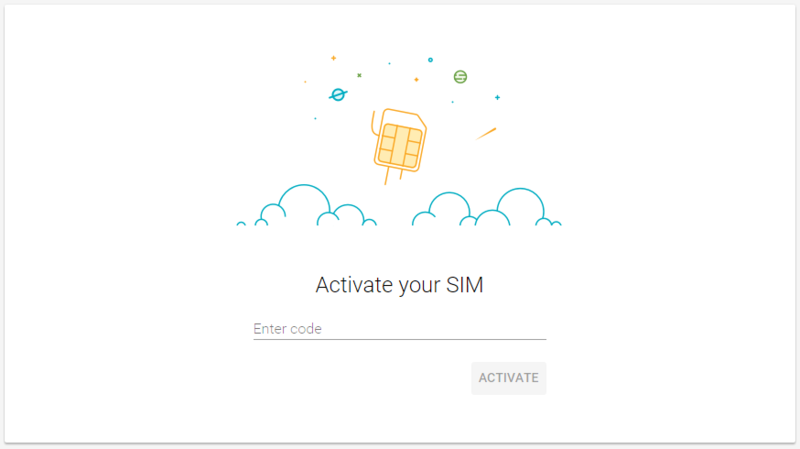
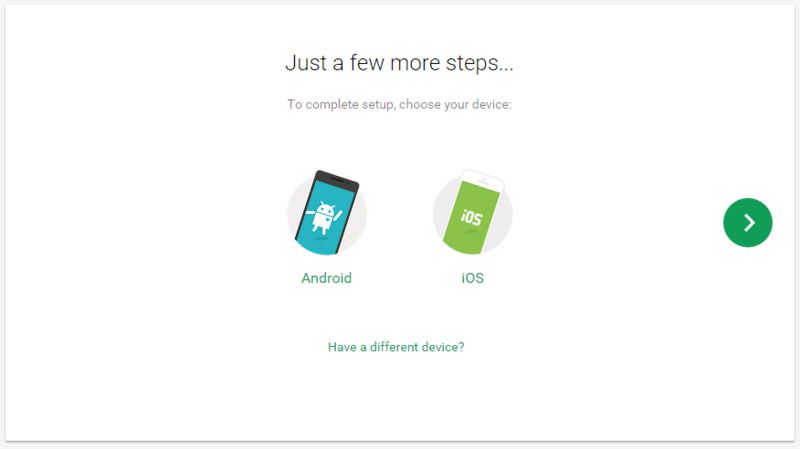
When your SIM arrives, you'll find it is accompanied by an activation code. Before putting the SIM in your tablet, head to the activation site and enter the code. You'll get a confirmation, and you can then pop out the SIM and put it in your tablet. If the tablet doesn't prompt you to do so, reboot it after putting the SIM in.
If you're using a verified compatible tablet, you likely won't have to do anything else. If you're having trouble getting mobile data connected or are using another tablet, you'll want to go into your mobile network settings and add the Project Fi data-only APN. Head into your tablet's cellular network settings (process will differ by device), find access point names and add a new one. Under name you'll want "Project Fi", and under APN you'll want "h2g2" — and that's it, back out and be sure to select the button next to the APN to select it.
After a bit of time (and maybe another reboot), you'll see "Project Fi" listed in the status bar as the carrier — you're good to go! The Project Fi website and app will now reflect that you have both a phone and tablet on the account, and even break down data usage by device.
Andrew was an Executive Editor, U.S. at Android Central between 2012 and 2020.

