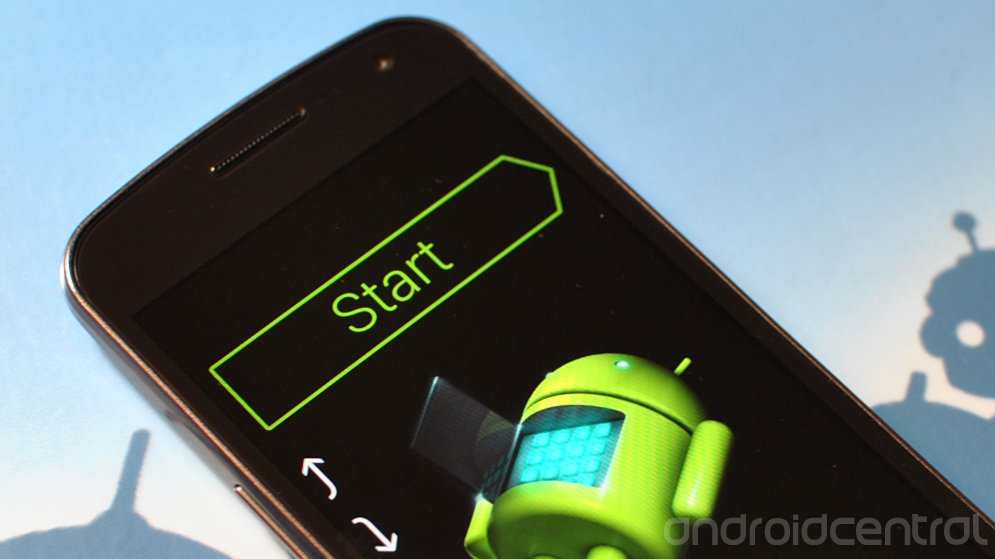
What is a Nexus stock image, and how do you use it?

With all the Jelly Bean ROMs floating around out there, more than a few of us have put our Galaxy Nexus devices so far off the official path that we need breadcrumbs to find our way back. Custom firmware is half the fun of owning one of Google's wide-open phones, and we encourage everyone to learn what they can and see if it's something they want to try. But sometimes, you just want to go home again. Getting your Galaxy Nexus back to the state it was out-of-the-box is pretty straightforward for most variants.
We say variants, because "official" images exist only for the yakju (GSM), takju (Google Play version) and mysid (Verizon) versions. The good news here is that plenty of unofficial methods will help you if you have a different version, and our Galaxy Nexus forum is just the place to find them. If you're rocking the Sprint version, or one of the Samsung world versions, head there and ask the pros. For the rest, it's pretty easy.
First off, you'll need to have installed the Android SDK. Next, hit up the Nexus Factory Images page from Google. Find the version you need and download it to your computer.
- You needed drivers (for Windows computers) and fastboot binaries to unlock your phone in the first place, so you should have those already set up.
- Extract the archived file you downloaded into it's own folder on your computer. Put it somewhere easy to get to, like your desktop.
- Find the folder where you have fastboot placed, and copy the two image files (they have an .img extension) and the system zip file there.
Open a command line in the folder you have fastboot and the images stored in. You'll need to enter the following commands, in this order, and know that your Nexus will be wiped clean -- there is no backwards path without wiping!
- Power off your Nexus, and press and hold volume up and volume down, then press and hold the power button to boot into fastboot mode.
- Plug the USB cable into your phone, and plug the other end into a high-speed primary USB port on your computer. Don't use a hub.
- Type fastboot flash bootloader bootloader-XXX-XXX.img in the command prompt. Note that XXX-XXX is generic, and you'll need to use the file name that corresponds with your device model (bootloader-maguro-primela03.img for the takju version, for example).
- Type fastboot reboot-bootloader into the command line, and wait for the device to reboot back into the bootloader. It will take about 5 seconds.
- Flash the radio by typing fastboot flash radio radio-XXX-XXX.img (again, replace XXX-XXX with the correct file name for your device) into the command line.
- Type fastboot reboot-bootloader into the command line again, and wait for the device to reboot back into the bootloader. It will take about 5 seconds.
- Type fastboot -w update image-XXX-XXX.zip into the command line to wipe and flash the system image. Like the above commands, you'll want to use the correct file name for your device. This will take a few minutes, and your Nexus will reboot when you're done. At that point it's safe to unplug the phone, and continue with the device setup as normal.
Bonus level: The Nexus 7 (<geek> I knew Deckard was a replicant! </geek>) can be flashed back the same way. You'll find it's factory image right here, and it's a matter of using the correct image names with the above commands to flash it back. I'm listing it separately because it doesn't have a radio file and you'll only need to flash the bootloader and the system .zip. Bad things will happen if you try to flash Galaxy Nexus firmware on your Nexus 7. Very bad things.
These commands look a bit tricky, we understand. And we do recommend a little caution. But if you were able to get your Nexus flashed to a custom version of the firmware, you should be able to get it back. If you run into any snags, just fire up the browser and visit the Galaxy Nexus forums. You'll find a slew of helpful folks doing the same thing you're doing. Good luck, and happy hacking!
Be an expert in 5 minutes
Get the latest news from Android Central, your trusted companion in the world of Android

Jerry is an amateur woodworker and struggling shade tree mechanic. There's nothing he can't take apart, but many things he can't reassemble. You'll find him writing and speaking his loud opinion on Android Central and occasionally on Threads.
