How to replace a PS4 controller battery
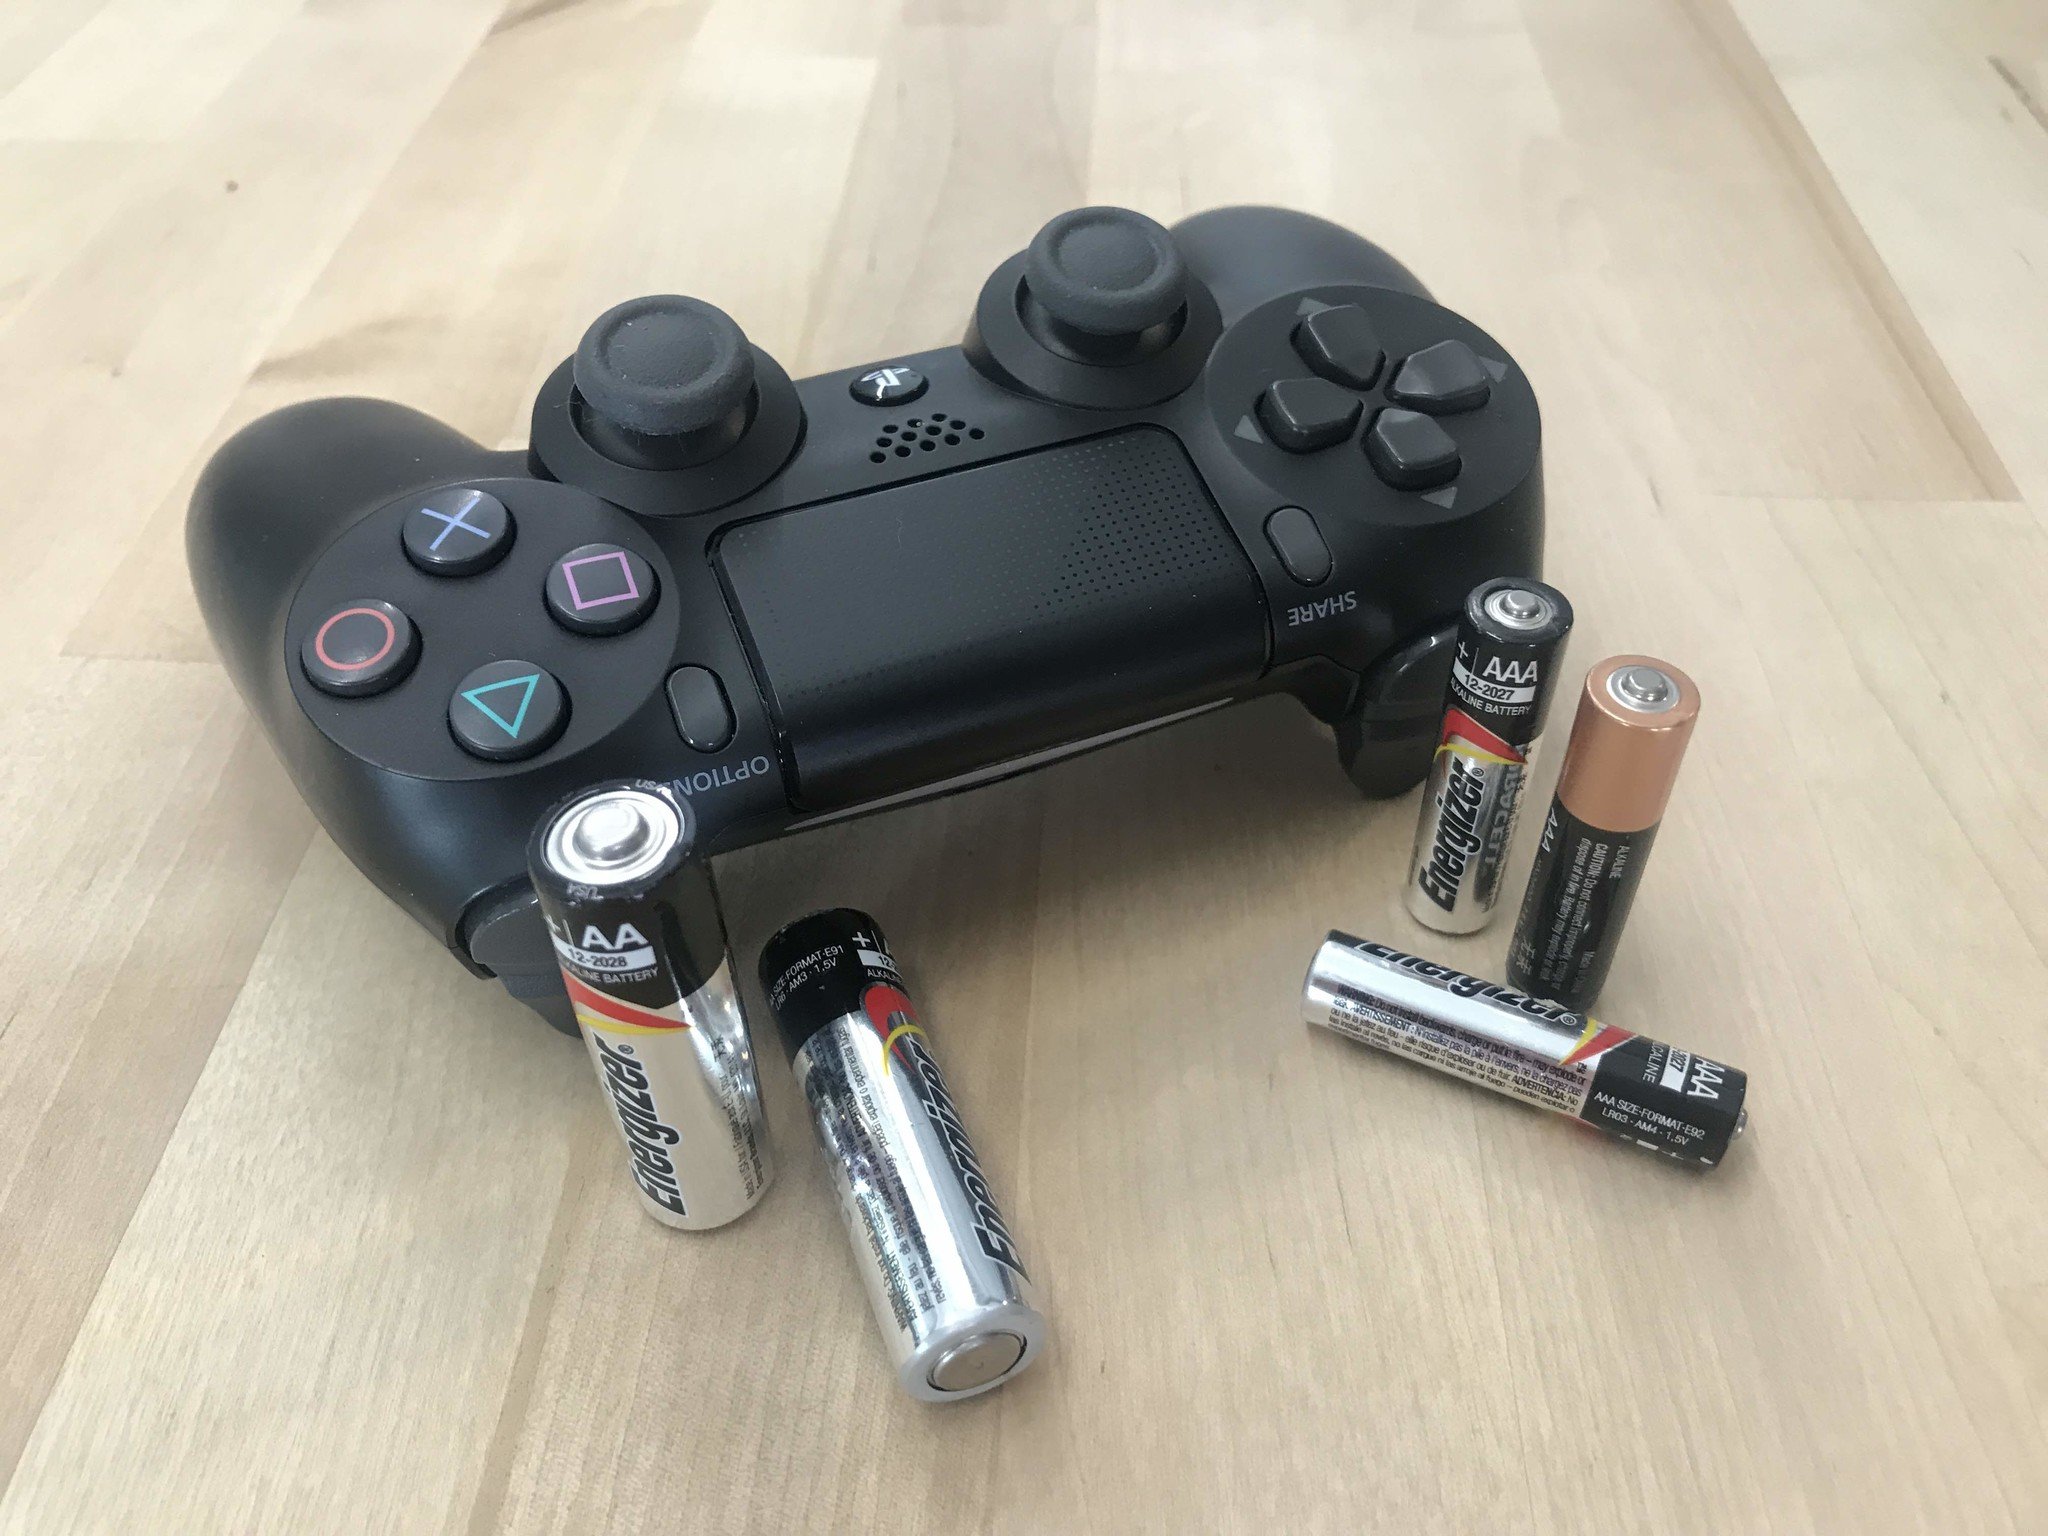
Buying new controllers when yours stops working can get expensive. When this happens, one of the first culprits to suspect is the controller's battery. Fortunately, batteries are cheap and easy to replace. So we created a guide to help you finish the job in a snap. Here's how you can quickly replace your PlayStation 4 controller battery so that you can keep gaming without interruption.
A word of warning: This can void your DualShock 4 warranty. If it's still active, you're better off sending the controller back. If you're outside of the warranty, continue at your own risk. This guide is specific to the DualShock 4 (1st Gen). It will work with both models, but make sure you have the correct battery. If you see a light shining through the touchpad, you have the newer DualShock 4, and you should use the first battery listed. If you don't see a light on your touchpad, then you need the other battery listed.
How to replace the battery
- Use the small crosshead screwdriver from the set on this list or your own to unscrew all the screws on the back of the DualShock 4. (Keep them very safe.)
- Squeeze the left handle on the bottom to allow you to push one of the small plastic pry bars into it.
- Pull down on the pry bar to pop open the cover.
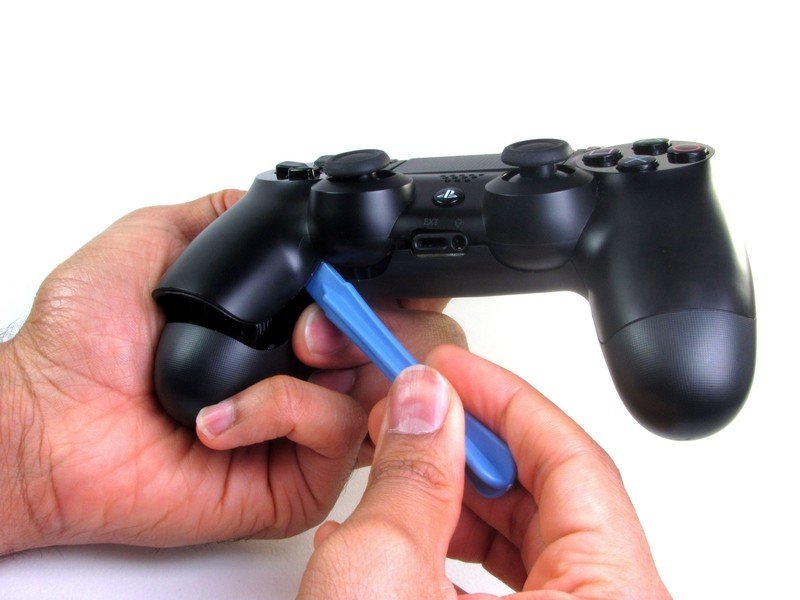
- Move the pry bar all the way around the front of the controller to loosen the case.
- Use the pry bar on the back near the Start and Options button. Be careful; three little pieces will come out as you do. These will need to go back in before the end.
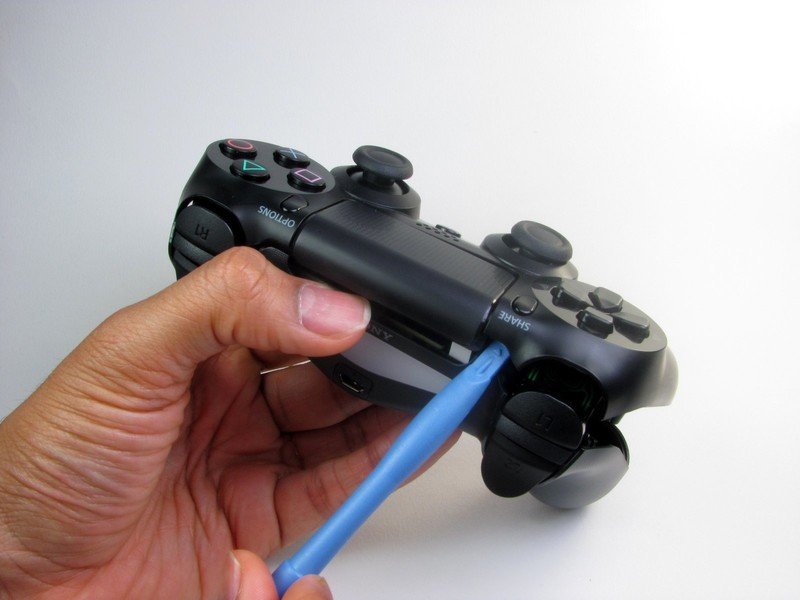
- Very carefully lift the top of the DualShock off of the bottom, taking care not to break the small ribbon on the inside.
- Check the orientation of the ribbon to make sure you put it back correctly.
- Remove the ribbon to separate the two halves. The connector is delicate, so be careful.
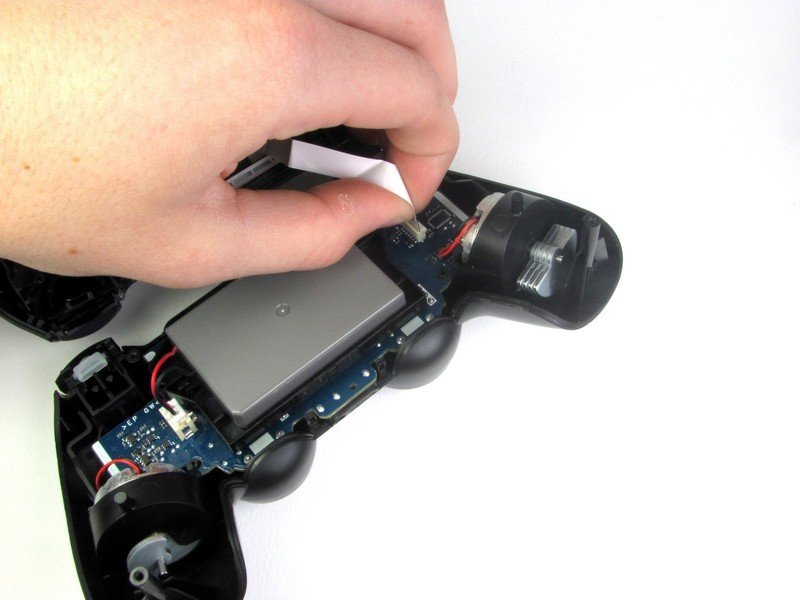
- Now you can see the battery locate its connector.
- Using a pair of tweezers carefully lift the connector out of its socket. Make sure you don't damage the connector on the DualShock 4.
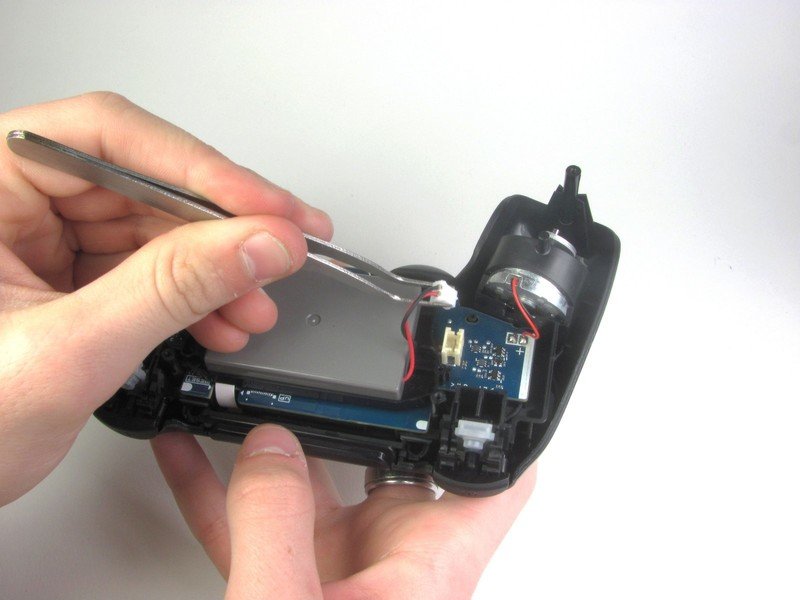
- Place the battery into the slot and attach the connector back into the socket, making sure to put it in the right way.
- Reverse this entire step-by-step guide to putting the DualShock back together. Make sure you put the three small pieces back into place, as well as make sure to close the body together firmly.
While this is an easy enough replacement, there are moments you need to be extra careful. For example, you really don't want to have to pull the whole thing apart again because you forgot one of the trigger springs. If everything went well, though, you should have a fully working DualShock 4 controller once again.
If you own a PS5, changing the battery of your DualSense is also theoretically possible since it houses a similar internal battery. Currently, there aren't any reliable third-party replacements for the DualSense, but we get further into the PS5's lifespan, we expect this will change.
Our top equipment picks
These are the mandatory or core equipment selections. Optional or ancillary equipment will follow.
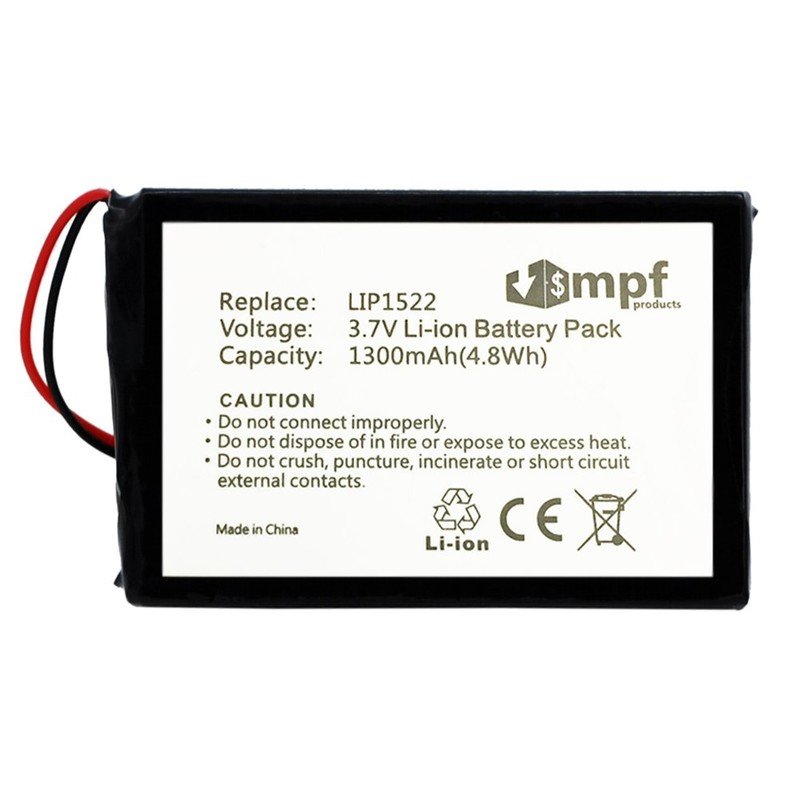
Limitless POWER!
This battery replaces your old one in your DualShock 4 (1st Gen), or the one without the light in the touchpad
Not much to say about this, except it isn't an official replacement. This kind of breakdown is done at your own risk, but the risk is minimal. If it can extend the life of your DualShock, though, it's worth spending the $12 instead of the $50 to replace the whole controller.
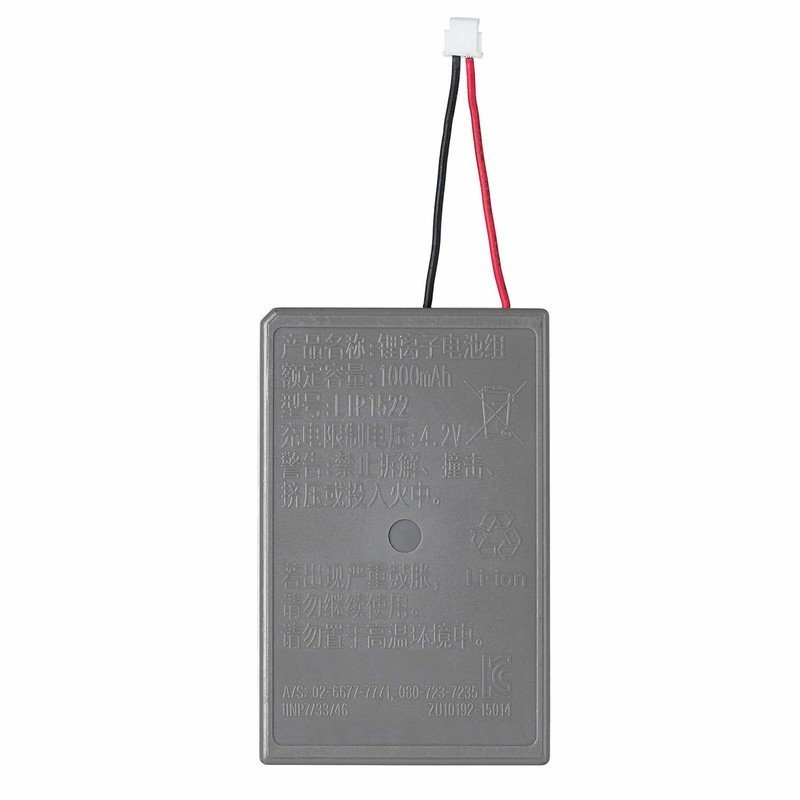
New hotness
This is the replacement for the newer DualShock 4. If you can see the light shining through your touchpad, this is the one for you.
There are two types of DualShock 4, the newer and the older. The newer one arrived with the PS4 slim and the PS4 Pro and has a thin light that shines on the top of the touchpad, amongst other minor differences. Because it's a little different from the old one, it needs a specific battery: this battery.
Be an expert in 5 minutes
Get the latest news from Android Central, your trusted companion in the world of Android
Additional Equipment
While you may already have something like this, a small set of screwdrivers and plastic pry bars is extremely helpful when you are thinking of fixing technology yourself. These screwdrivers will work with just about any piece of hardware, so keep a set handy.
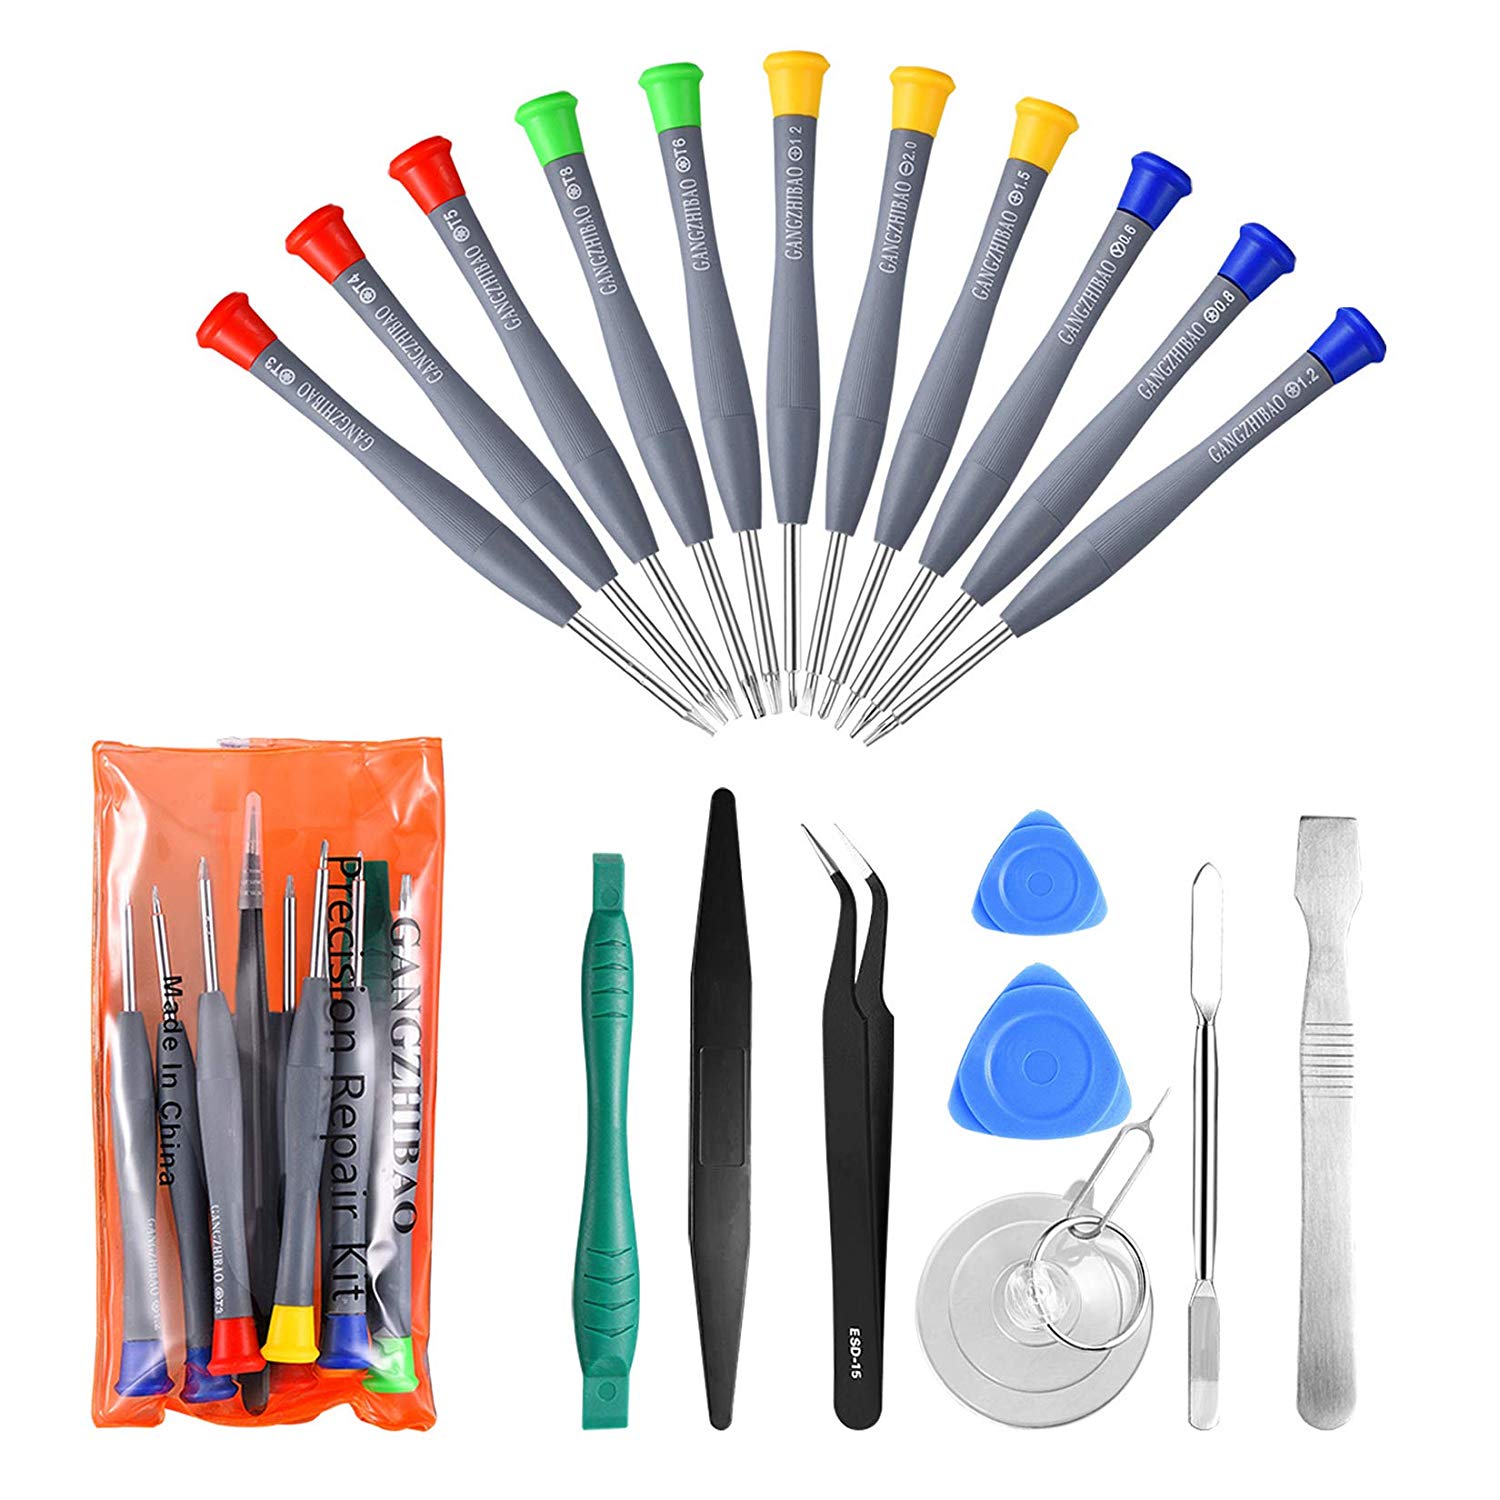
21pcs Precision Screwdriver Set ($10 at Amazon)
This is the perfect little set for taking apart electronics. Whether it's your DualShock 4, phone, or toaster, these are great.

