How to properly position PopSockets on your phone
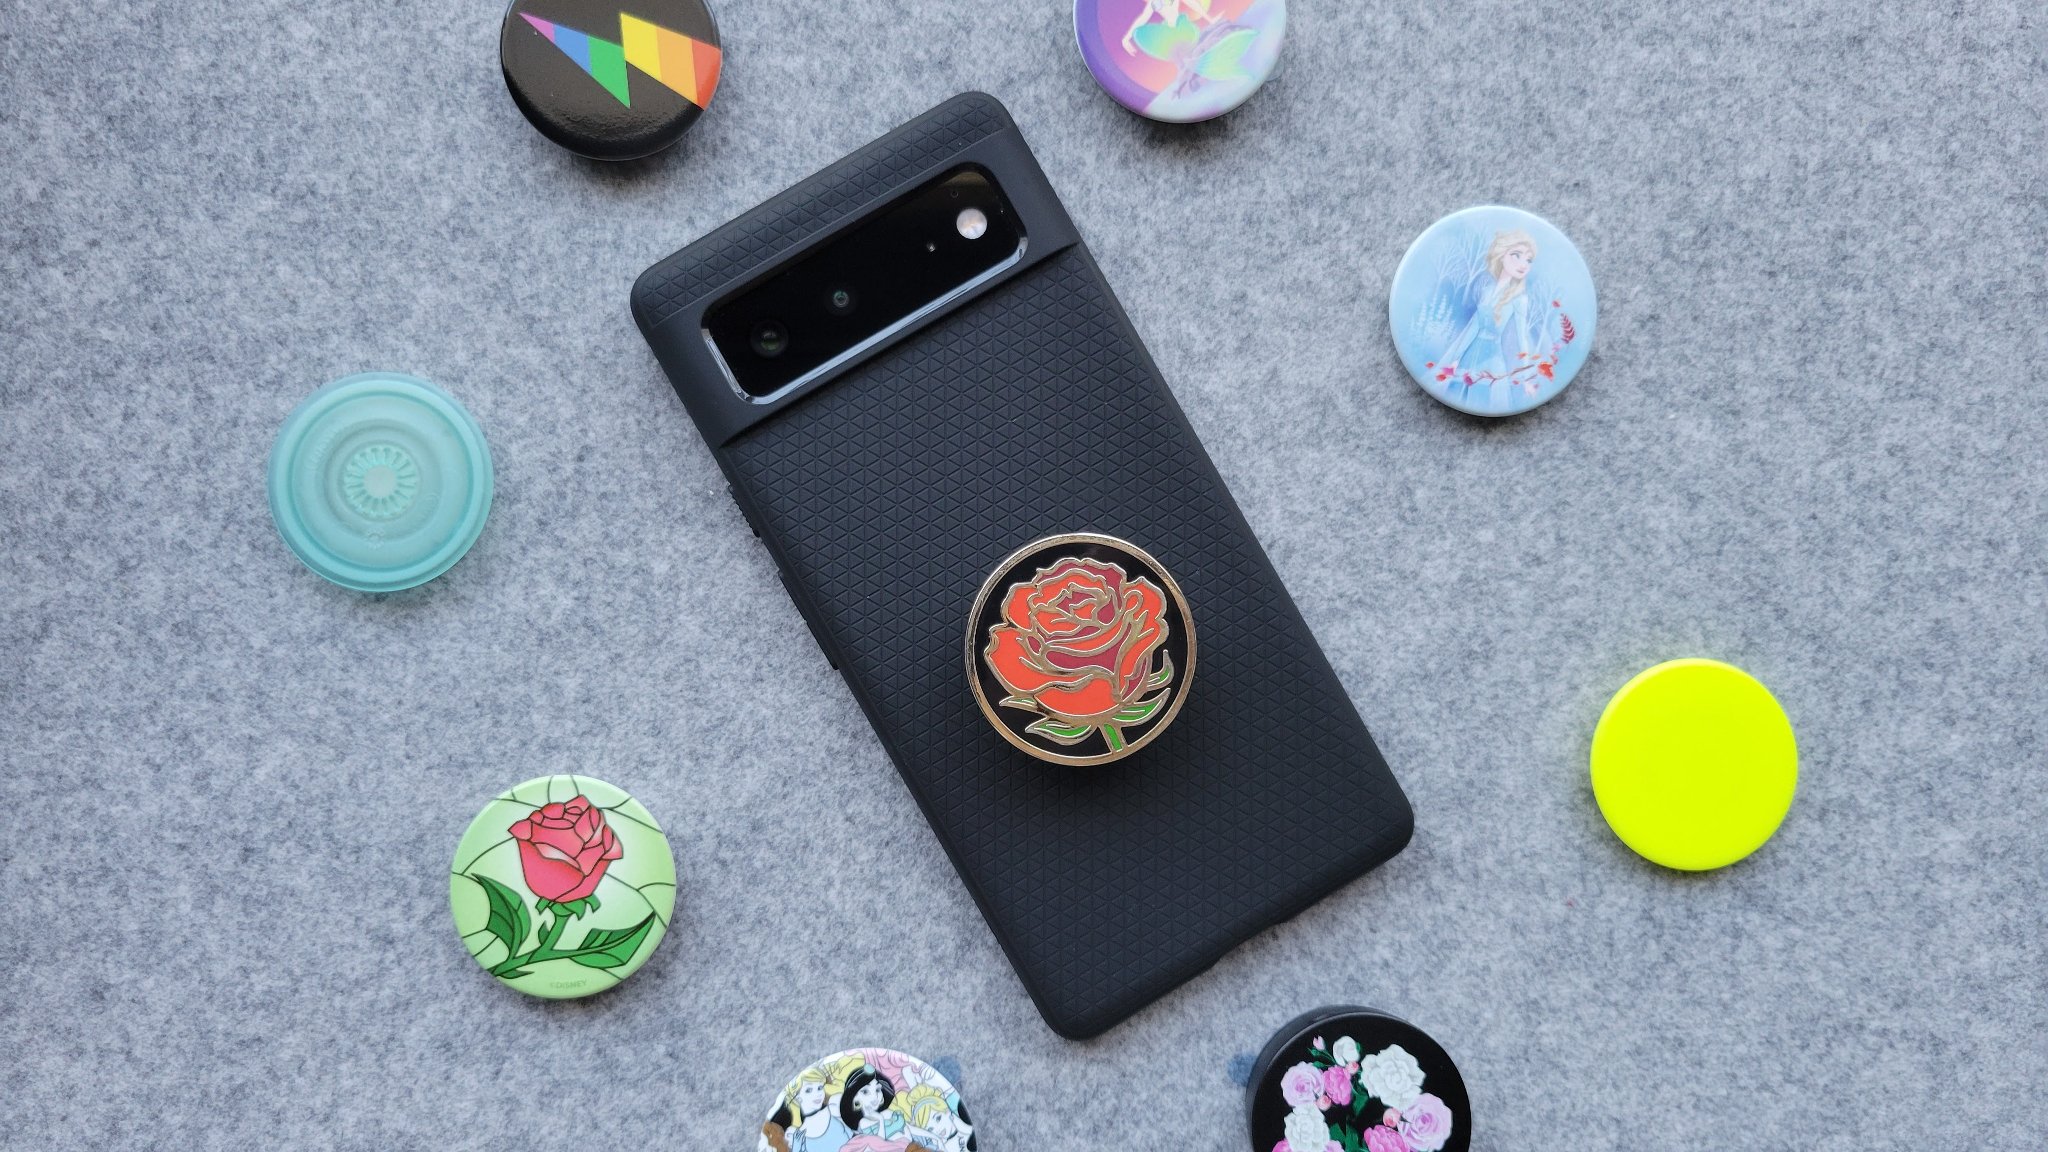
If you're not using one yet, PopSockets are the best phone grips on the market because its relatively compact circular footprint is easy to place on various phone sizes. The plastic accordion can pop open and close hundreds of times without showing much (if any) wear. And if the thousands of styles PopSockets offers aren't to your liking, you can even order custom printed ones. Best of all, PopSockets can help you avoid painful RSIs — repetitive stress injuries — which may get cutesy names like "texting thumb" or "phone pinky," but they can also lead to lifelong pain. PopSockets can also cause RSIs if placed too high or too low, leading to strained thumbs or middle/ring/pinky fingers. In this guide, we seek balance to ensure your hands aren't strained, your grip is solid, and your PopSocket is positioned perfectly.
Why you should put PopSockets on a case, not directly on your phone
Before starting this process, I implore you to stick a PopSockets PopGrip on a phone case, not on the actual phone. Here are a few quick reasons why:
- In many cases, they adhere better to the case than the phone.
- If the PopGrip base won't allow your phone to sit flat enough on a wireless charger, you can remove or swap cases to eliminate the interference.
- It protects your phone from any sticky residue or obvious void patterns when removing the PopGrip and preparing to trade in your phone.
- Cases protect your phone from impacts, and you should always use one.
If you need case ideas, type the name of your Android phone cases in the search bar at the top of this page. If you need iPhone case recommendations, my Apple-loving counterparts have written many iPhone best cases on iMore.
How to properly position PopSockets on your phone
- Pick up your phone in one hand — without having your pinky finger propping up the bottom.
- Open any app you type in and bring up the keyboard.
- Using one hand, type something and ensure your thumb can reach most of the way across the keyboard.
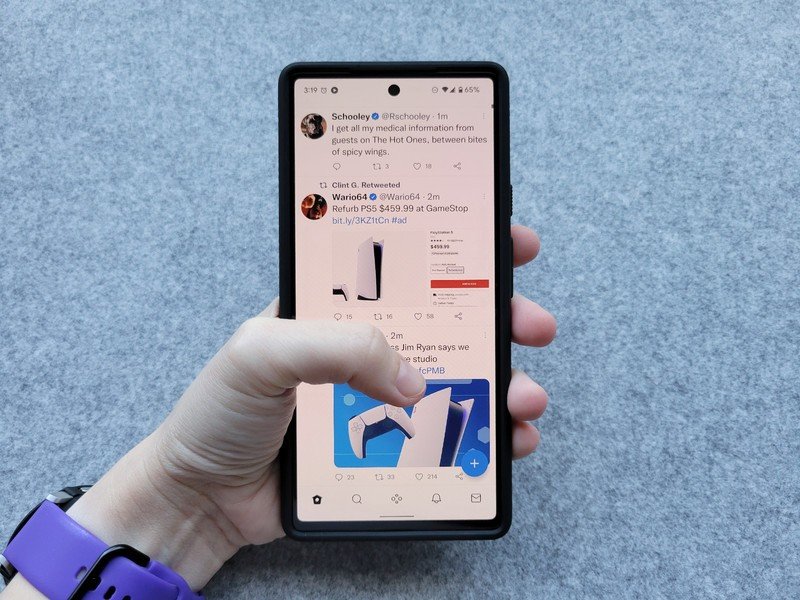
- Using two hands, type something to ensure that if you grip at that height from either hand, you can reach most of the keyboard without straining your thumb.
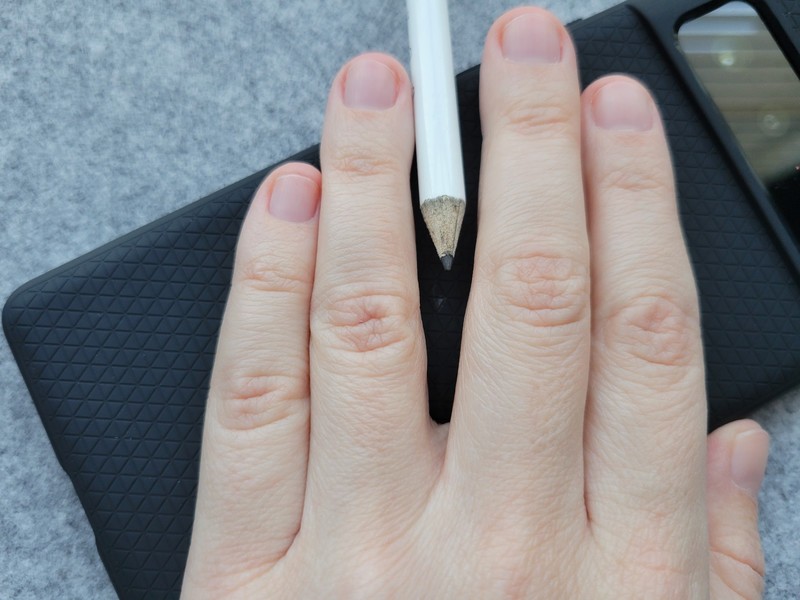
- Rotate your hand to see where your fingers sit across the back of the phone/case.
- Slightly part your middle and ring fingers.
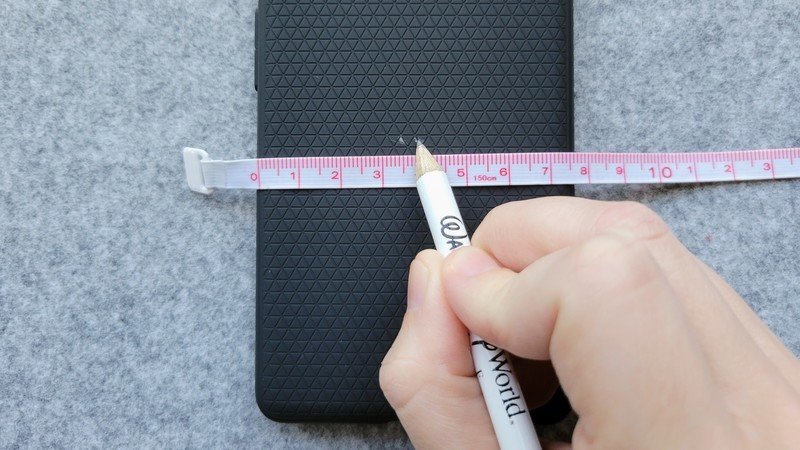
- If using a case, use a pencil or a thin piece of chalk to make a small mark between your fingers at approximately the midpoint between the left and right edges. This dot will be covered by the PopGrip, but avoid using pens or anything leaving a permanent mark.
- Set your phone/case face down on the table (preferably on a cleaning cloth or soft surface).
- Measure the distance between the dot and either side of the screen. (If you do not have a rule or tape measure, you can use a piece of string and see if the same amount of string will get you from center to right as it takes to reach from left to center.)
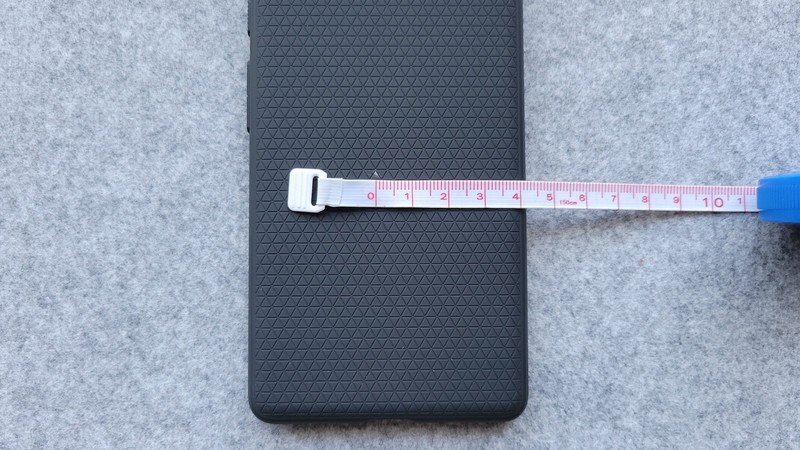
- If your dot isn't centered, make a second small pencil/chalk mark on your phone/case. Having the PopSocket centers ensures an even experience when used with either hand and a better change of the phone sitting level when set face-up on a table.
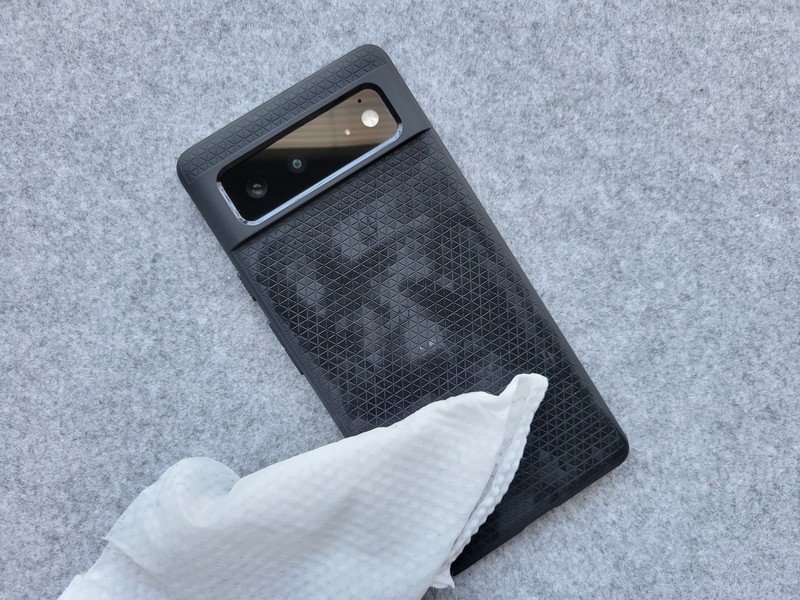
- Clean the back of the phone except your centered dot using an isopropyl alcohol swap or Lysol/Clorox-style disinfectant wipe. Cleaning grime off the back of the phone helps ensure the adhesive sticks more effectively.
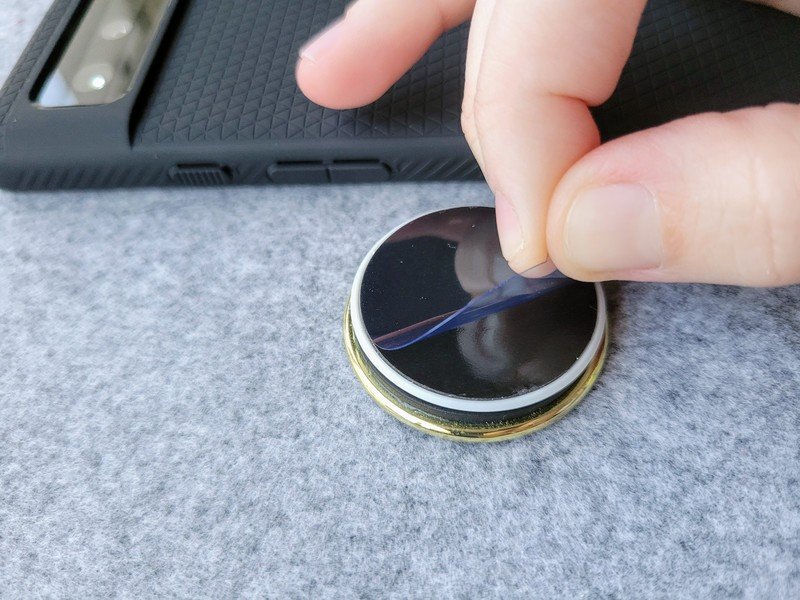
- Remove the plastic film covering the PopSocket's adhesive.
- Using your centered dot as a guide, gently place your PopSocket on the back of your phone/case.
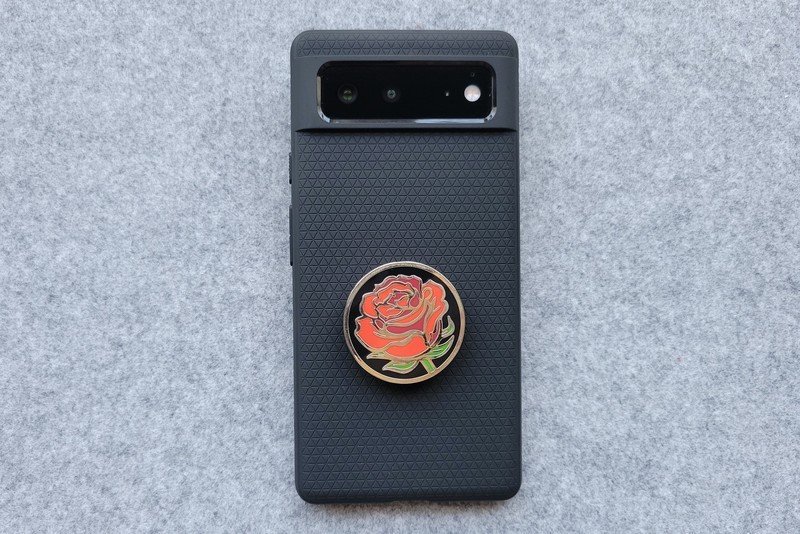
- Flip your phone over and set your phone face up on a table. See if the phone sits balanced on the PopSocket.
- Pop up the PopGrip and set it between your fingers. See if the placement seems natural and if you can reach most of the screen without straining your thumb.Source: Ara Wagoner / Android Central
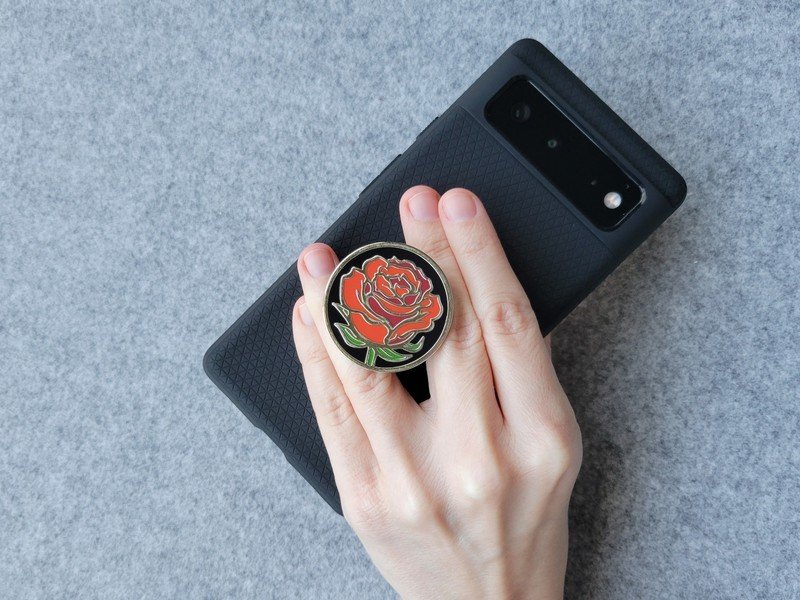
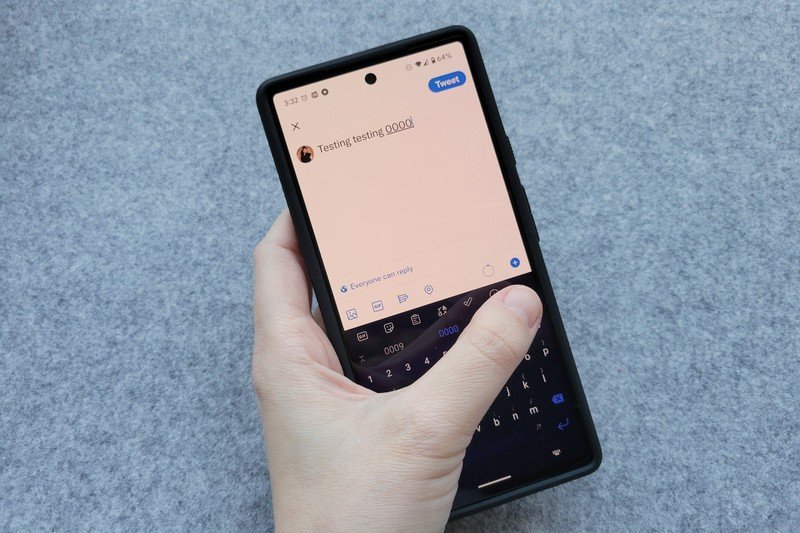
See how much further my thumb reaches now?
If the placement looks acceptable, collapse the PopGrip and leave the phone face up for a while to let the adhesive finish bonding with your case. It shouldn't be set entirely at this point, so if you dislike the placement, go ahead and retry Steps 13-15.
Does this process sound like overkill? A bit, but remember that you'll be holding your phone by your PopSocket dozens of times a day and potentially for hours. If ever there was a "measure twice cut once" scenario for your phone, it's this. Proper placement ensures stability, security, and peace of mind, not to mention it will help lower your odds of an RSI.
Be an expert in 5 minutes
Get the latest news from Android Central, your trusted companion in the world of Android
Swap your style and upgrade your grip.
These rule the phone grip world for a reason: They're more adaptable, reliable, and adorable. With thousands of styles, there's a PopGrip design for everyone, and now that they're Swappable, it's easy to switch off between game day and movie night — and easy to twist off the PopGrip at night for wireless charging.
Want to try placement positions before installing a grip? Try a PopGrip Slide!
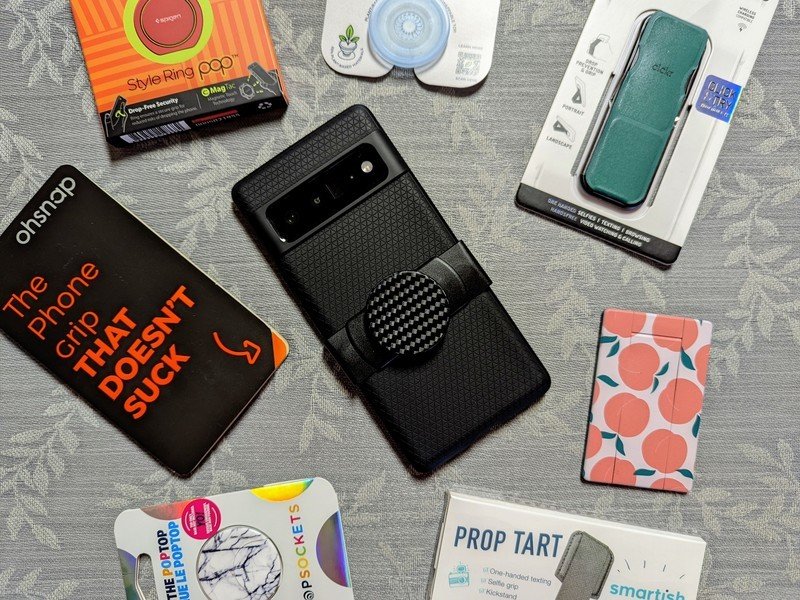
If you're not sure what height works best for you — or if you tend to move your hand up and down the phone depending on your task, you might want to invest a few extra dollars on a PopGrip Slide. This PopSockets model uses a tension-held bracket to grip the sides of your phone while a PopGrip sits on the back. This allows you to completely remove your PopGrip at night when wireless charging or easily move your PopGrip between phones and cases.
You could honestly buy a PopGrip Slide and make that your permanent PopSocket, but it's significantly bulkier than regular, adhesive-backed PopGrips. I tend to use mine when I'm testing out a phone that I'm sending back (and thus don't have a case for), but it also makes for a good "try it and see" entry point to PopSockets.
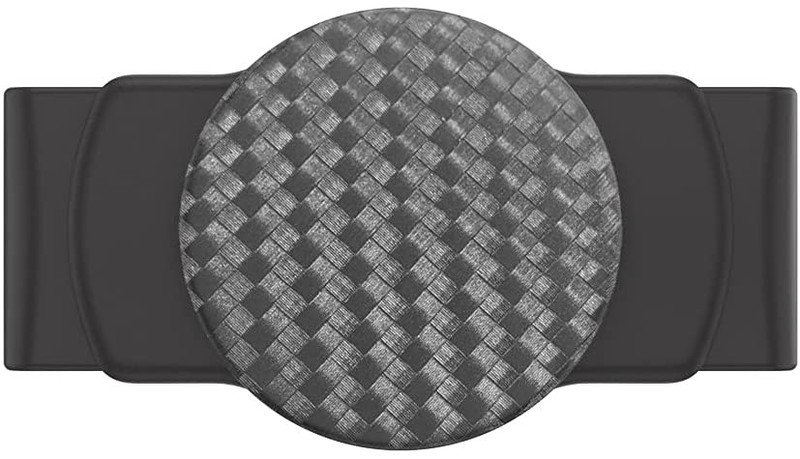
If you're still trepidatious about using a PopGrip, the PopGrip Slide is your gateway to the wonderful world of PopSockets' splendor. It leaves no marks, and it easily transfers from phone to case to case to phone again. And it's Swappable, so you can ditch the solid PopTop for something stylish if you keep it.
Ara Wagoner was a staff writer at Android Central. She themes phones and pokes YouTube Music with a stick. When she's not writing about cases, Chromebooks, or customization, she's wandering around Walt Disney World. If you see her without headphones, RUN. You can follow her on Twitter at @arawagco.


