How to manage downloads and files on your Chromebook
The best Chromebooks are designed from the ground up to work "with the cloud" and they do a fine job at it, but knowing how to manage downloads and files on your Chromebook is important to properly maintain the onboard storage. Even if you regularly work from the cloud, you might want to keep a local copy of a document you're working on in case you get stuck somewhere away from Wi-Fi. Your Chromebook doesn't really care where you store your files, but because most devices have 64GB internal storage or less, you'll want to take a bit of care about how and where you put the important stuff.
What to know about storing files on Chromebooks
Regardless of whether you are using an older Chromebook or something newer like the Lenovo Flex 5 Chromebook is a lot like your Android phone when it comes to downloading and storing files. You have a dedicated Downloads folder within the Files app, or you can choose another spot in the user-accessible portion of your storage drive to place a file when you're downloading it. You can also move files and folders around as you like as long as you stay out of the system files.
On the surface, things look super simple, and if you'd like to keep them that way, you only need to remember a couple of things.
- Files won't be mirrored or stored in your Google Drive account unless you put them in the Google Drive folder through the file manager.
- Files kept in the "Downloads" folder can be deleted when you get low on space.
Luckily, you don't have to keep things that simple. There are plenty of other options when it comes to storing files on your Chromebook. Things like SD cards and other removable storage devices are a great option, as are cloud-based services like Google Drive or Dropbox. You can even store files on a home network device like a NAS box and access them as if they were local. That's part of what makes a Chromebook great — they are built for networked storage to act seamlessly.
How to manage removable storage
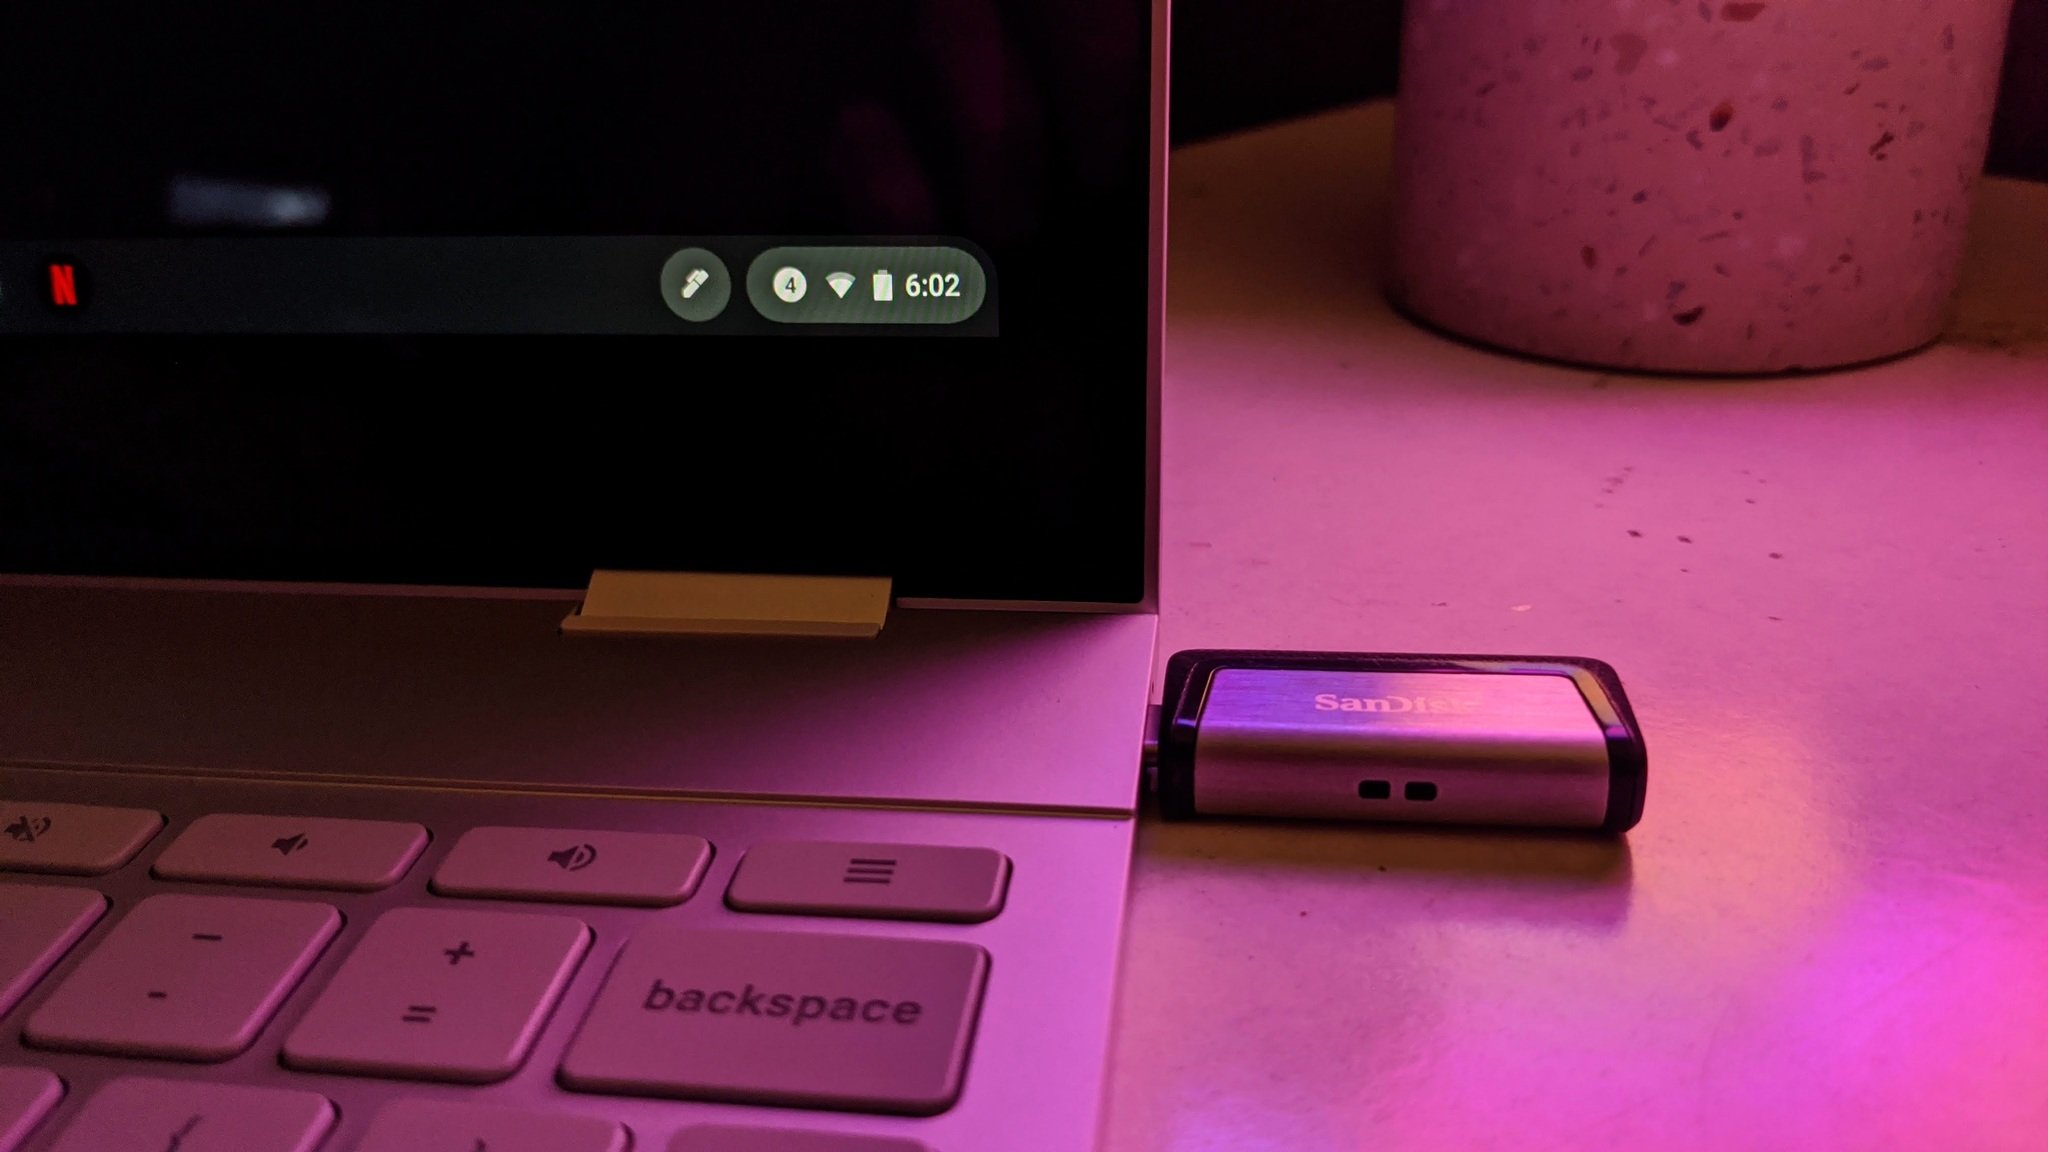
One of the most common ways to expand the storage on a Chromebook is with an SD card, thumb drive, or an external hard drive. Here's how these devices work on your computer once you've picked the storage medium of choice.
- Insert the USB drive or SD card into your Chromebook.
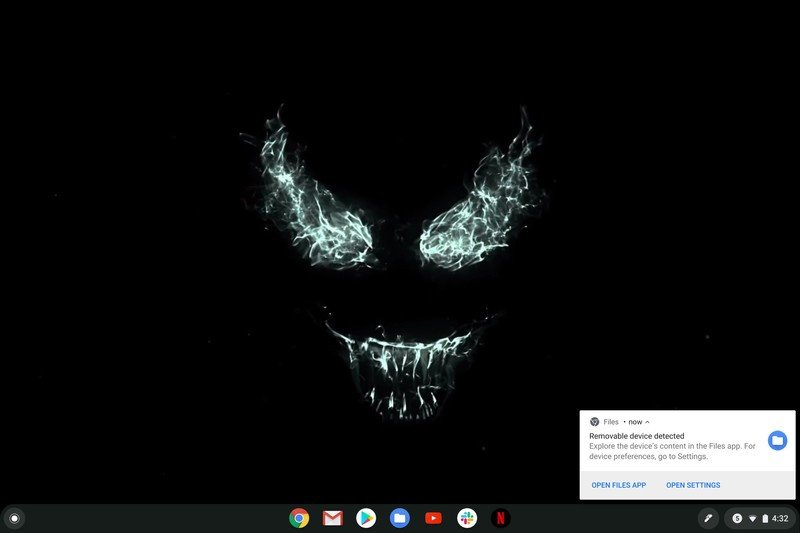
- On the initial insertion, a window will pop-up that says removable device detected. Click on "open Files app. Source: Chris Wedel/Android Central
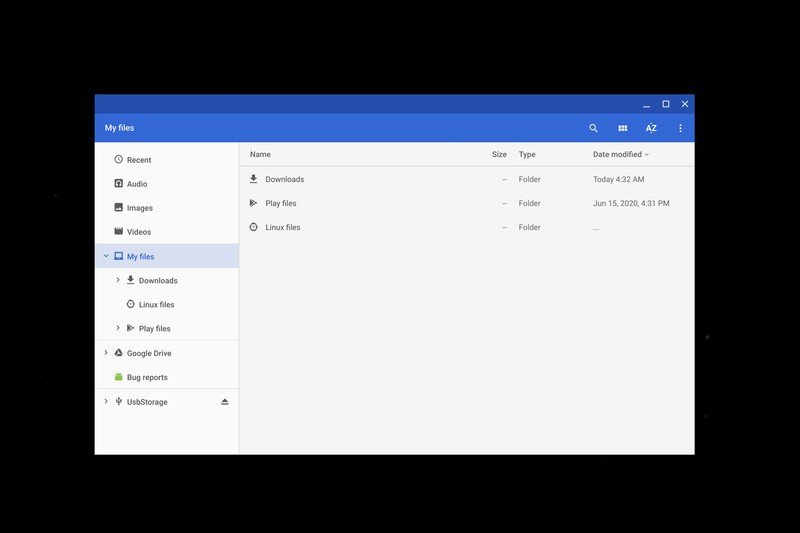
- Once the Files app has opened, your storage device will appear as its own folder and you can begin moving files to it.
- If it's a USB device that will be getting unplugged after each of your computing sessions, click on the eject symbol (the upward-pointing arrow with a line under it) before removing the storage.
What you'll need to remember is what you already know: these files are only there if the media — the SD card, thumb drive, or hard drive — is in place. That's not a problem if you stick an SD card in the slot and never take it out, but if you use other storage, remember to keep the things you often need in a local folder. I have a hard drive at my desk that I attach to my Chromebook when I "dock" it for work. It has music stored on it so I'm not likely to need any of the files while I'm away from my little office space. If I did need to have some documents on hand all of the time, that hard drive isn't the best place to store them.
Right now, Android apps aren't installed on the removable storage in Chrome. That should be soon changing, and when it does, you'll need to have your SD card in its slot to use any app you've installed that way. A thumb drive or hard drive isn't going to be a great option if you let Android apps use the removable storage on your Chromebook.
Be an expert in 5 minutes
Get the latest news from Android Central, your trusted companion in the world of Android
How to allow apps to use external storage
Apps like Netflix and Hulu allow for downloading shows for offline viewing. However, if you only have a small amount of built-in storage for your Chromebook, having more storage available because of a good SD or microSD card for Chromebook for those downloads can help a lot. Here's how to enable this for your apps.
- Open settings on your Chromebook.
- Select apps in the left hand column.
- Here you will want to choose Google Play Store in the main window.Source: Chris Wedel/Android Central
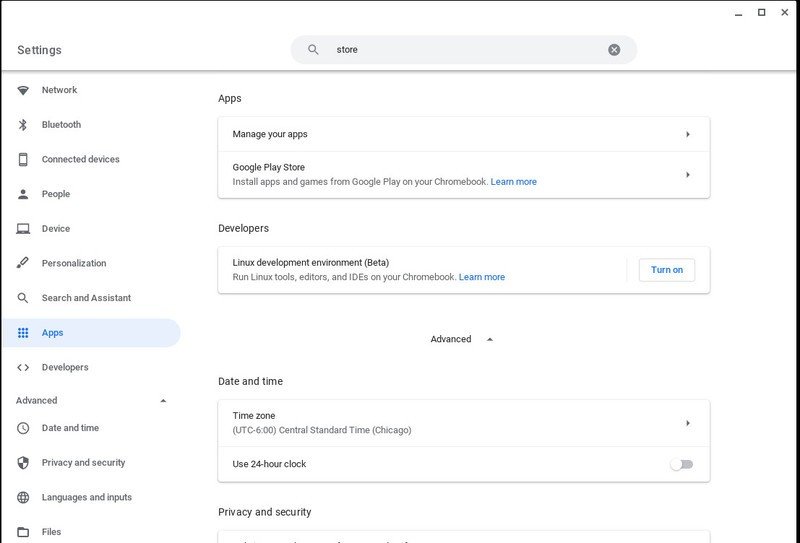
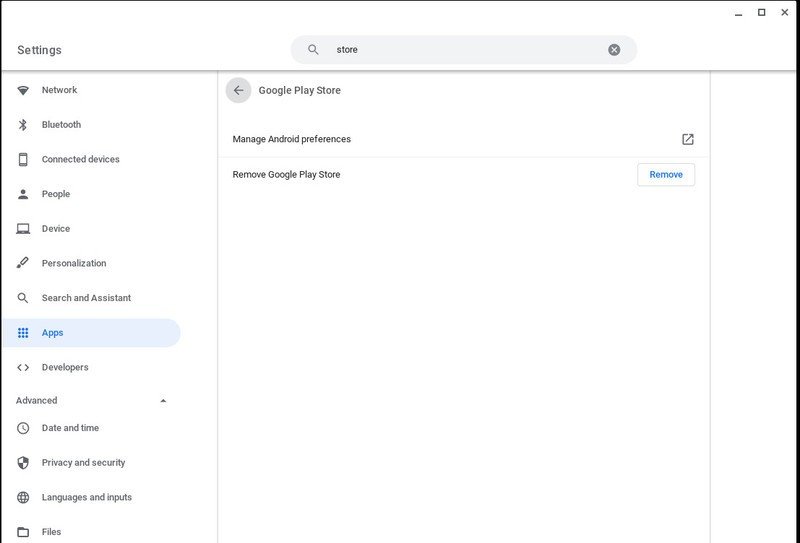
- This step is where you click on manage Android preferences.
- In the next screen you'll see recently opened apps and if the app you are looking for is there, choose it. Otherwise, click on see all apps.Source: Chris Wedel/Android Central
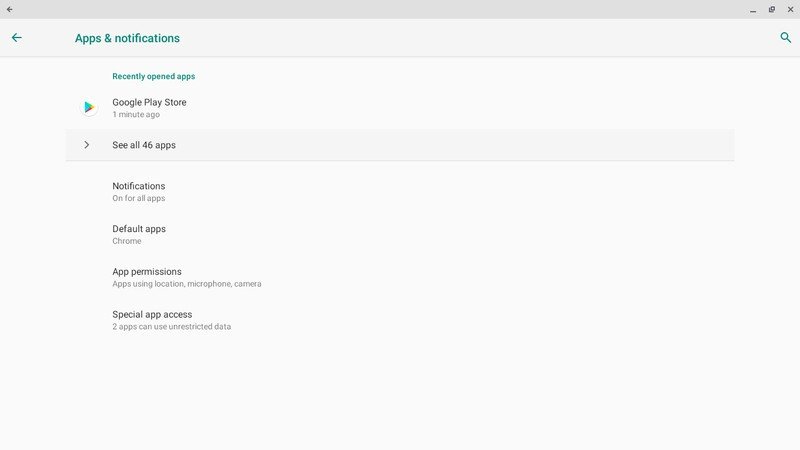
- Find your app in the list and select it.
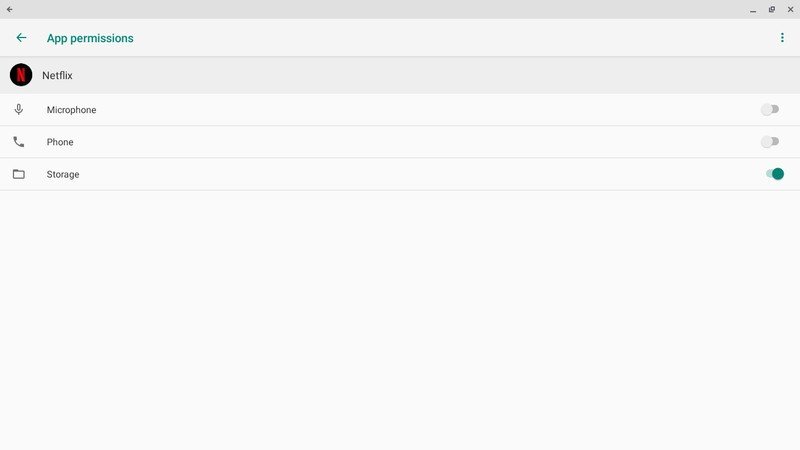
- You need to change the permission for that app, so click on permissions.
- Select the toggle by storage to enable that app to store downloads to your installed storage.
Follow these steps to enable each app you want to allow access to your microSD storage. Now, when you want to download shows or movies from your favorite apps, you'll have more room to do so.
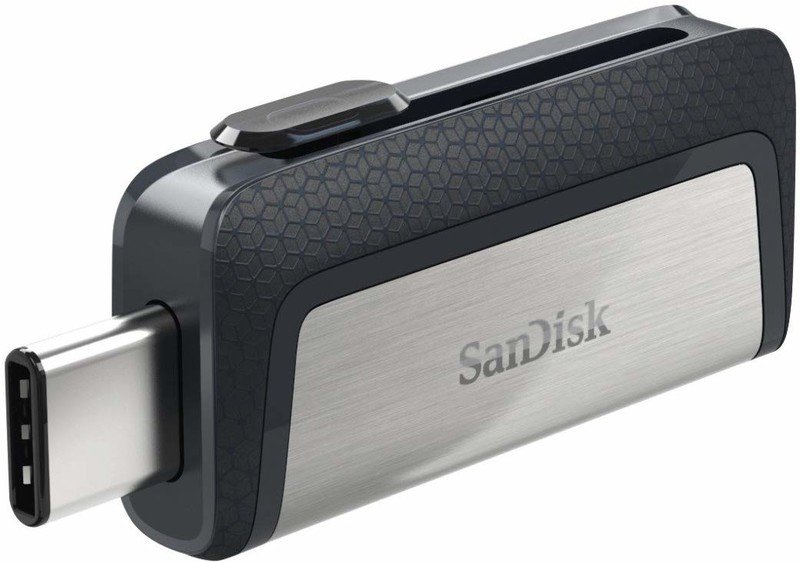
Cheap and easy storage.
This thumb drive offers fast and reliable storage with the flexibility of traditional USB type-A as well as new type-C connections.
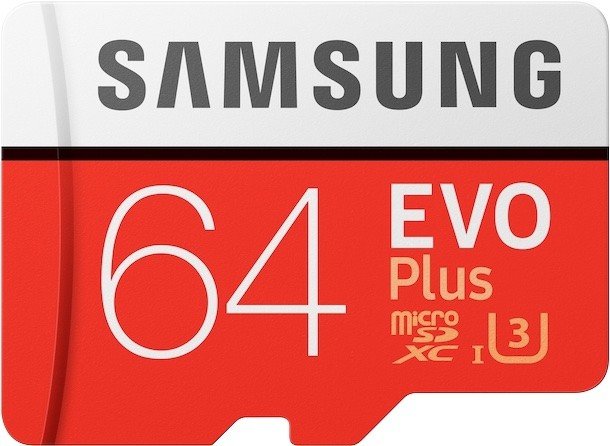
For even more storage
Not all SD cards are created equal, and this option from Samsung brings speed and secure storage for all of your files.
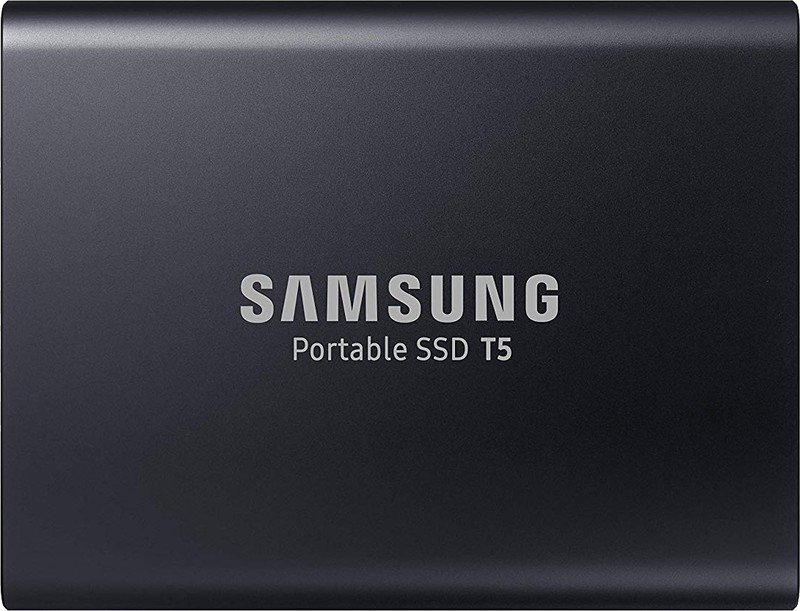
The fastest and most storage for your Chromebook
When you have large files that you want to be able to back up securely, this external SSD from Samsung will do it extremely well.
How to manage files on the cloud
You get free Google Drive space when you set up a Google account, and most Chromebooks also get you a bit of extra storage free for a year. Your Google Drive will appear in the Files app just like flash storage or local storage does.
- To get started, open the Files app.
- Along the left side of the window, you'll see Google Drive, click on it. Source: Chris Wedel/Android Central
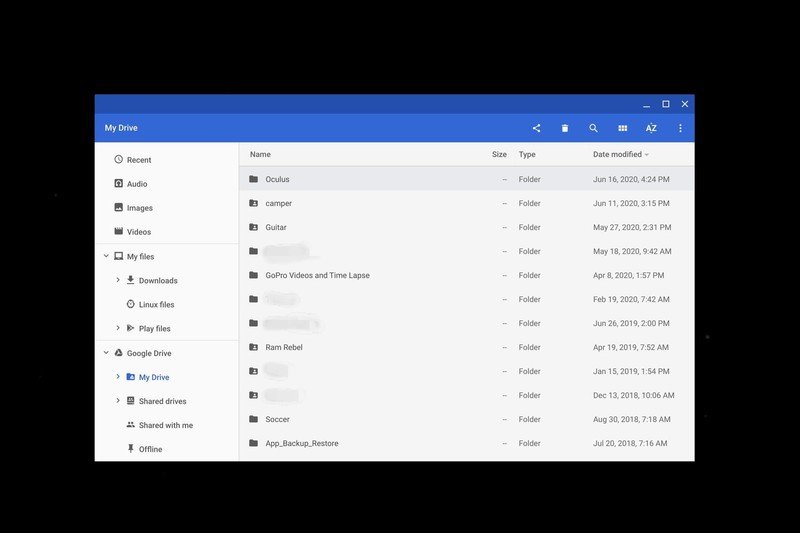
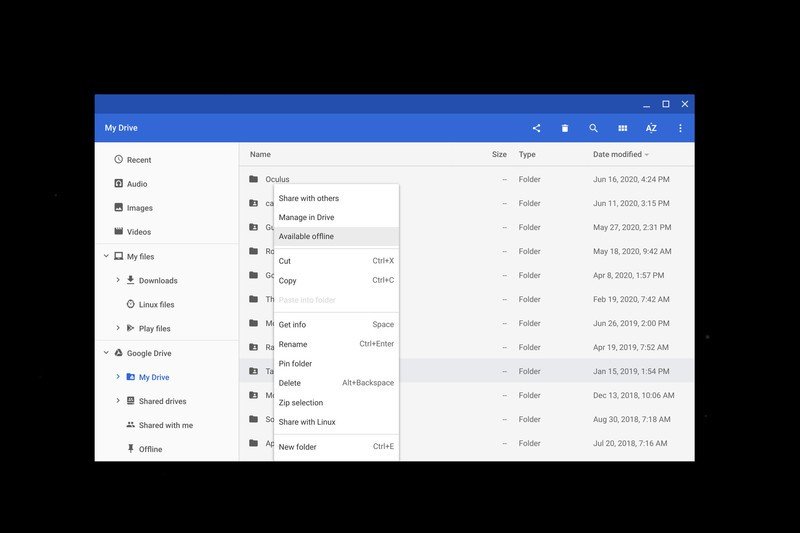
- Once open, you can see all of your Google Drive files that you access just like local files so long as you are online.
- You can make a folder available for when you don't have internet access by right-clicking (two-finger tap on the trackpad) on the folder and selecting available offline.
While Google Drive is the defacto option for cloud storage on Chromebooks, it isn't the only choice — you can use any service that lets you interface with it through a web browser.
Some, like Dropbox, also have extensions that bundle them into the Chrome files app the same way Google Drive is. That's super-handy because it's seamless. You can use your cloud space just like it was a local folder. You might have to wait a few seconds for things to upload properly once you place them in the Google Drive folder, but it makes for an easy way to store a lot more than you can locally.
Advanced users that have a home network with attached storage can set up Windows or Samba sharing and use the Chrome OS Files app the same way through an extension. This gives the same benefit of "unlimited" storage space but allows you to keep files out of the cloud if that's how you would rather work.
How to manage backups
If you keep everything in Google Drive, you don't have to worry about backups. That's what I would recommend, especially if you're not really a "computer person" and just want to make things simple.
- The first thing is to open up the Files app.
- Click on Google Drive and create a folder by right-clicking on my drive, pressing ctrl and E at the same time, or clicking on the three dots in the upper right corner then selecting "new folder."
- Now you can name the folder whatever you'd like.
- Choose the files from your Chromebook that you'd like to move into your newly created Google Drive backup folder.
If you don't use Google Drive for all things, you'll want to remember that you should always have at least one backup of every important file you own. Two backups of every file is even better. You have a couple of great options available to you when it comes to backing up files from your Chromebook.
You only remember backups twice — when someone reminds you and when you wish you had one.
You can back up important files to an SD card or removable USB storage device. Just plug it in and wait for a second or two for your Chromebook to see it and set it up, then copy things over like you normally would. All you need to do then is remove the card or drive and store it somewhere safe.
You can back up important files to Google Drive, even if you normally don't use the service. It's just like copying files to any local folder, just choose the Drive storage space and create any folders you need for backups. Even if you have extra space for a year and decide not to renew it after, anything you store in Google Drive is always available. You just can't add any new files once it's full.
Setting up Dropbox or OneDrive with the file manager is as easy as clicking a button.
To use another online storage service, you can upload files through the company's web interface. When given the opportunity to choose a file for uploading you'll see the Chrome files app, and it works exactly as you would expect.
You need to keep backups because everything is erased when you "Powerwash" your Chromebook. In other operating systems you can reinstall the whole OS without losing your user data and files. Chrome OS doesn't work that way — when you reset a Chromebook through what's called Powerwashing, everything is erased forever. You're probably never going to do this by accident, but if you lose your Chromebook or it gets stolen, everything is gone forever. Backup your stuff.
About the Downloads folder
The Downloads folder in Chrome is not a regular folder. It's a place where you can dump any file, and any other app has access to it, but it's managed by the OS itself. You can keep files in the Downloads folder and access them normally, but when you reach the point where 80% or more of your local storage is used, the OS will randomly delete files in the Downloads folder to free space.
Chrome OS doesn't have a Recycle Bin. When a file is deleted, it is gone forever unless you have the means to rebuild it from a forensic check of the storage. Make it a practice to never keep any large file in the Downloads folder and to regularly move out any files you'll want to keep.
Managing files and folders on a Chromebook isn't hard, especially if you're used to doing it on another operating system like Windows or macOS. All you need to know are a few extra details about the special way Chrome can work with the cloud, and you'll be a wizard in no time!
Our top equipment picks
In smooth style
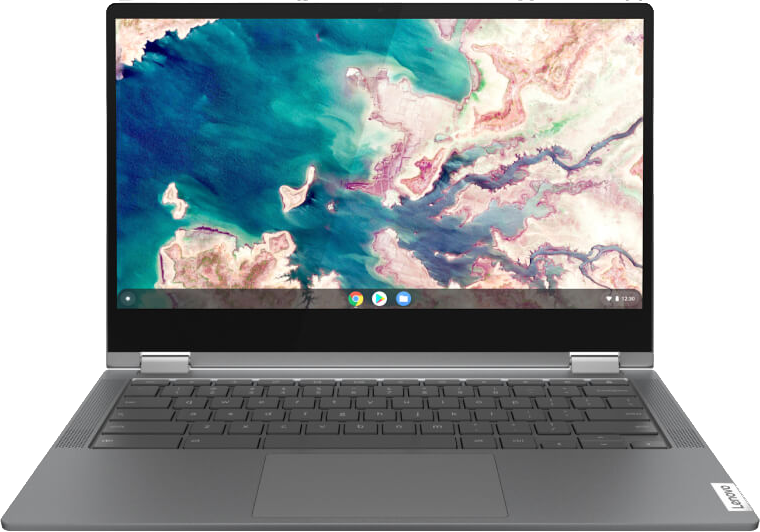
The Lenovo Chromebook Flex 5 is a fantastic Chromebook in many ways. It offers the traditional laptop experience, but can fold out to operate as a tablet with a touchscreen interface. Thankfully the 10-hour battery life means you can work or play all through the day.
Additional Equipment

Google One ($3 monthly at Google)
Google One is a simple way to manage all of your cloud storage from Google all in a single site. With an easy to use dashboard, you'll always know where you stand for storage and your Google account.

Jerry is an amateur woodworker and struggling shade tree mechanic. There's nothing he can't take apart, but many things he can't reassemble. You'll find him writing and speaking his loud opinion on Android Central and occasionally on Threads.
