How to increase battery life on Android 10
Android 10 isn't the biggest platform update, but it has a good set of features that can be tweaked to improve your battery life. Coincidentally, some of the changes you can now make to protect your privacy also have knock-on effects in saving power as well. Here's how you can maximize your battery life with a few simple changes on Android 10.
- Options for Google Pixel and Android One
- Battery savers for OnePlus Oxygen OS
- Some options for Samsung One UI 2
- For all Android 10 phones
Google Pixel and Android One
Make sure Adaptive Battery is turned on
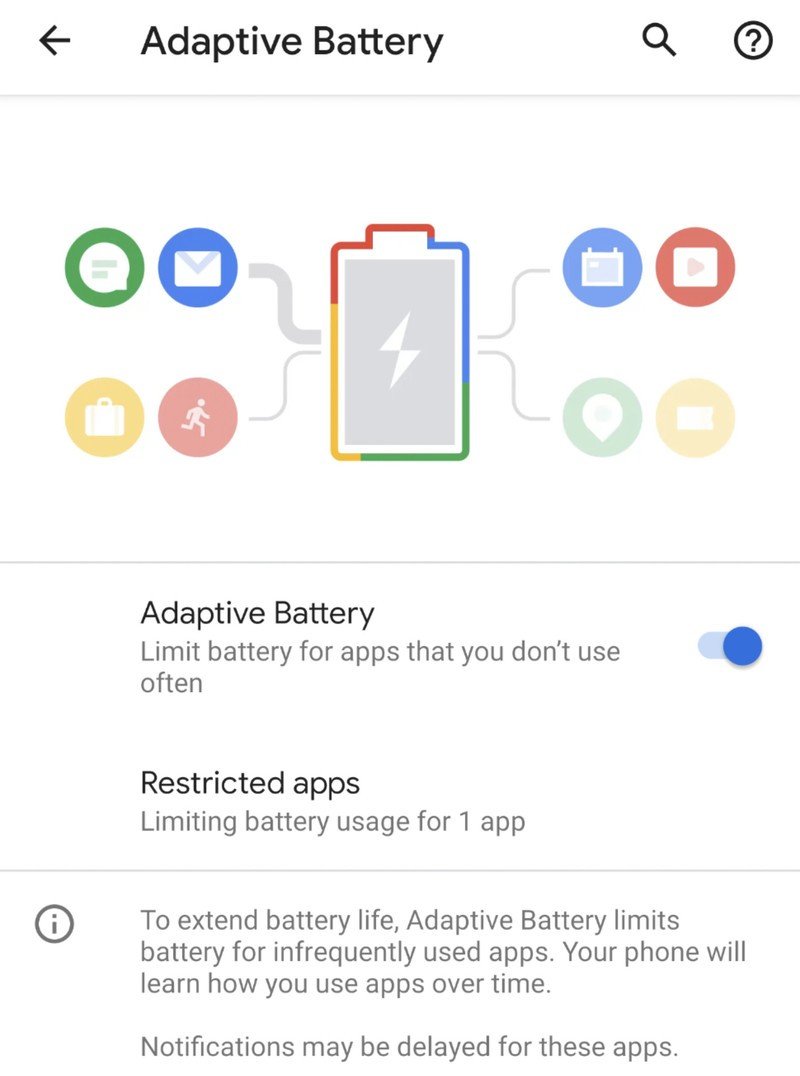
This tip is as simple as it gets, and every Pixel owner should make sure it's turned on: Adaptive Battery. This is a system that looks at how you use your phone, and limits how often infrequently-used apps can run in the background. Google says this only gets better over time as well.
Go into your phone's Settings, select Battery and then Adaptive Battery and make sure the toggle is turned on. After that, there's nothing else to do.
After you've used your phone for a while with Adaptive Battery turned on, it will start to list the apps that it has "restricted" from running as frequently. They'll show up in the Adaptive Battery settings, and you can see how long they've been restricted for and have the option to whitelist those apps if you so choose. For example, you may not use a travel-related app that often, but when you are traveling you want it to be able to run as often as it needs — this is where you'll check to make sure it's able to run.
Use Battery Saver mode
This is another easy one: turn on Battery Saver. You can turn it on at any time from the notification pane, and when you do the phone makes a bunch of battery-saving changes. With Battery Saver on, the phone restricts apps from refreshing in the background, turns off location services when the screen is off, turns off "OK Google" hotword detection, and turns on the system's dark theme. All together, it can make a big difference in battery usage — although it also has a big effect on how your phone works.
Be an expert in 5 minutes
Get the latest news from Android Central, your trusted companion in the world of Android
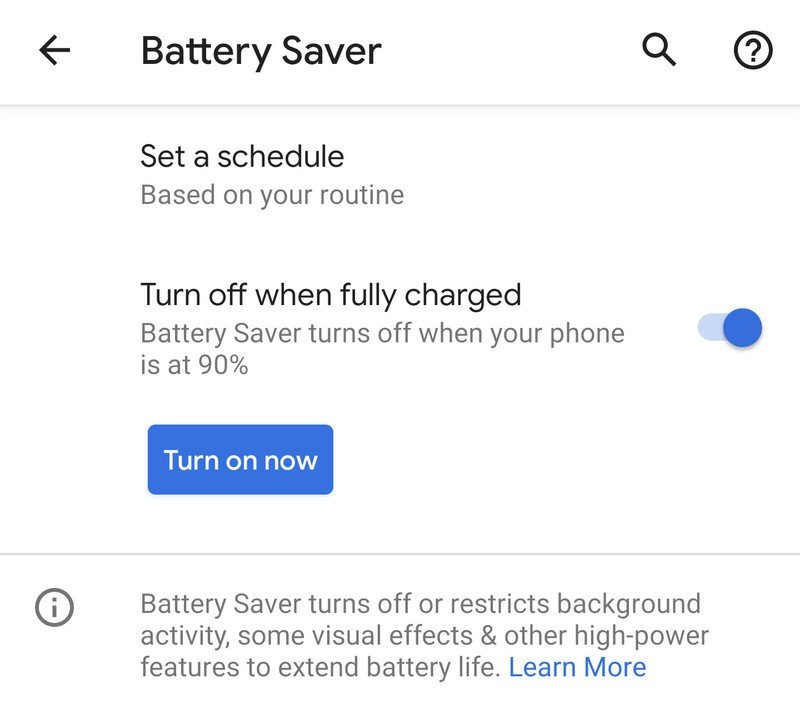
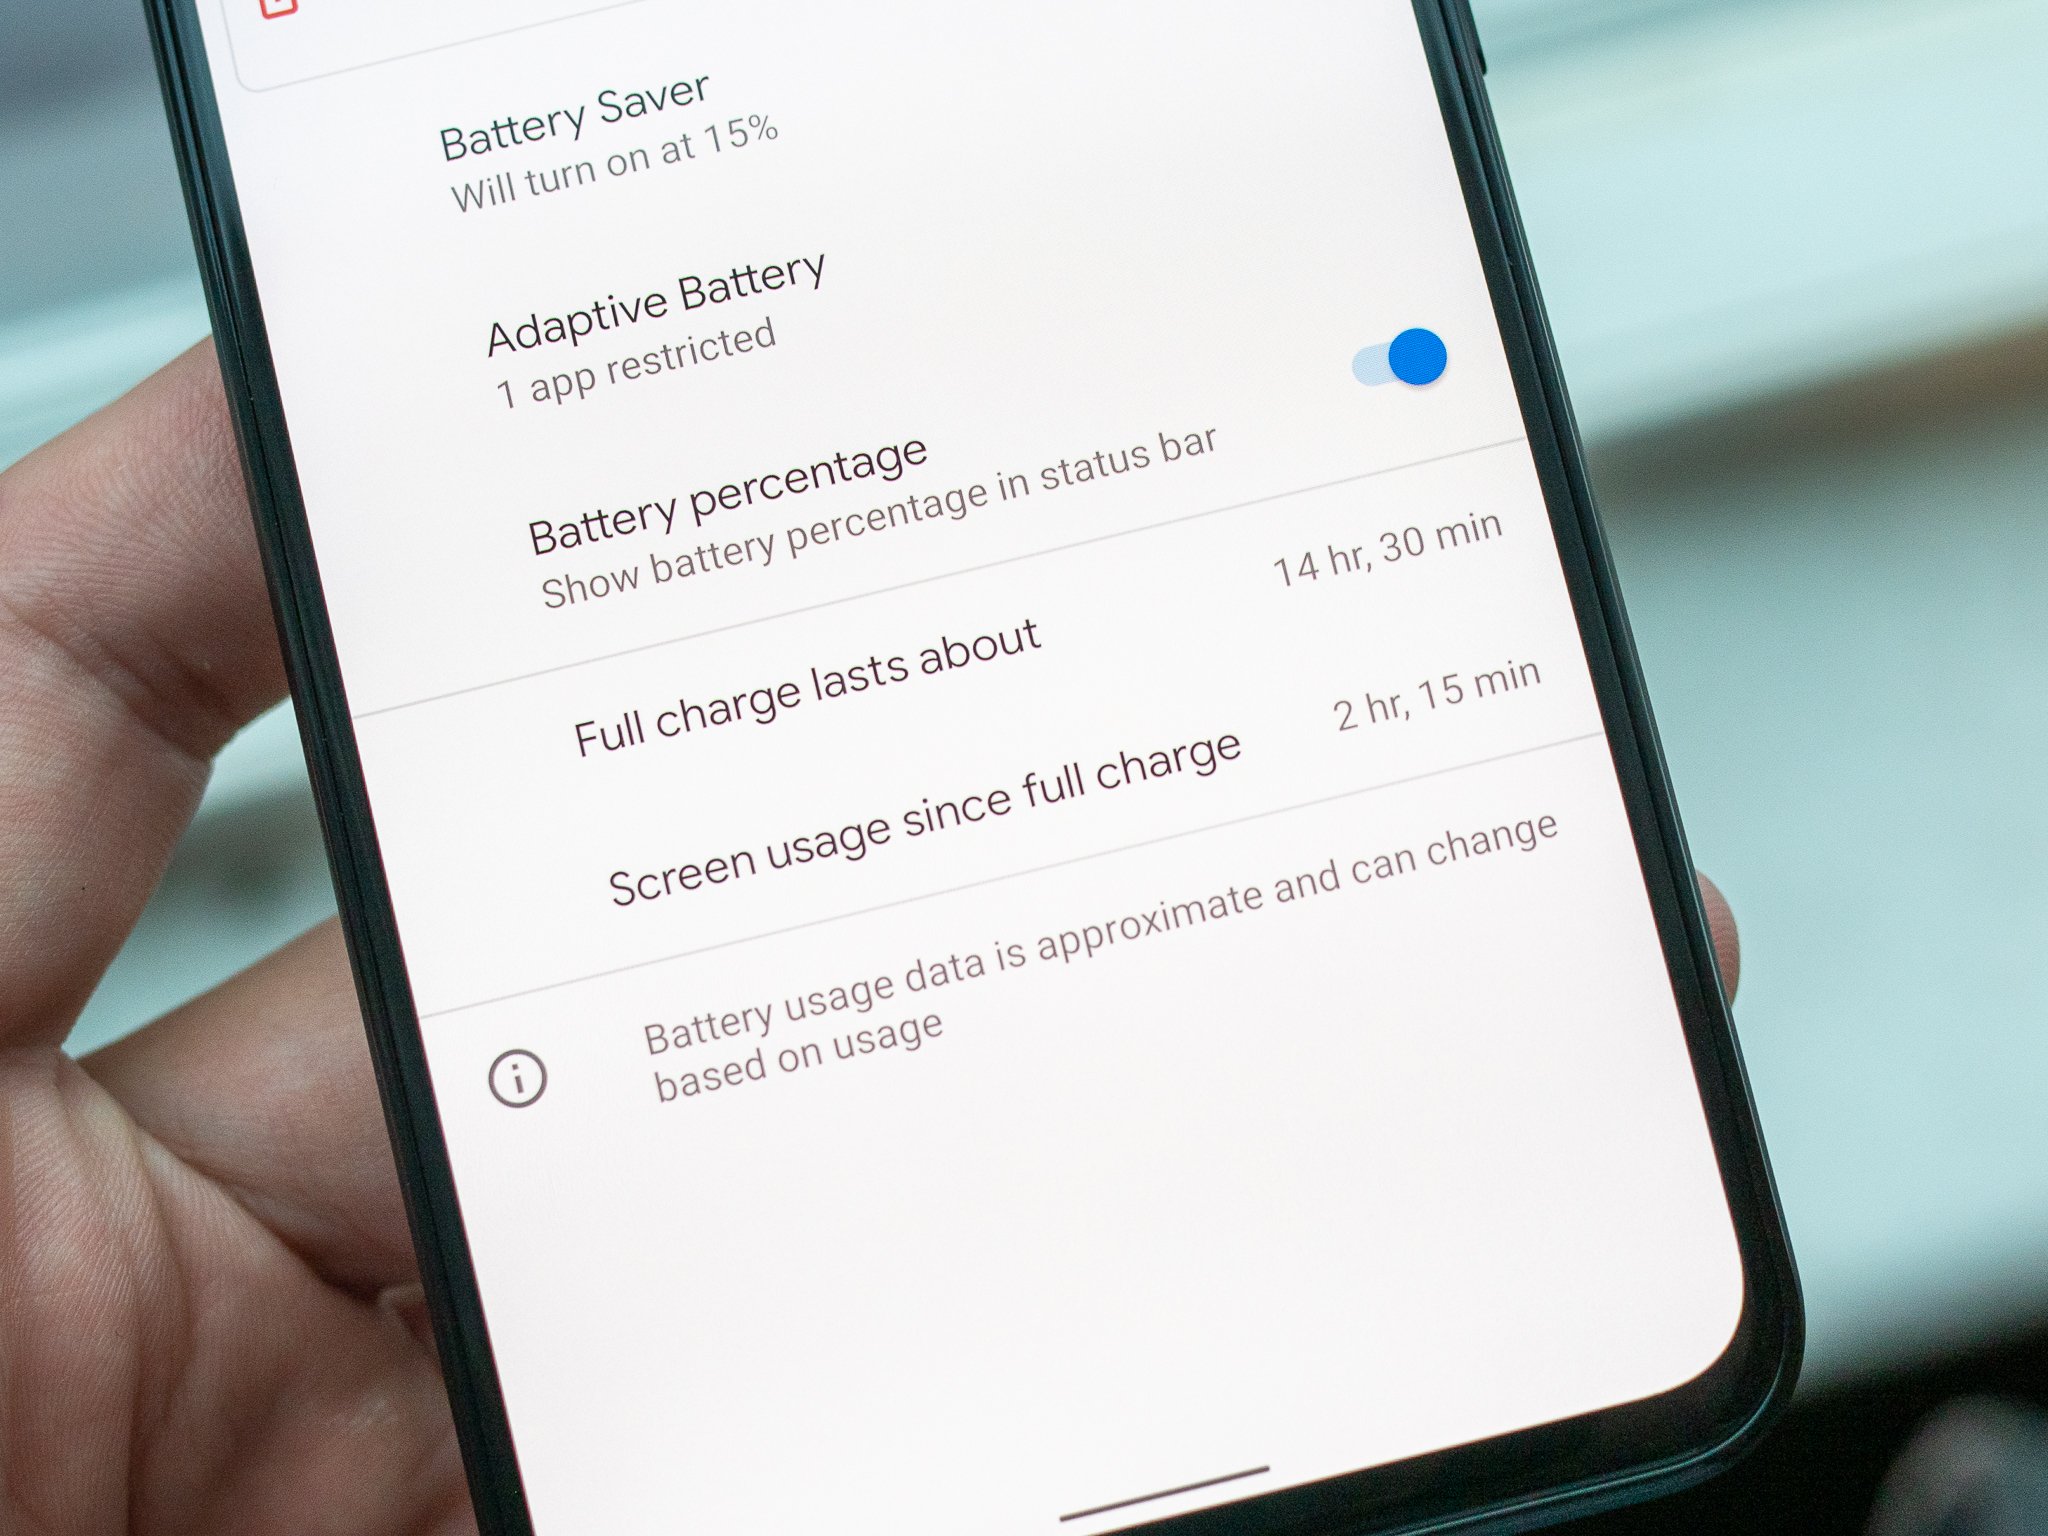
If you don't want to have Battery Saver turned on constantly, you can set it to turn on automatically at a specific battery percentage. By default that number is 15%, but you can set it anywhere between 5% and 75%.
There's also an interesting middle ground available on the Pixel: letting the phone choose when to turn on Battery Saver. There's an option in the settings to let it turn on "based on your routine." Basically the phone will look at how long you usually use your phone before plugging in at night and determine whether Battery Saver should be turned on earlier in the day in order for you to make it there. Google's battery life estimates are usually reasonable, so having Battery Saver come on automatically when the system sees heavier-than-usual usage could be very helpful.
Change your always-on display settings
A vast majority of modern phones use OLED displays that are extremely efficient because they only light up the exact pixels necessary to show the content it needs to show, and that makes the "screen-off" Ambient Display a pretty small drain. But still, it's more drain than the display being completely off, and if you don't find it all that useful anyway you might as well disable it to save a little battery.
Go into Settings, click Display, then Lock screen display, and turn off "Always on." This doesn't mean Ambient Display is off entirely; it just means it won't be turned on by default. With every other setting left in its default (and Motion Sense left on, in the case of the Pixel 4), your Ambient Display will still come on when the phone is picked up and when notifications arrive. Realistically, those are the only times most people need to see their Ambient Display anyway, so this is a good middle ground.
If you're purely focused on making your battery last as long as possible, you can turn off the rest of the Ambient Display settings — reach, tap, lift and notifications — so the screen will remain completely off until you press the power button. (Note: Ambient Display is already smart enough to turn off whenever your phone is in a pocket or bag.)
OnePlus Oxygen OS
Use Adaptive Battery
The full effects of Adaptive Battery can be seen on a OnePlus phone — this isn't exclusive to Pixels. Hop into Settings, Battery and Adaptive Battery to make sure it's turned on. After that, there's nothing to do — it just works in the background to save you battery wherever it can. The per-app optimization part comes in our next tip.
Check Battery optimization settings for apps
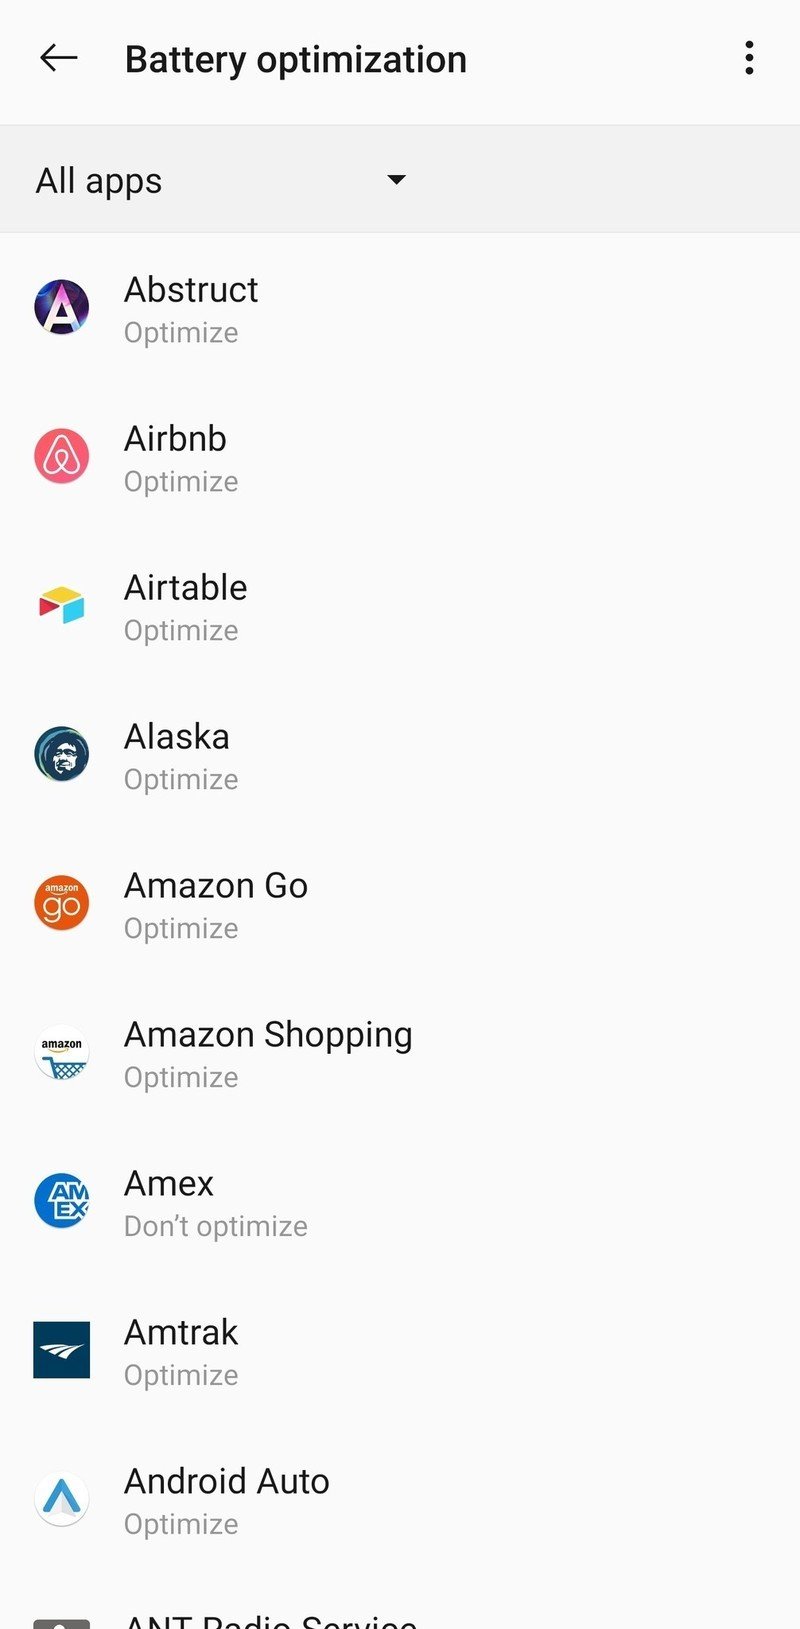
In addition to Adaptive Battery, OnePlus has its own extra settings pane for optimization of apps. In the battery settings, you'll see "Battery optimization" area. The phone starts optimizing apps automatically based on usage; when they're optimized, they'll run less frequently in the background, ideally to reduce battery life. If you find an app is causing problems, you can find it in the list and force it to be optimized. On the other hand, you can find an app that's been automatically optimized and force it to not be optimized for its best performance.
If you really want to focus on battery life over all else, tap the menu button in the top-right corner and go to Advanced optimization. By default you'll see the "Sleep standby optimization" on, which does a great job of cutting back on power consumption when the phone has been idle for a long time — such as when you're sleeping and didn't plug in the phone.
The other option, "Deep optimization," has more trade-offs. It takes the optimization settings from above and turns them up to further restrict apps from running in the background. When you turn this on, some apps may not be able to send you notifications or update their data in the background, which helps a ton with battery but could be bothersome if you're relying on apps to update even when they're not in the foreground.
Use Battery Saver mode
OnePlus hasn't messed with the default battery saver mode in Android. You can configure it in Settings, Battery, and Battery Saver. The only difference compared to the Pixel is there's no intelligent automatic battery saver mode; you can simply choose a specific battery percentage to have it turn on.
Of course you can always force Battery Saver on at any time, either from that same settings page or with the notification shade quick toggle.
Adjust display settings
In the Display settings, you can make a tweak that'll save battery and have a tiny — or unnoticeable — effect to your eyes. Under "Resolution" you can drop the phone to FHD+, meaning it will always render items at 1080p and save battery in the process. You can also use "Auto switch," which lets the phone decide when to bump up to 1440p, again saving battery because it will typically just be at 1080p when you're navigating around the interface and using most apps.
For modern OnePlus phones with 90Hz refresh displays, you can also save battery by turning down the refresh to 60Hz. This will make it look and perform like most other phones on the market, and extend battery life slightly. Though after enjoying that 90Hz refresh rate, you may find it's worthwhile to spend that little bit of extra battery for super-smooth display performance.
Samsung One UI 2
Adaptive Battery is here as well
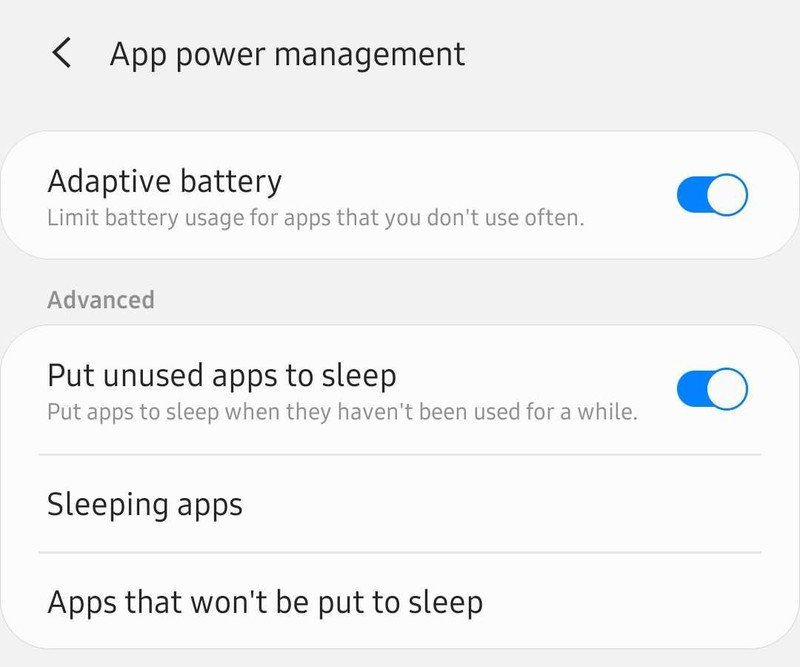
Samsung also has Adaptive Battery, but the interface doesn't really look like it does on other phones and more closely follows its similar settings from Android 9. You can find it in the battery settings next to everything else, and it's a simple toggle to turn on and let it do its thing automatically.
However, Samsung also augments the regular Adaptive Battery settings with additional "advanced" settings to put unused apps to sleep (which is ostensibly what Adaptive Battery does, but whatever). When you turn this on, apps that haven't been used in several days will be put to "sleep" so they won't run in the background until you've opened the app and reset the sleep counter. You can see a list of apps that have been put to sleep, and then also whitelist specific apps so they're never forced to sleep.
Customize Power Saving Modes
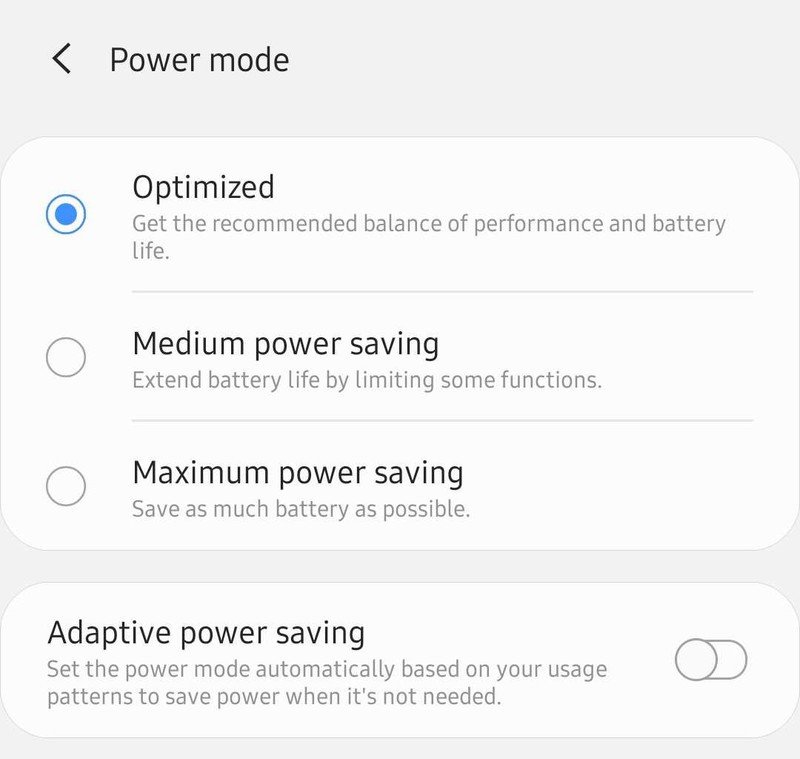
Samsung, of course, has a battery saver mode like every other phone, but its version offers a few more tweaks and options as it has for several versions of its software.
By default your phone will be set to "optimized" for everyday use, but when you need to save battery you can toggle to either "medium" or "maximum." Medium power saving mode is the most similar to other phones; it reduces performance slightly, turns off always-on display and reduces the phone's brightness. You can still use your phone normally, but it'll be a bit more conservative about power drain. Maximum power saving mode goes all-out and restricts a whole bunch of background processes, limits all apps that are in the background, and turns off mobile data in various cases to really save power — your phone will last a couple days on a charge without fail, but it won't be enjoyable to use.
You can turn on either power saving mode from the battery settings, or from the notification shade. Like the Pixel, you can also let the phone choose when to change the power saving mode based on your usage — just toggle the "adaptive power saving" option in the settings, and it will drop the phone into medium, or even maximum, power saving mode if it tells that your phone's going to die before you typically charge it based on your usage.
Change Always On Display settings
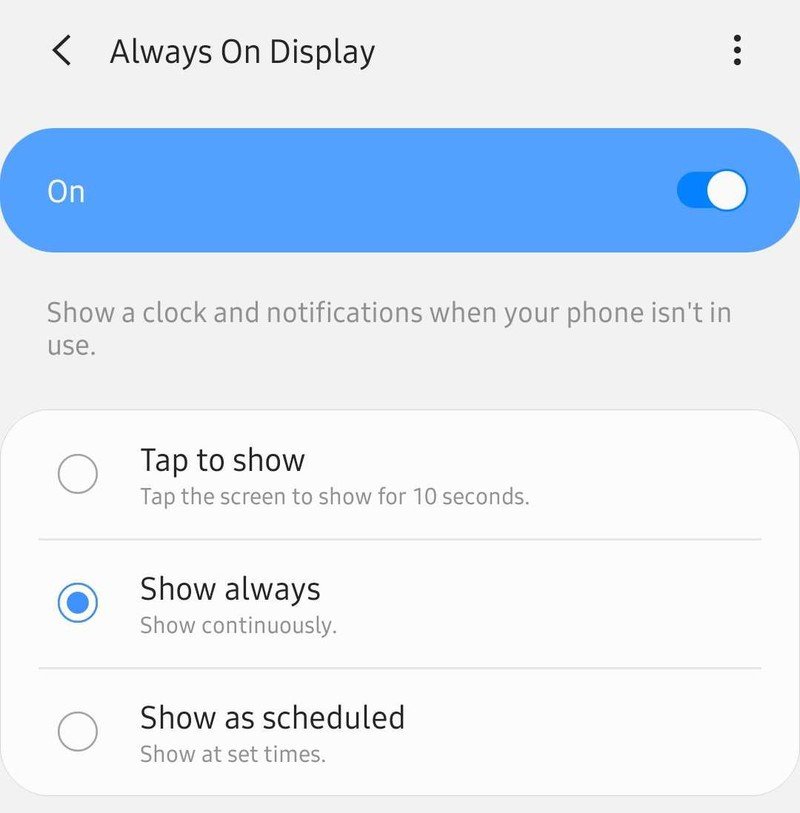
Samsung was one of the earliest pioneers of always-on display tech with its OLED screens, and it has a ton of settings to customize when it's shown (and using battery). You can find always-on display settings under the lock screen settings menu.
The biggest thing you can do to save battery is switch your always-on display from "show always" to either "show as scheduled" or "tap to show." The former will let you turn it on for specific times — perhaps just your working hours — while the latter saves the most battery because you have to specifically tap the screen to show it. You can also adjust the brightness of the always-on display to be set at a low percentage, which will also save battery over the auto brightness mode but will make it incredibly difficult to see in bright lighting and sor tof defeats the purpose of an always-on display.
As is the case with other phones, your always-on display will turn off whenever the phone's in a pocket or a bag, so you don't have to worry about that draining your battery.
Battery-saving tips for all Android 10 phones
Uninstall unused apps
Using Battery Saver to restrict background app usage is useful, but the best thing you can do is not have a ton of apps on your phone you're not using in the first place. The system does a decent job with restricting battery usage through Adaptive Battery, but you can take it all into your own hands by uninstalling apps you know you're not using frequently.
Scroll through your apps and ask yourself when the last time was you actually cared to open many of them and when you expect to realistically use them again. You can always re-install apps — all of the apps you've installed stay in your "library" on the Play Store, so you can go back and find them quickly later.
Restrict background location access

Android 10 has a great new permission system that lets you choose whether apps have access to your phone's location. Rather than making it all on or all off, you can choose a middle setting of only giving location while the app is being used. This is obviously a win for privacy because, honestly, most apps just shouldn't have access to your location, and you should have control over that.
Luckily, fewer apps having access to your location in the background is also a battery saver. Android does a good job of coalescing location requests, but still, it drains a little battery every time your phone gets your location in the background and apps wake up to access it.
Head into Settings, Privacy, Permission manager, and then Location (this may differ slightly from phone to phone) to see a list of every app that has access to your location. Chances are most of your apps have full location access. You can tap into each app and change to "Allow only while using the app" if you want to restrict it. If there's an app you feel shouldn't ever have your location, you can deny it entirely.
There's a chance that some apps may not behave properly if you deny their location access, and it could be in ways you didn't expect. For the most part, apps can handle this restriction just fine, and in return you get the peace of mind of knowing they can't see where you are — and you can save some battery at the same time.
Charge faster, charge easier
Ultimately, no matter what you do you're going to have to charge your phone. And even if you have a phone with great battery life, you want to maximize your charging time with a wired charger, wireless charger, or portable battery that gets your phone charged and back out as quickly as possible.
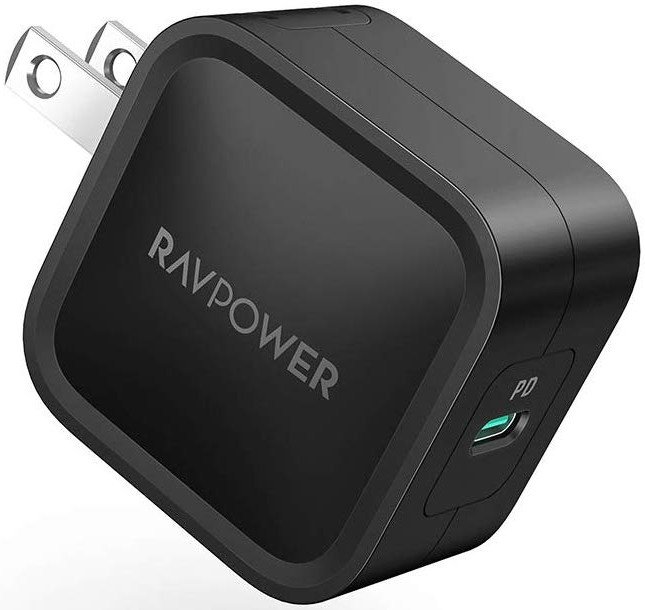
RAVPower 30W USB-C PD 3.0 wall charger ($27 at Amazon)
RAVPower's 30W USB-C PD wall plug is just as effective as the in-box charger at charging up your phone, but is even powerful enough to top up tablets and even small laptops when needed. It's also cheaper than buying a second charger from your phone maker.
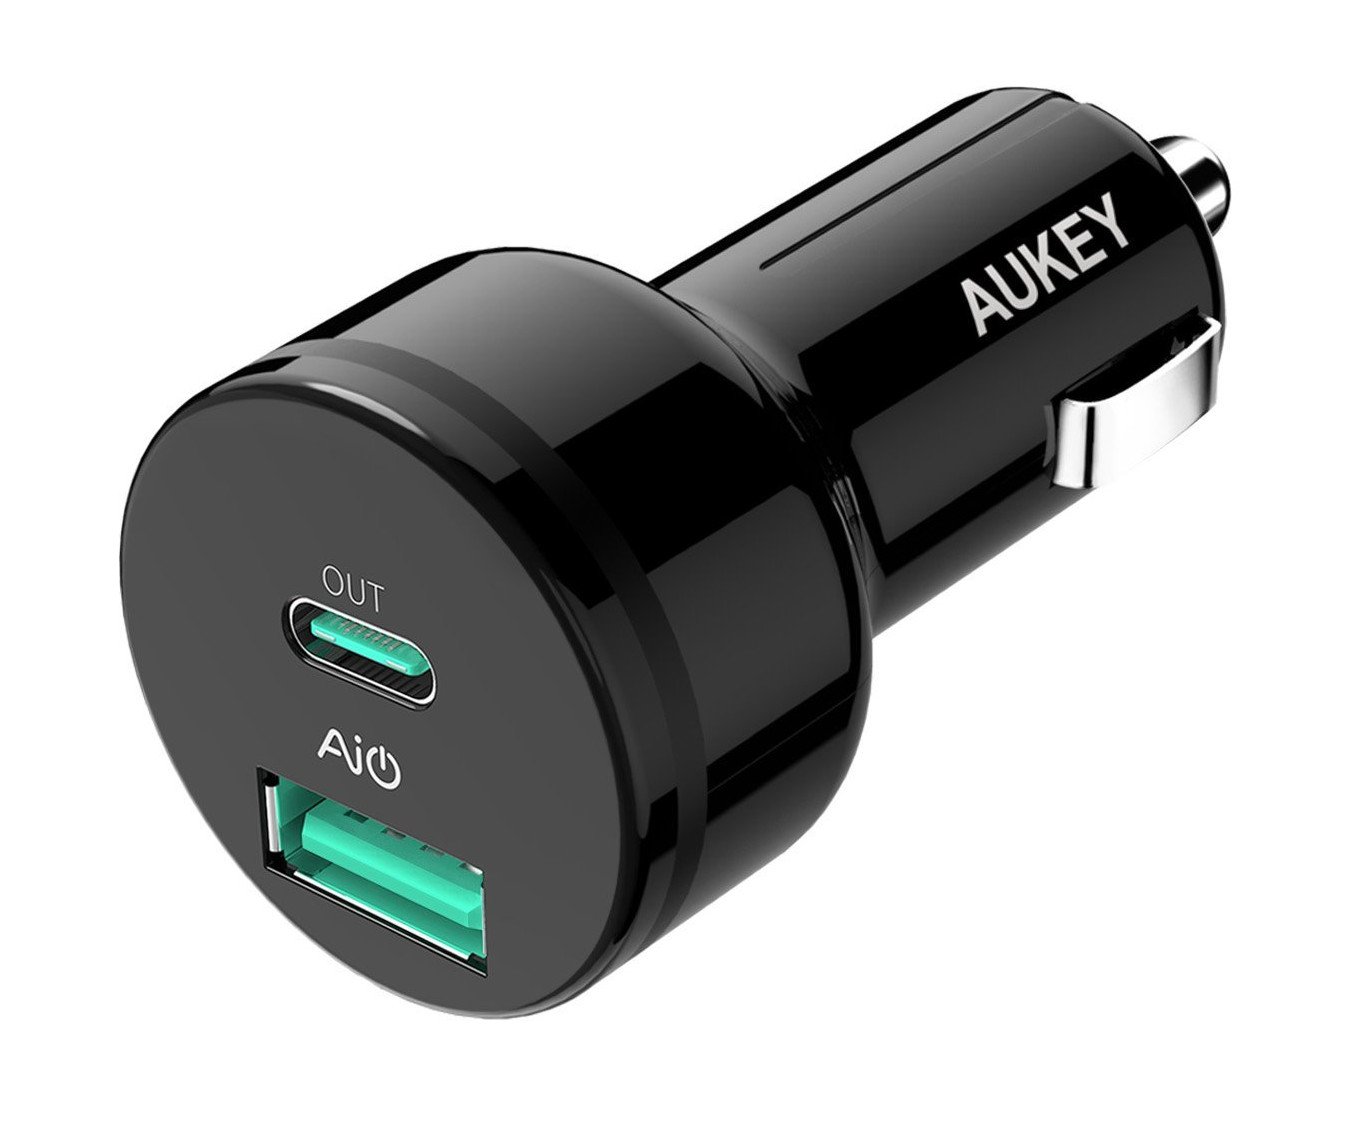
Aukey 39W Car Charger with USB-C PD ($20 at Amazon)
Every time you drive is a perfect opportunity to charge up your phone. You'll want to keep the battery topped up if you're navigating, or add a good bit of power as you drive and keep your hands off of the phone for the entire trip. This'll charge up your phone as fast as a wall charger, and charge another phone at the same time.
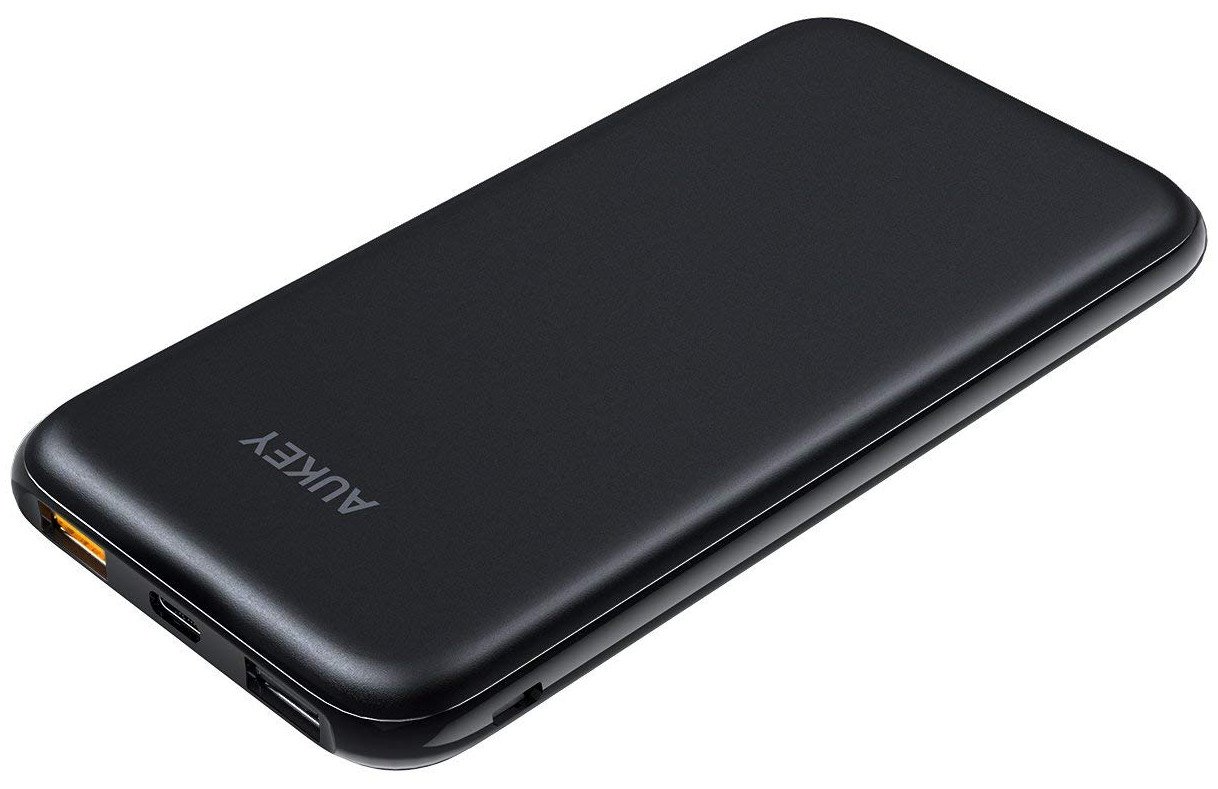
Aukey 18W USB-C 10,000mAh Power Bank ($30 at Amazon)
This power bank has USB-C PD that can charge up any phone as fast as a wall plug, and do it a couple times over. It also has a USB-A port for a second phone if needed. It's also shaped roughly like a phone, so it's easy to slip into a pocket on the go.
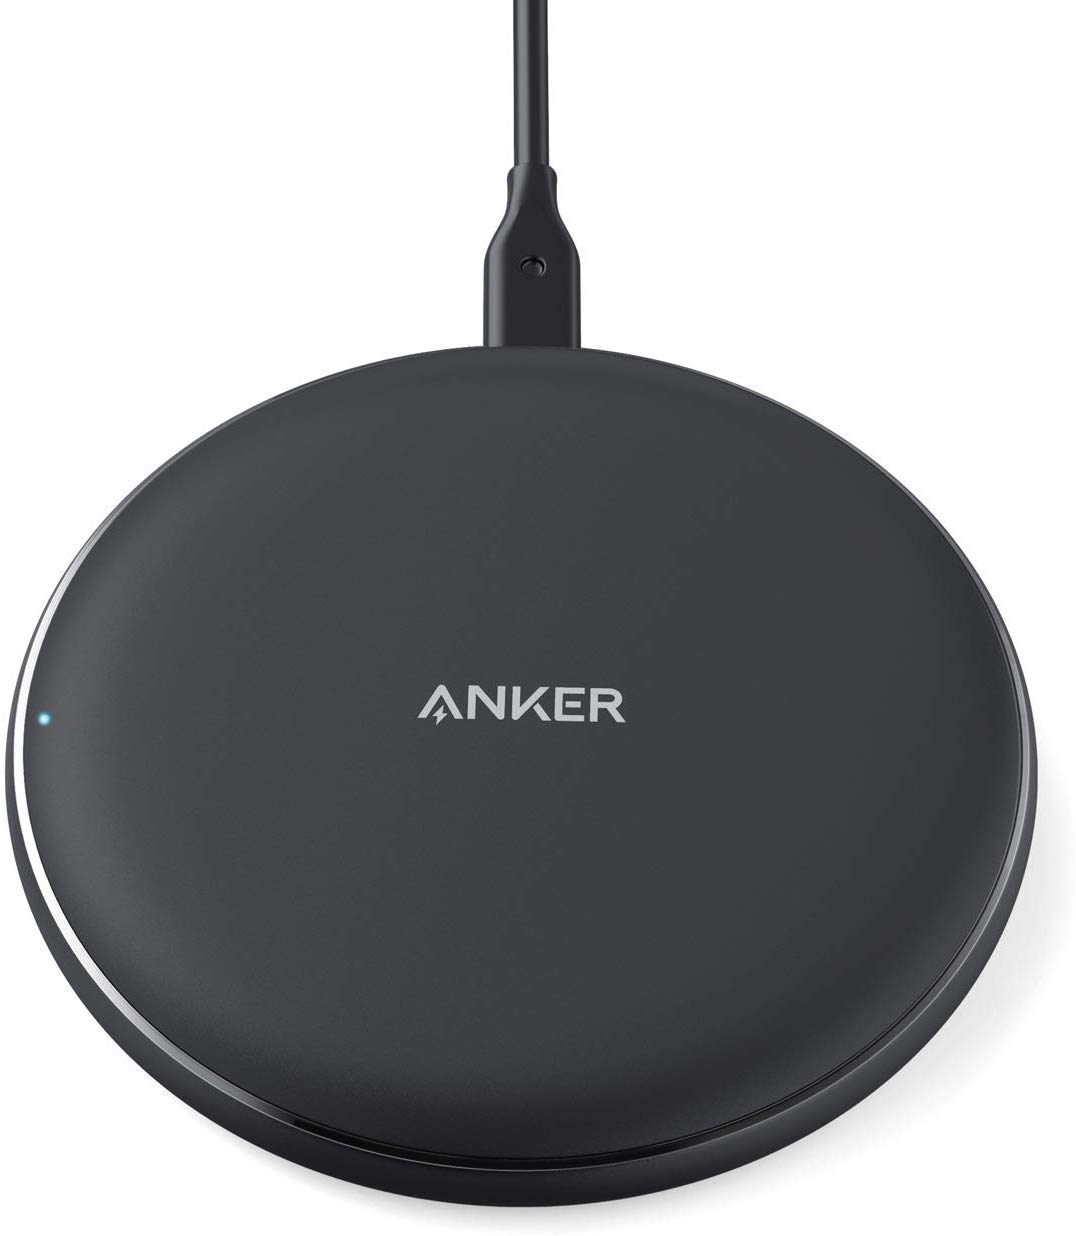
Anker PowerWave 10W Qi Charging Pad ($14 at Amazon)
This affordable 10W fast wireless charging pad is thinner on your desk or nightstand than most chargers on the market. Use it to charge up your compatible phone at night, or pick it up as a secondary charger for the living room or on your desk at work.
Andrew was an Executive Editor, U.S. at Android Central between 2012 and 2020.

