How to get photos off the Samsung Galaxy S6
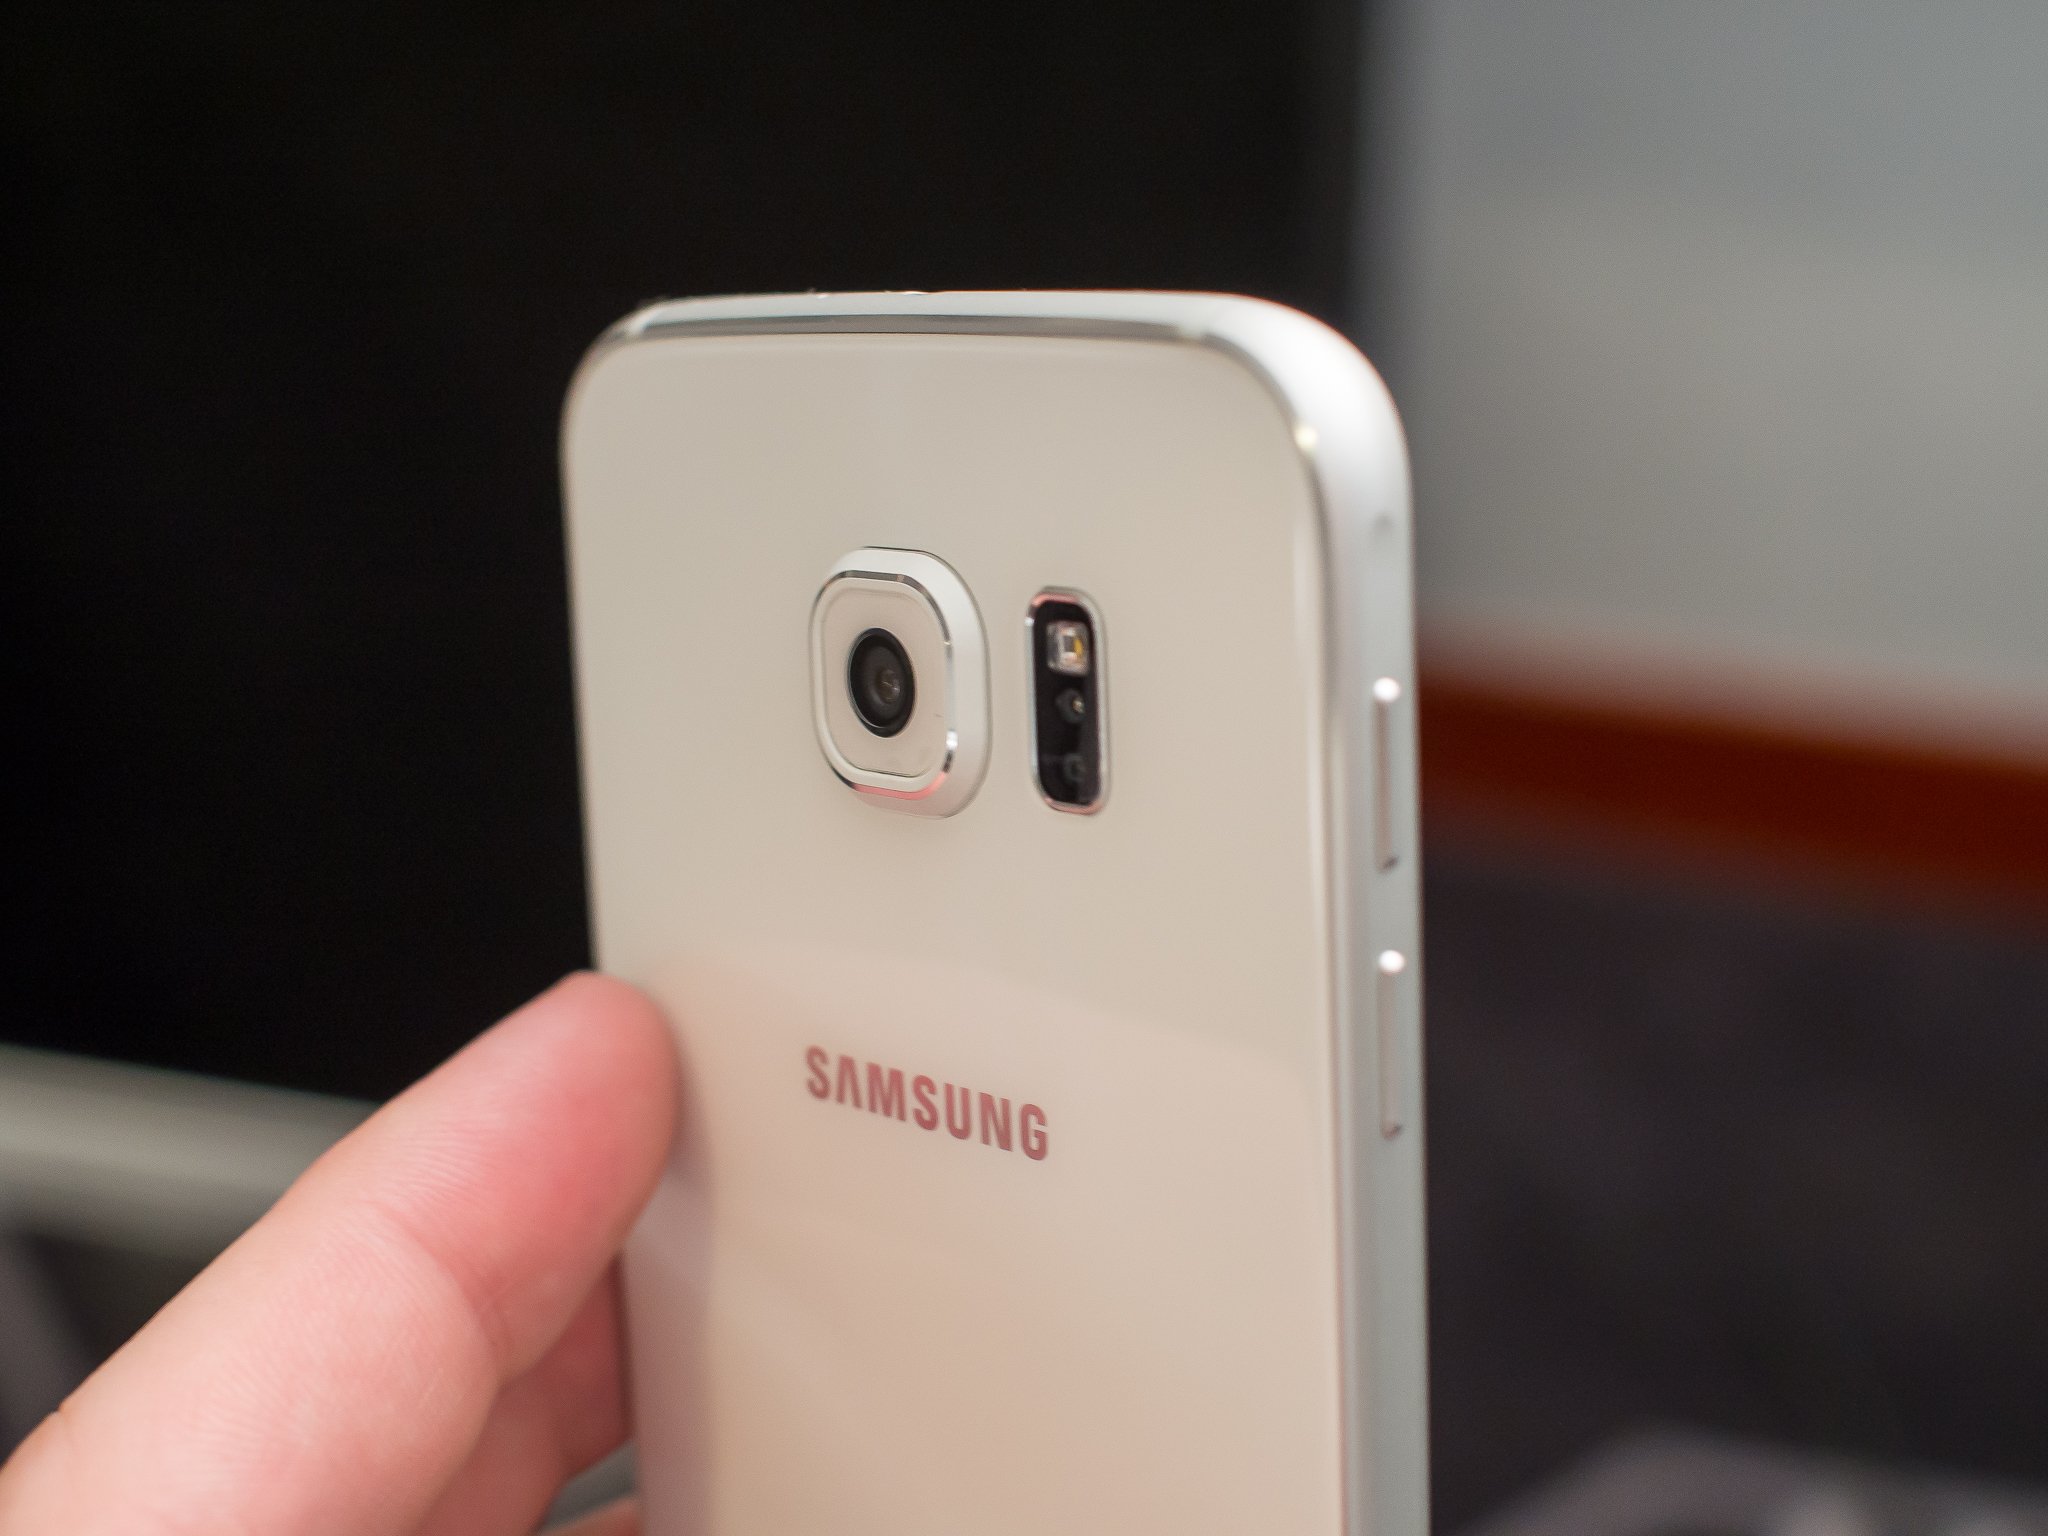
You've been taking a ton of pictures with the stellar camera on the Samsung Galaxy S6, and now you want to work with them elsewhere. Here are the easiest ways to get your photos tucked away for long-term storage, shared to the world, or put on your computer for more extensive editing.
Get started on moving photos off your Samsung Galaxy S6
Auto back-up
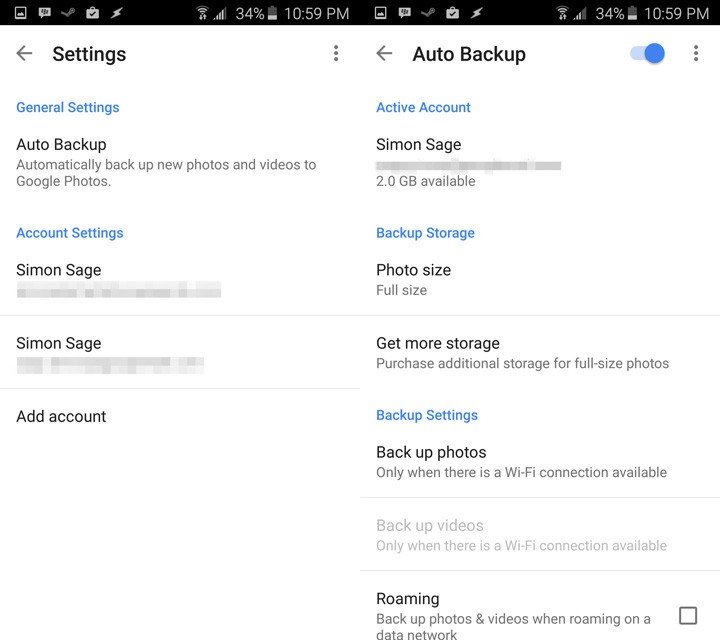
In the long run, automatic cloud back-up is the easiest way to get a hold of your images on your computer. This sends your pictures to a remote server where you can access them from anywhere. By default, these uploads stay private until you manually share them with others. Though this system is mainly a safeguard for pictures in case something happens to your phone, it's also a really useful way to manage your photo library. And Google's own cloud backup is a popular and easy-to-use option. Let's go through the steps on how to set that up.
- By default, the Photos app will be tucked under the Google folder on your Galaxy S6. Not to be confused with Gallery, which is Samsung's app. Tap Photos to open it.
- Tap the three dots in the top-right to bring up the menu, and tap Settings.
- Tap Auto Backup at the top.
- If the toggle at the top-right isn't switched to the right, go ahead and tap it to enable auto backup. You'll also find other options here to fine-tune your backup preferences.
- Go to your Google+ page on your computer's web browser.
- Click the drop-down menu in the top-left that reads "Home", and click Photos.
- Browse your photo collection as you like. The Highlights section will show up by default in an attempt to group your shots automatically, but you can see everything by clicking All photos in the middle at the top. Clicking an image will bring it up to full size, or you can click the checkmark in the top-left of each photo to select several. After doing so, click the More menu at the top in the middle, then click Download to save those pictures to your computer.
There are a number of services that offer automatic cloud backup. Bundled with the Galaxy S6 is a Microsoft OneDrive promotion that includes a little bit of extra storage if you sign up. Dropbox is big too of course, though you may hit your storage allotment quickly, depending on your plan and how many pictures you take. Flickr, on the other hand, is a veritable bottomless pit for photo storage with 1 TB available for free. Facebook's photo backup is especially handy for those that spend a lot of time on the network, though might be a write-off if you're prickly about its privacy policies.
A few tips before setting up an auto-backup on any of the above services.
- Upload over Wi-Fi only. The battery life on the Galaxy S6 is precious, so you don't want to be uploading full resolution images over your cell network if you can at all help it. Just about every cloud backup service has this option, so make sure it's toggled on in the settings. That said, you may sometimes have to wait for backups to automatically kick in. Don't count on the auto back-up method if you need access to your photos right away.
- Install a desktop client. Depending on the service you're using, there should be a way to have your computer automatically download images from the cloud as they become available. This effectively keeps your photo library between your phone and computer in sync. That means your pictures are backed up immediately and you can quickly launch into editing on your computer.
- Prune your photo collection regularly. Even if storage limits aren't a concern whatsoever, your batch of photos can become a logistical nightmare if you don't pull out the valuable pictures and delete the bad ones every once in awhile. Often these services will take any and all images from your phone, including screenshots or music album art, which can make a real mess of things.
Share
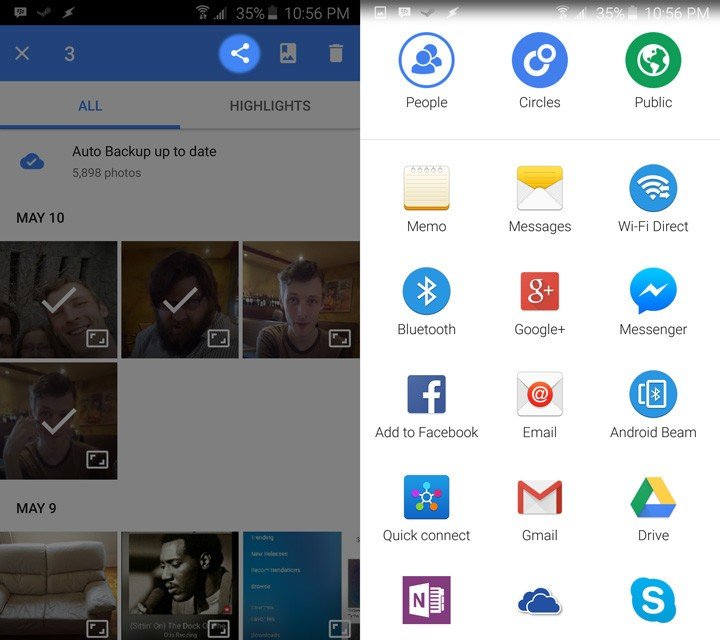
The Share menu is perfect for quickly shooting out a single picture or a small batch to another destination.
- Open the Photos app.
- Hold your finger on the thumbnail of a photo you want to share. Continue tapping on other photos you want to include.
- Tap the Share icon in the top-right. It looks like three dots with two lines connecting them.
- Chose the source you want to share to. The list of available options will grow as you install more apps.
E-mail is a common enough way to get a picture from point A to point B, though maximum file sizes can get in the way. I personally like using Pushbullet to get pictures directly to my computer. It needs either a desktop or Chrome app to work, but it's otherwise quite efficient. If you don't feel like dealing with more software, there are always direct Bluetooth transfers. They can get your pictures to your computer, tablet, or someone else's device once paired. Wi-Fi Direct and Quick Connect are similar options, though device compatibility is much more limited and a little fiddly.
Be an expert in 5 minutes
Get the latest news from Android Central, your trusted companion in the world of Android
You can also use this method to share your pictures to social networks like Twitter, Facebook, and Instagram, provided you have the apps installed.
USB
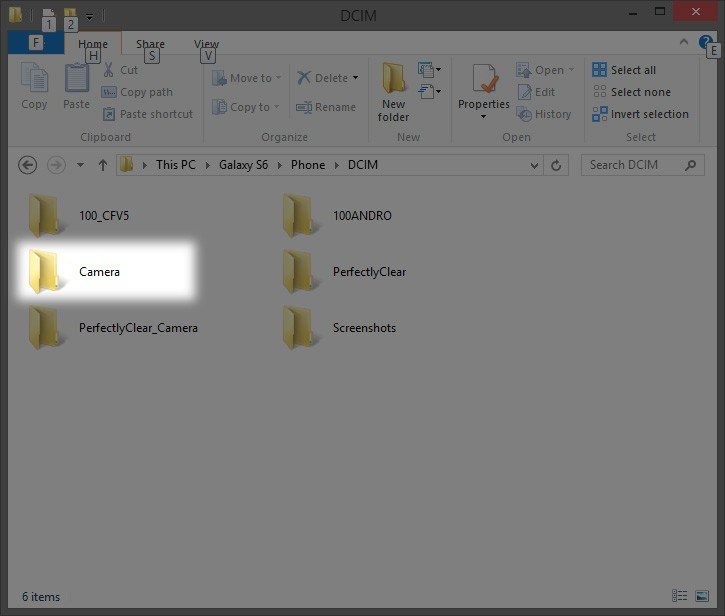
When all else fails, there's always plugging your phone directly into your computer. This can be helpful when you want to copy photos to a thumb drive to give to someone else, or doing a bulk local backup. If you're on a Mac, you may need to install Android File Transfer beforehand.
- Your Galaxy S6 came with a microUSB cable. The narrow end fits into the bottom, and the wide end goes into your computer. Plug 'em in!
- Your Galaxy S6 should show up as a drive in My Computer or Finder. If it doesn't, swipe down from the top of the S6's screen, and check the notification tray for USB options. You may need to tap the icon, then check off Camera (PTP) if it isn't already active.
- Open the Galaxy S6 through My Computer or Finder and open the folder called DCIM, and then the folder called Camera inside there.
- Drag and drop the the photos you want to whichever destination is convenient. The desktop is an easy enough home if you're only working with the photos temporarily.
That's it!
It's a straightforward job getting your photos off your Samsung Galaxy S6 once you decide how you want to do it. If you're having any issues, sing out in the comments.

