How to get the perfect PlayStation VR room setup
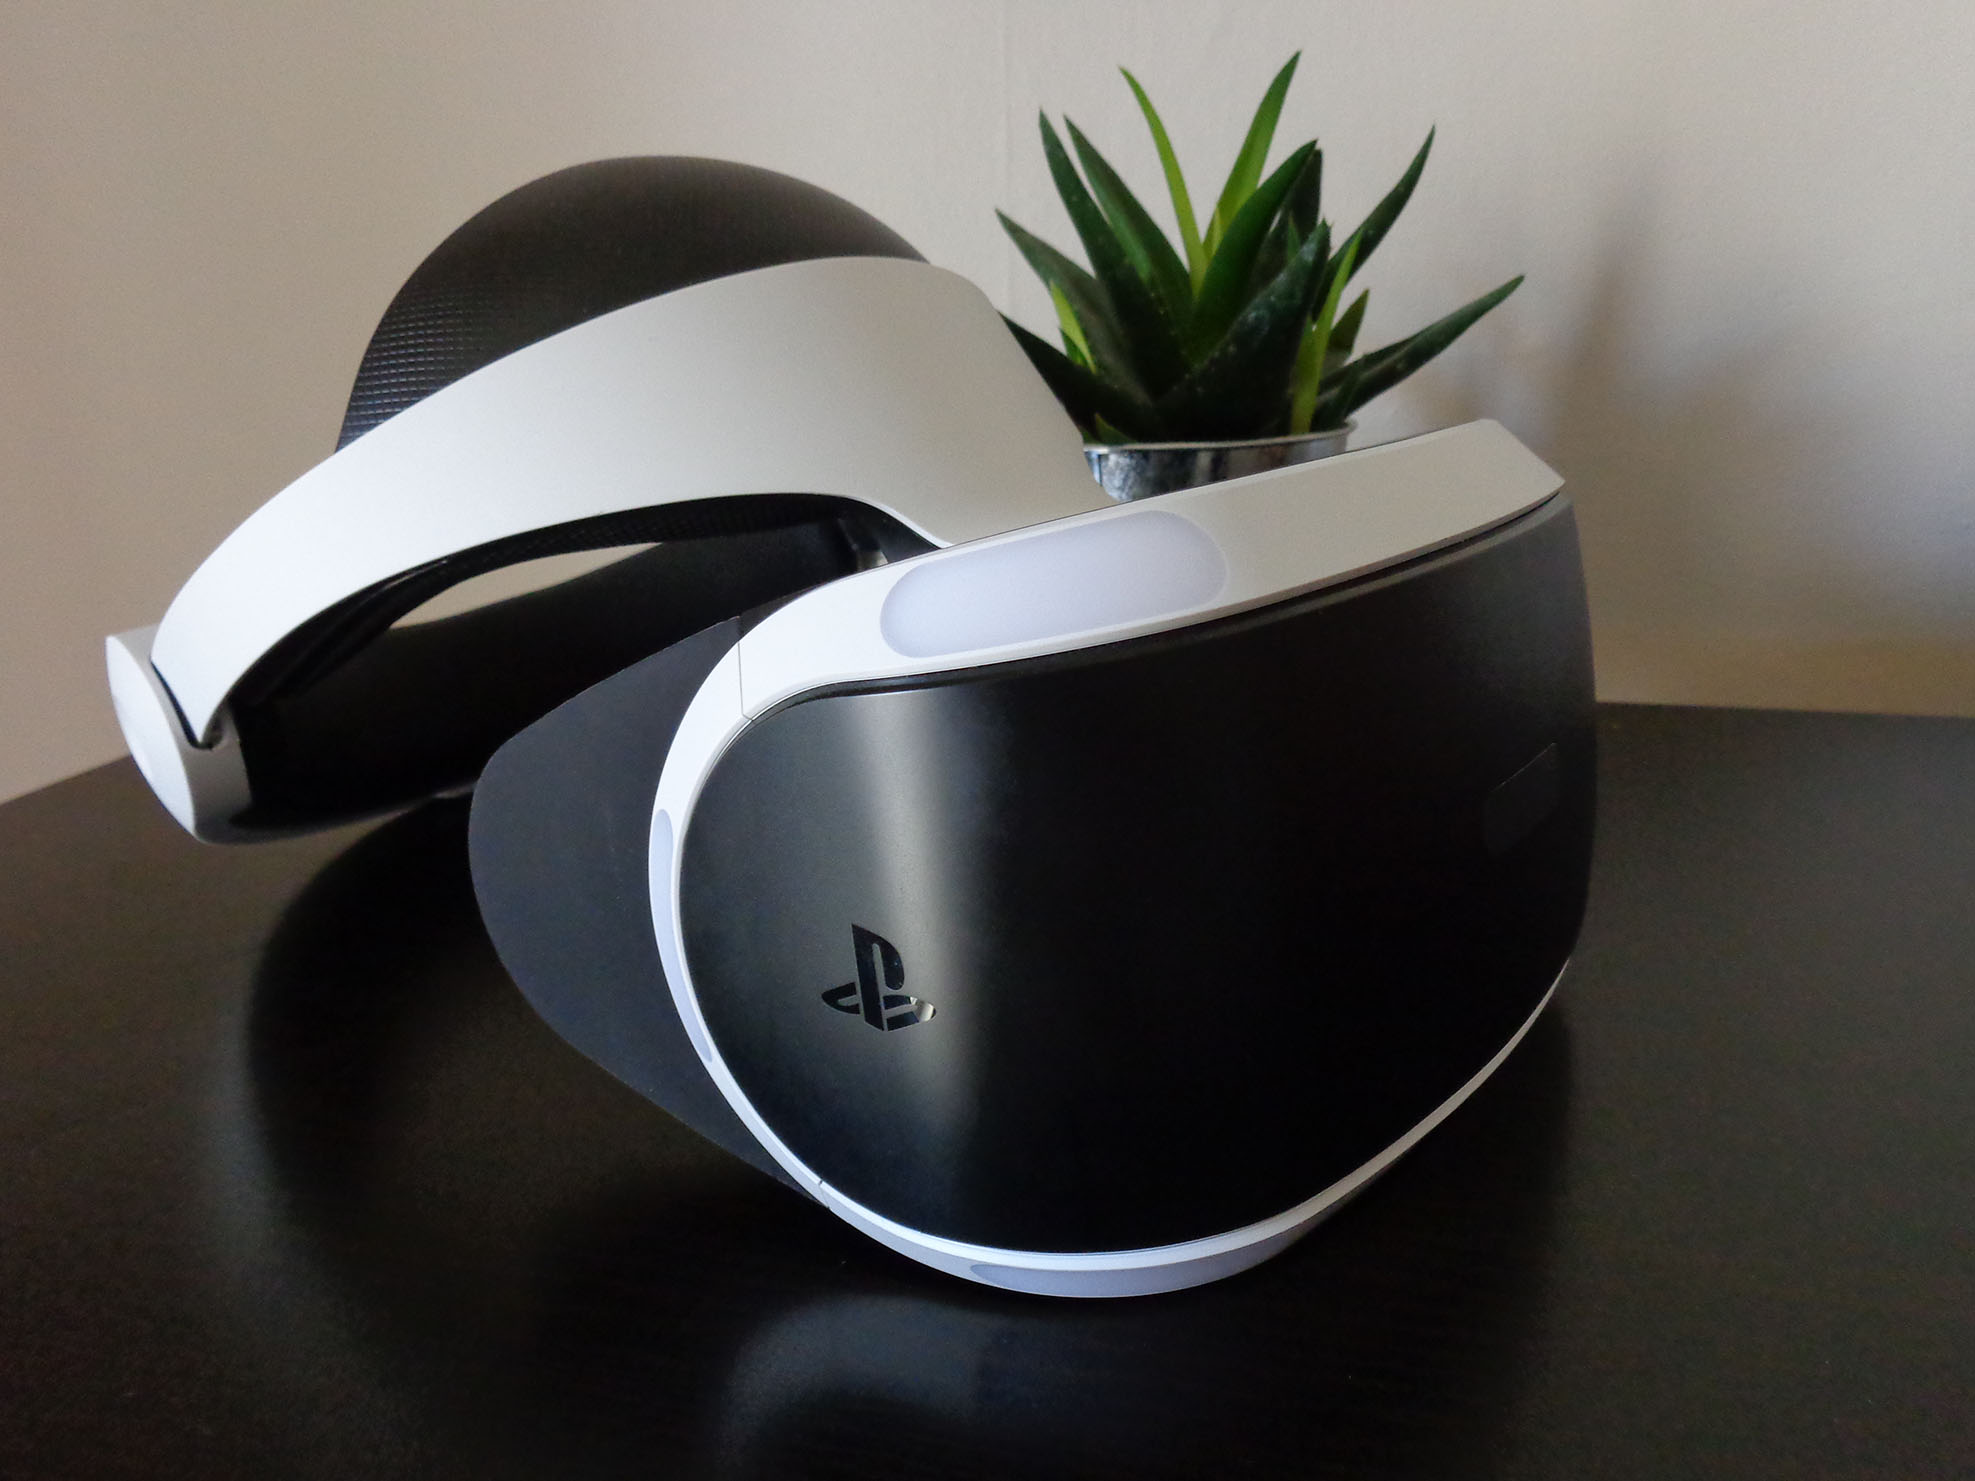
Making the most of your space isn't as difficult as you might think. Things can seem pretty overwhelming between figuring out where to put all of the cords, the way that the PlayStation camera needs to be set up, questions about light calibration, and finding the right amount of space to play. Don't worry, we're here to help.
Products used in this guide
- Comfortable feet: Superior Modern Viking Collection Area Rug ($99 at Amazon)
- Prevent light bleed: NICETOWN Blackout Curtains ($21 at Amazon)
- Prevent reflection: RHF Reversible Sofa Cover ($25 at Amazon)
Everything you need to know
- PlayStation VR set up tips
- Step by step instructions to set up PlayStation VR
- Check your PlayStation Camera
- Check your light calibration
PlayStation VR set up tips
Here are a few tips and tricks you won't find in the official guides.
- Don't point the PlayStation Camera at a light source, LED monitor, or a window. All of those things will interfere with tracking the lights on the headset. The darker your playspace, the better your tracking is going to be. This will help your movements in-game feel smoother.
- There are a lot of cables with PlayStation VR. There's no easy way to keep them all in control, but there is a small step that can help. Since the headset cable is on the left-hand side of your head you should try your best to put the processor unit on the left side of your body when setting up. This way you avoid wrapping yourself in the cord.
- Charge all the things! As silly as it sounds, makes sure you've charged your Move controllers and your DualShock 4 before you use your PlayStation VR. Nothing sucks more than pausing a game for a few hours to charge a controller!
- Sony recommends a playspace of 10 feet by 10 feet. The absolute smallest you can shave this down to is 6 feet by 6 feet. This is primarily because there is a 2 foot "dead zone" directly in front of the camera where it won't properly read where you're standing. With 6 feet of space, you'll have enough room to move forward and backward without the camera losing you on its sensors.
Step by step instructions to set up PlayStation VR
Once you've figured out where you want to play, and you've got your television and console properly hooked up, it's time to get started. If you picked up a bundle, then everything ought to be in the box, and there are instructions on what to do. Of course, you could just follow our step by step instructions to make sure that everything is properly hooked up.
- Power off your PlayStation 4 completely. Don't leave it in rest mode.
- Take the HDMI out of the PlayStation 4 and put it into the HDMI TV port on the PlayStation VR processor unit (the box).
- Connect your PlayStation Camera cord to the Aux port on the back of the PlayStation 4.

- Take the HDMI cable labeled number 1 and plug it into the HDMI PS4 port on the processor unit. Plug the other end of the same cable into the HDMI output on the PlayStation 4.
- Grab the USB cable labeled number 2 and plug into one of the USB ports on the PlayStation 4. Connect the other end to the processor unit.
- Connect the power adapter to the processor unit.
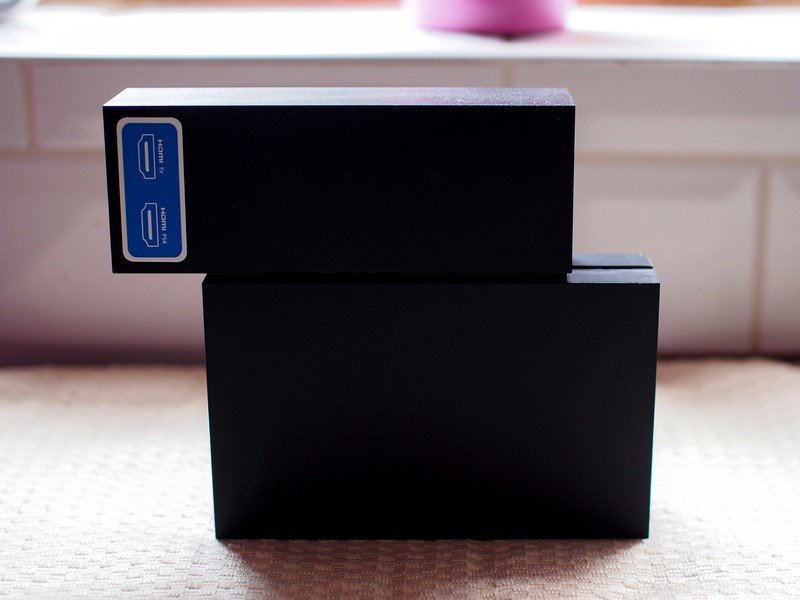
- Slide back the cover on the processor unit and plug in the VR headset cable labeled number 4.
- The connectors will only go in their correct ports, but to make it easier they're labeled with the logos from the DualShock controller buttons. Line up the DualShock symbols and insert the cords.
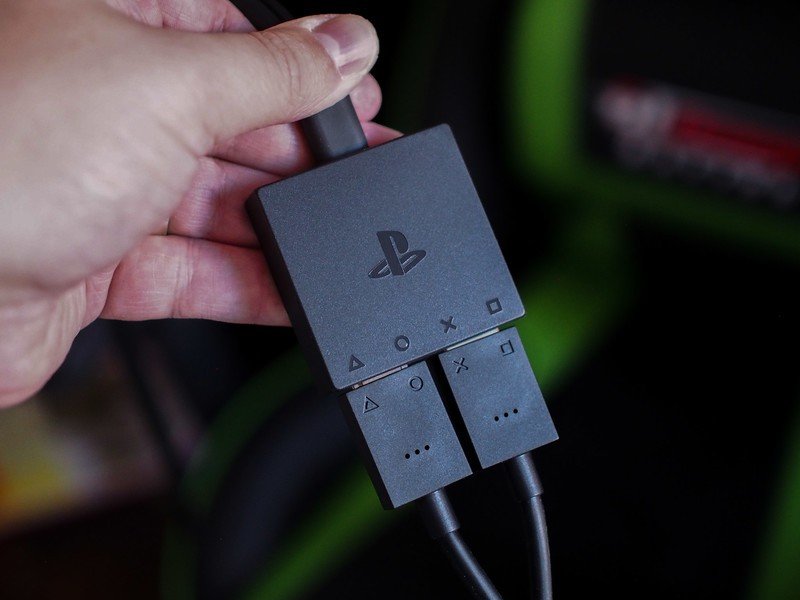
- Your PlayStation VR headset should now consist of several cords connected to one cord. Plug the end of this cord into the other end of the processor unit. Again, match up the DualShock symbols and insert the cords.
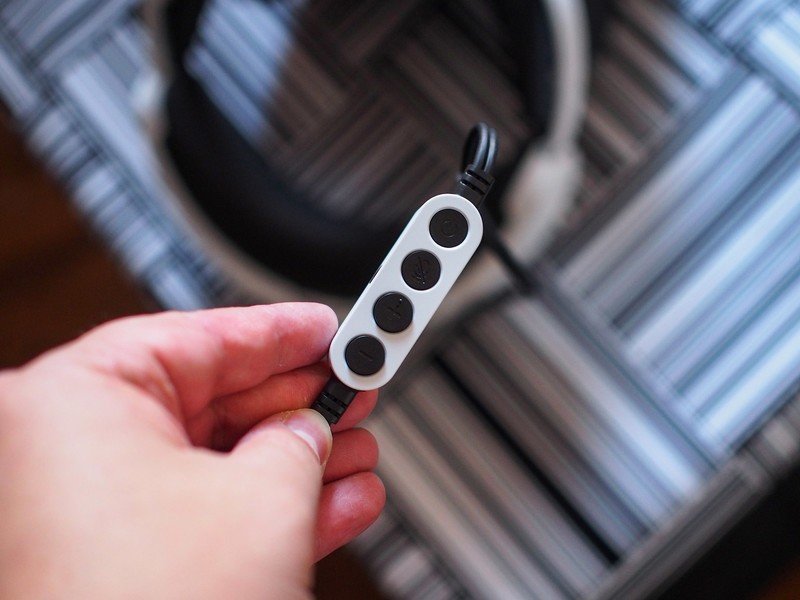
- Plug either the supplied earbuds or your own headphones into the inline remote.
- Power everything on!
Check your PlayStation Camera
Be an expert in 5 minutes
Get the latest news from Android Central, your trusted companion in the world of Android
After you've made sure you have enough space and you've set up your PlayStation VR, you'll need to make sure it can see your entire playspace.
- Press and hold the PS button on your Dualshock4 or PlayStation Move controllers.
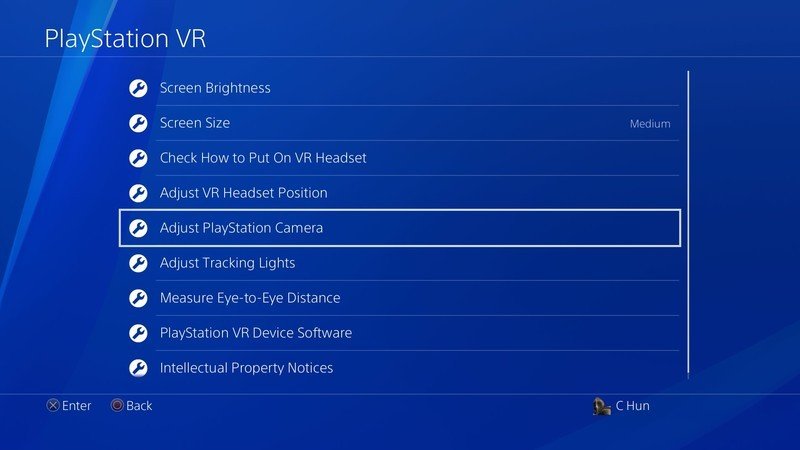
- Select Adjust PlayStation VR.
- Select Confirm Your Position.
- A screen will appear that shows you everything your PlayStation Camera is currently seeing.
When you first start up the PlayStation VR it should show you what the PlayStation Camera is seeing. Make sure the console has a good look at you and the surrounding environment. If it doesn't have a few of your full body and the entire playspace you have allotted yourself you need to adjust where the PlayStation Camera is sitting and/or facing.
Check your light calibration
- Go to Settings in the PlayStation menu.
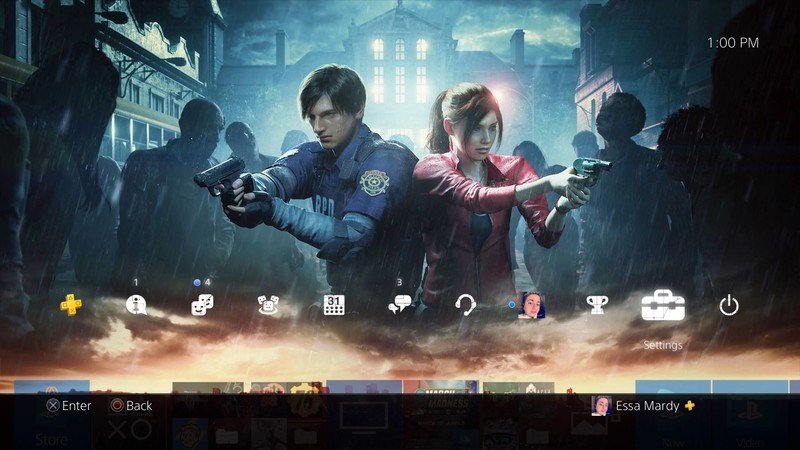
- Select Devices from the Settings menu.
- Select PlayStation VR from the Devices menu.
- Select Adjust Tracking Lights.
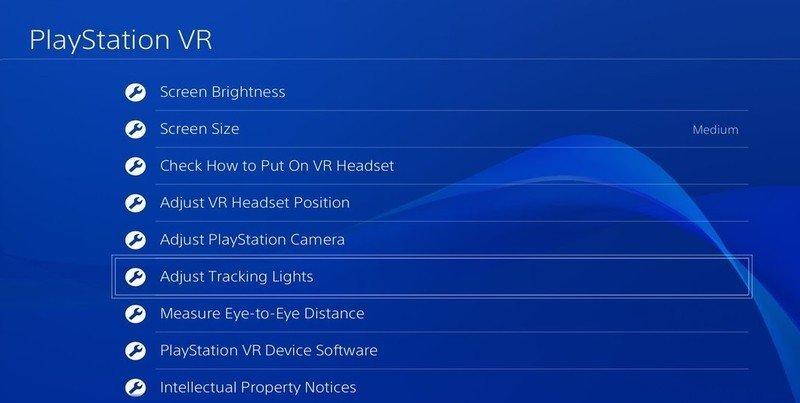
- Complete all three adjustment procedures.
The system will walk you through how to adjust the light calibration of your room based on what the camera is able to pick up, but let me explain a bit of what you're seeing. All of those dark spots on the screen are where the room is too bright. This could be caused by a reflection on a shiny surface, light coming in through a window, or something else.
Remember, the goal for playing the PlayStation VR is to be in the darkest room possible, but that doesn't mean you should only play at night. You can combat light bleed with blackout curtains, rugs, or putting covers over your furniture, and so on.
Prevent light from ruining your VR experience with these products
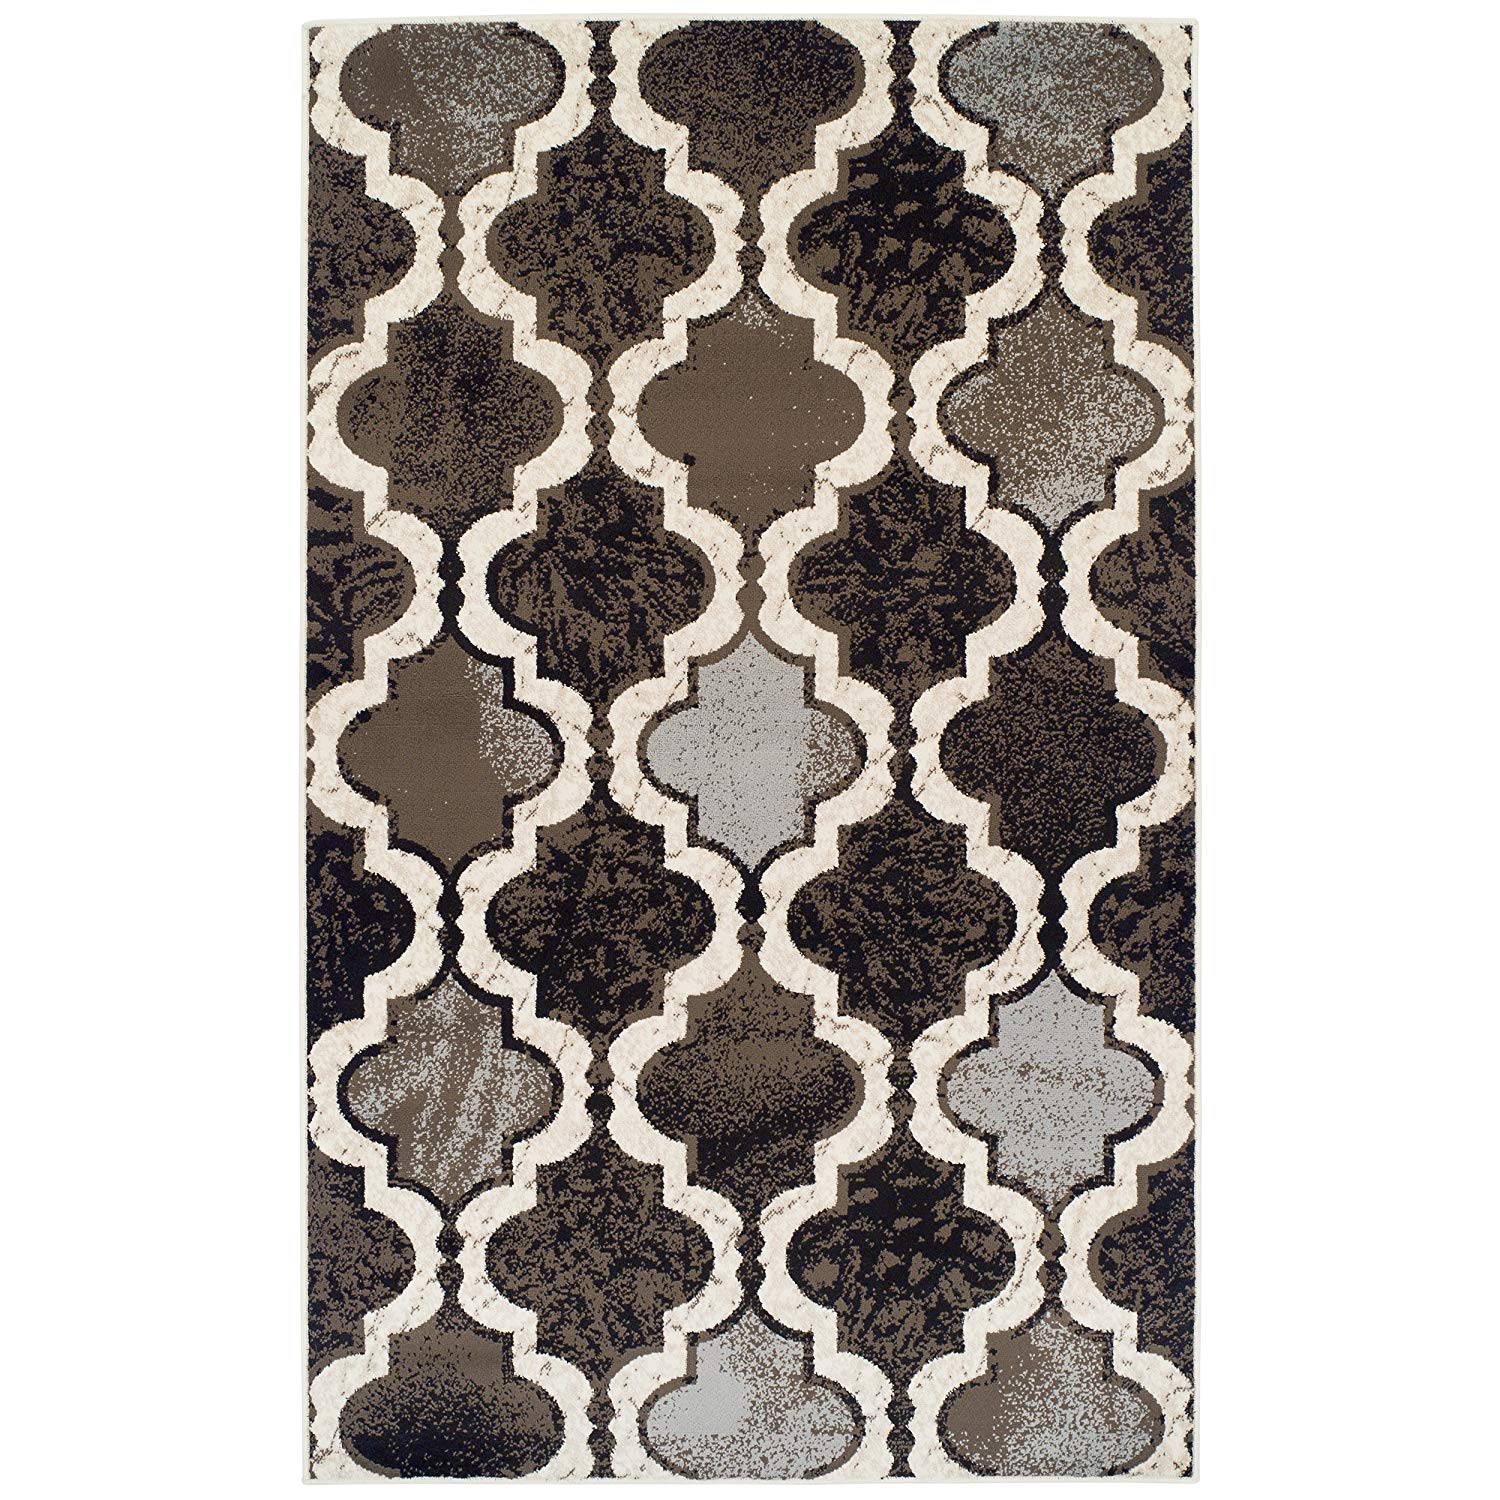
Superior Modern Viking Collection Area Rug ($99 at Amazon)
Rugs are endlessly useful in any home. This rug comes in 10 different colors and each one is sleek, comfortable, and beautiful. Prevent your hardwood floors from reflecting light and make playing VR more comfortable on your feet!
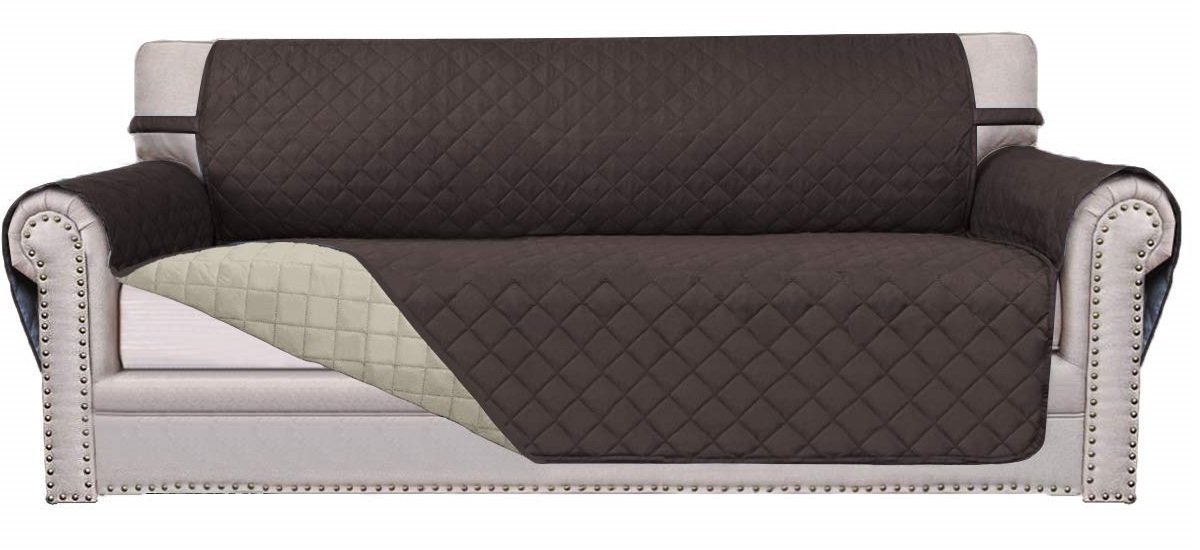
RHF Reversible Sofa Cover ($25 at Amazon)
If your couch is leather or made of a shiny material you'll need to cover it up when you're playing on the PSVR. This couch cushion is comfortable, affordable, and comes in eight different colors. It's always nice to have around the house because you can also use it during parties to protect your furniture from animals and spills.

NICETOWN Blackout Curtains ($21 at Amazon)
Stop letting the glare of the outside world ruin your movie. With these blackout curtains, you can block out that evil sun from interrupting your shows! This package comes with two panels that are 42 inches wide and 63 inches long.
Essa Kidwell is an expert in all things VR and mobile devices who can always be found with an Oculus Go, a Pixel 2, and an iPhone 7+. They've been taking things apart just to put them back together for quite some time. If you've got a troubleshooting issue with any of your tech, they're the one you want to go to! Find them on Twitter @OriginalSluggo or Instagram @CosmeticChronus.

