How to edit your pictures in Google Photos on Android and the web
Google Photos has turned into a wonderful repository for every photo you take, and also works as a nice stand-in gallery replacement app on many phones. A gallery app isn't just about holding photos though, it's also about editing pictures before sharing them out anywhere you want.
Astute Google Photos users will recognize its editing powers aren't as strong as those found in Google+ previously or in many favorite editing apps, but that doesn't mean there isn't value to be had from making quick edits in Photos. Let us show you how.
Editing on the Android app
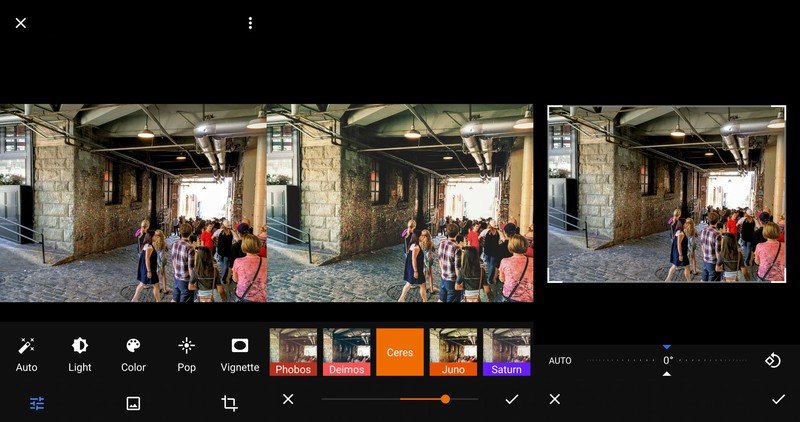
When you take pictures and view them in Google Photos, you'll have a simple set of editing tools that will let you tweak a few aspects of the shot, add filters and then save the edited photo for sharing or future enjoyment. To get started just tap the pencil icon in the bottom bar while viewing a photo, and you'll see a very simple interface. Tools are grouped into three sections — adjustments, filters and crop & rotate — that you can switch between by tapping the icons at the very bottom of the screen.
The most basic tools, and nothing more.
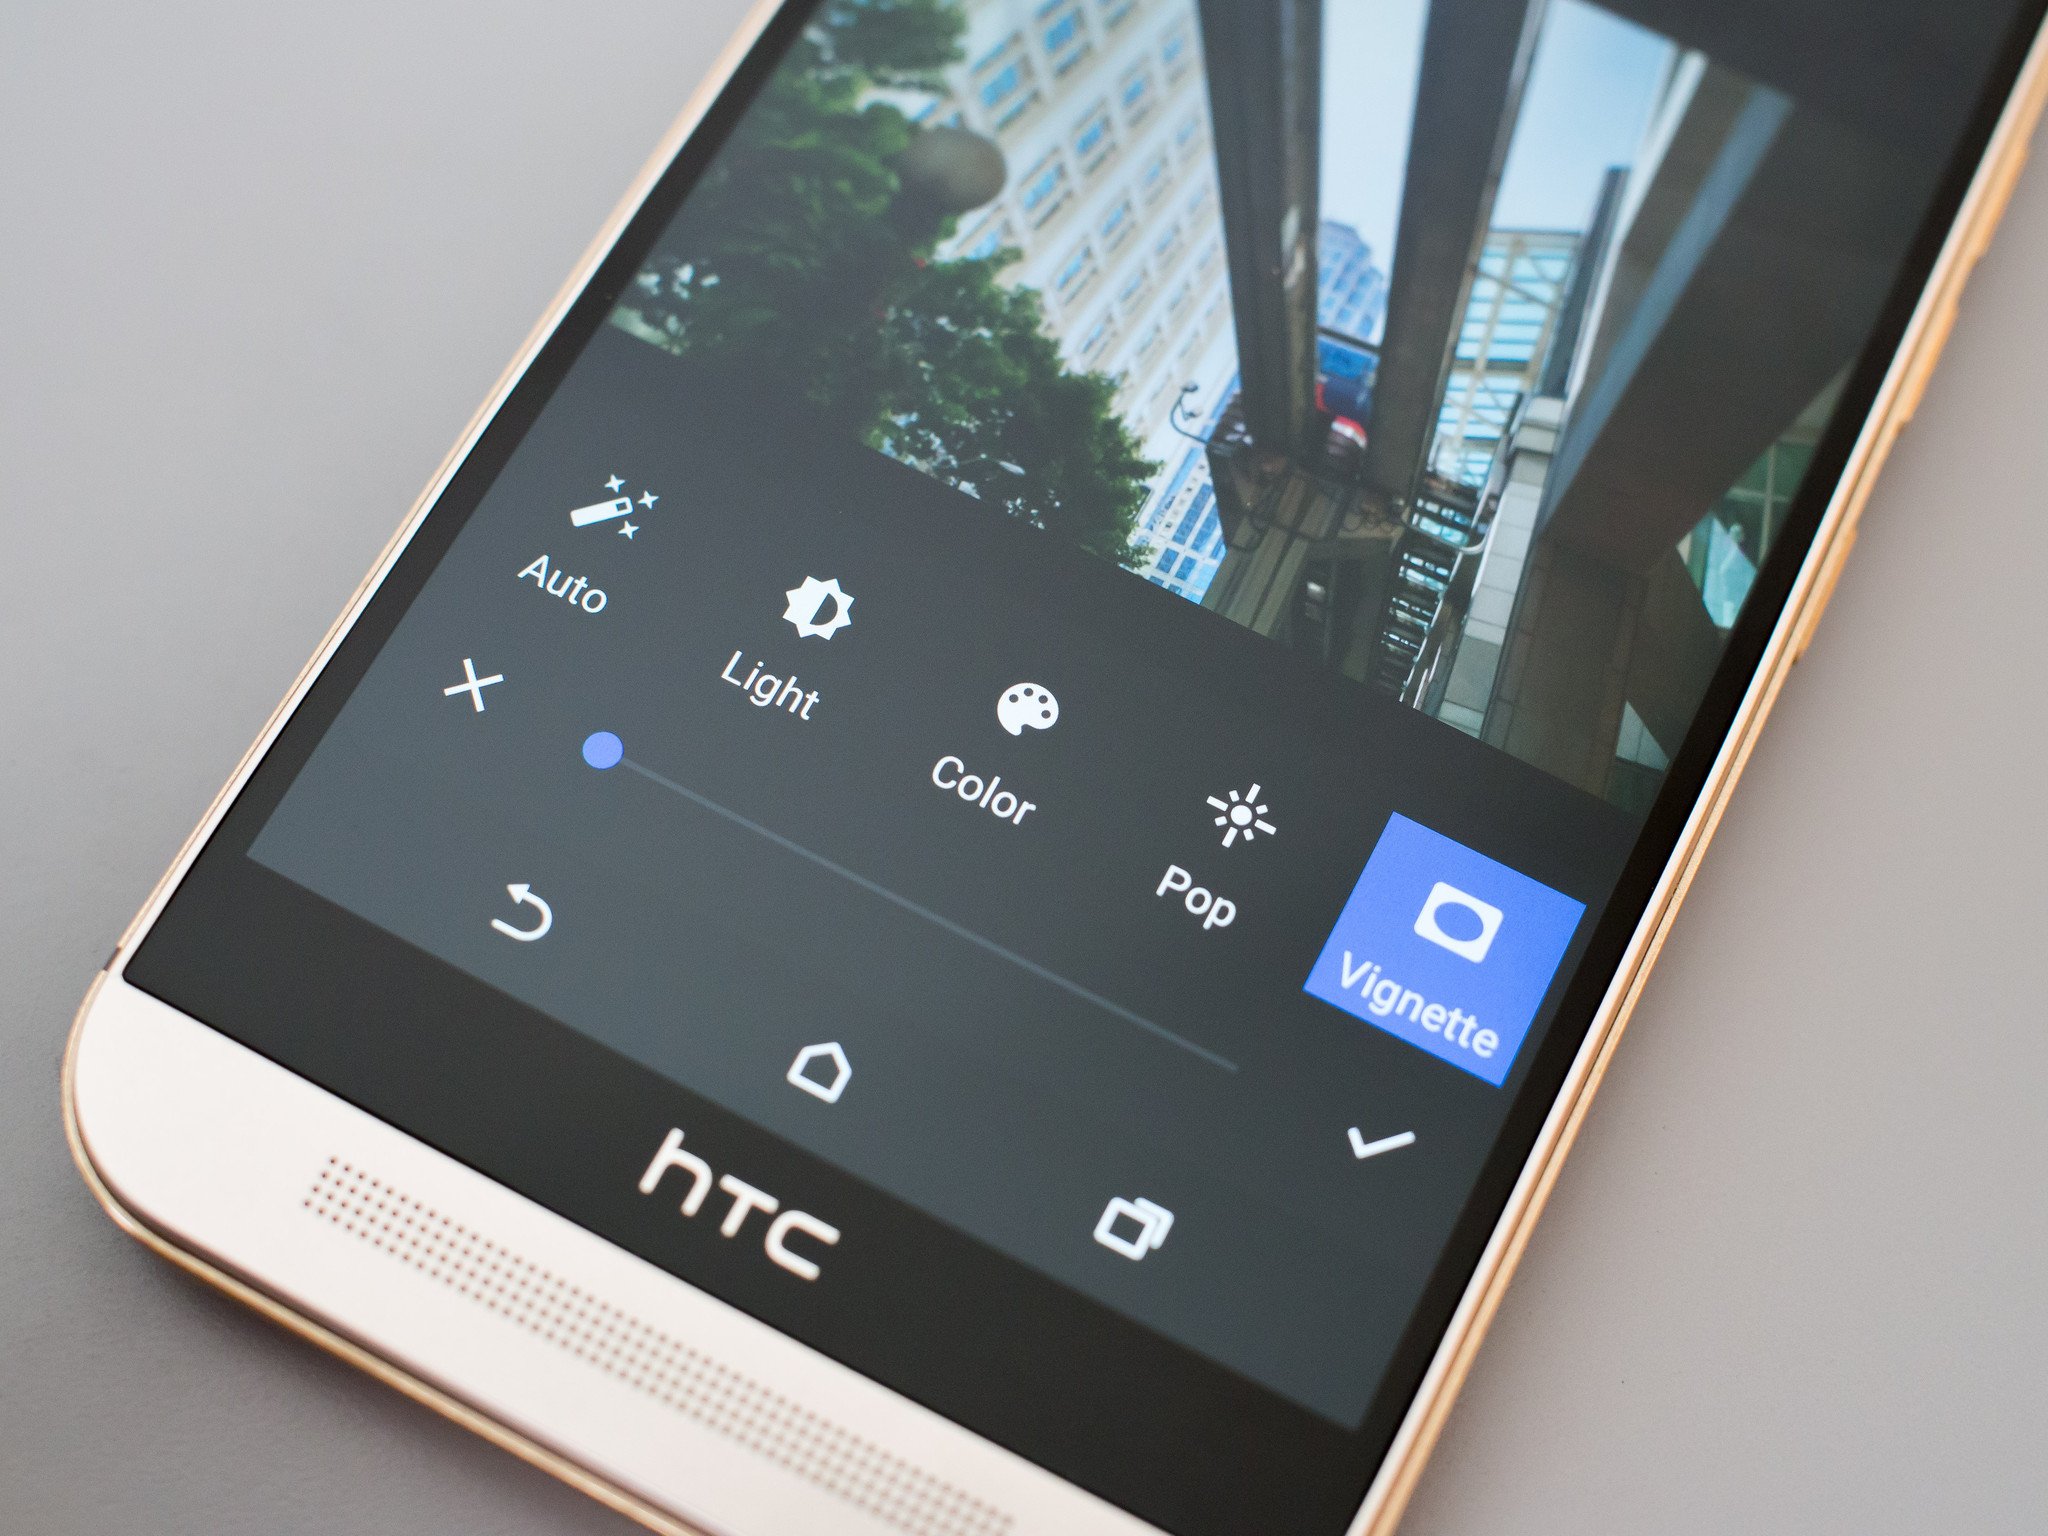
Adjustments are the simple changes — light, color, pop and vignette — that are adjusted with a slider. You'll see a live view of how the picture is changing as you tweak the levels, and you can accept or reject changes you've made by tapping the X or check mark. If you just want a quick fix, tap the "Auto" button on the far left.
We all know our way around filters, and Google Photos offers a good set to choose from. Scroll through the available filters, select the one you want to use and change its intensity — in either the positive or negative range — until you get a look you want. Hit the check mark to apply the filter.
The crop & adjust option is simple as well, just tap and drag on any of the corners to do a free-form resizing — but unfortunately there are no fixed popular crops like 1:1, 4:3 or 16:9. You can also adjust the angle of the photo either automatically (which is hit or miss) or by swiping across the dial at the bottom of the screen.
Be an expert in 5 minutes
Get the latest news from Android Central, your trusted companion in the world of Android
As soon as you've made any changes you'll see a "save" button up at the top of the screen, which will save a new copy of the photo with the edits applied to your Google Photos library. It'll sit right next to the original photo in your library and have all of the same EXIF data from the original photo. If you'd prefer to discard any edits you've made instead of saving, just tap the overflow menu button and tap "Back to original" to reset.
In third-party apps
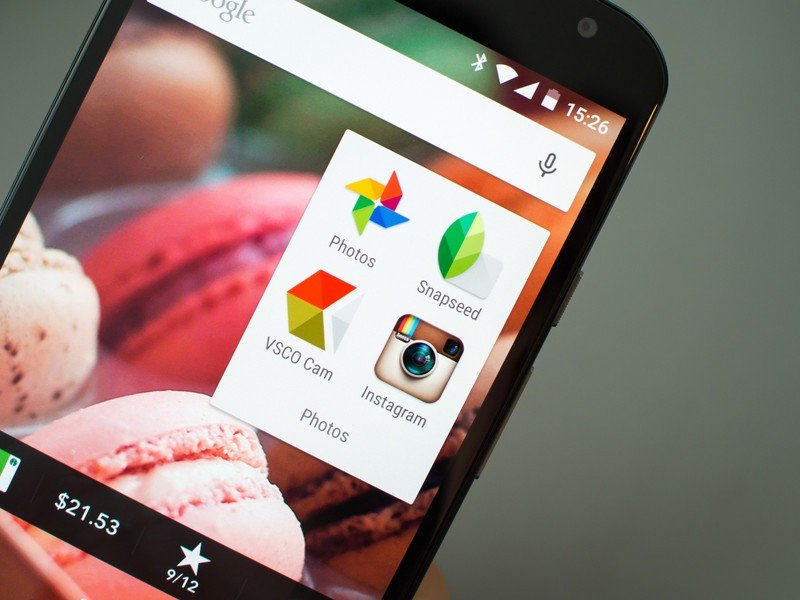
Because Google now owns the popular photo editing app Snapseed, there's an additional synergy between it and Google Photos. If you have Snapseed installed on your Android phone, you can tap the overflow menu button in the top-right corner of the Google Photos interface when viewing a photo and tap "Edit in Snapseed." It'll move the photo over to Snapseed and you'll get right into editing — as soon as you're done, the photo will be saved locally to your device, and won't replace the Google Photos original copy. If you choose to have Google Photos scan and upload your saved Snapseed photos, the edited ones will then show up separately in your Photos gallery.
If you'd prefer to edit your photos in another editor, you can do that just as you would with any other photo-handling app. Just hit the share button on the left side of the bottom bar when viewing a photo, and send it over to your editor of choice for further processing. If the image was originally taken on the device you're editing with it'll hop over right away, but if instead this is a cloud-stored image it may take a moment to download before it shares. In either case, once you're done editing the original image will stay put in Google Photos — you'll have to upload the newly-edited one separately.
Editing on the web
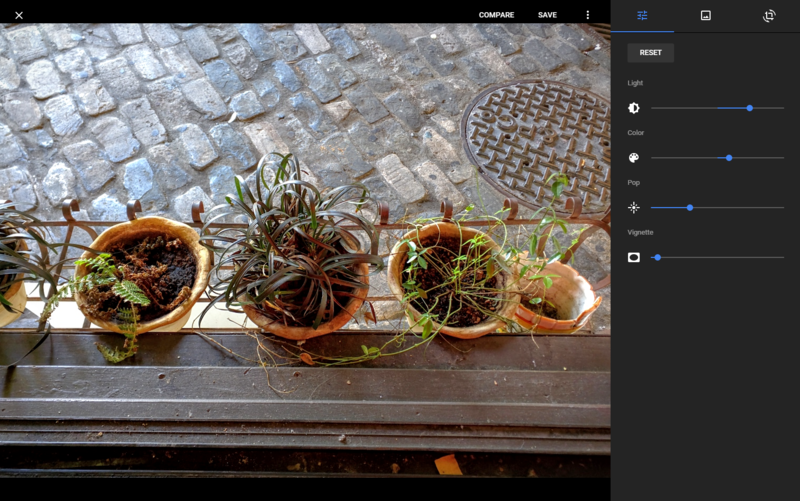
The editing tools on the web version of Google Photos mirror that of the Android app, which is to say you'll get a very basic editing experience even on the web. You have the same three groups of editing tools, and they all act the same as the Android experience.
This is the same Photos experience, with one major change to how new edits are saved.
One way that the web interface for Google Photos differs from the Android app is the way edits are saved to photos. Because when you're working on the web you're not actually dealing with a local file, the edits are nondestructive and can be changed back at any time so long as you're on the Photos website. You can go back to a photo that was edited a week ago and tweak it just slightly, or revert back to the original file if you wish.
This means that unlike the Android app, you don't get multiple photos in your gallery when you make edits, which is a good thing. Any edits that you make in Photos on the web are then synced to the pictures when viewed in Google Photos on your phone or tablet, but because of the way the apps handle things you won't be able to tweak those edits like you do on the web — it'll be back to editing a photo from square one and uploading a different edited photo.
The original version of every photo is always stored in Google Drive, with no edits applied, but you can download the picture with edits from the Photos website or when sharing from your phone or tablet.
It'd be wonderful to see full two-way syncing of edits on individual photos between platforms, but it would be quite an undertaking. Right now you're going to get the best editing tools with a dedicated app — be it on your phone or computer — rather directly in Google Photos, but if you do choose to stick with Photos now you know you have a few basic tweaks available to you.
Andrew was an Executive Editor, U.S. at Android Central between 2012 and 2020.
