How to customize your Chromebook launcher
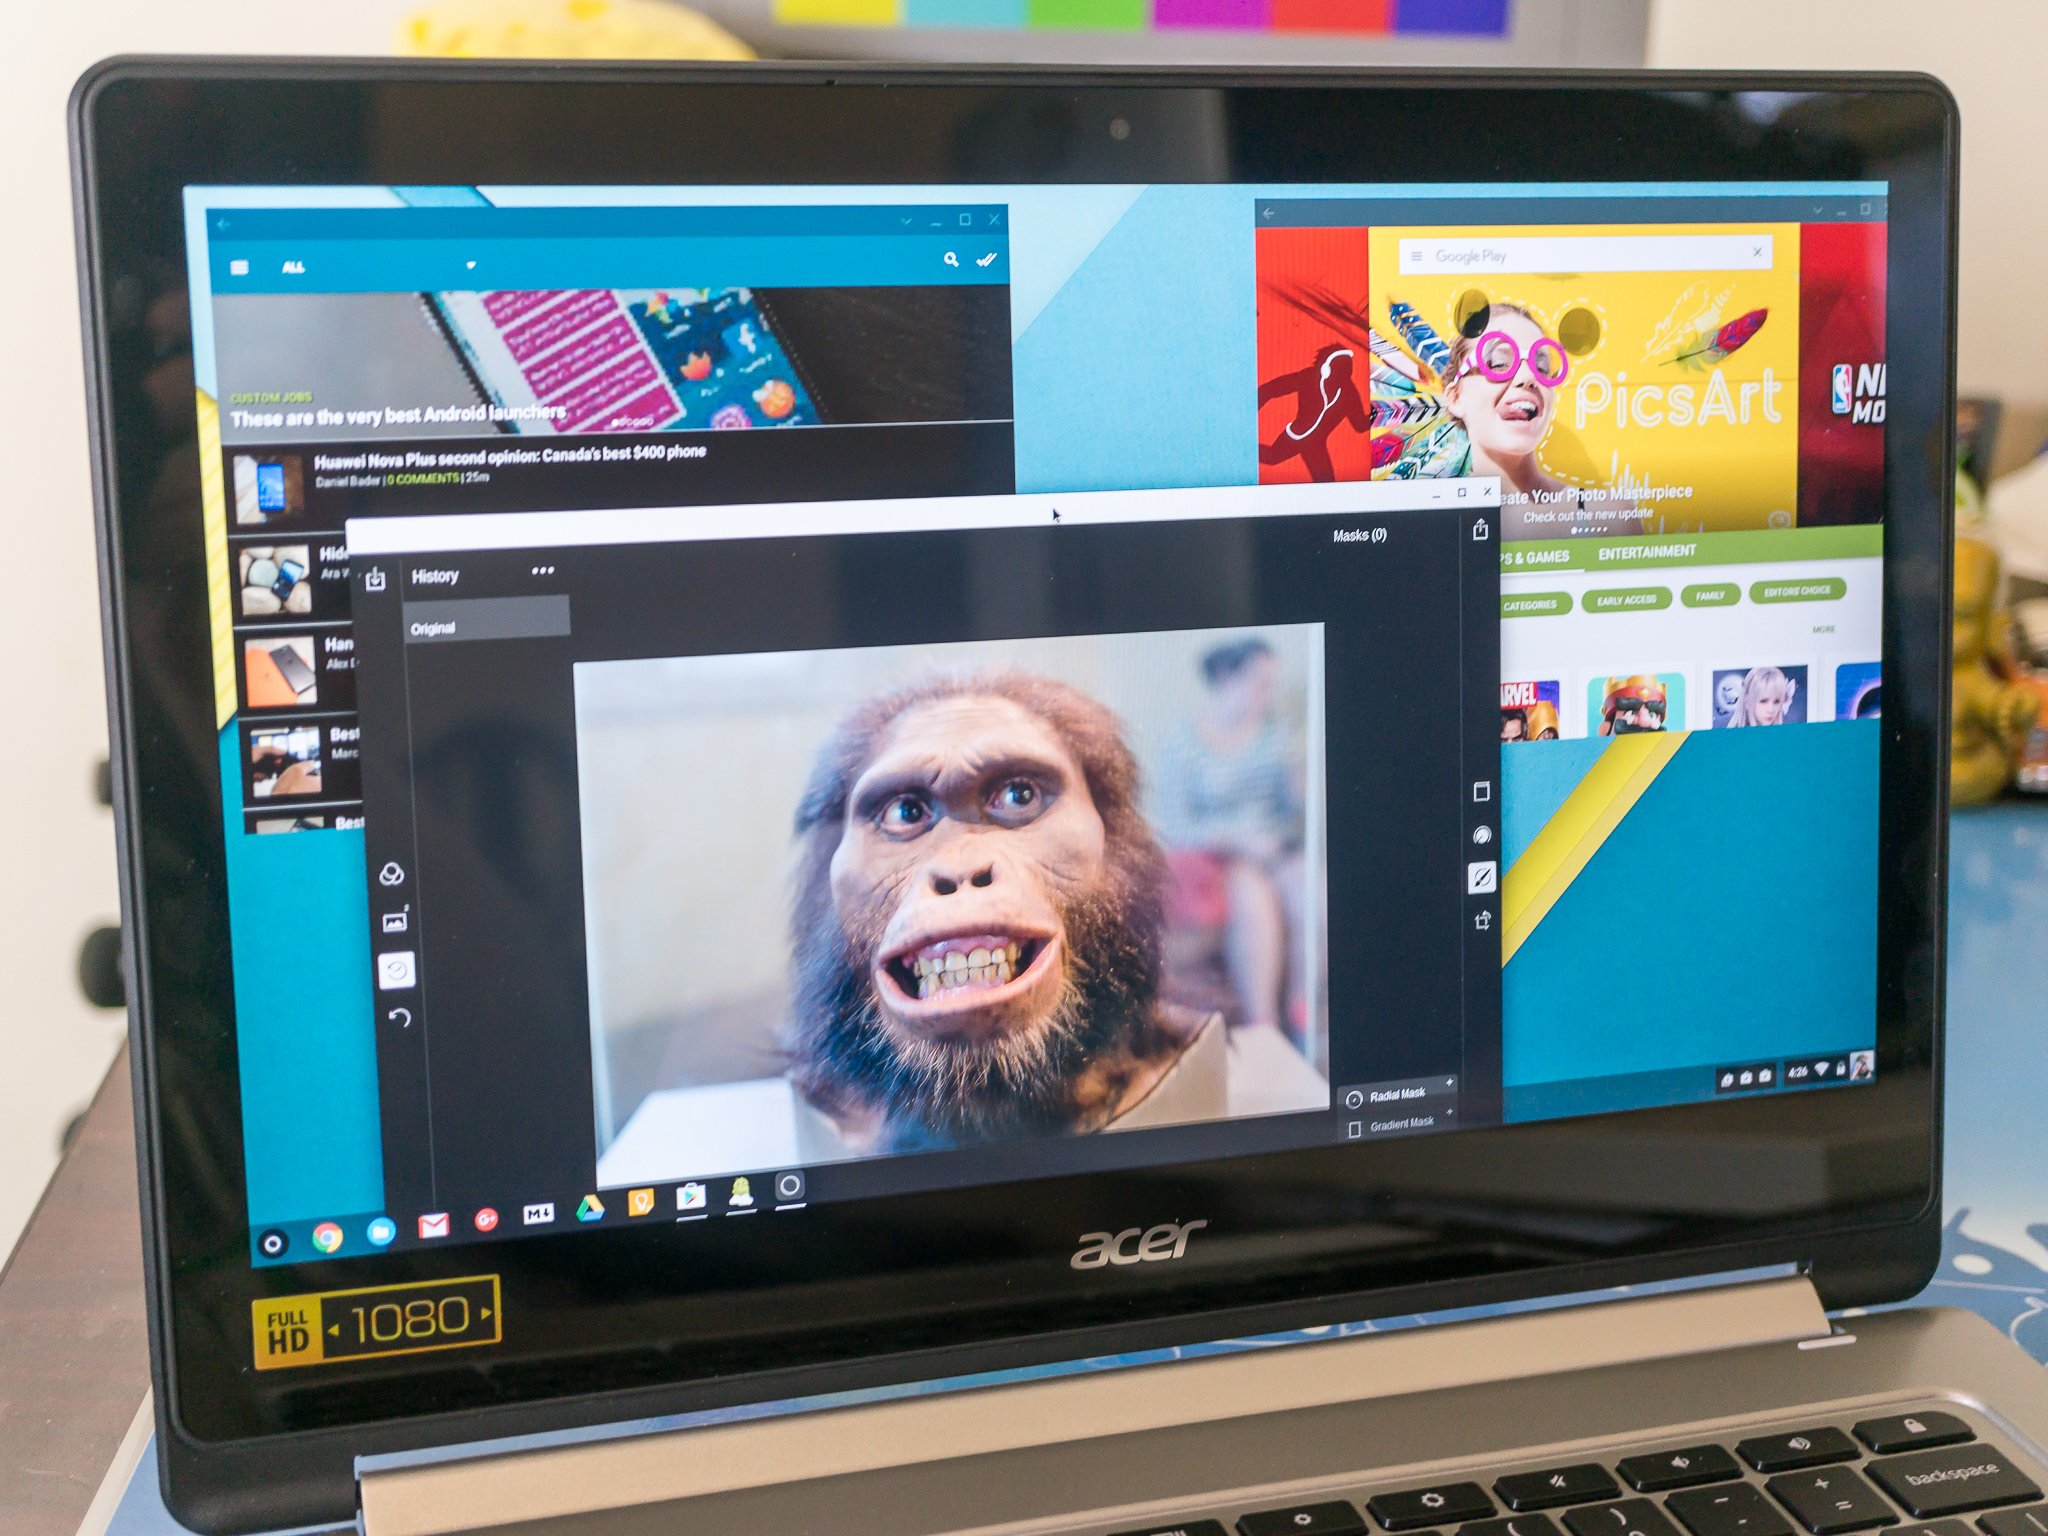
If you're using a Chromebook that has Google Play, you might be downloading a bunch of Android apps. If you don't yet have Google Play on your Chromebook, you're probably thinking of Android apps you want to install when it comes. With all those apps — and your Chrome apps — you'll probably want to tidy things up a bit. Here's how you can do it.
Set your wallpaper and choose a theme
Like your Android phone, your Chromebook has a launcher. It's not an app that can be replaced with a third-party offering, it's more like the desktop and start menu you would find on a Windows laptop. We're not going to dig into the technical details here, but for our purposes, your Chromebook app launcher is your wallpaper, your "shelf" (the taskbar across the bottom) and the app drawer. There's quite a bit you can do with these to make your Chromebook fit into your flow a little better. Let's start with the obvious — the wallpaper and the theme.
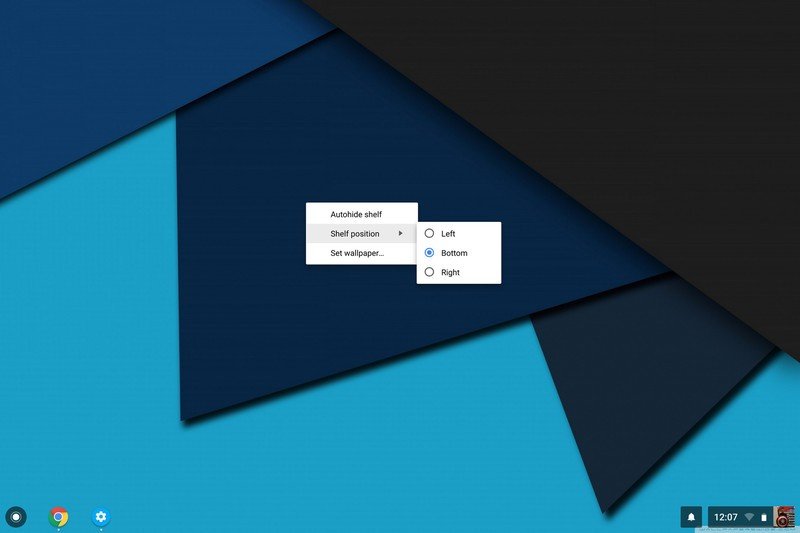
Changing the wallpaper is easy. Just right click (remember, that's a two finger tap on the trackpad) and choose "Set wallpaper ..." from the menu. You'll see a new window with a good many bundled wallpapers, and you can use the tabs at the top of it to sort through them. If you would like to use your own wallpaper, make sure it's in Google Drive or stored locally on your Chromebook and click "Custom." You'll be able to choose any image that the file manager can get to. You can also tick the box that says "Surprise me" and you'll get a random wallpaper from the included images each time you log in to your Chromebook.
If you're using your own picture for the wallpaper, you can use an image editor to size it to the same dimensions as your Chromebook screen to keep it from stretching or cropping. You can find images the right size through Google image search by choosing the resolution in the Search tools at the top of the page.
To change your theme, click the status area (down by your account picture). Choose Settings > Appearance > Browser themes. The Chrome Web Store will open to the themes category, where you can browse through and find one you like. You'll only see themes that will work with your Chromebook, and to install it you only need to click the Add to Chrome button on the theme's page in the Chrome Web Store. If you choose a new theme your old one will be uninstalled, and if you don't want the same theme on every computer you use, you can selectively sync through the settings.
Customize your shelf

You can customize the shelf in a few ways, too. Some folks want the bar on the side of their screen instead of the bottom. Again, right click on your desktop and get to the menu. Choose "Shelf position" and pick where you want the shelf to live. You can put it on the left, the right or keep it at the bottom.
You can also set the shelf to autohide so that it stays out of the way until you move the cursor to the screen edge. Note that if you don't have any other apps open, the shelf will stay visible.
Be an expert in 5 minutes
Get the latest news from Android Central, your trusted companion in the world of Android
Finally, you can add shortcuts to the apps you use most frequently on your shelf as well as bookmark web pages there. To add an app shortcut, find the app in your drawer and right click on it. Choose "Pin to shelf" and a shortcut will be placed on the bar. To add a bookmark, in the browser choose More > More tools > Add to shelf.
You can arrange the items on your shelf by clicking and dragging them. To do this on your trackpad, click or tap with one finger, then slide left or right with another finger. When the item is in the position you like just let go of it by removing your fingers from the trackpad.
Add folders to the app drawer
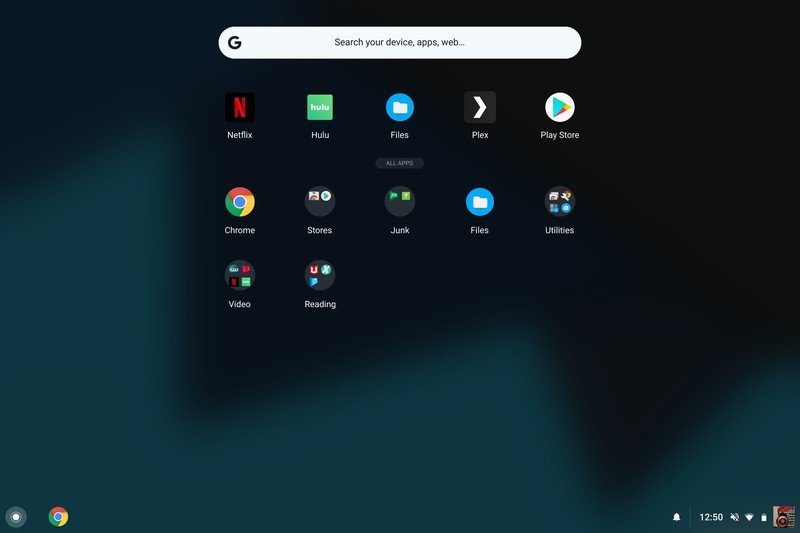
Making a folder is done the same way as Android. All you need to do is drag one app on top of another to create a folder, or drag an app on top of a folder to add it. To name your folder or edit the existing name, open it and click the area under the search bar where it says "Unnamed folder" (or where the existing name is) and type your new name. You can't add a folder to the shelf, or merge one folder into another to nest them.
A quick tip here — if you are trying a lot of Android apps on your Chromebook, I've found it's handy to make a folder named "Testing" and put them all in there until I decide if I want to keep them or not. This way I know only apps that work to my liking live outside of it, and nothing is there eating my precious disk space.
Uninstall unused apps
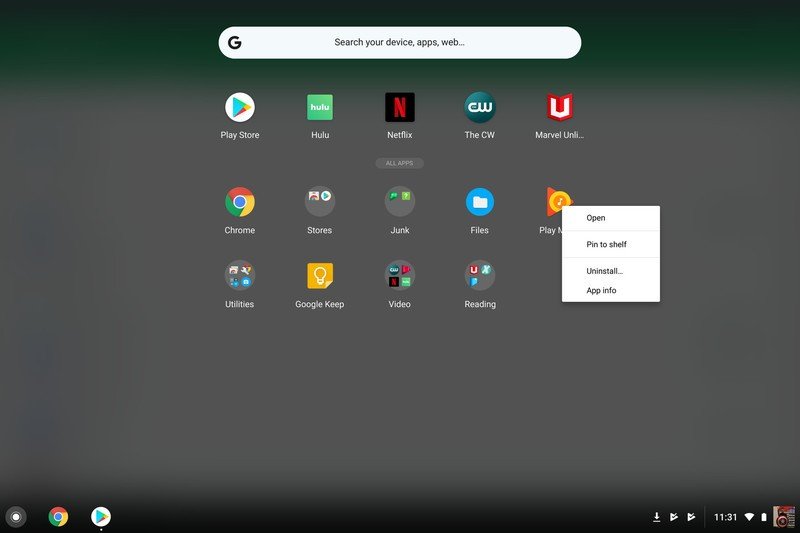
Out of the box, most of the "apps" on a Chromebook are just links to various websites. In this case, "uninstalling" these apps doesn't do anything more than remove the icon and link inside your launcher. You won't free up any space, but your launcher will be tidyer, and a tidy launcher is a happy launcher.
If you download any Android applications, you may need to uninstall those if you run low on space inside your Chromebook. This is done the exact same way: just right-click (or two-finger tap), then click uninstall.
While there are no complete home or desktop environment replacements on your Chromebook, you can do a lot to make it easier for you to use. Feel free to share your ideas in the comments or in the forums.

Jerry is an amateur woodworker and struggling shade tree mechanic. There's nothing he can't take apart, but many things he can't reassemble. You'll find him writing and speaking his loud opinion on Android Central and occasionally on Threads.
