How to connect a Chromebook to an external monitor
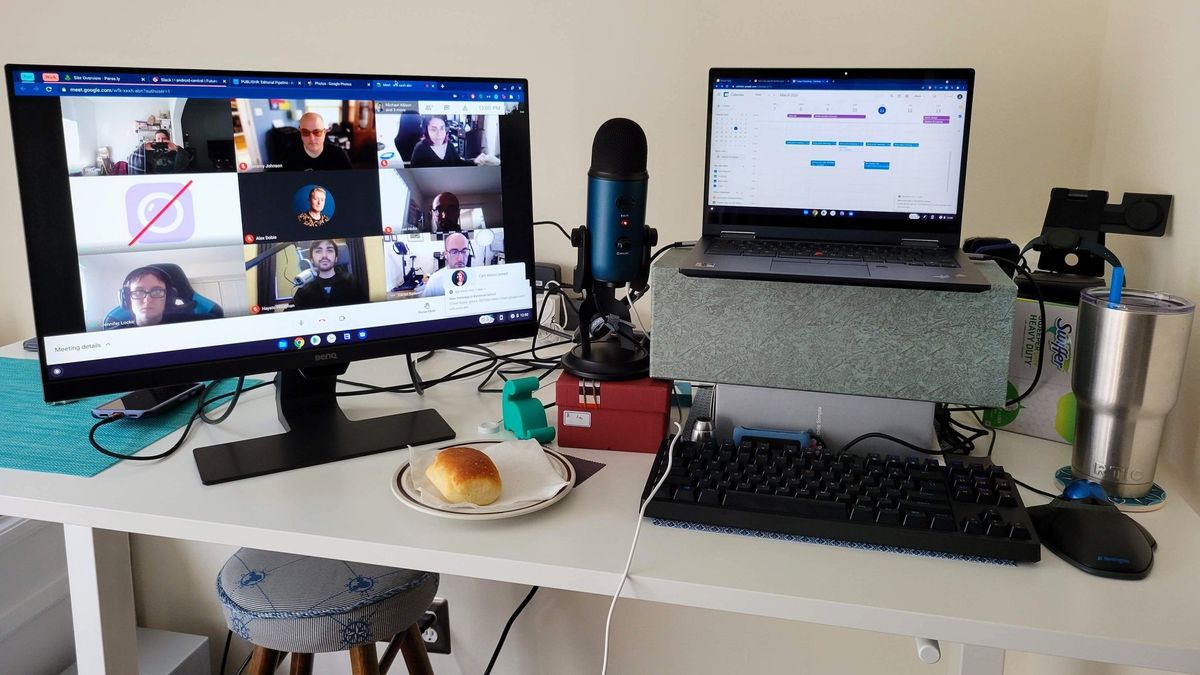
Chromebooks are cool, but they're even cooler when you get to use them with an external monitor and spread out all your work. You have a few options for connecting your Chromebook up depending on your ports, your monitor, and how much you need out of a second screen. Here's how to connect your Chromebook to a monitor, whether it has a dedicated port or not.
Method 1: HDMI port on a Chromebook
Once upon a time, most Chromebooks actually came with an HDMI port right there on the side of the laptop. Still, with the advent of USB-C and the ability of USB-C to be used for both charging, data, and video at the same time, it makes a lot of sense that manufacturers dropped the bulkier HDMI port and instead relied upon USB-C.
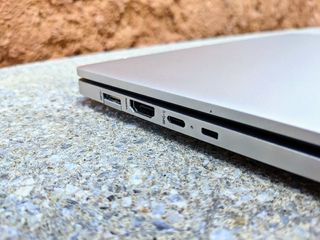
The middle port here is an HDMI port, which stands for High-Definition Multimedia Interface, the A/V standard that has been the most popular video cable/port standard for about 15 years. If you have a port that looks like this on your Chromebook, literally all you need to connect your Chromebook to an external monitor is a good HDMI cable.
Most HDMI cables are bidirectional, so all you need to do is plug one end of it into your Chromebook, plug the other end into your monitor, and turn on the monitor. Chrome will automatically detect that you've connected a monitor and start mirroring your screen to the second monitor until you optimize your Chromebook for external monitors.
Method 2: USB-C hubs and adapters
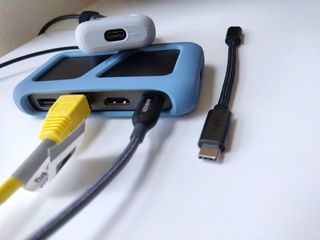
If your Chromebook doesn't have an HDMI port, you're going to need one extra piece of hardware beyond your monitor and an HDMI cable: a USB-C hub. The best USB-C hubs for Chromebooks almost all have HDMI ports for adding on a monitor, but there are a few things to keep in mind here:
- Check the display mode. This will matter more if you're using a docking station than a USB-C hub, but if a hub has multiple video ports, you might want to double-check that it supports USB-C alt mode, not Display Port alt mode.
- Does it have passthrough charging? If the USB-C hub is going to be plugged into your Chromebook most of the time, you might as well have it charge your Chromebook.
- Mind the cable length. Most hubs only have cables that are 4-6 inches, but if you can find a hub with a longer cable, that could give you more breathing room when setting up your desk.
Once your hub arrives, it's plug-and-play the same as if your Chromebook had an HDMI port and re-arrange your monitors in Chrome OS.
If you want to connect over USB-C but don't want the bulk of a hub, they also make dedicated USB-C to HDMI adapters, but I highly recommend purchasing a hub instead. Hubs are more adaptable than adapters. They allow you to use them for charging and connecting more peripherals, and they also allow you to transition to a workstation experience in the future.
Be an expert in 5 minutes
Get the latest news from Android Central, your trusted companion in the world of Android
Method 3: Casting a window or screen
Okay, this technically isn't going to give you a secondary screen to spread out tons of content on, but if you want to go wireless but still take advantage of that big screen above your desk or across the room, Chrome Browser and Chrome OS have Google Cast built-in so that you can easily mirror either your whole window — or a Chrome tab — to a TV or monitor.
How to cast a tab to Chromecast
- Open the website you wish to cast.
- Tap the three-dot menu in the top right corner of Chrome.
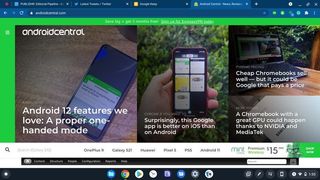
- Tap Cast.
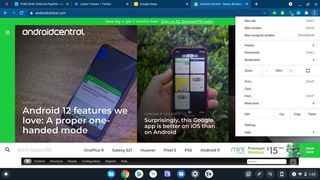
- Tap the Chromecast you want to mirror to.
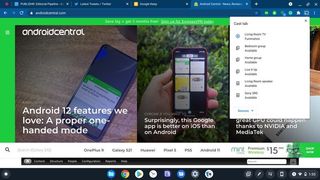
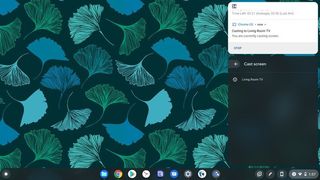
- When you're ready to stop casting, tap Stop on the persistent notification that appears when Casting.
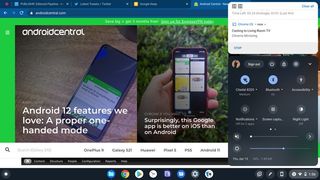
How to mirror your Chromebook to Chromecast
- Tap the time in the bottom right corner.
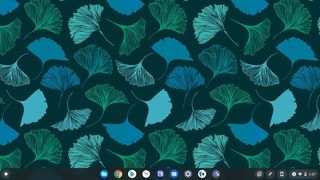
- Tap Cast in the Quick Settings.
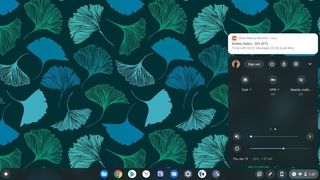
- Tap the Chromecast you want to mirror your screen to.
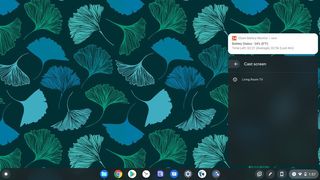
- When you're ready to stop casting, tap Stop on the persistent notification.
Method 4: USB-C monitors
I mention this one last because chances are you already have the monitor you want to use with a Chromebook. However, if you're still debating your monitor purchase and have a non-HDMI Chromebook, there is one other solution for connecting your Chromebook to a second screen: buy a USB-C monitor.
Now the best USB-C monitors will likely cost you more than an older HDMI-only monitor — in fact, many USB-C monitors cost more than my Chromebook — but if you abhor bulky dongles and adapters, this is technically an option you can explore.
Pro tip: If your Chromebook's screen sucks, just turn it off
I'm not going to sugarcoat it: most Chromebooks have 11.6-inch, 1366x768 pixel screens, and once you get 24 inches of pixel-dense love, you'll probably not even want to think about your built-in screen. If you're using an external mouse and keyboard, you might as well go full conversion and turn off your Chromebook screen when you're plugged into the external monitor.
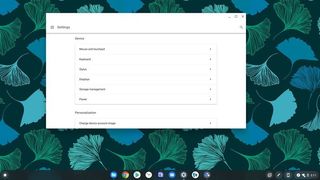
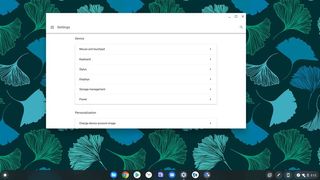
- Open Settings.
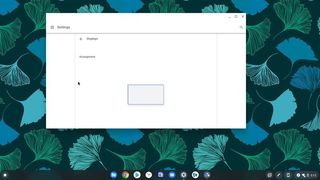
- Tap Displays under the Device section.
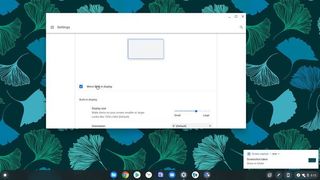
- Tap Mirror built-in display.
- Tap the back arrow.
- Tap Power.
- Tap Sleep when cover is closed to toggle this setting off.
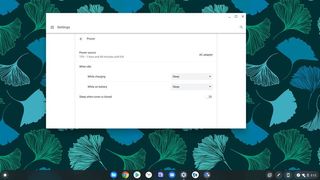
Now, your Chromebook won't go to sleep just because you shut the lid. I'm personally a fan of leaving the Chromebook screen on and open just so that I don't let the Chromebook overheat — since my Chromebook has a fan — and because I like still having the touchscreen available for things like games. To each their own, but if you want to turn your Chromebook into a Chromebox essentially, this is how.
Ara Wagoner was a staff writer at Android Central. She themes phones and pokes YouTube Music with a stick. When she's not writing about cases, Chromebooks, or customization, she's wandering around Walt Disney World. If you see her without headphones, RUN. You can follow her on Twitter at @arawagco.

