How to build your own Chromebox with a Raspberry Pi 400
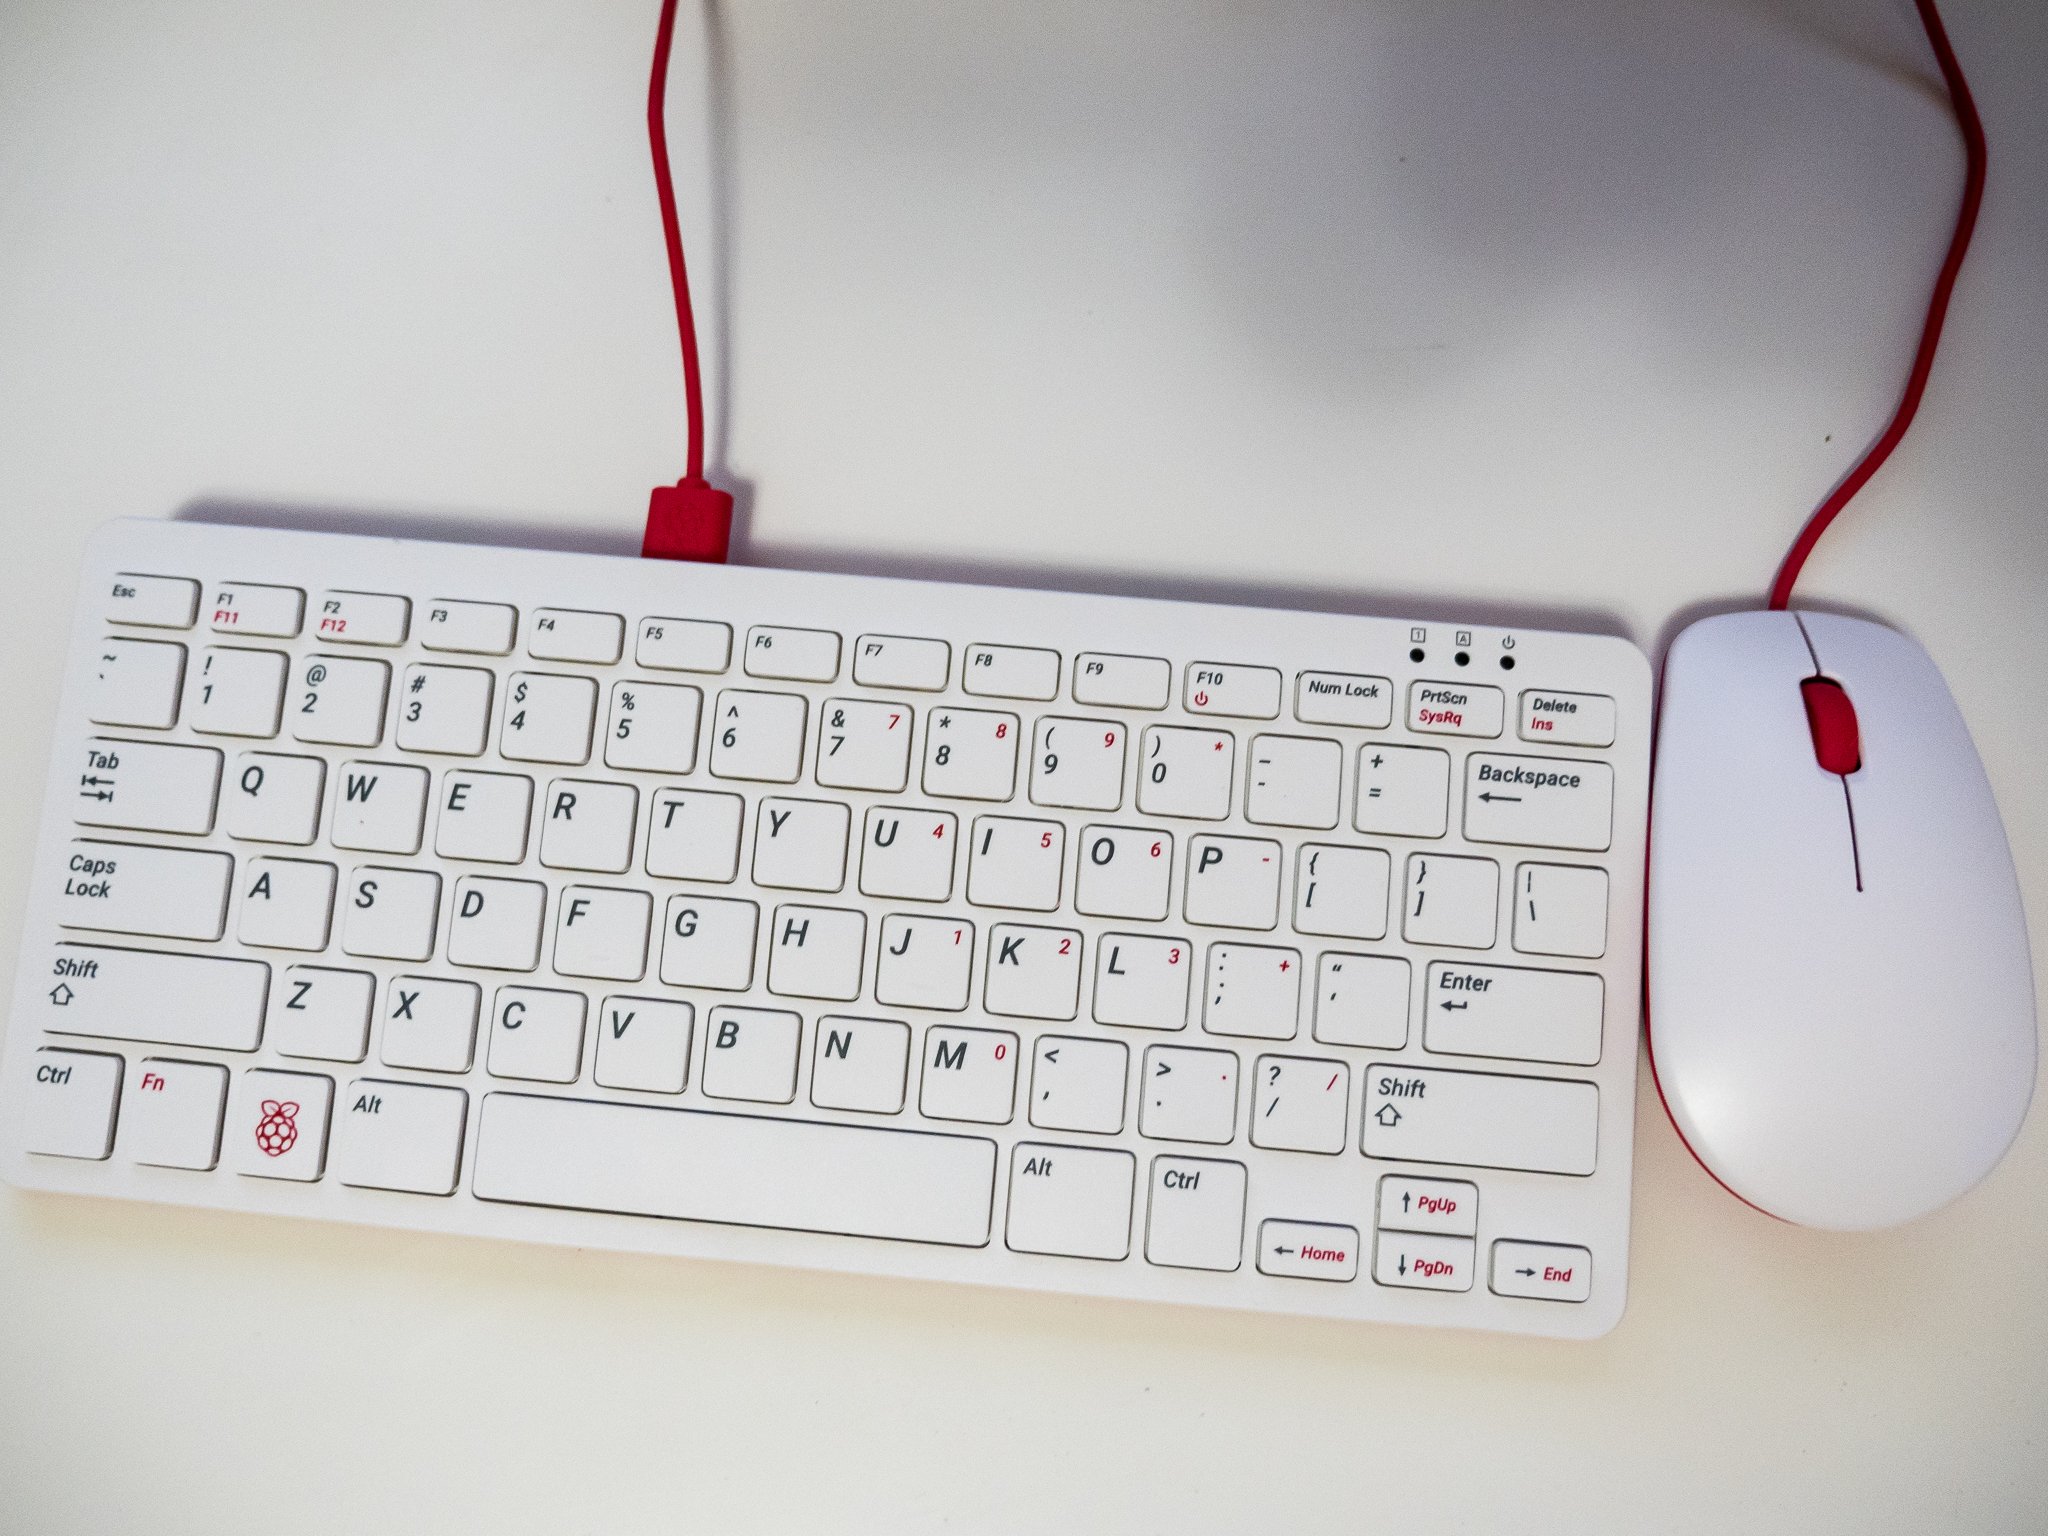
The Raspberry Pi 400 is a great little light-duty desktop PC on its own and makes a great DIY Chromebox thanks to the developers of FydeOS. While it might not have the same processing power as the best Chromebox out there, most of us will find it's more than adequate for running Chrome OS — or ChromiumOS, in this case. Best of all, since everything lives on an SD card you're not losing any functionality — swap cards and boot back into a standard Linux distribution any time.
Products used in this guide
- All-in-one keyboard PC: Raspberry Pi 400 Kit ($160 at Amazon)
- Your storage: SanDisk 128GB Ultra MicroSDXC card ($20 at Amazon)
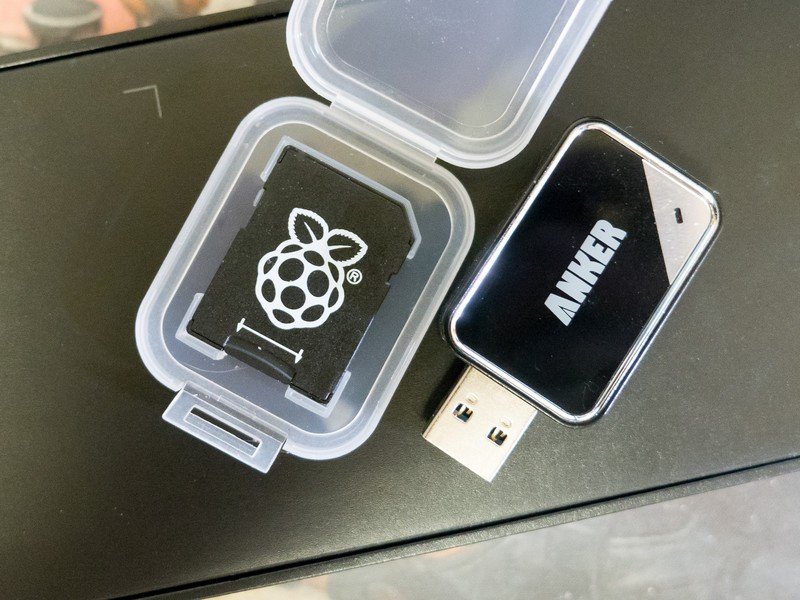
- An SD to USB adapter: Anker USB 3 SD card reader ($14 at Amazon)
You'll also need access to a "regular" PC to download the image and flash it to your SD card using a program called Etcher.
Install the software
- Visit the Chromium on Raspberry Pi Github page and download the prebuilt system image.
- Insert the SD card into the computer you plan on using to flash the system image. In my case, I had to use an SD to USB adapter.
- Visit the Etcher website, download then install the program for your operating system.
- With the system image file downloaded and the target SD card inserted, start the Etcher program.
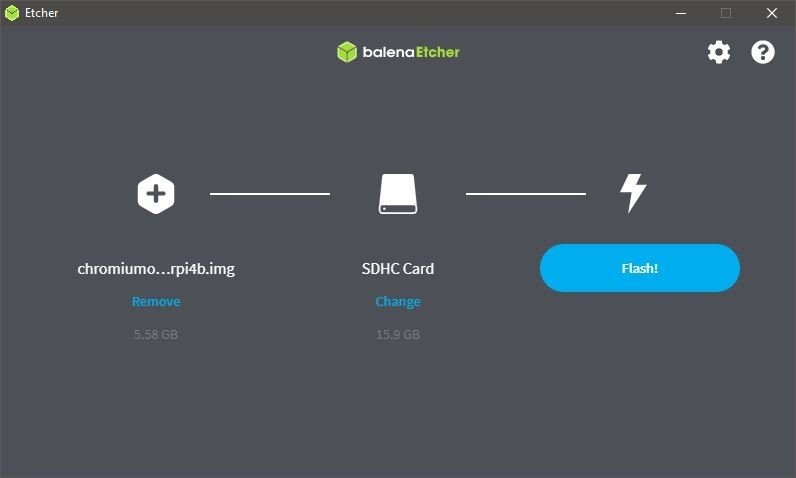
- Inside the Etcher app, choose the Flash from file setting on the far left.
- Inside the Etcher app, choose your SD card. Warning: All the existing data on the card will be erased during the image flash procedure.
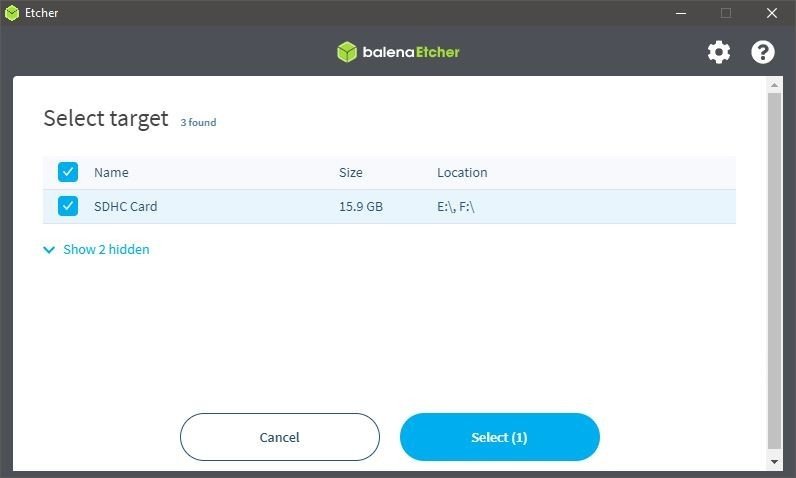
- Once you're sure you've chosen the correct image file and the correct storage medium, click the Flash button and wait for the Etcher program to finish.
- Insert the card with the newly-flashed Chromium image into your Raspberry Pi and turn everything on.
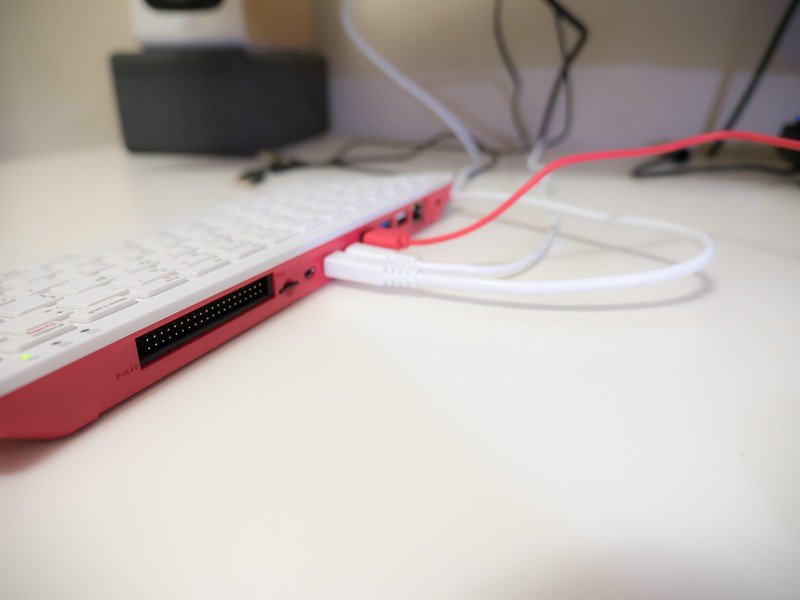
Once your Raspberry Pi finishes booting, you'll be presented with the standard Chrome welcome screen. You can log in using your Google account and have the same Chromebox experience you'll find on more expensive gear along with the satisfaction of knowing you "built" it yourself.
All the features of Chrome work as intended just like they would with any other Chromebox. Note that you'll need to use a standard USB mouse and HDMI connection to a monitor as devices built to use the GPIO pins on the Raspberry Pi and not supported in Chrome.
If you've been wanting a light Chrome desktop to use in the living room or for the kids but were put off by the price, this is a great way to go!
Our top equipment picks
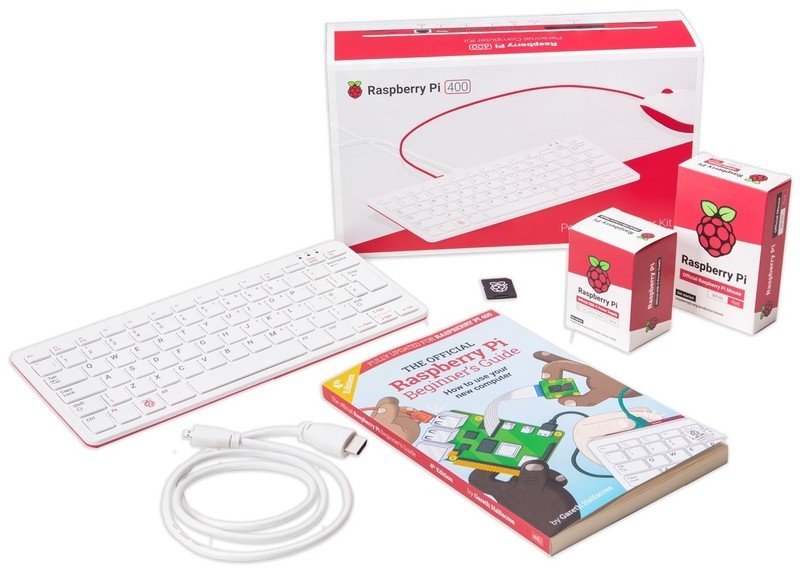
Raspberry Pi 400
Be an expert in 5 minutes
Get the latest news from Android Central, your trusted companion in the world of Android
The Raspberry Pi 400 is nothing more than a Raspberry Pi 4b mounted inside a keyboard. It turns out that this small, seemingly insignificant change makes all the difference and this is the Raspberry Pi that almost everyone should buy.
You can use a Raspberry Pi 4 or even a Raspberry Pi 3b for this project, but the price of the Raspberry Pi 400 kit makes it the best value because there's no need to buy a keyboard or mouse.
Additional Equipment
You'll also want a separate SD card to use as the system storage drive and if your computer doesn't have a card reader, you'll need an adapter.
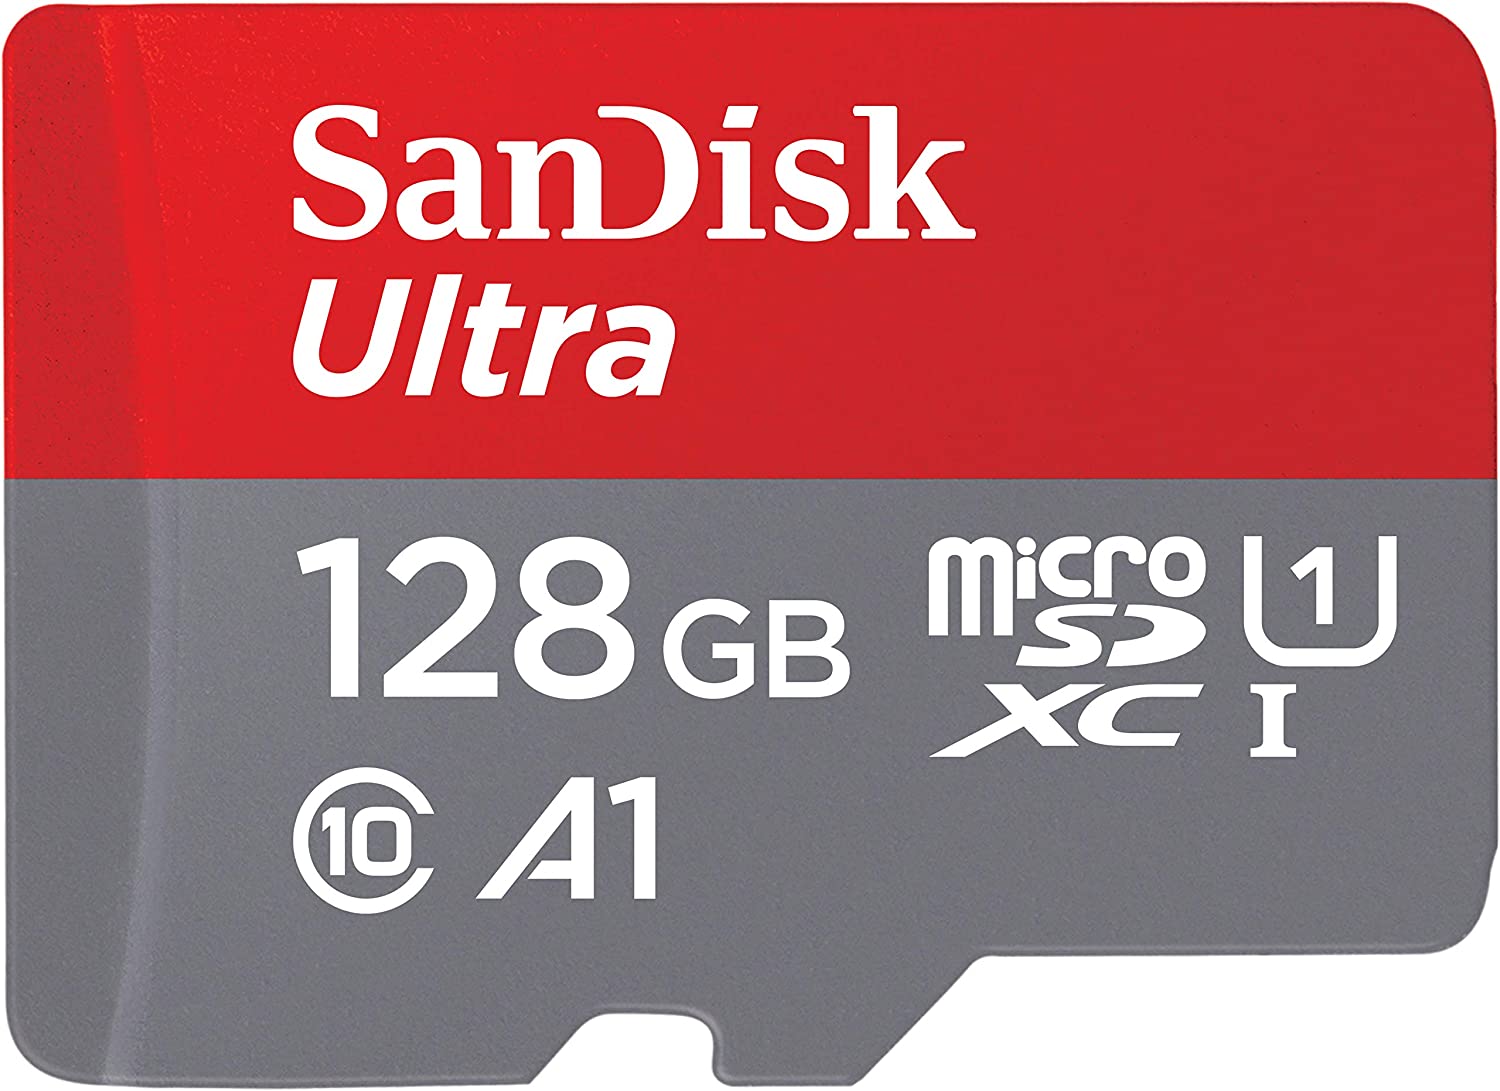
SanDisk 128GB Ultra MicroSDXC card ($20 at Amazon)
128GB of space gives plenty of room for Chrome OS and all the media files you might want to download.
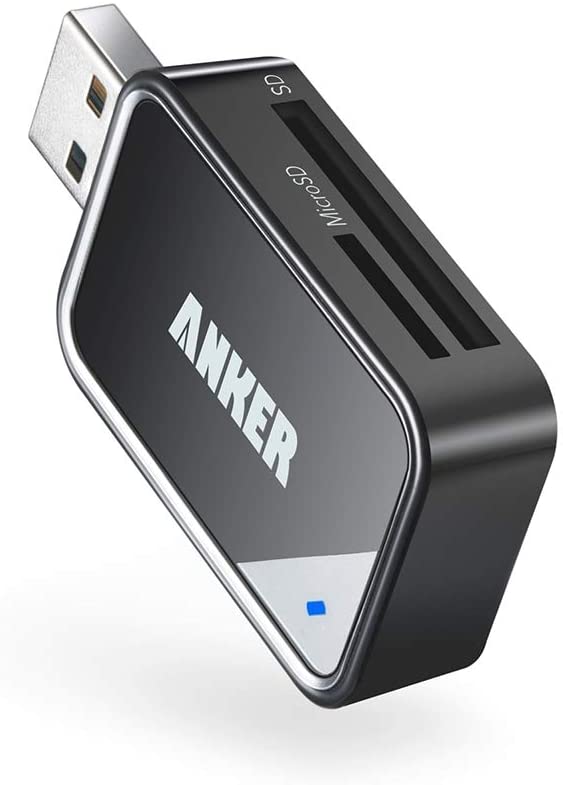
Anker USB 3 SD card reader ($14 at Amazon)
This inexpensive card reader from Anker can hold two cards and reads/writes via USB in case your PC doesn't have a card slot.

Jerry is an amateur woodworker and struggling shade tree mechanic. There's nothing he can't take apart, but many things he can't reassemble. You'll find him writing and speaking his loud opinion on Android Central and occasionally on Threads.
