How to beat the final boss in the Final Fantasy 7 Remake demo
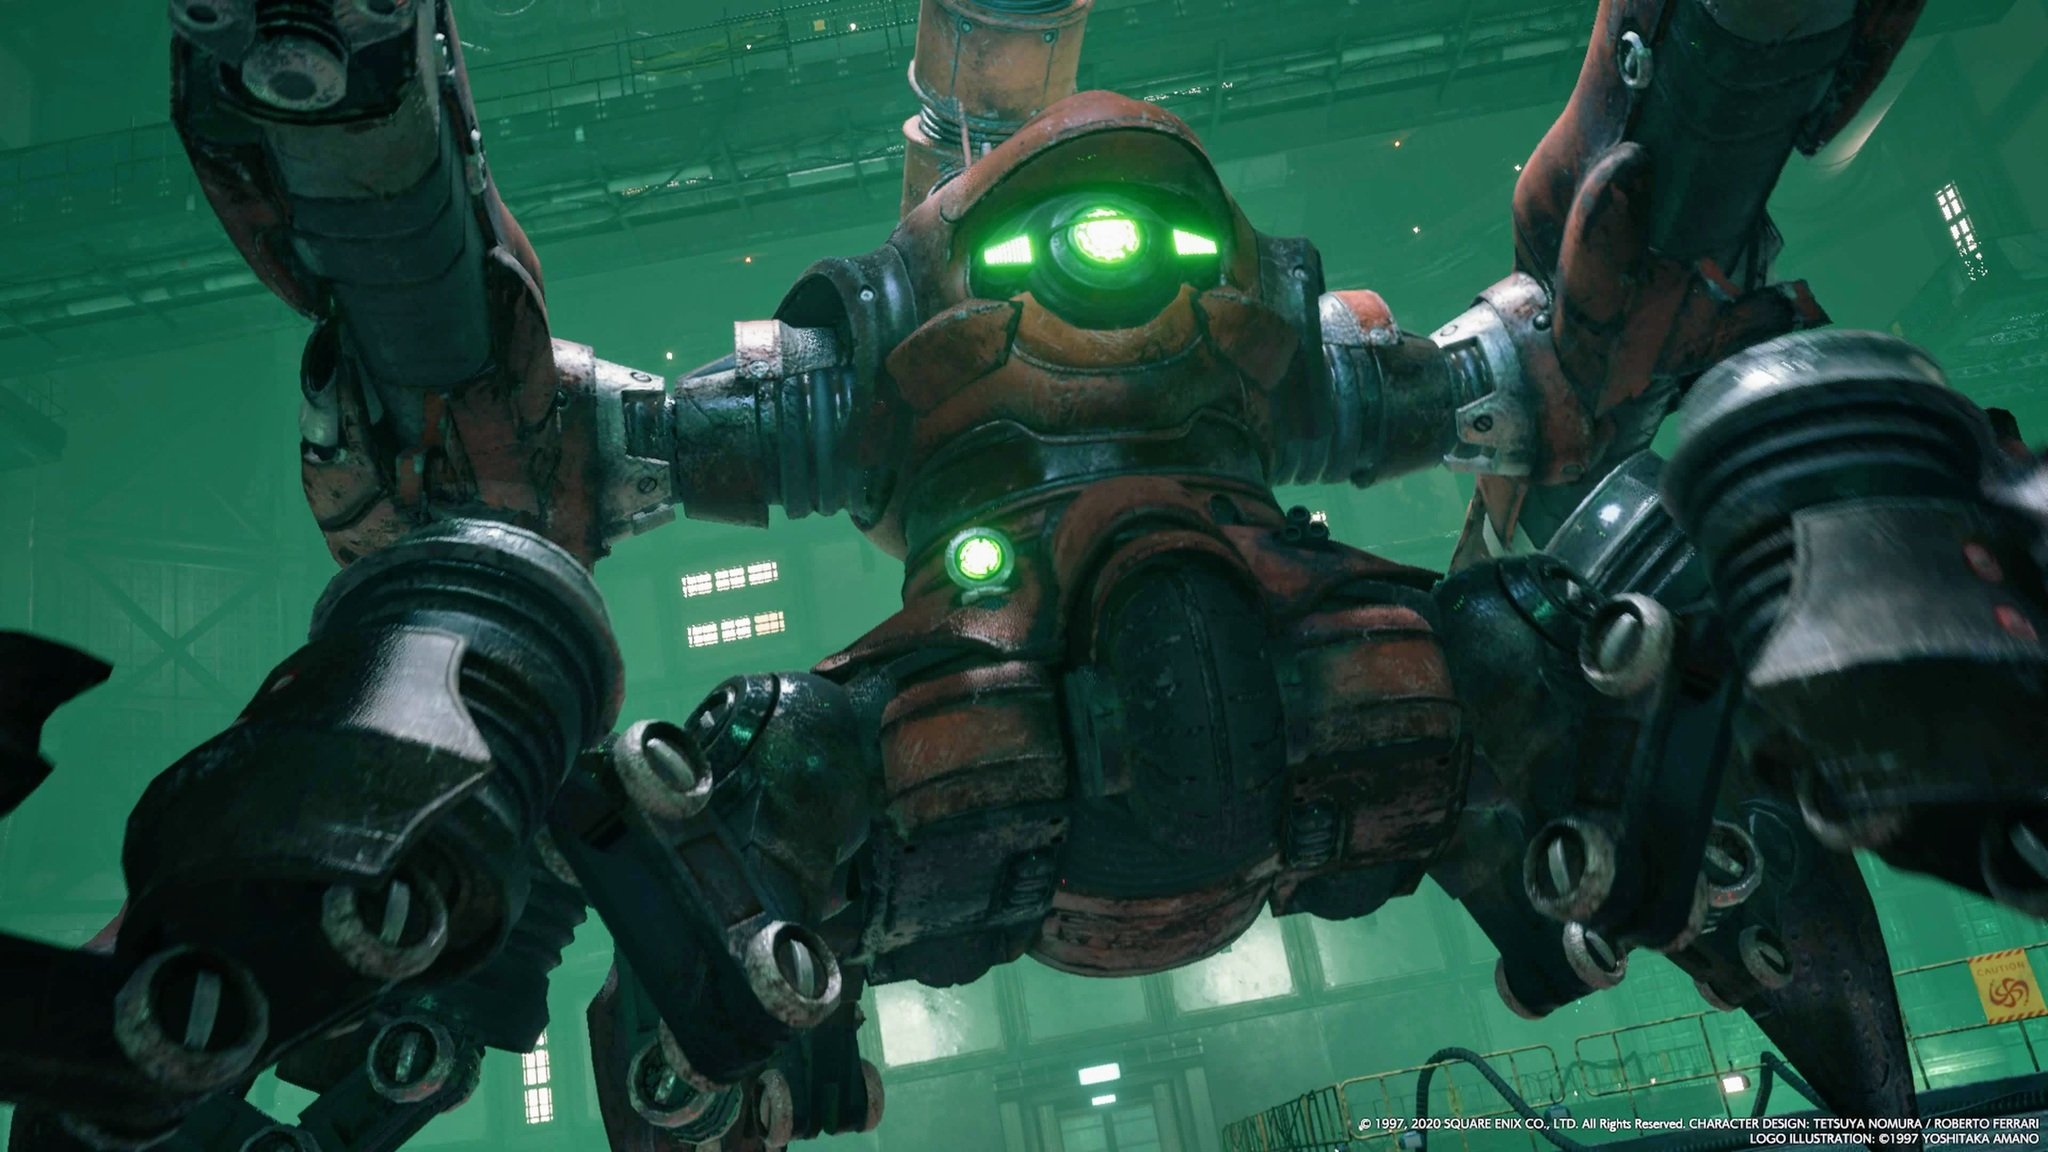
The Final Fantasy 7 Remake demo has been around for a little while now, and we've been playing quite a lot since its release. Though it is only about 30-40 minutes of gameplay, it gives a real taste of what the full game is likely to hold in store for us.
A fair few people have been having some difficulty, however. Like a lot of modern games, FF7R doesn't hold your hand when you get to boss fights; it expects you to work out the patterns and defeat the boss on your own. I managed to beat the boss on my first three attempts without any issue. Then, while I was researching to write this article, I failed to beat it eight more times. It's okay, though, because I finally spent enough time working through it to give you a comprehensive how-to.

Midgar never looked so good
Now that the demo has arrived, we are even more excited about this new, yet classic adventure to Midgar. The demo is available to everyone for free, so make sure you try it out ahead of the game's release in April.
Preperation is key
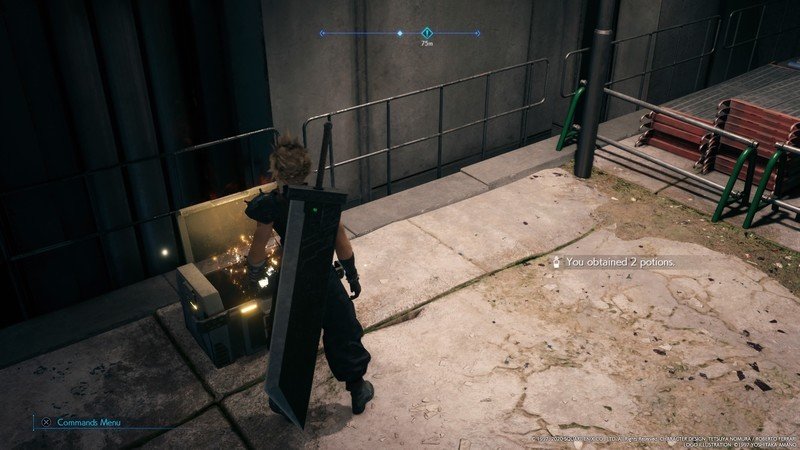
Before you get into the boss fight, you need to make sure you are prepared. It's easy in the thrill of playing to forget to heal your characters as you run through the halls. Once you get to it, though, you are going to want to get your health back up to full.
Throughout the game you'll find chests and boxes that you can smash open to receive healing potions, ethers, and phoenix downs to help you. You'll need to use some of these potions before you start the primary fight. Try not to use any ether potions throughout the rest of the game as you'll need them all to defeat the big boss. For those that don't know, ether potions restore your MP (magic power) and phoenix downs will revive a teammate who has been knocked down to zero hit points.
Phase one — Lightning
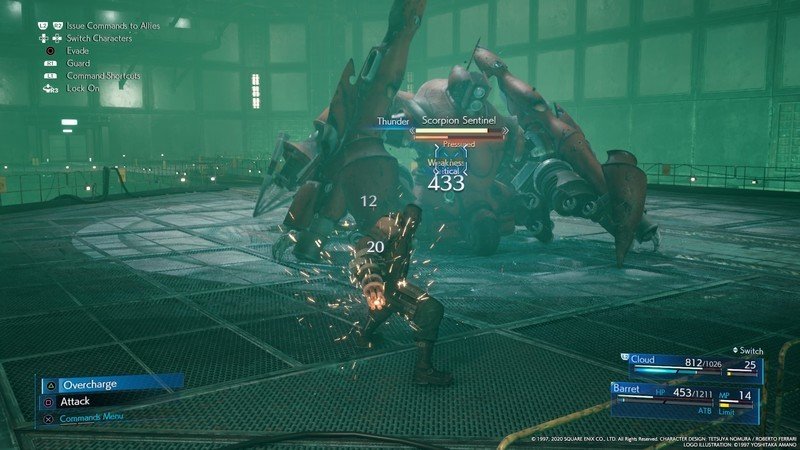
When the sentinel first appears, you need to switch immediately over to Barret, and you'll likely be him for most of the fight. The first phase of the boss is relatively simple; you just need to attack him as much as you can to push your ATB to the max. Once you do, press X and go to your spells, use the spell Thunder to cast lightning magic against the machine, and you'll see you do some pretty hefty damage. Repeat this cycle three or four times, and when the sentinel has sustained enough damage, he will jump away on to the wall.
Don't bother attacking him on the walls, use this time to heal yourself and Cloud with healing potions — don't waste your MP on cure, it isn't worth it. One thing worth noting throughout this combat is to use your Steelskin ability every now and then. Steelskin reduces the incoming damage and, more importantly, reduces the amount of knockback you receive when taking damage. This allows you to cast spells and do damage even if you are being hit by the sentinel's rockets and guns.
Phase two — Overshield
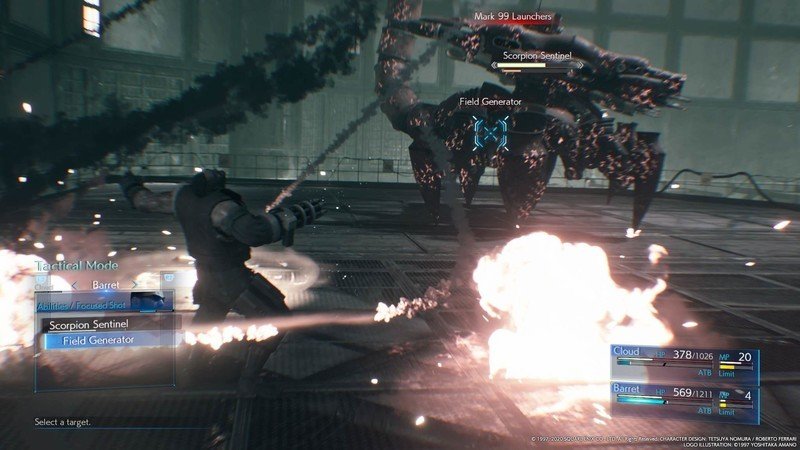
This is likely the most frustrating part of the entire combat and can last ages if you aren't prepared. You'll need to get in the habit of issuing commands to Cloud as soon as you see his ATB gauge fill at least one bar. Unlike the sentinel itself, it's field generated is only susceptible to fire magic, and only Cloud has that. You can still use your overcharge power here to do a little damage to the generator, and you'll need to keep Cloud filled with potions, but mainly your job is to keep casting fire at the field generator until it's down.
Be an expert in 5 minutes
Get the latest news from Android Central, your trusted companion in the world of Android
Once you knock the generator down, you should be in a position to launch two of your Lightning spells at the sentinel, and if you are lucky, that should be enough for your first stagger. If you do manage to stagger the sentinel at this point, you will need to switch over to Cloud and press triangle to activate his "Punisher Mode." When an enemy is staggered, you can get some massive damage on the board, which should quickly take you into phase three.
Phase three — Blue beams
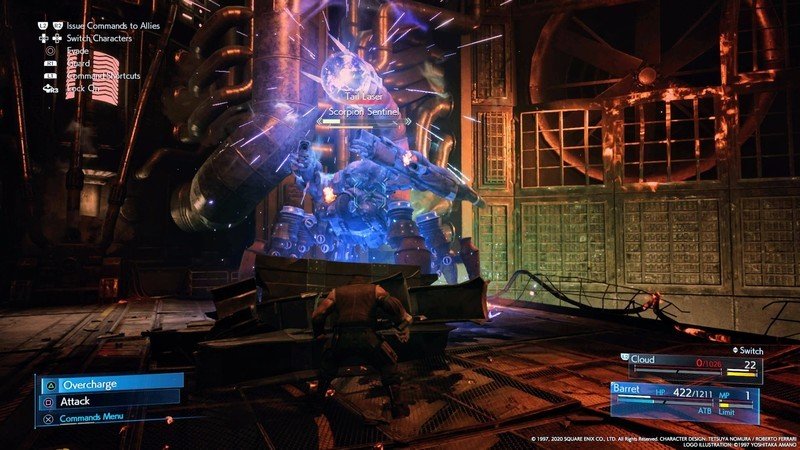
If you managed to damage the sentinel enough, it should have jumped away again, and you'll have had a fun cutscene of it going a little crazy and firing rockets into the roof. This will have caused debris to fall to the ground in mounds. The sentinel will now start firing big blue laser beams that can be deflected by this debris. You'll need to run behind the first set of debris as soon as possible and switch back over to Barret. Once you get your first ATB bar, cast Steelskin on yourself and if you have enough ATB, use an ether potion to restore your MP.
This little combat section is pretty simple. You'll need to whittle away at the sentinel's health — using your lightning and Cloud's fire is the easiest way — and when the debris appears, run behind it to stay safe from the blue beam 'o' death. While you are hiding there, it's an excellent time to use your potions to heal both your party members whenever you can. Once you've done that two or three times, the sentinel will once again meltdown and start firing wildly. You are now entering the final phase.
Phase four — Legs
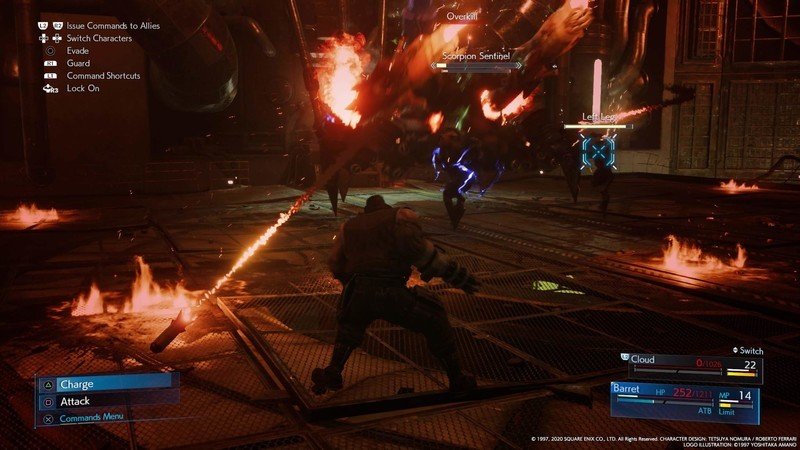
This is the home stretch, and it's just a straight-up fight to the death. You'll notice that there are three things to attack now: a left leg, a right leg, and the sentinel. Leave the sentinel for now and concentrate on destroying both the legs as this will cause the sentinel to stagger. It's time to switch to Cloud, activate his Punisher Mode, and go to town on the sentinel, stacking damage with as many power moves as possible.
If you don't quite manage to finish the sentinel off on that first stagger, don't worry, you'll just need to it again, including taking out the legs to stagger it. If you don't kill it the first attempt, you'll get it on the second.
Bonus — Limit Break
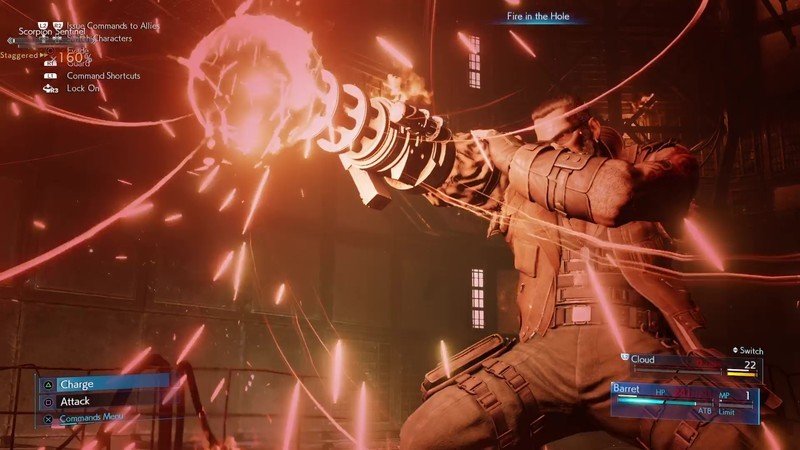
Because you will be using Barret for most of the fight, you might have notice at around phase two or three he may have gotten his Limit Break power. Limit Breaks are insanely overpowered attacks that you build up over lots of combat. They can be devastating, and you will want to save them for the best moments.
If you have a Limit Break available at the moment you stagger the sentinel, then that's the time to use it. If you can, I would save it until the final stagger and unleash it to finish the entire combat. It will make it quick and look awesome.
Final Thoughts
If this boss fight is any indication, the combat in the full game is going to be great. To make this kind of combat-orientated RPG work, the bosses needed to be multifaceted puzzles to figure out, and they should make you use all the weapons in your arsenal to defeat them. The sentinel in Final Fantasy 7 Remake demo ticks all the boxes for me, and I can't wait to take on more big bosses in the full game.

