How (and when) to use manual mode on the LG G4 camera
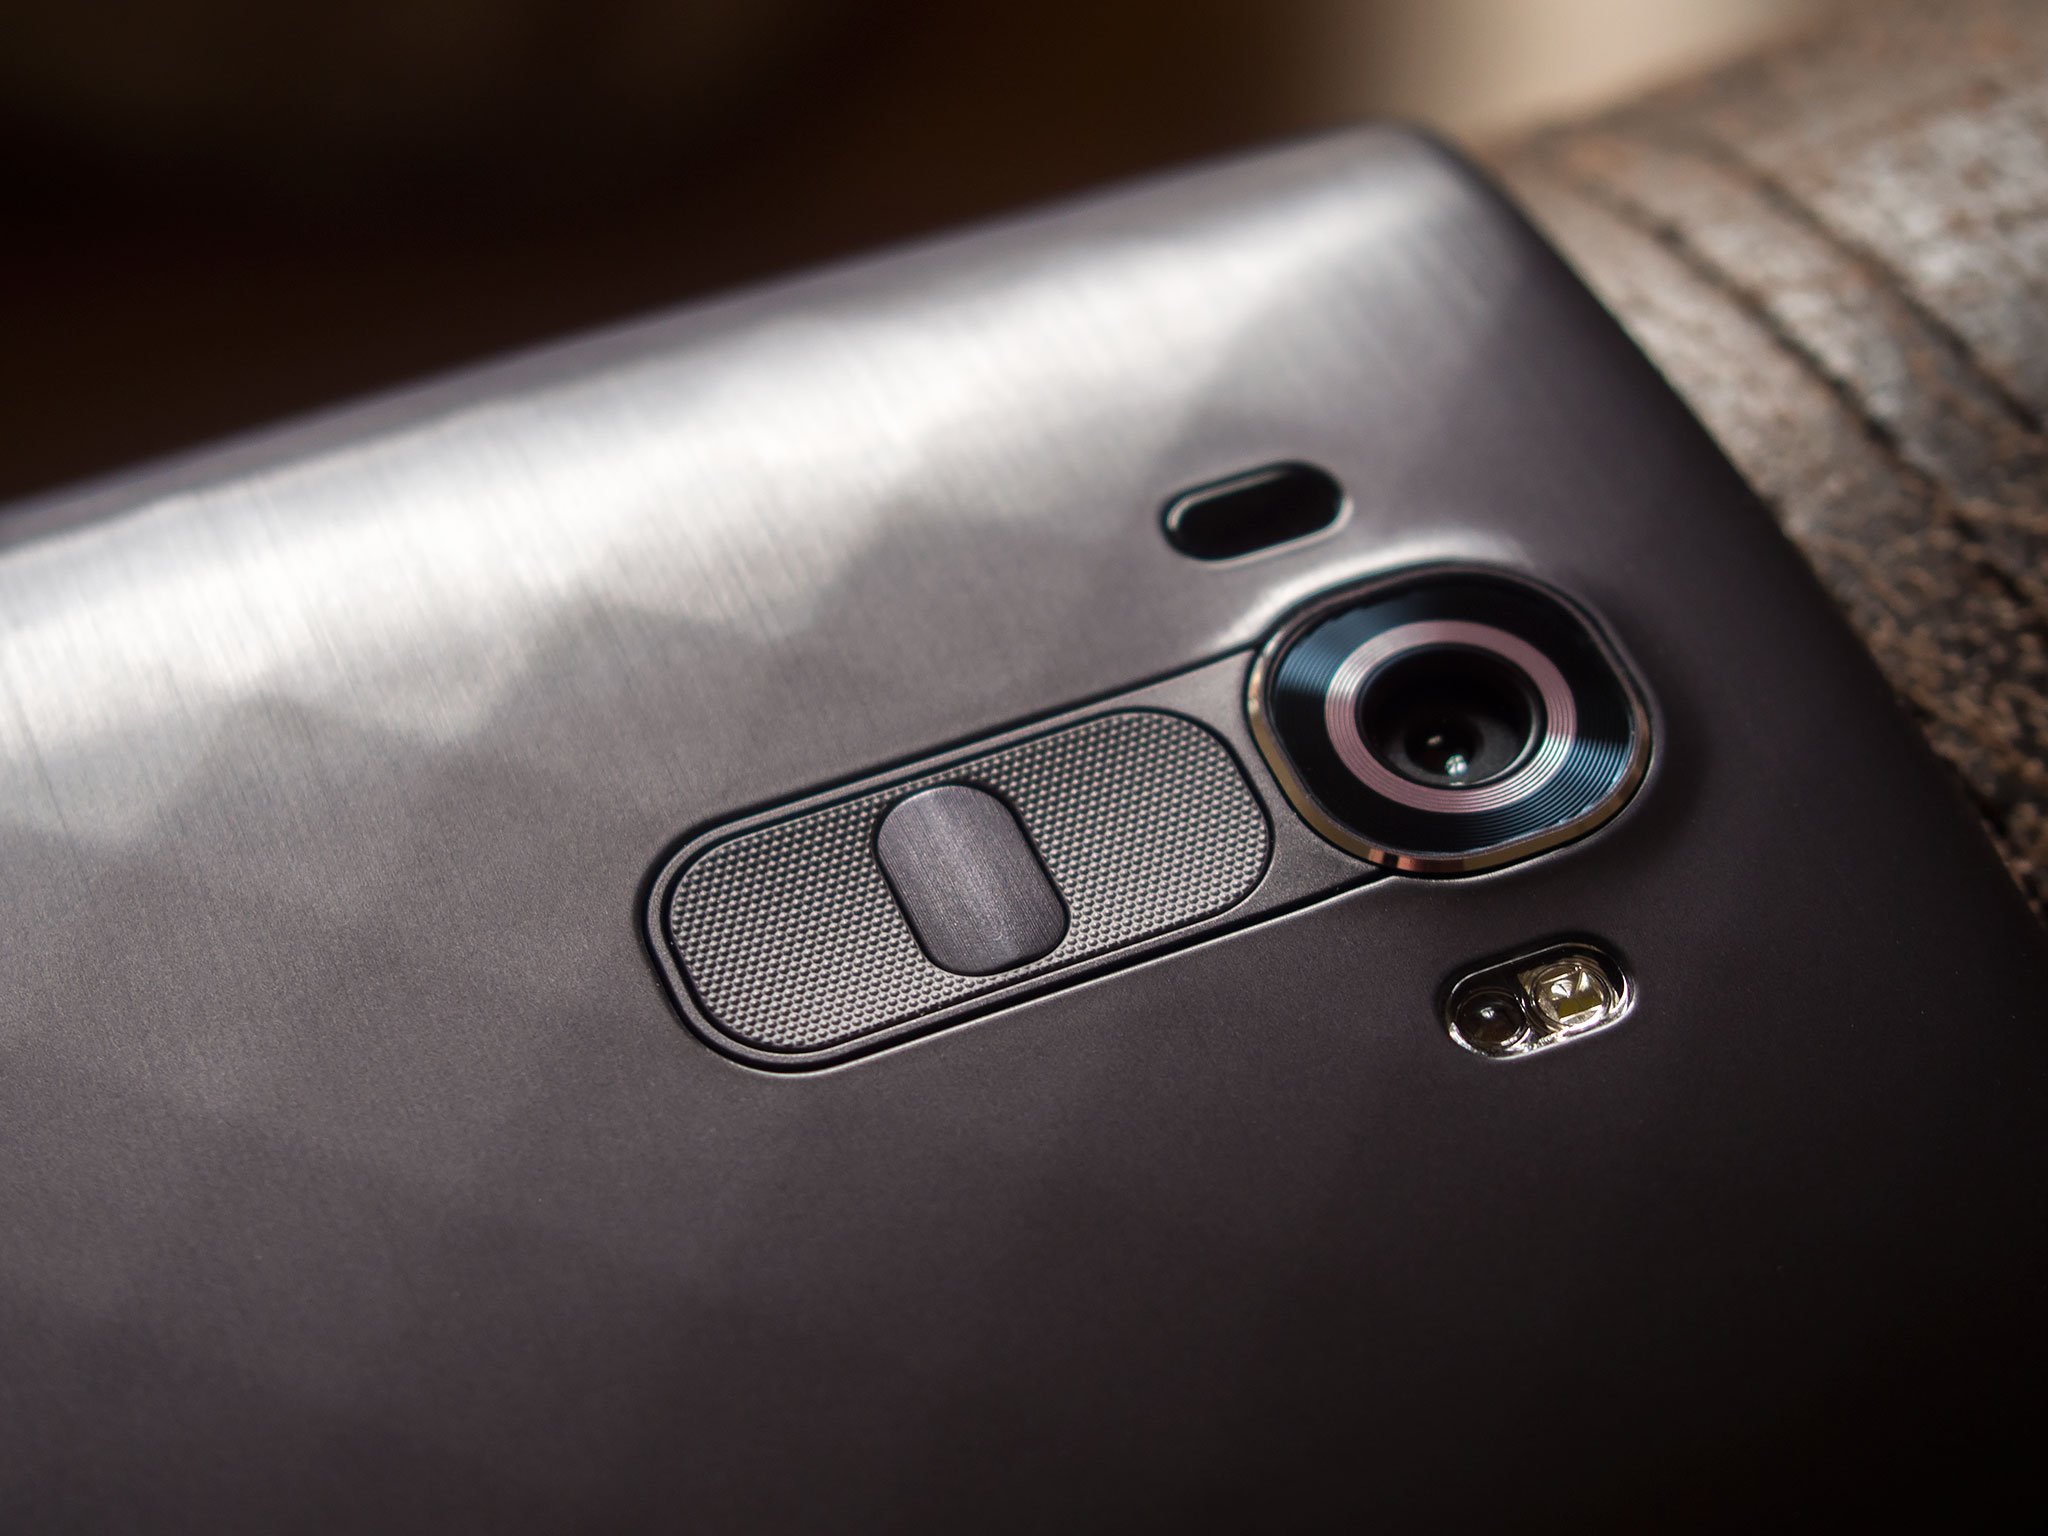
You might have seen some of the amazing pictures the people with early access to the LG G4 have been taking. The camera hardware is great, the software seems to do a really good job of turning out images, and the camera app is easy to use and feature-packed. We think that LG has lived up to their promise of delivering an awesome camera on their latest Android flagship phone.
One other thing that LG has done right is include a slew of manual controls (using the new camera2 API) built into the camera app. They've put them behind a simple — but effective — interface and made them accessible to anyone, pro and amateur alike. While many of us are used to fiddling with things like exposure settings and white balance, it really is something for the novice to try, too.
Lets talk about how — and when — to use them.
When to use manual controls
It's easier to talk about when not to use manual camera controls. Most modern Android cameras will take a pretty good picture automatically. Point the camera at your subject — remember framing things is important — and tap the shutter button. We discuss which phones take the best pictures a lot, but chances are the one in your hand will grab a nice picture to share on Facebook or Google+. Just because you have a phone that can switch to manual mode doesn't mean you need to do it all the time — or should.
Manual controls on the LG G4 work just like the manual controls on an expensive DSLR camera. And just like a DSLR, most times you don't need to set all the exposure values to take a picture. For example, if you want to get a picture of the kids doing something silly, you won't have time to mess with ISO settings or shutter speeds. The same goes for taking any action shots, or trying to get a picture quickly. And for selfies. We can never forget the selfies. My ducklips game is strong, folks.
When you want to take a picture of something that isn't going to move or change, then using manual controls can be fun and give you an image that automatic settings won't. That doesn't always mean a better picture — the automatic software in the G4 camera app is pretty darn good, and probably better than we are when it comes to getting true-to-life exposure and color. Tweaking all the things just allows us to get a more dramatic and artistic picture. Or a fuzzy unfocused mess that's too bright or too dark. It takes practice.
In short, if I were taking pictures of someone's birthday party or of my car for the insurance company, or the kids at a little league game, I would use the automatic mode. If I were taking pictures of the family for a portrait, or a sunset, or anything else that isn't going to change quickly, I would also take a few shots in manual mode.
Get the latest news from Android Central, your trusted companion in the world of Android
How to use manual controls

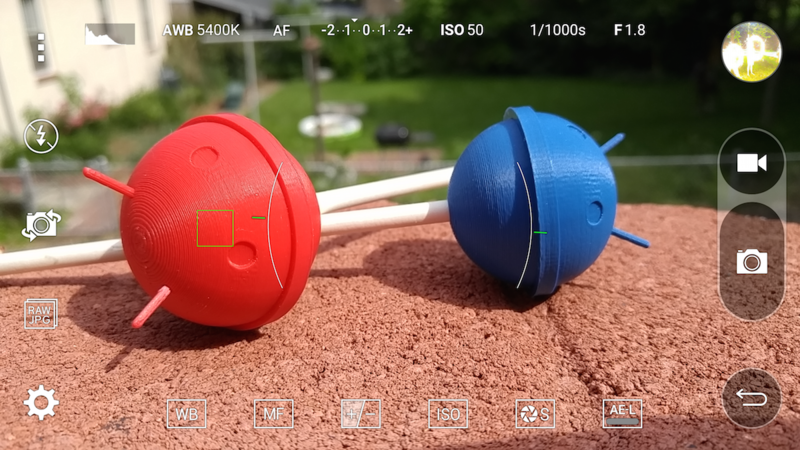
This part is a bit more tricky. Getting to the manual camera controls is simple — tap the icon in the upper left and choose manual mode. This opens up ways to change the camera ISO, the shutter speed, the white balance and more. Changing the settings changes the exposure (how light or dark an image is, as well as the contrast between dark and light) of the finished picture as well as tackle things like digital noise in the finished image.
Reading an Android blog isn't going to teach you everything there is to know about the "exposure triangle." That's the relationship between ISO, aperture and shutter speed. But we all do need to remember that you can't isolate any one from the others — a change to one affects the other two. To make things more simple and possibly more difficult, the aperture on the LG G4 camera (and all smartphone cameras) is fixed so you won't be adjusting it. What we can do is talk about what each setting does when you change it, then you can practice to learn how to effectively use the settings.
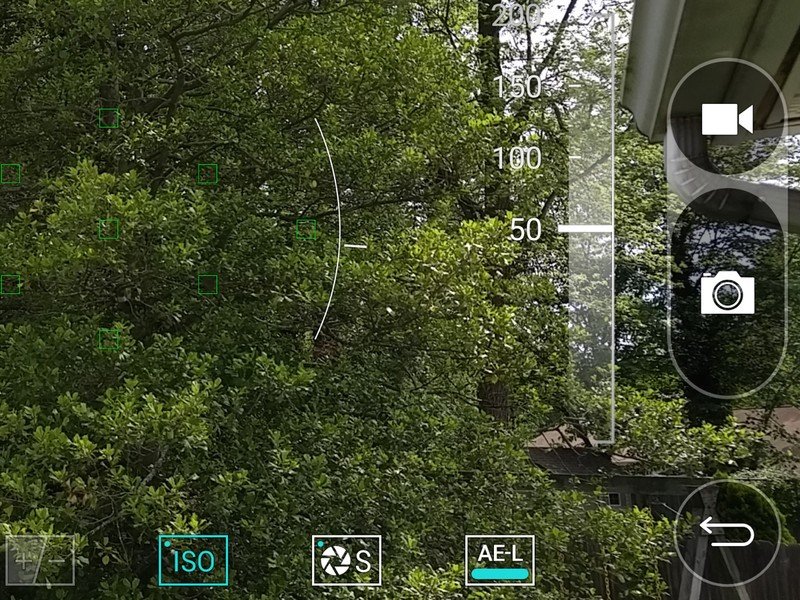
- ISO settings: ISO (in digital photography) is the sensitivity of the image sensor to light. The higher the number, the more sensitive the sensor is and the coarser the grain (noise). Higher ISO settings allow for faster shutter speeds, but the higher the ISO setting the more noise you introduce into the finished photo. You'll generally need to use a higher ISO setting for indoor events or to freeze motion with a fast shutter.
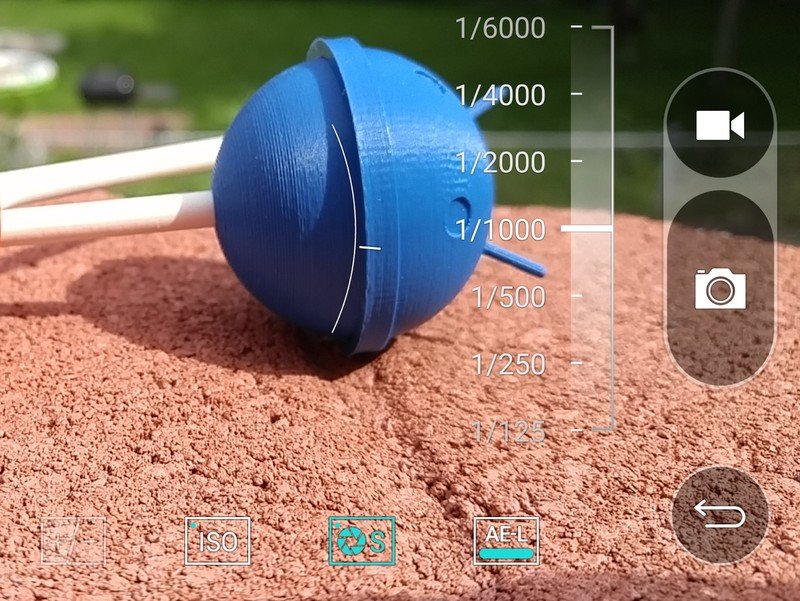
- Shutter speed: This is the amount of time the shutter is open. When talking about digital photography, it's the amount of time the sensor is active to collect the light used to build an image. Shutter speeds are listed in seconds — 1/6000 means the shutter is "open" for one six-thousandths of a second. 30 means the shutter is open for 30 seconds. The slower the shutter speed, the more blur you will get from camera shake. The longer the shutter is open, the brighter your picture will be. Fast shutter speeds will "freeze" motion. Finally, you will need to use a tripod mount when you use slow shutter speeds to keep an image in focus. I find I can use 1/60 without a tripod, but anything slower and things move too much. You will have to find your own threshold, but it will probably be somewhere around the 1/60 mark.
- Aperture: This is the size of the lens opening. The larger the hole, the more light that is let in when you tap the shutter button. The aperture also affects what's known as Depth of Field (DoF). This is the effect where some of the image is in focus while other areas aren't (a shallow DoF with a large aperture) or a nice even focus across the entire image with a smaller aperture. On the LG G4, the aperture is fixed at f/1.8 so we can't do any real adjustment. That's a good number to work with in most settings on a small-sensor camera.
As mentioned, you'll need to practice using these settings to get just the picture you want. But there are a couple of other great manual settings we need to talk about that aren't part of the exposure triangle.
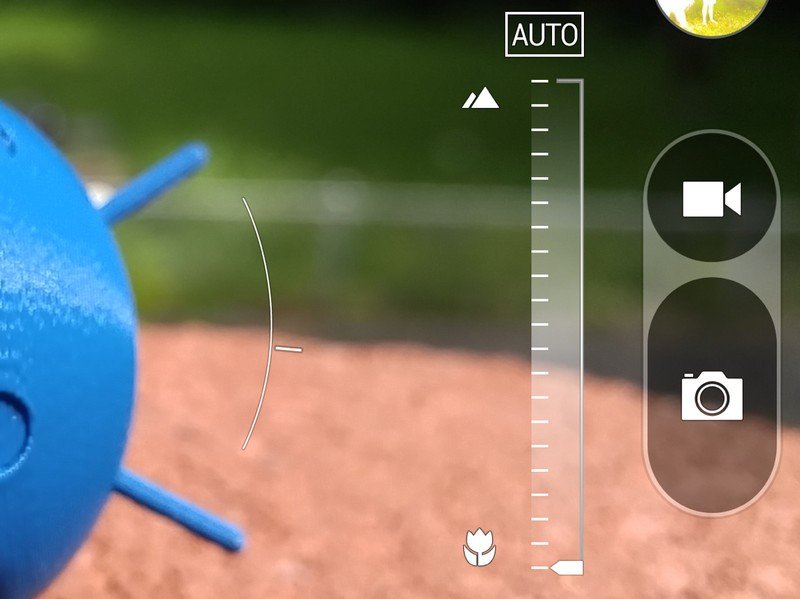
- Manual focus: Most of the time, the laser-assisted focusing system on the G4 is going to be as good or better than anything you could do manually. But once you start adjusting things, you might as well go all the way, right? This one is easy — slide the slider up (towards the mountain) for far focus, and down (towards the flower) for close-ups. The preview you see on the screen is in real time so you know when things are focused how you want them to be.
- White balance: The numbers are representative of light temperature in Kelvin. That sounds like a lot of science stuff, but it's Pretty easy to wrap your head around. A higher temperature means the light is more blue, so the camera compensates by making things more yellow. A lower temperature means the light is more yellow, so the camera compensates by making things more blue. Natural sunlight is around 5,500K. A cool white fluorescent lamp is around 4,200K. An old-style tungsten screw in lamp is around 2,700K. Set the setting to the temperature of the lighting you're using, and the software will compensate. Auto also works pretty well on the G4 as long as you have enough light — things get a little yellow when it's dim in my opinion.
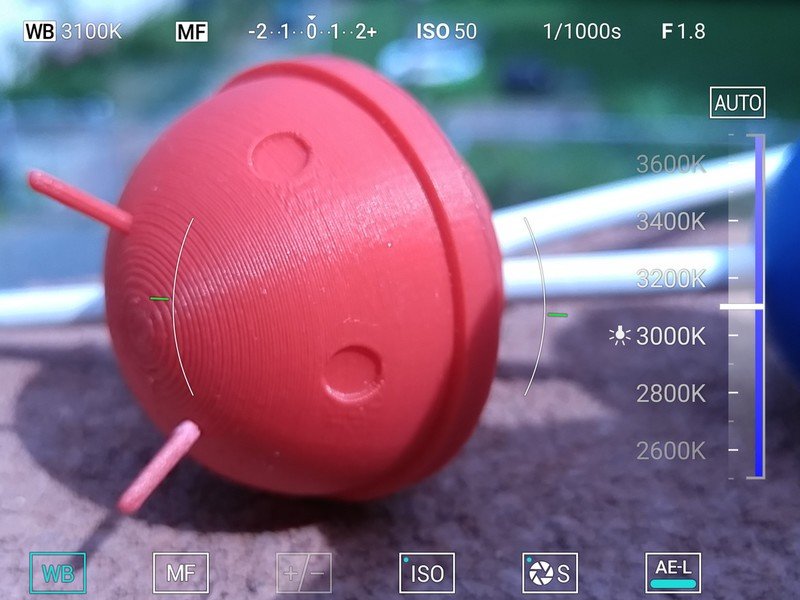
- Auto-exposure lock: Lock this if you want complete manual control (after you've made your adjustments) of the exposure triangle. With it unlocked, the camera software can and will still make adjustments based on the image processing logic.
- Exposure compensation: This setting changes how bright or dark the image is. It's a what-you-see-is-what-you-get thing, and you'll see the results of any changes right on your screen.
There's a lot to digest here if the whole manual camera settings thing is new to you. The good news is that you don't have to use manual controls for great pictures with the G4, and if you want to try them it's pretty easy and a lot of fun. While the LG G4 is never going to replace a DSLR camera (and it's not trying to) the addition of easy-to-use and "proper" manual control over some of the settings make it a great choice for any budding photographer — as well as an expert.

Jerry is an amateur woodworker and struggling shade tree mechanic. There's nothing he can't take apart, but many things he can't reassemble. You'll find him writing and speaking his loud opinion on Android Central and occasionally on Threads.
