How to activate cashback rewards in Google Pay
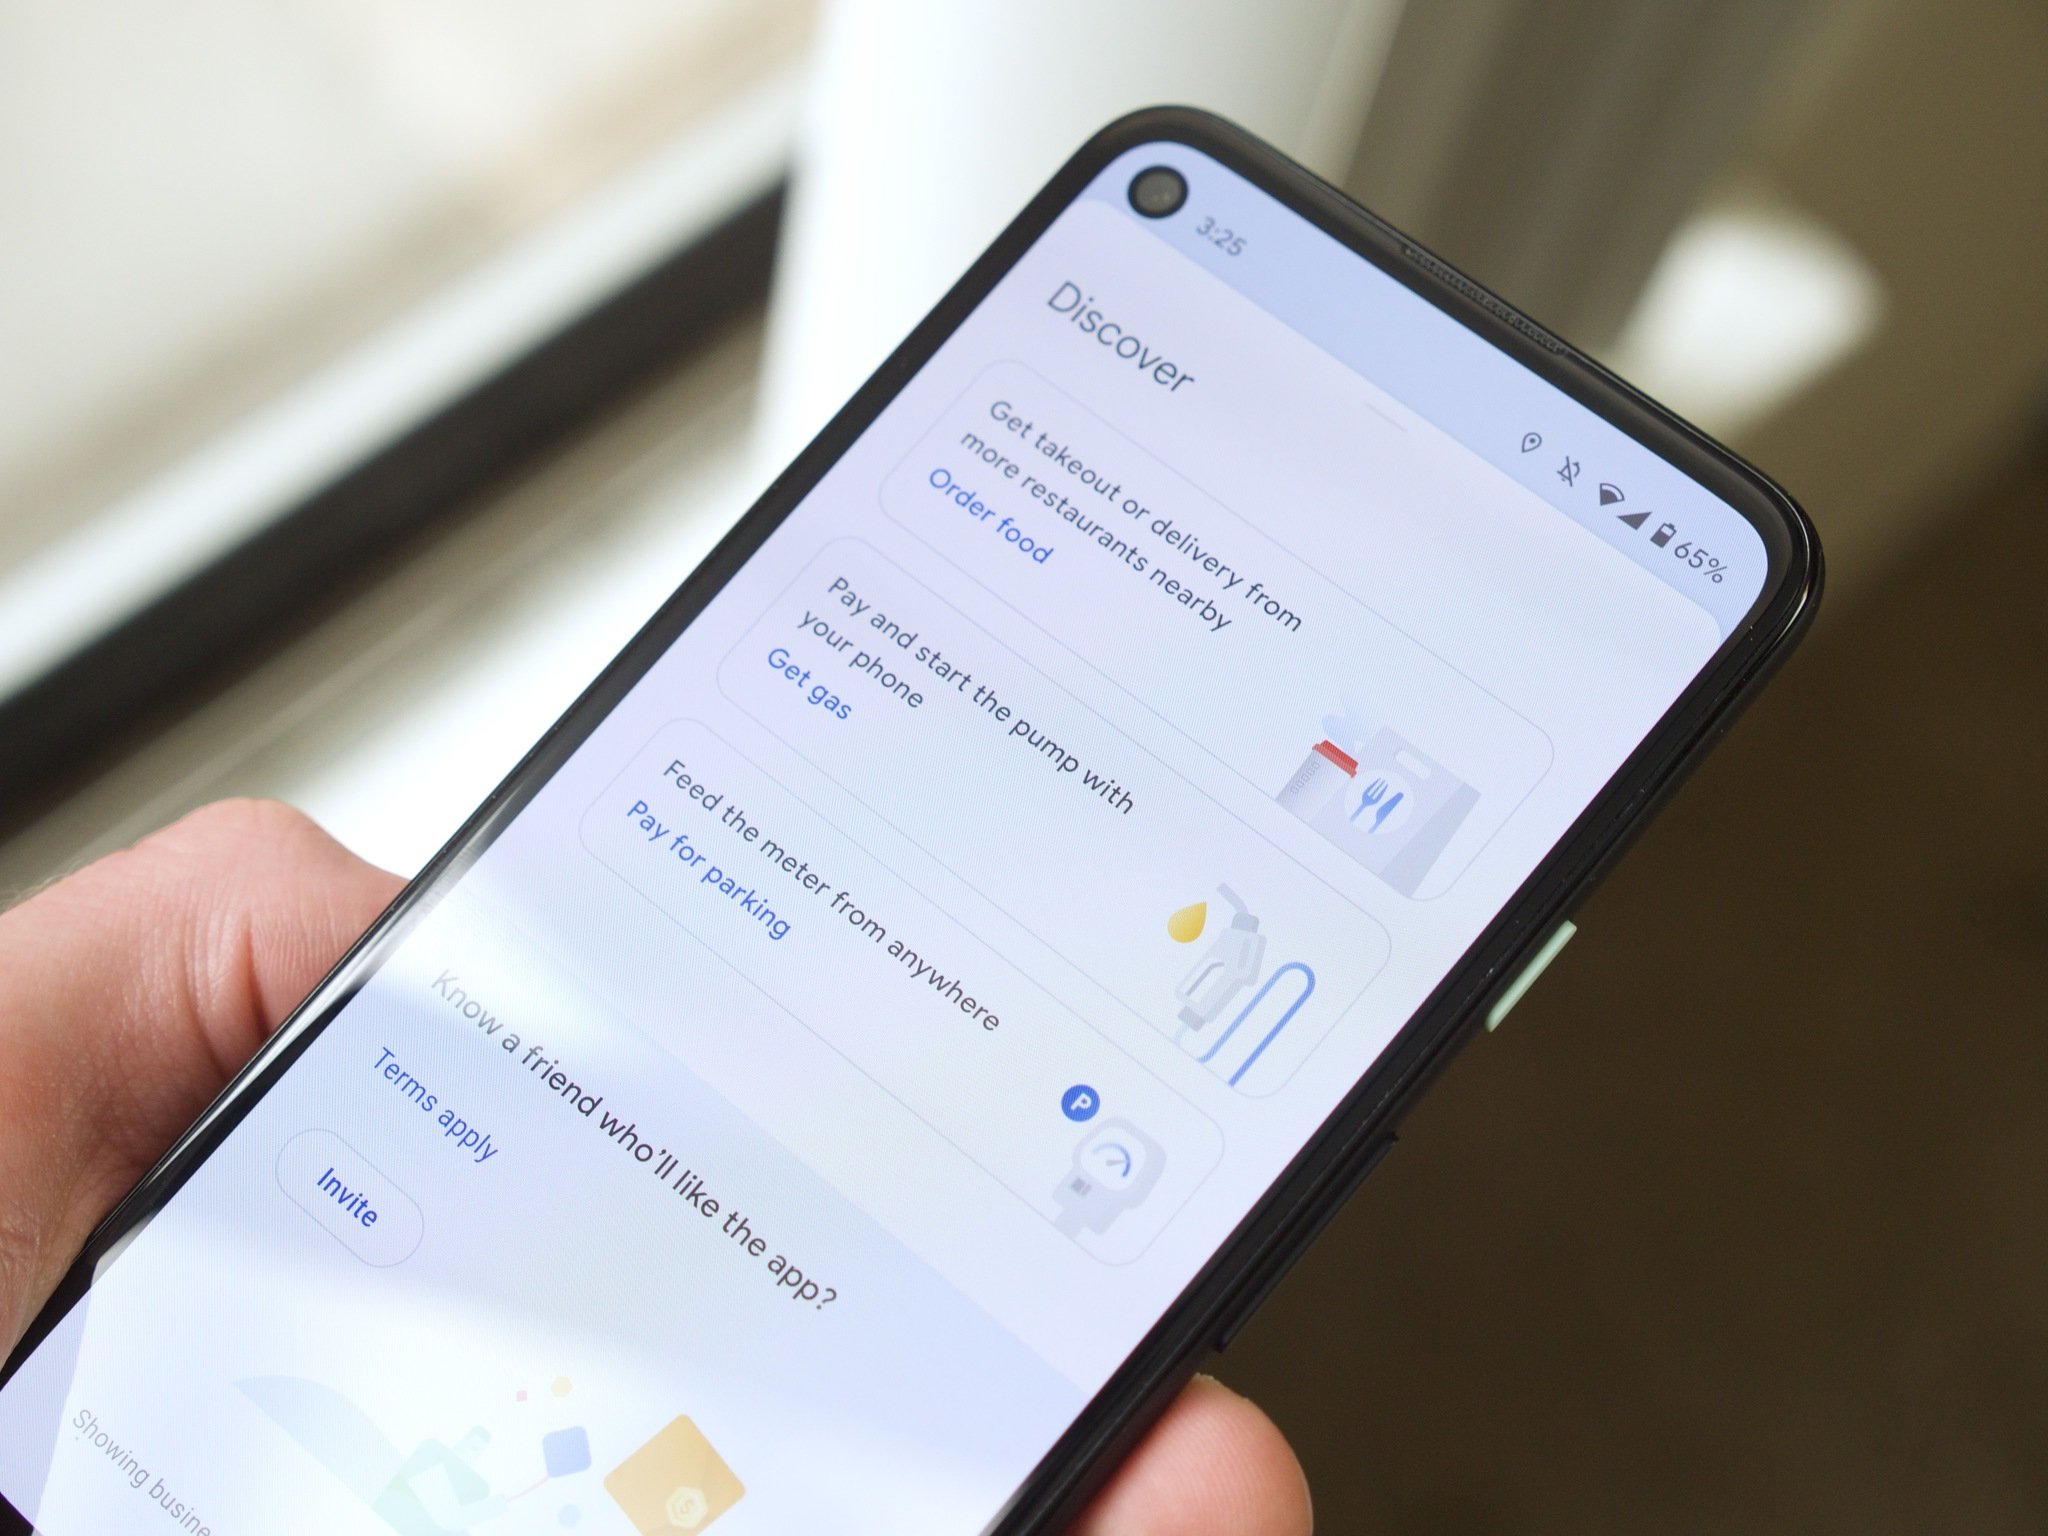
In late 2020, Google announced an overhaul of its payment app, Google Pay. This included a whole new interface, a whole new app, and a host of promising new features. One of the more interesting features in this new version is the ability to earn cashback rewards from your connected cards and payment activity. We'll show you how to activate these reward features in Google Pay so that you can start putting your money to work for you.
How to activate cashback rewards in Google Pay
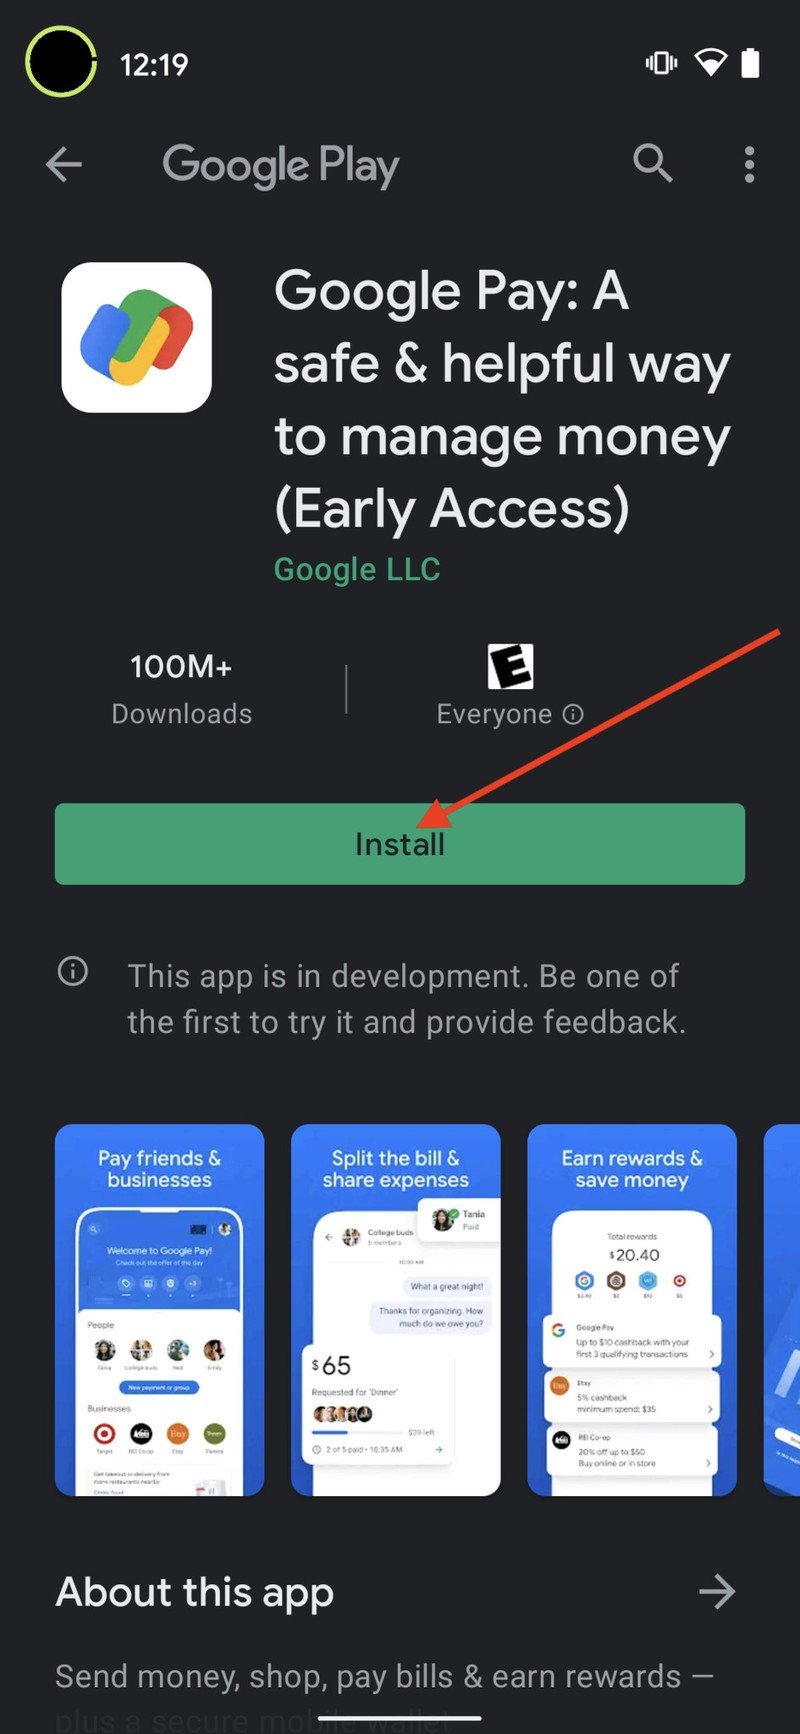
- The first thing you'll need to do is download the new version of the Google Pay app from the Play Store.Source: Android Central
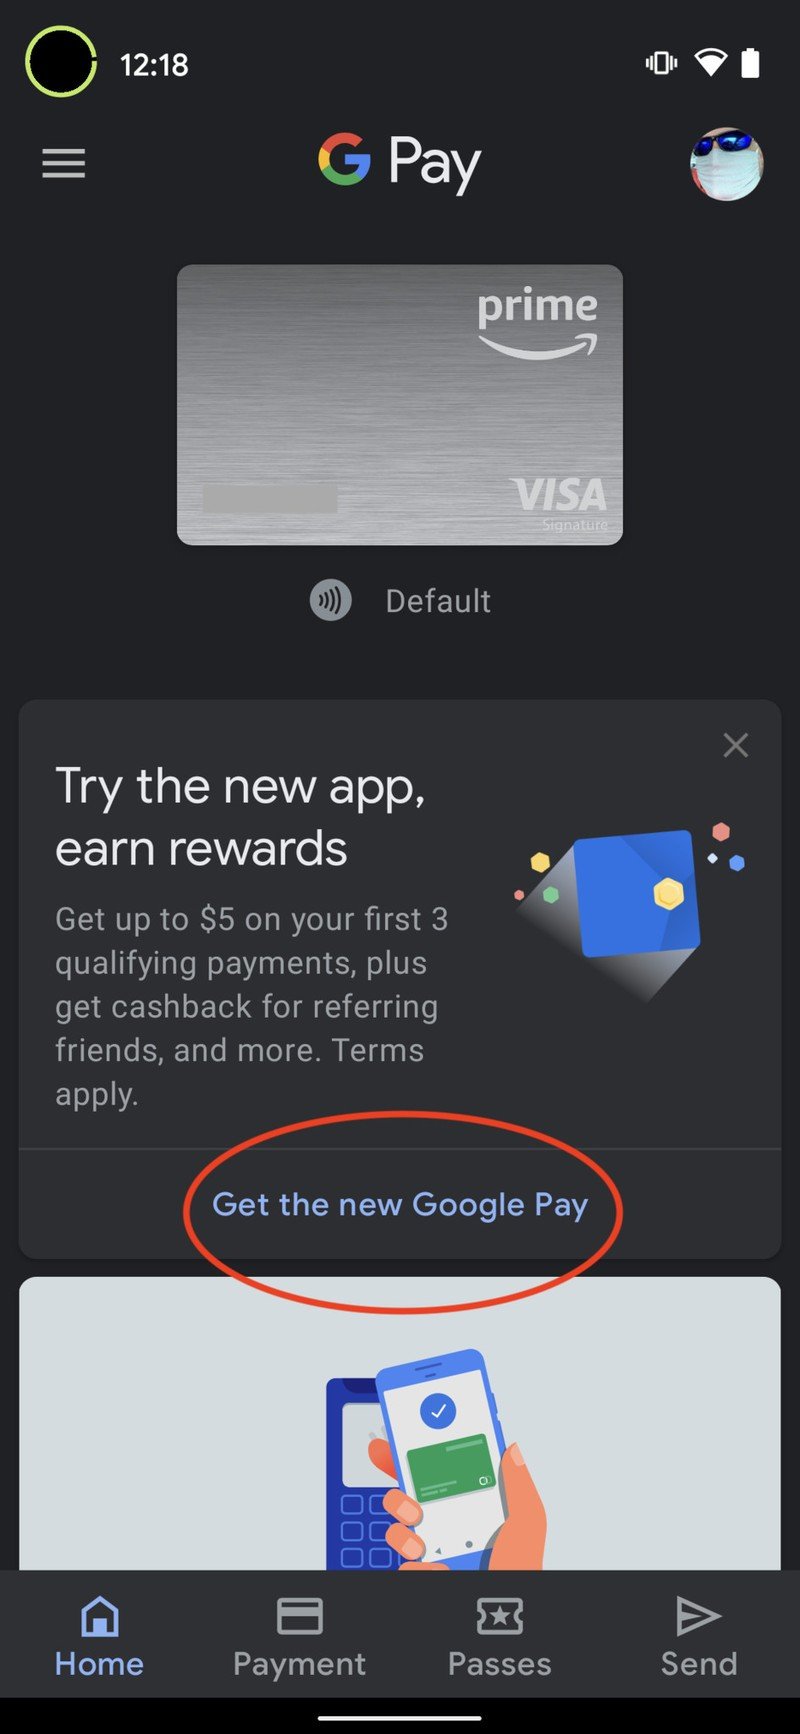
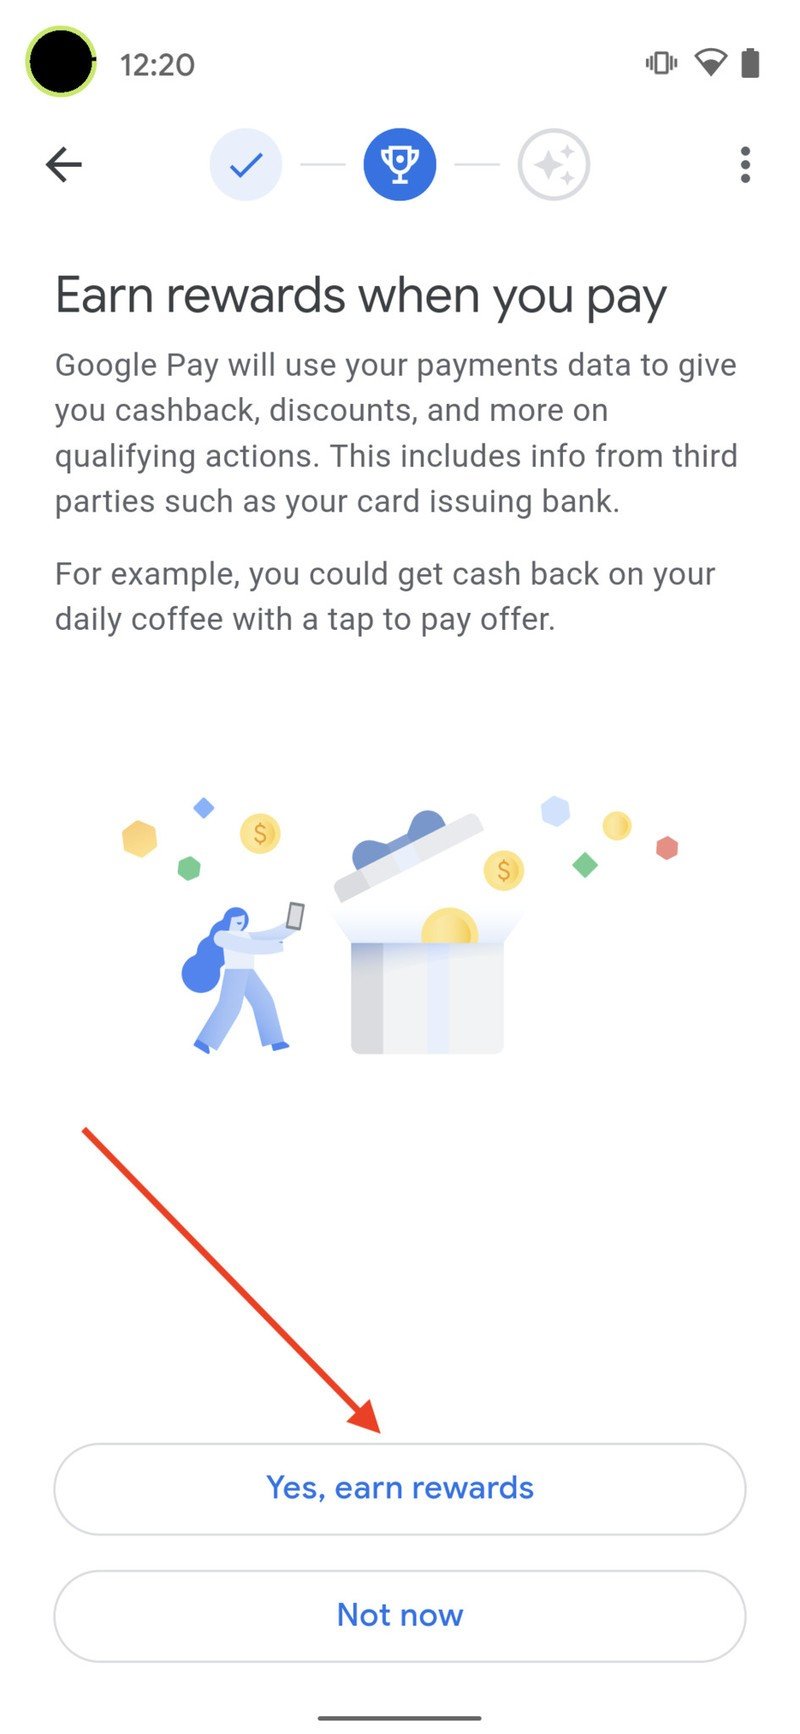
- During the setup process, tap on the button that says you'd like to earn rewards in Google Pay.
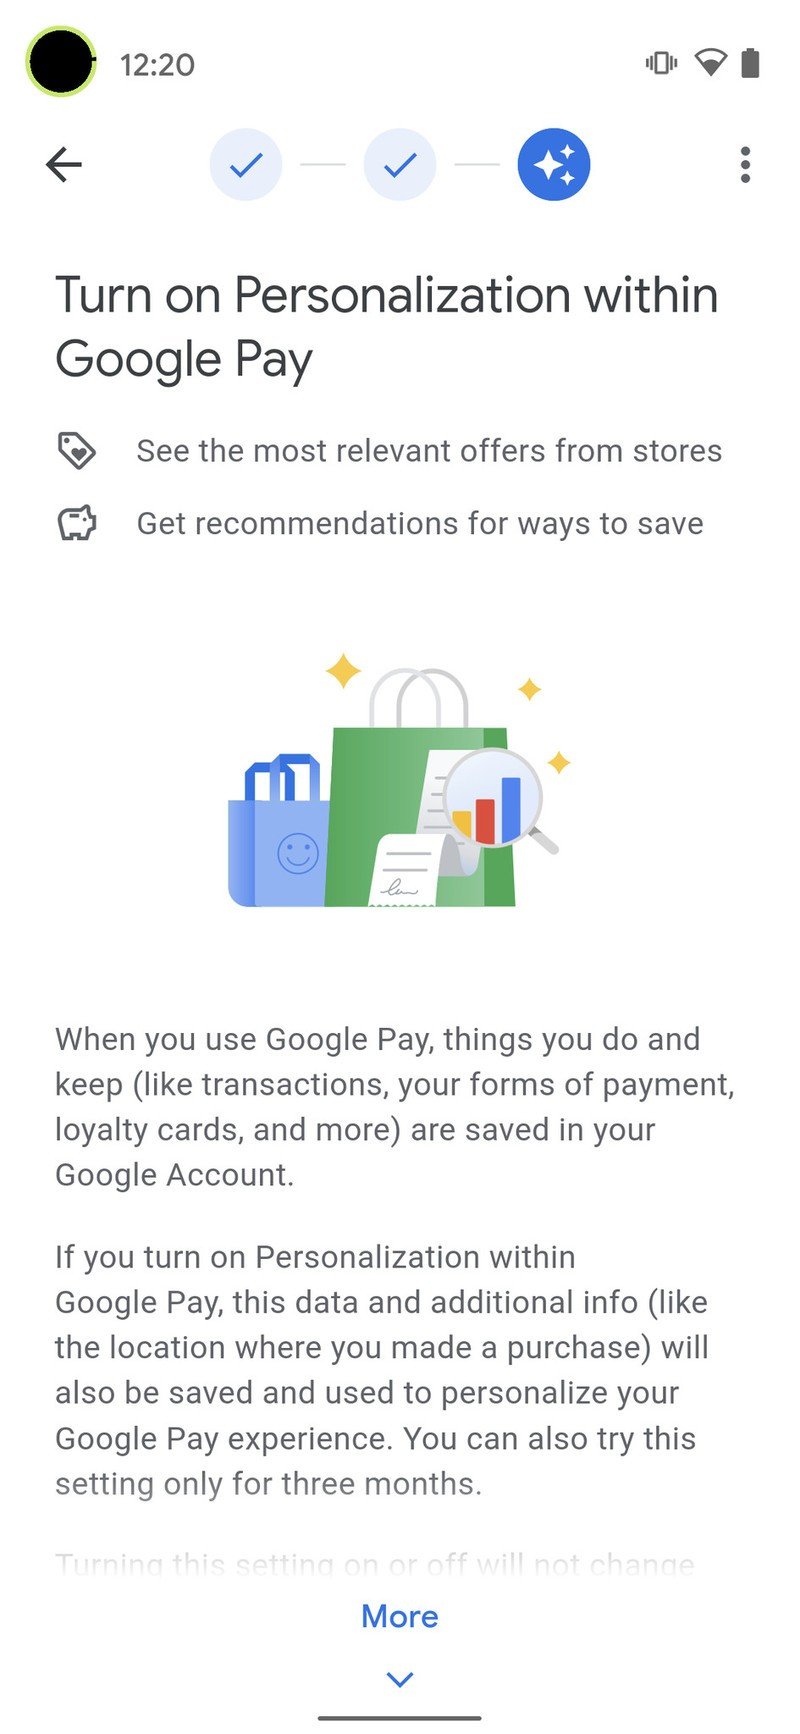
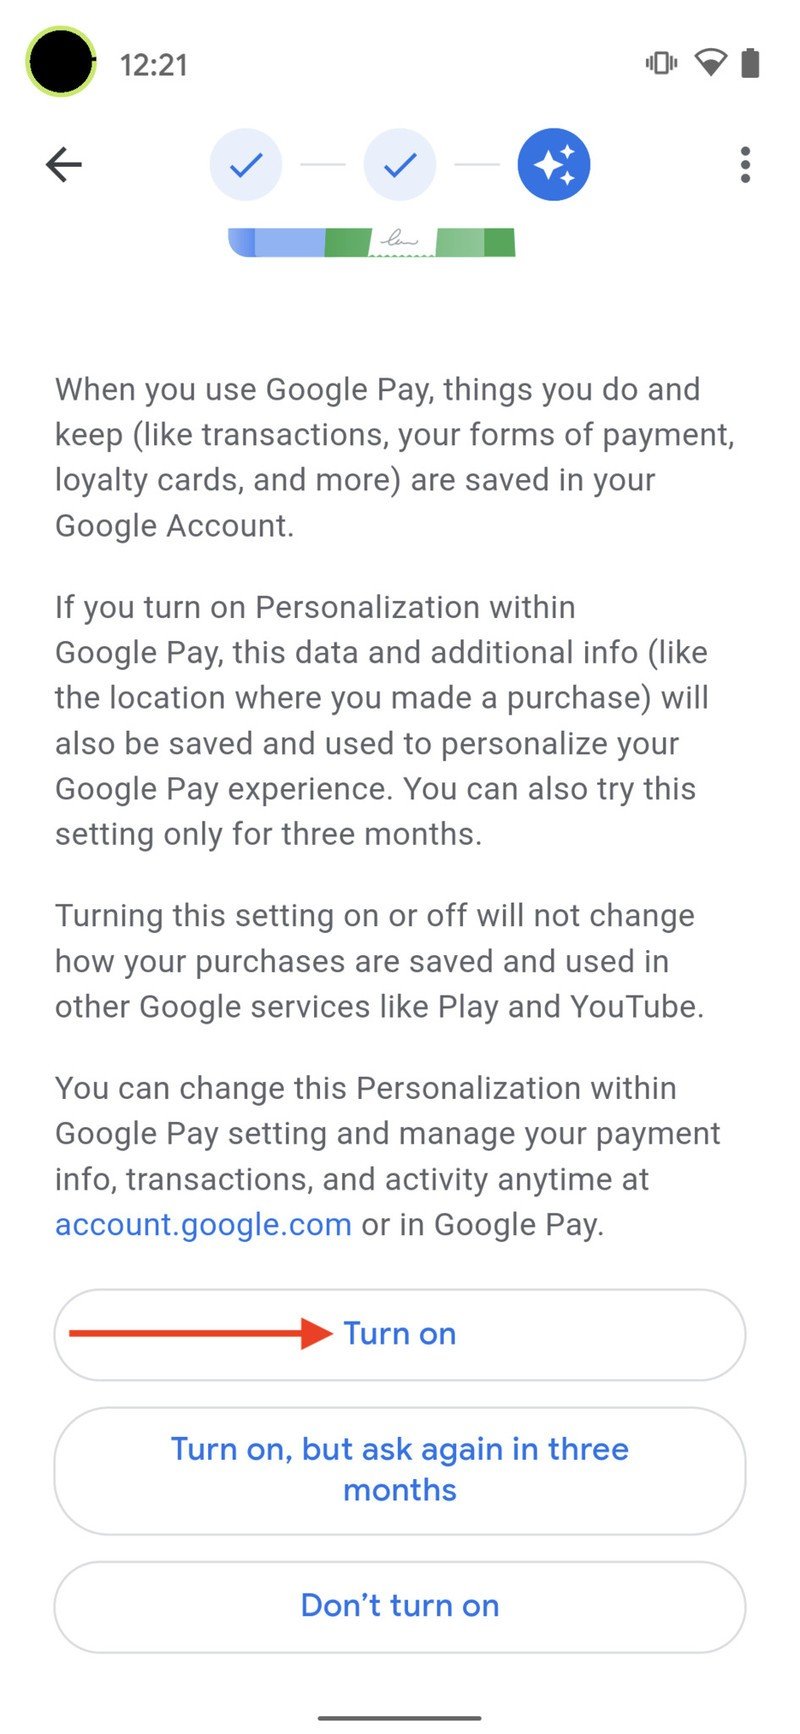
- While you're going through these onboarding screens, read up on personalization and tap the button that says Turn on personalization features.Source: Android Central
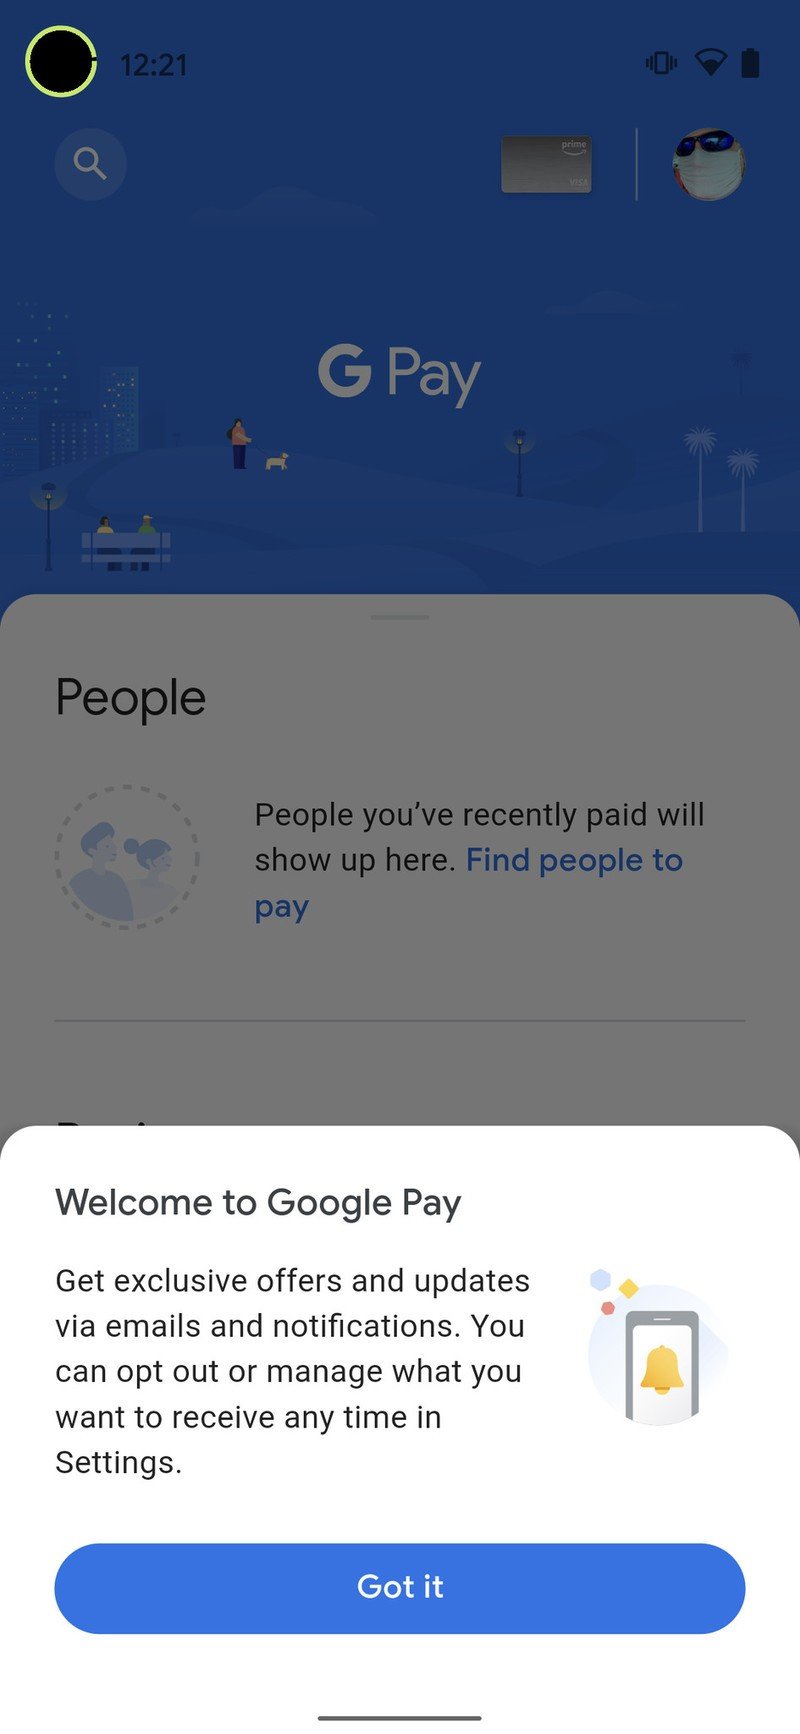
- Tap the blue button that says Got it, indicating you're aware of the exclusive offers and updates that may come from connecting your cards and accounts with Google Pay.
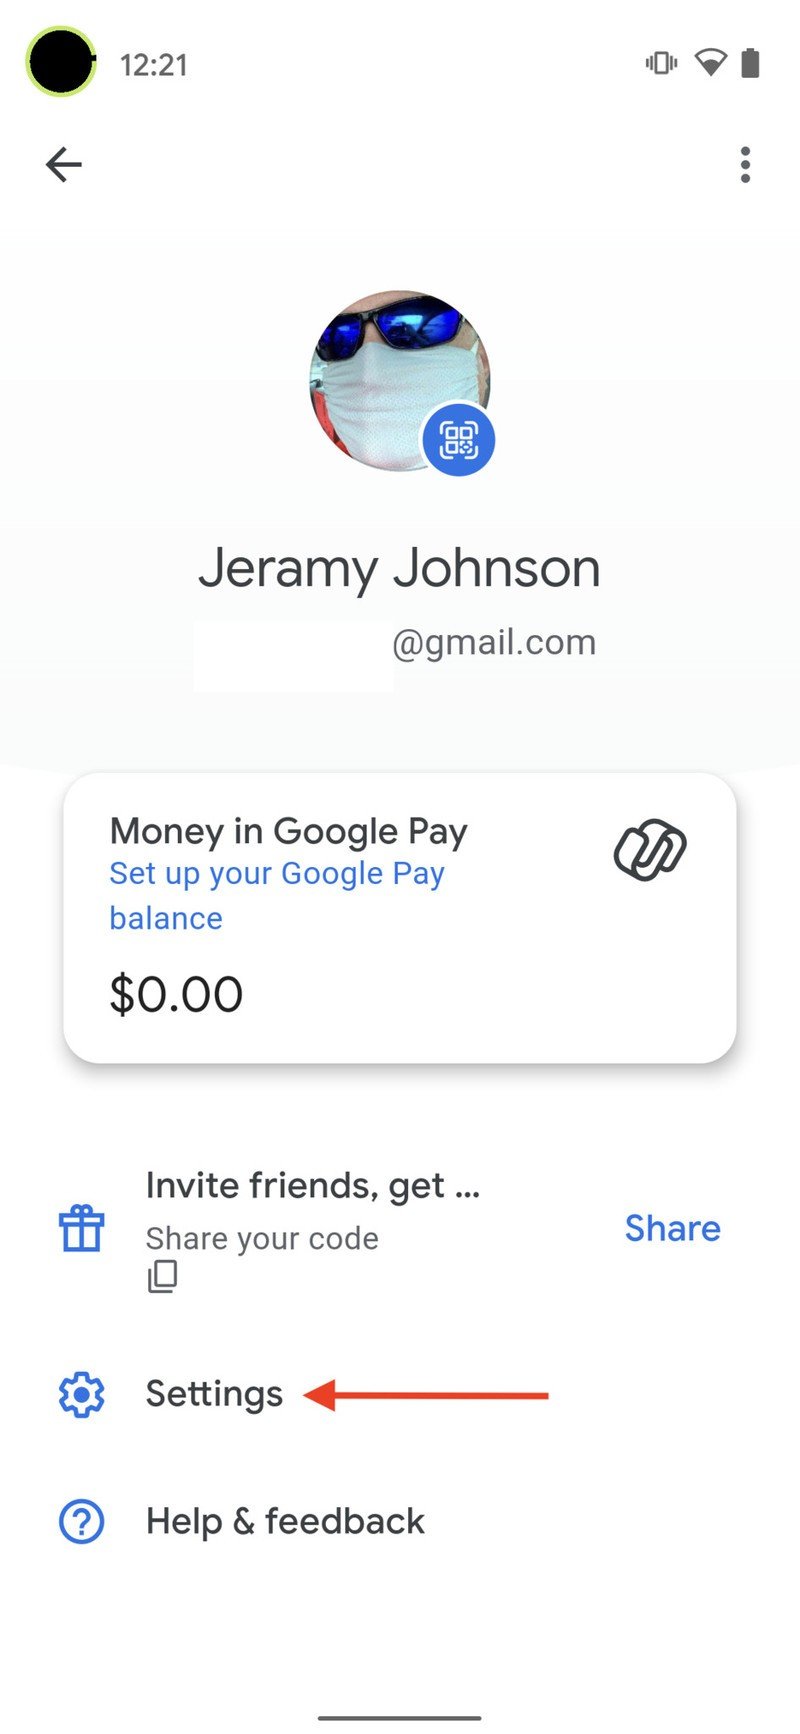
- Tap on your avatar or photo in the top right corner of the screen.
- Tap on Settings.Source: Android Central
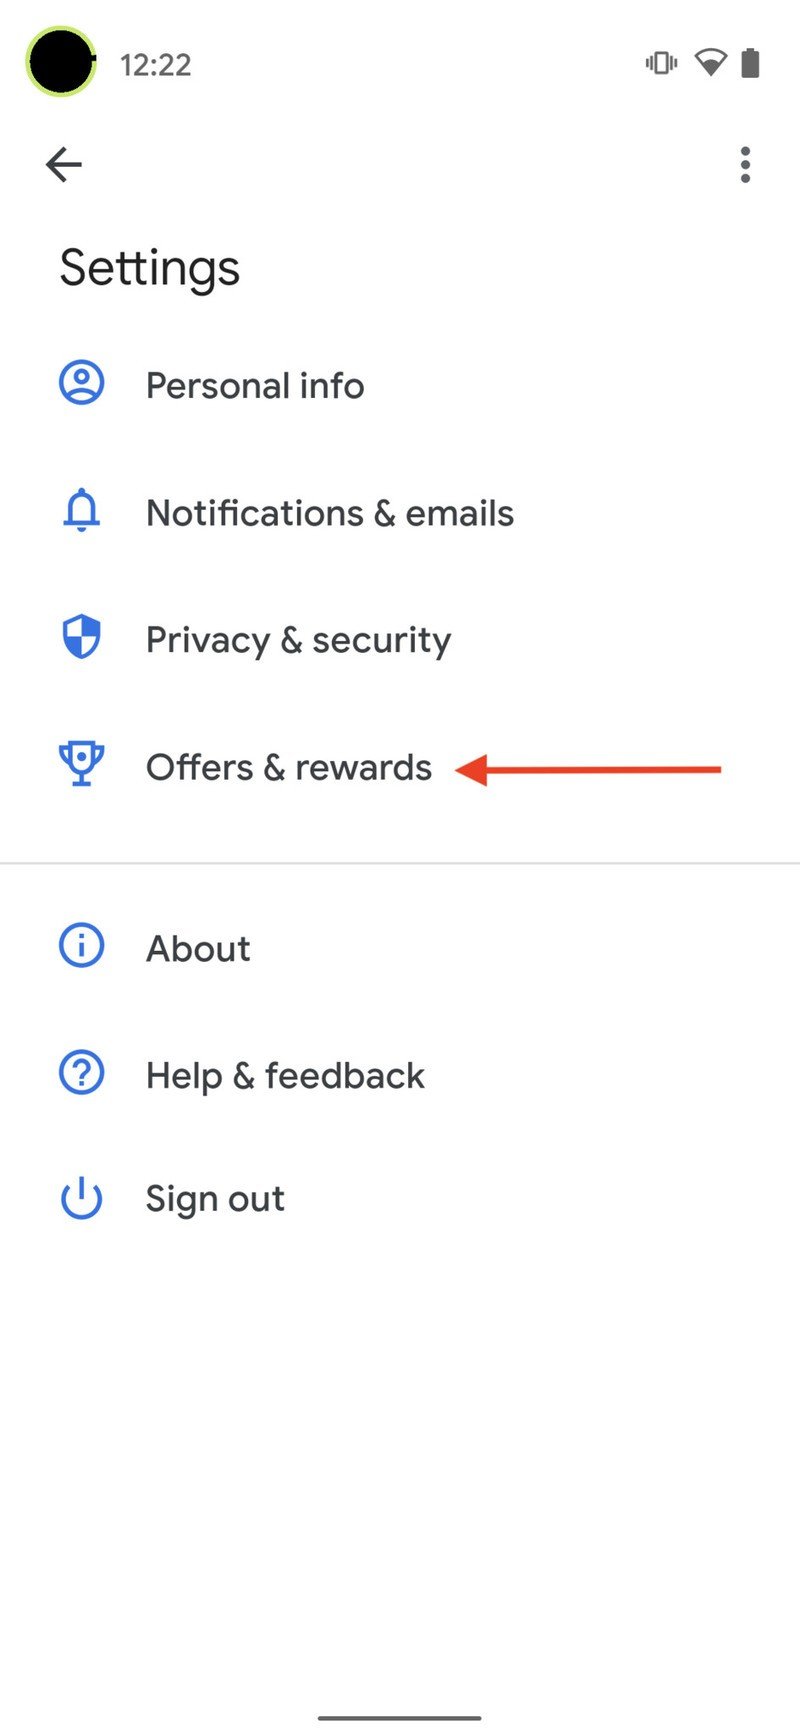
- Tap on Offers & rewards.
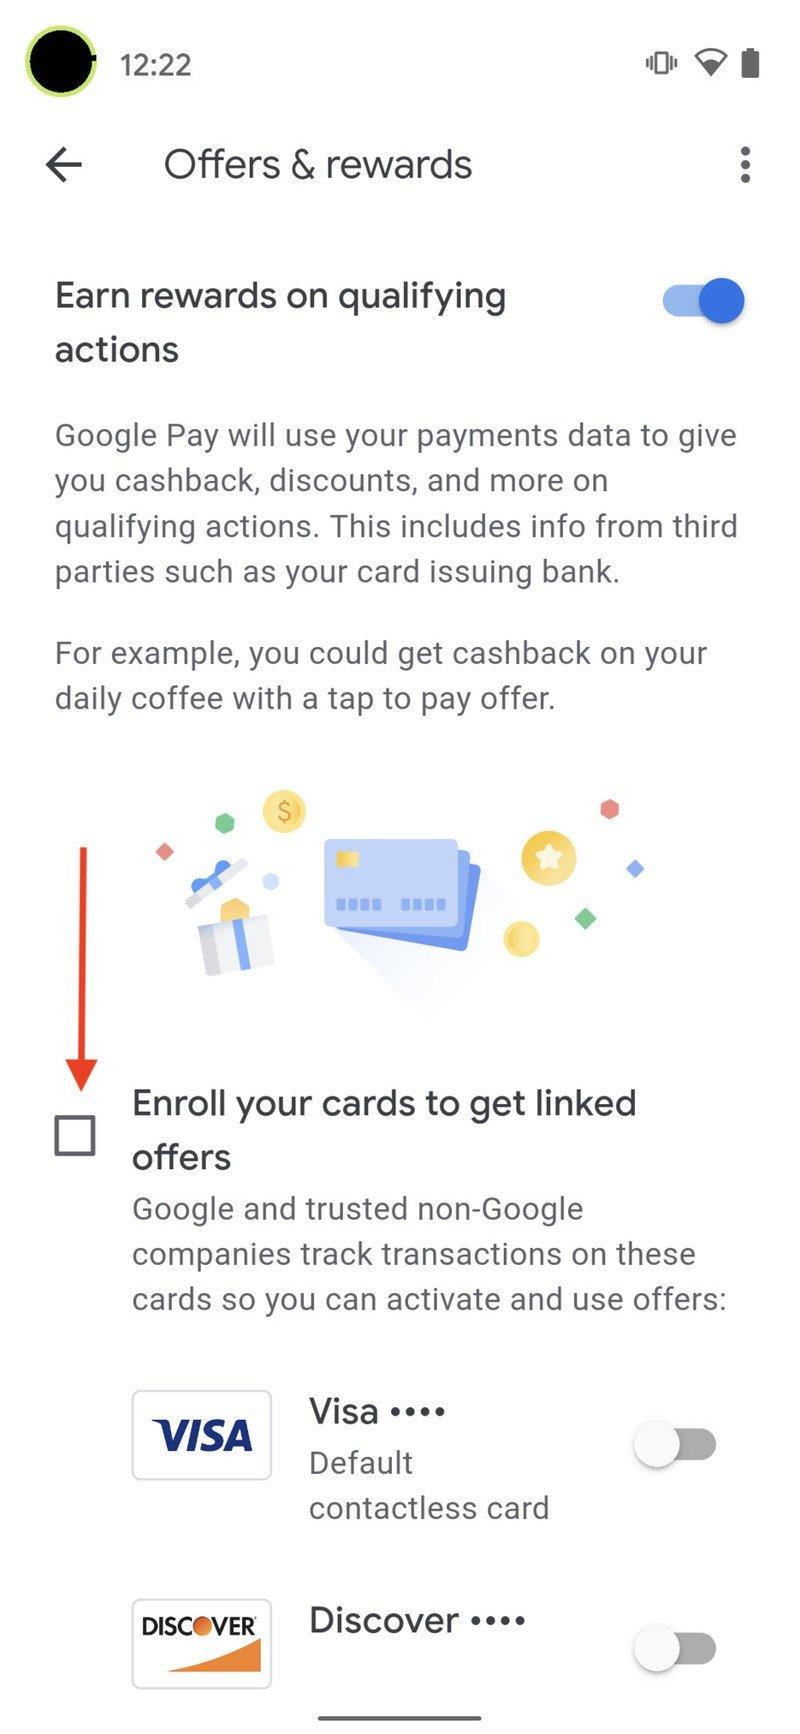
- Make sure the toggle at the top that says Earn rewards on qualifying actions is switched on. This assures you will be able to get cashback for various purchases and activities.
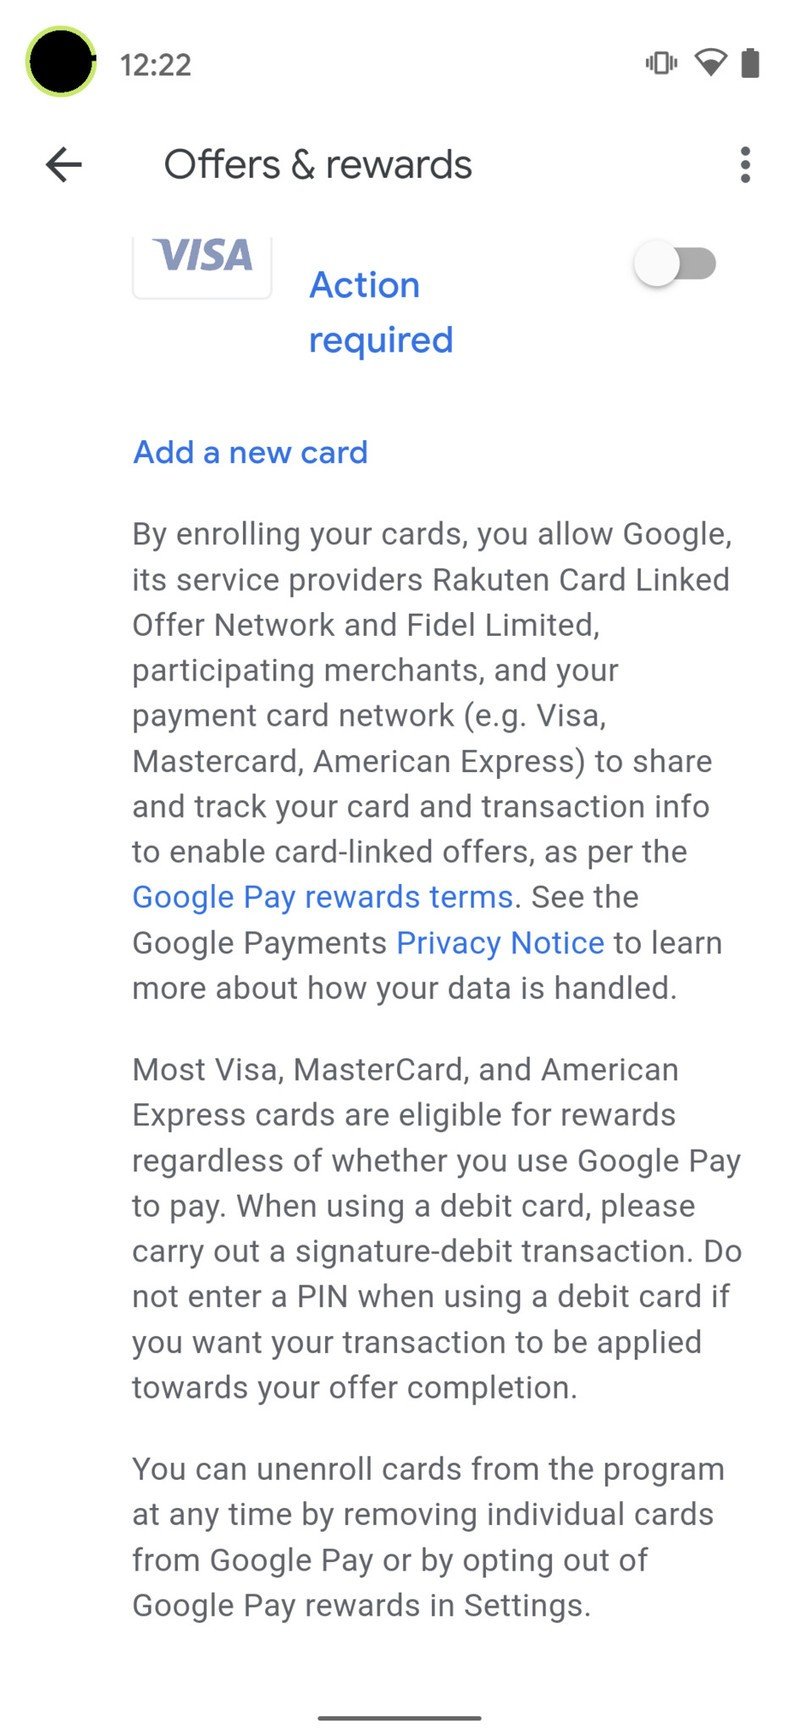
- Tap to enroll all of your bank and credit cards, or just specific ones, to tie offers to transactions using those payment methods.Source: Android Central
There, that wasn't so difficult, was it?
If you miss the opportunity to activate these new features in the onboarding process when setting up the new Google Pay app, you can always go back and do so through the app's Settings per steps 6-9 above.
If you decide that you don't want to activate the personalization feature from step 3 above, you can select the Turn on, but ask again in three months option, or decline the option altogether. You can change this at any time in the apps' Settings under Privacy & security, and then Data & personalization.

More great features in one great app
The new Google Pay has arrived, and even though it has a few rough edges, Google's on to something special. If you want one app to send money to friends, earn cashback offers, and monitor your personal finance, that's what Google Pay strives to do.
Be an expert in 5 minutes
Get the latest news from Android Central, your trusted companion in the world of Android

Jeramy was the Editor-in-Chief of Android Central. He is proud to help *Keep Austin Weird* and loves hiking in the hill country of central Texas with a breakfast taco in each hand.
