How to hack your Chromebook to unlock new features
A Chromebook can be a great purchase even if you never step outside of Google's trusted environment. They are some of the best web machines ever built, require almost no software maintenance, and come in a myriad of different styles and price points. We love the things and know we're not alone.
But like anything electronic, sometimes it's fun do things a little outside of the intended use. Sometimes that means hidden features in the software, sometimes it means altering the software, and sometimes it means replacing the software entirely. We're familiar with people doing just that with Android, but it's also pretty easy to do with your Chromebook. The best part is that it's also very easy to go back.
Have a look at some easy things you can do to get more from your Chromebook.
Create a recovery image
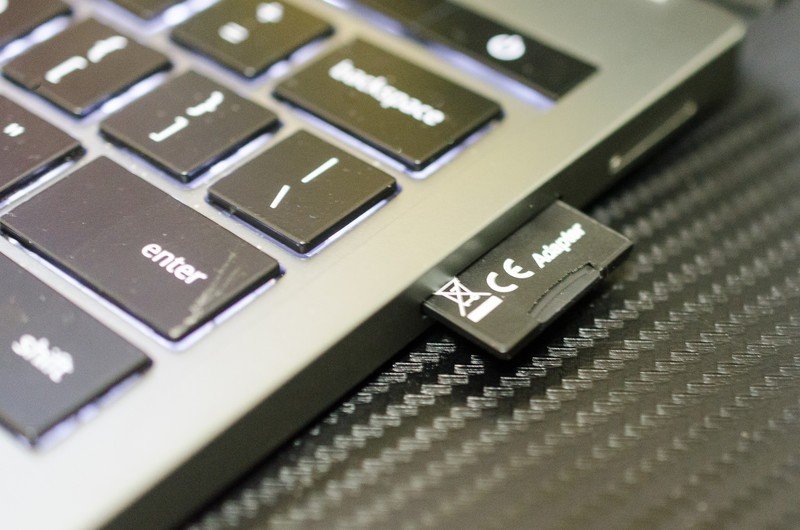
Before you start doing anything it's essential that you have a way to roll back to factory software. Luckily, that's fairly easy when we're talking about a Chromebook.
Google has an official tool that will install the factory-issued software to your Chrome device on a 4GB or larger USB stick or SD card. You can then use this media to restore your Chromebook just like it was fresh out of the box.
Here's the process in a nutshell:
- Insert the media you'll be using as a recovery disk into a Windows, OS X or Linux computer that you have admin rights on.
- Install the correct version of the recovery tool for your platform via the links at Google's site.
- Run the recovery tool and tell it which Chrome device you're building a restore image for.
- When you're finished, use the media you created to restore your Chromebook from recovery mode. Full instructions for the various models are right here.
Reboot and enjoy your factory-fresh software!
Be an expert in 5 minutes
Get the latest news from Android Central, your trusted companion in the world of Android
We've broken the entire process down with all the details and it's worth having a read if you've never done it before.
How to recover a Chromebook over USB
Change to the beta or dev channel
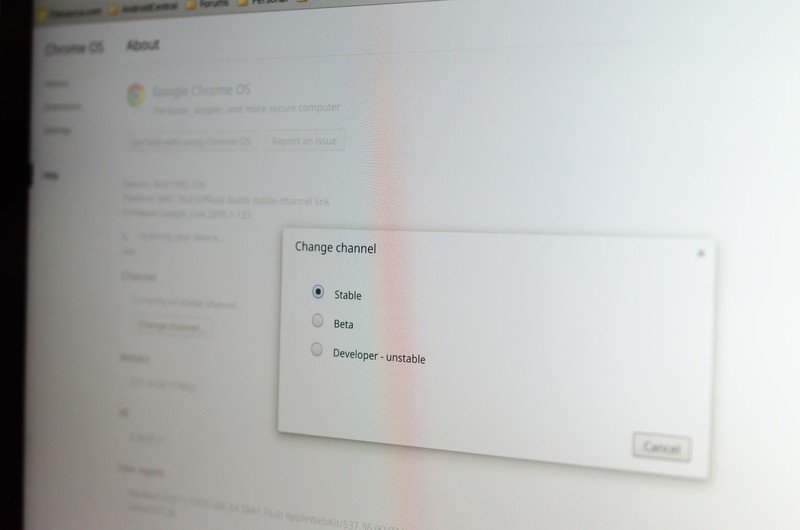
This is a great way to check out the features of Chrome that are still in development. By default, your Chromebook runs on the stable release channel for your model. This means everything has been tested, things run pretty smoothly, and there usually aren't any critical bugs to trip you up.
That's absolutely no fun.
The good news is that we all can be testers by switching the software channel in the settings.
- Click the Chrome OS wrench icon in the lower right and open the settings.
- Choose About Chrome OS then choose ** More Info**.
- Click the Change Channel button and you can choose between Stable, Beta and Dev - Unstable channels in the popover window that appears.
Both the Beta and the Dev channel give you access to upcoming (both default and experimental settings — see below) features that aren't in the stable channel just yet. I've always found the beta channel to work pretty well, but expect issues and glitches on the dev channel along with the latest features.
If you just want everything to work, switching back to the stable channel is just as easy — choose it from the same list!
Tweaking the settings with Flags
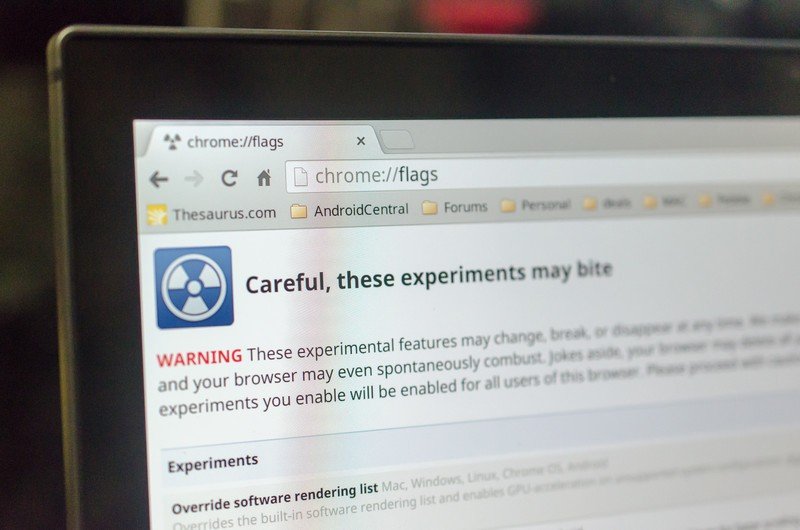
Chrome — both the operating system and the stand-alone browser for Windows Mac and Linux — has an entire page filled with "experimental" settings. Some will absolutely break things, others might improve your experience. Finding them all is simple.
Fire up the browser and enter chrome://flags into the Omnibox (a fancy name for the URL bar in Chrome) then hit enter.
You'll be faced with a huge list of features that you can enable or disable at will. All of them are experimental, some are serious security holes, others are potential oh-crap-I-need-to-reload-EVERYTHING bringers of doom. We don't recommend you just jump in and start enabling things. Instead, talk to people who are using the same model of Chromebook that you are and find out what works and what doesn't.
It's also worth remembering that these experimental flags can disappear at any time. Some may be merged into the OS, others will just up and disappear. If you do enable something, let's say, for example, GPU compositing, and it breaks everything (yeah, I've been there), you have the recovery media you made earlier to save your bacon.
More: Everything you need to know about Chrome's flags
Install Linux
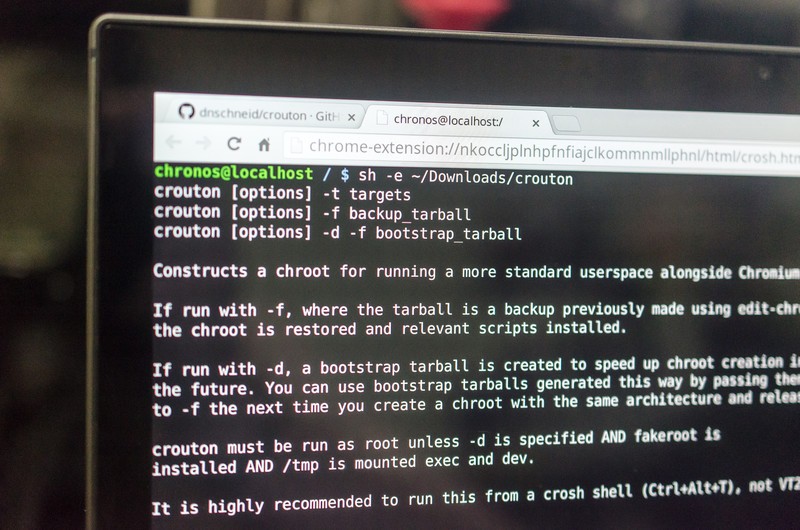
One of those complicated things that have been made simple by the work of great developers, installing Linux on your Chromebook is a great way expand its capabilities. Chrome OS is a flavor of Linux, but it's been trimmed down and many features have been removed. We're going to look at the simple (and in my opinion the best) way to build a dual-boot environment so you have both Chrome OS and Ubuntu LTS using David Schneider's excellent tool called crouton (Chromium OS Universal Chroot Environment).
You'll need to enable developer mode on your Chromebook. Older models had a physical switch you flipped, but most Chromebooks now have the option in the recovery menu. To get to the recovery menu and enable developer mode on your Chromebook:
- Back up your files. Changing to developer mode will erase all of your files and settings.
- Press the Escape and Refresh keys and hold them down and tap the power button.
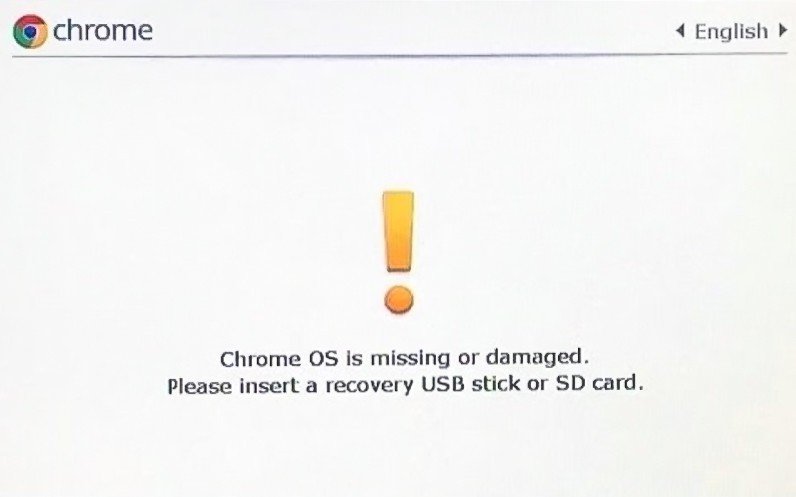
- When you reboot to the Recovery your screen will tell you "Chrome OS is missing or damaged." Don't worry, you manually entered Recovery and nothing is missing or damaged.
- Press Control + D and read the screen. It will say "To turn OS Verification OFF, press ENTER." Press Enter to enable Developer mode.
- Your Chromebook will reboot and wipe the system. This can take up to 10 minutes.
You need to know that when you have developer mode enabled Google will offer no support and your Chromebook no longer performs software verification during boot. This makes things less secure than they were out of the box. While Developer mode is enabled the boot process is a little different. You will boot to a screen that lets you know OS verification is off. You can boot to Chrome right away by pressing Control+D or wait a few seconds and let it boot itself. You'll hear a loud beep before it boots if you let things wait.
To install Ubuntu with crouton:
- Download crouton from its project page at GitHub and save it to your downloads folder.
- Open a terminal by pressing Ctrl+Alt+T
- Make that terminal a shell) by typing the word shell and pressing Enter.
- Run crouton to see the help files and examples by typing sh -e ~/Downloads/crouton.
You should read everything in crouton's documentation to help decide what you want to install along with the base software. A great starting point is the stable version of Ubuntu with Xfce as your desktop environment. Xfce is light and full-featured, and Windows or Mac users will find it familiar. To install Ubuntu stable with Xfce:
- In your terminal window type sudo sh ~/Downloads/crouton -t xfce to run crouton with the right parameters.
- Follow the on-screen prompts during the installation. This might take a while as you're downloading a lot of files.
- When everything is finished, type sudo startxfce4 to switch to your new operating system.
You can switch between Xfce and Chrome's desktop using Ctrl+Alt+Shift+Back and Ctrl+Alt+Shift+Forward. To quit Xfce completely, log out from the desktop option. When you want to run Ubuntu again, you'll need to open the terminal and make it a shell by using the steps above.
Chromebooks can be great computers on their own, but sometimes it's fun to try new things.
These are just a few of the neat tricks you can do with your new Chromebook. And like everything else, it may turn out that none of it is for you and you prefer things that just work as intended. That's cool, and sometimes when I'm staring at the screen of a device that won't boot, I'm right there with ya. Use the directions at the top of the page to go back to the out of the box experience.
Updated February 2018: This post has been updated with the most current information and links!

Jerry is an amateur woodworker and struggling shade tree mechanic. There's nothing he can't take apart, but many things he can't reassemble. You'll find him writing and speaking his loud opinion on Android Central and occasionally on Threads.
