How to change the home menu environment on the Meta Quest
Time for some virtual remodeling.
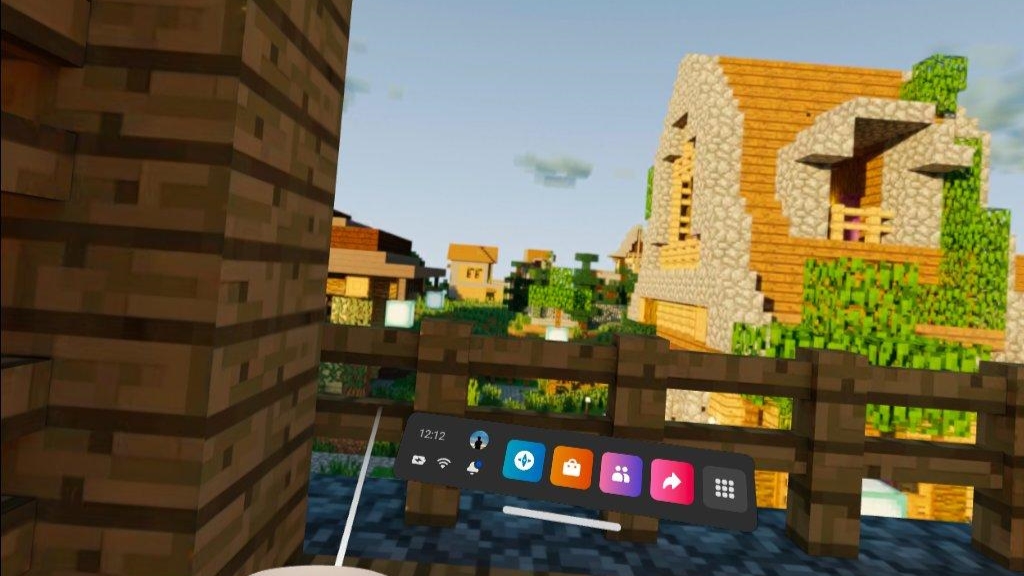
The Oculus Quest 2's default home menu environment is undoubtedly nice: an idyllic setting sun paints the sky a soft pink and the mountains a warm orange-yellow. But anything can get old if you look at it long enough, right? Sometimes you just don't want to look at hot air balloons or palm trees. Maybe you just want to imagine you're playing VR by firelight from a cozy winter lodge.
Meta's got you covered: the Quest 2 comes pre-loaded with a number of options to customize your home menu. Or if you're not satisfied with its pre-installed options for home menu environments, you can even sideload your own. Instead of Meta's space station or cyberpunk garage, why not play Beat Saber on the bridge of a Star Destroyer or in a Pokemon Gym?
Here's how to change the Quest 2 home environment or add custom environments.
How to change your Oculus Quest 2's default home menu environment
1. Open your App Library from the right of your Quest's main toolbar.
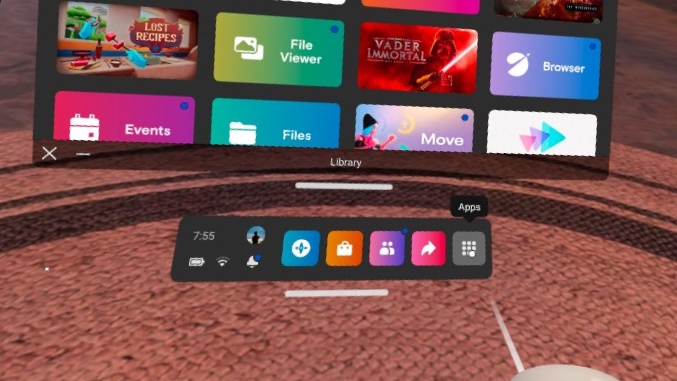
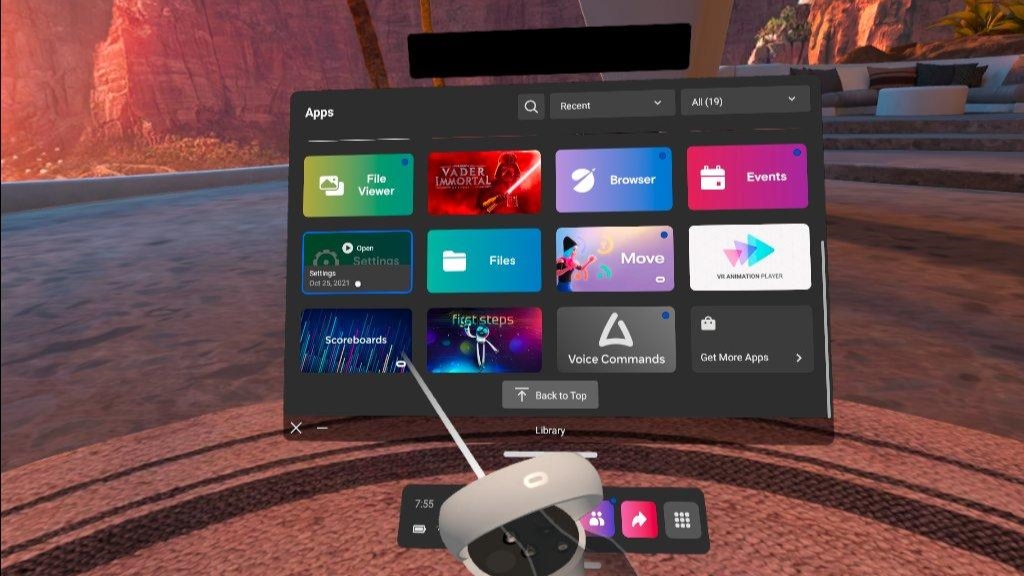
2. Find the Quest's Settings in your App Library and open it.
3. Open the Personalization settings.
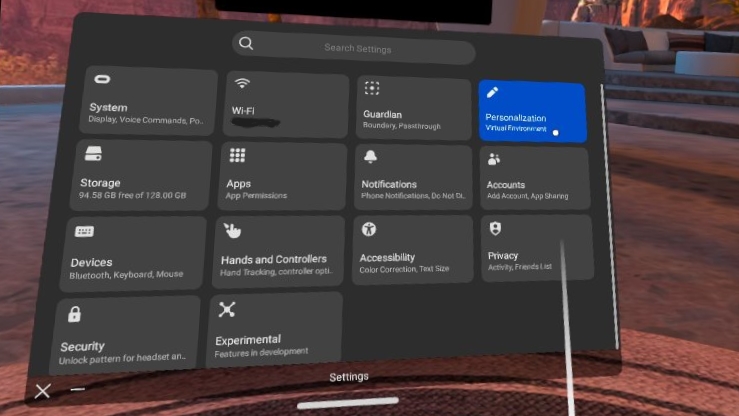
4. Select the home environment that you want.
Be an expert in 5 minutes
Get the latest news from Android Central, your trusted companion in the world of Android
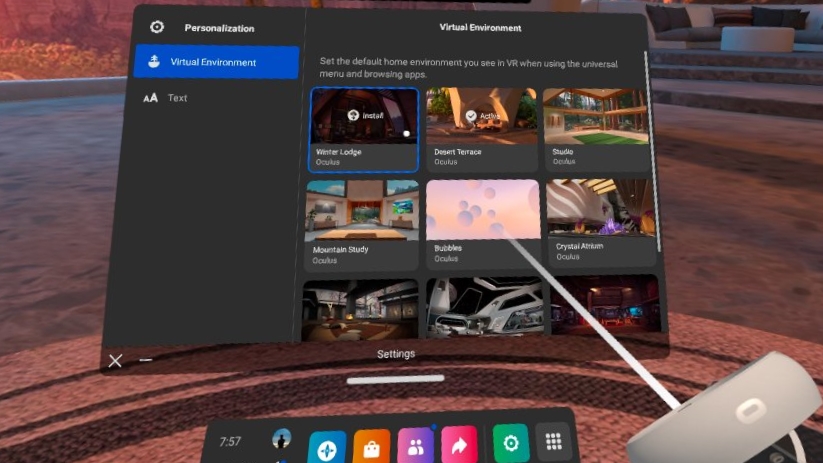
Most of the available environments aren't pre-loaded on the Quest in order to save space, so you'll have to install them. We recommend only installing one or two at a time since the environments can start taking up storage space pretty quickly. Once the environment's installed, just select the desired environment and enjoy!
Sideloading custom home environments onto your Oculus Quest 2
Setting up a custom-made home environment requires a few more steps and a cable that you can use to connect your Quest 2 to a computer. If you don't have an official Link Cable or USB Type C to USB chord, here are some of our favorite Link Cable alternatives that you can get without breaking the bank on Meta's pricey option.
There are a number of ways to sideload a custom environment onto your Quest 2, but SideQuest mobile or desktop app is about as easy as it gets. If you don't already have it installed, here's a step-by-step tutorial to help set you up to start sideloading content onto your Quest. You'll also need to enable developer mode on your headset.
Once your headset is primed for custom content, adding Quest 2 custom environments is really straightforward.
1. Install Sidequest on your desktop or mobile device.
2. Open up Sidequest.
3. In the main menu, scroll down to where it says Browse Categories.
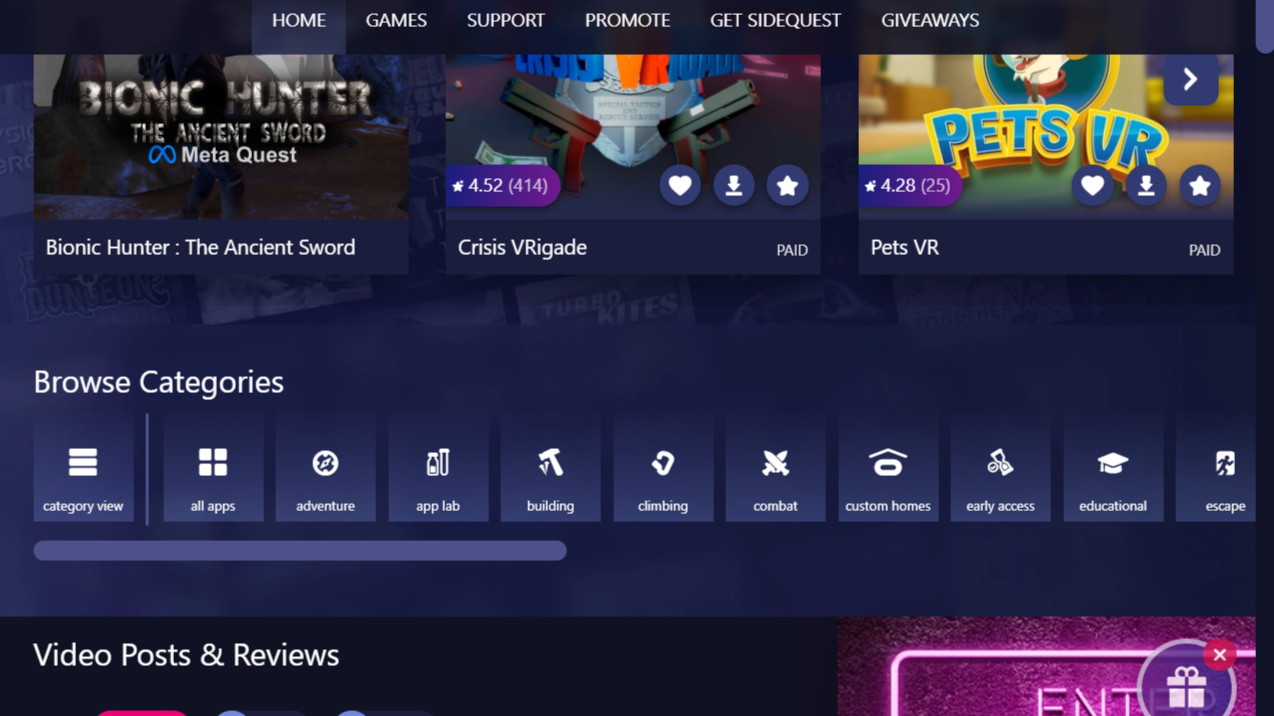
4. Scroll the list of categories until you find the Custom Homes category.
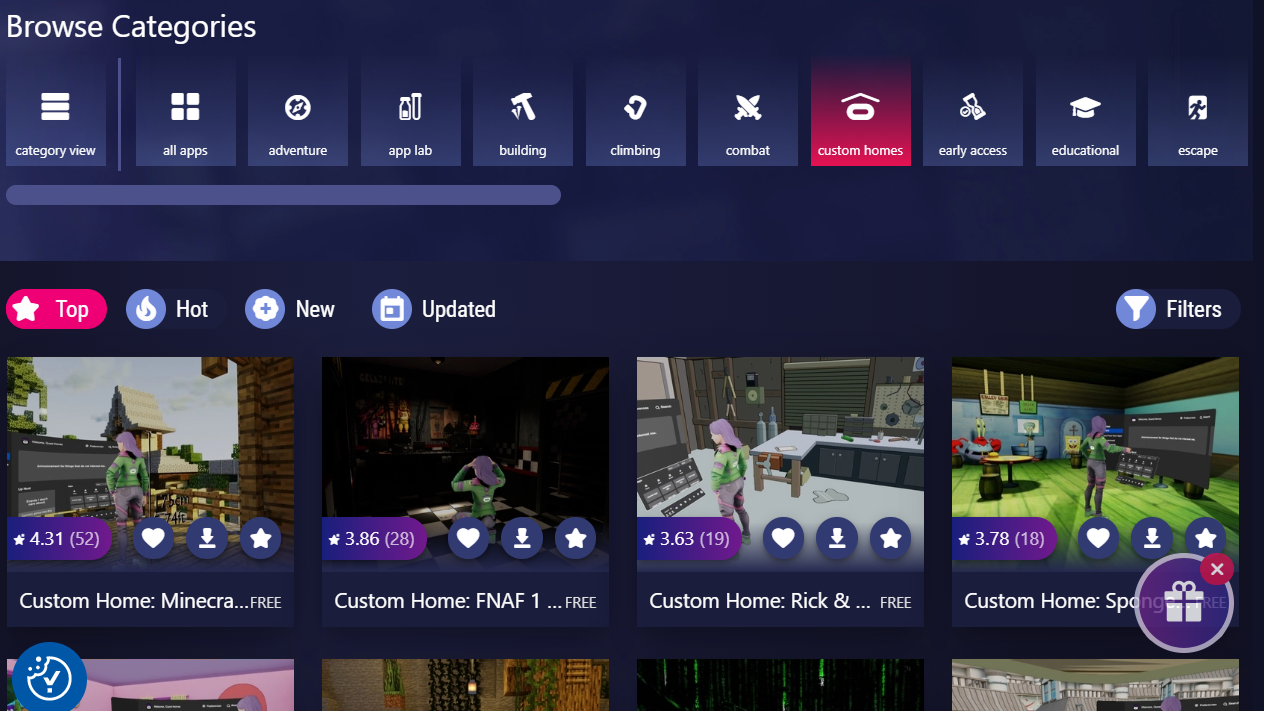
5. Find the custom home you want to sideload onto your Quest and click on it to open its SideQuest page.
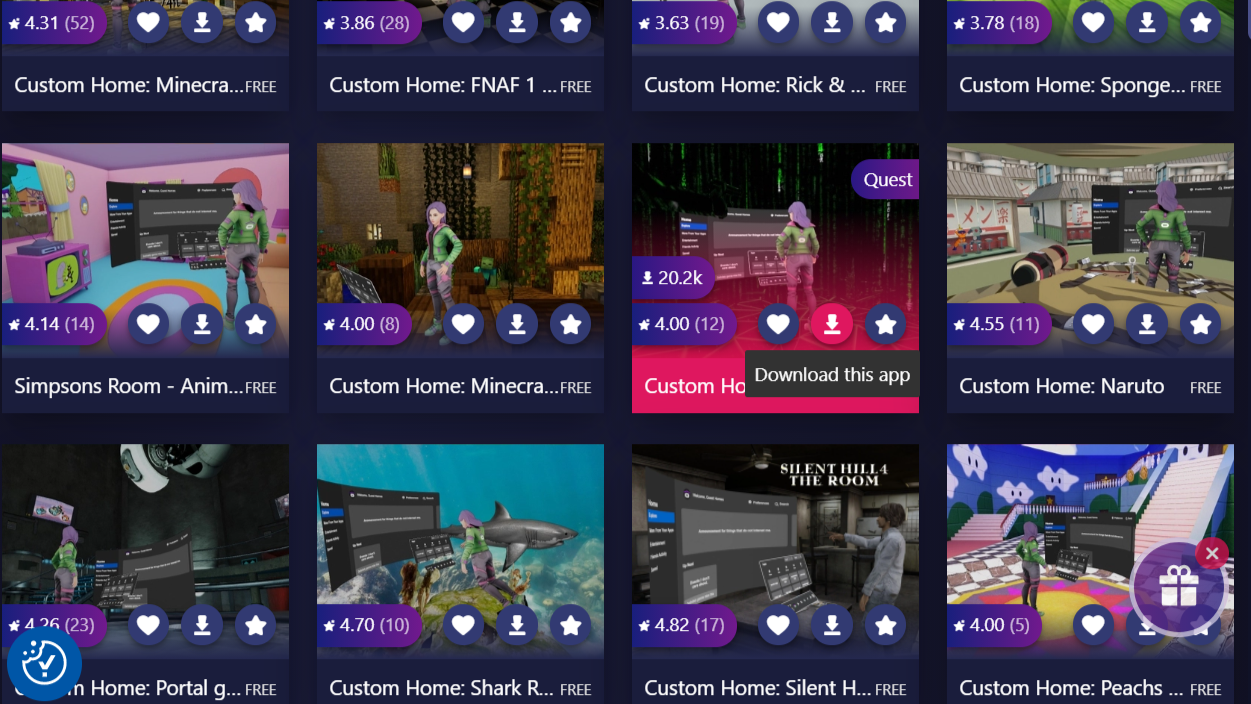
6. Click on the pink button that says "Install."
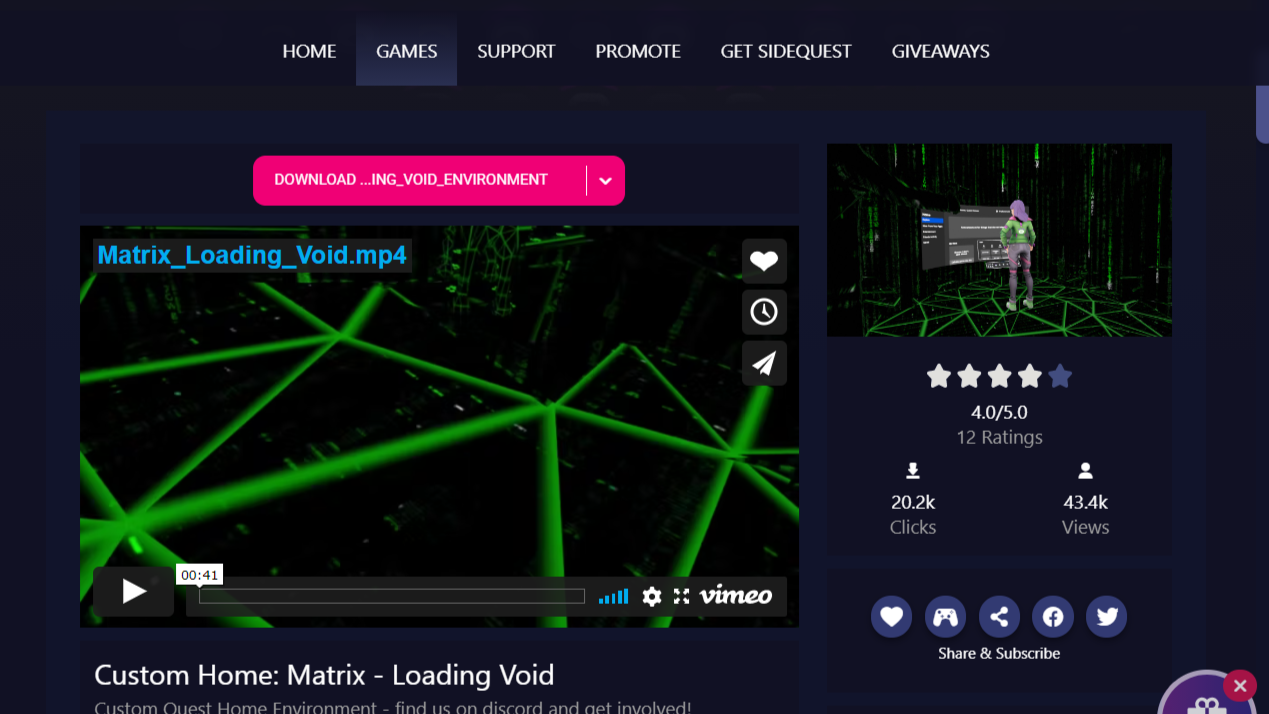
From there, the sideloaded environments will show up on your Meta Quest with the rest of Meta's default home environments. To access and set them as your default home environment, you just need to follow the same steps above: go to your Personalization settings and select your new digs.
Time to remodel your virtual home!
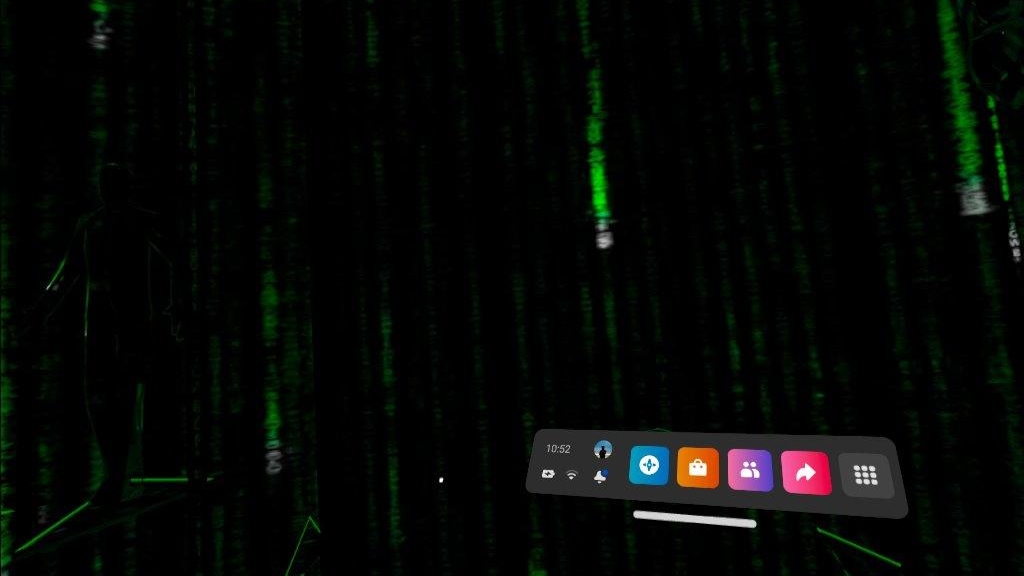
A change of scenery, even virtual scenery, is always refreshing, regardless of whether you're using one of Meta's pre-made virtual environments or downloading your own via a Link cable. Experiencing an iconic location from a favorite TV show or movie in VR for the first time never gets old, but Meta's first-party offerings are also pretty if you prefer not to sideload. Happy remodeling!
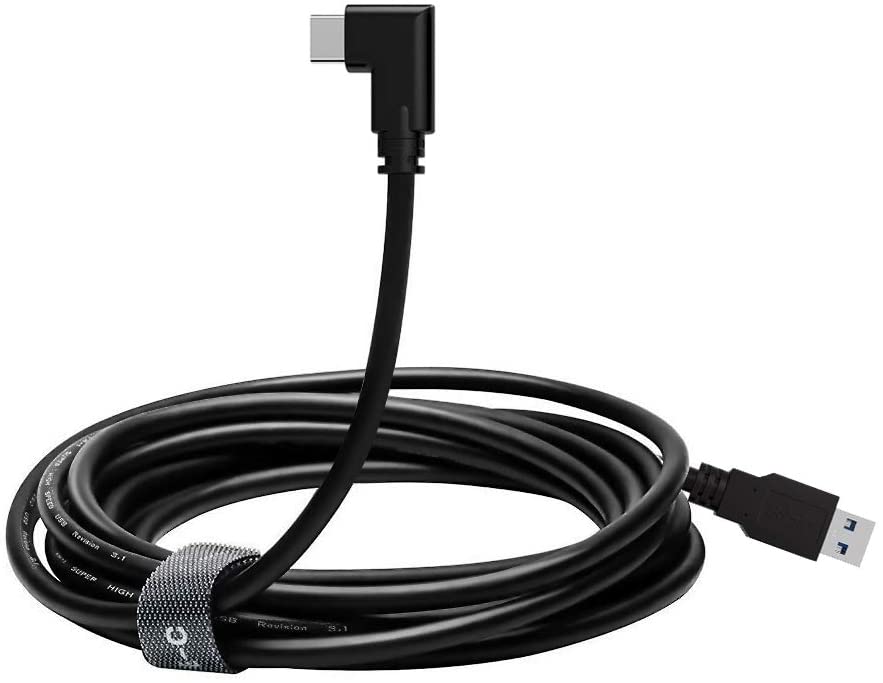
Jump into a wider world of PC-exclusive VR games and custom home environments with VOKOO's 16-foot link cable. Its length and high speed make using a link cable almost feel as good as playing a game natively on the Quest.

Charlie's a freelance contributor at Android Central from Milwaukee, WI.
