Galaxy Note 10 photography tips and tricks
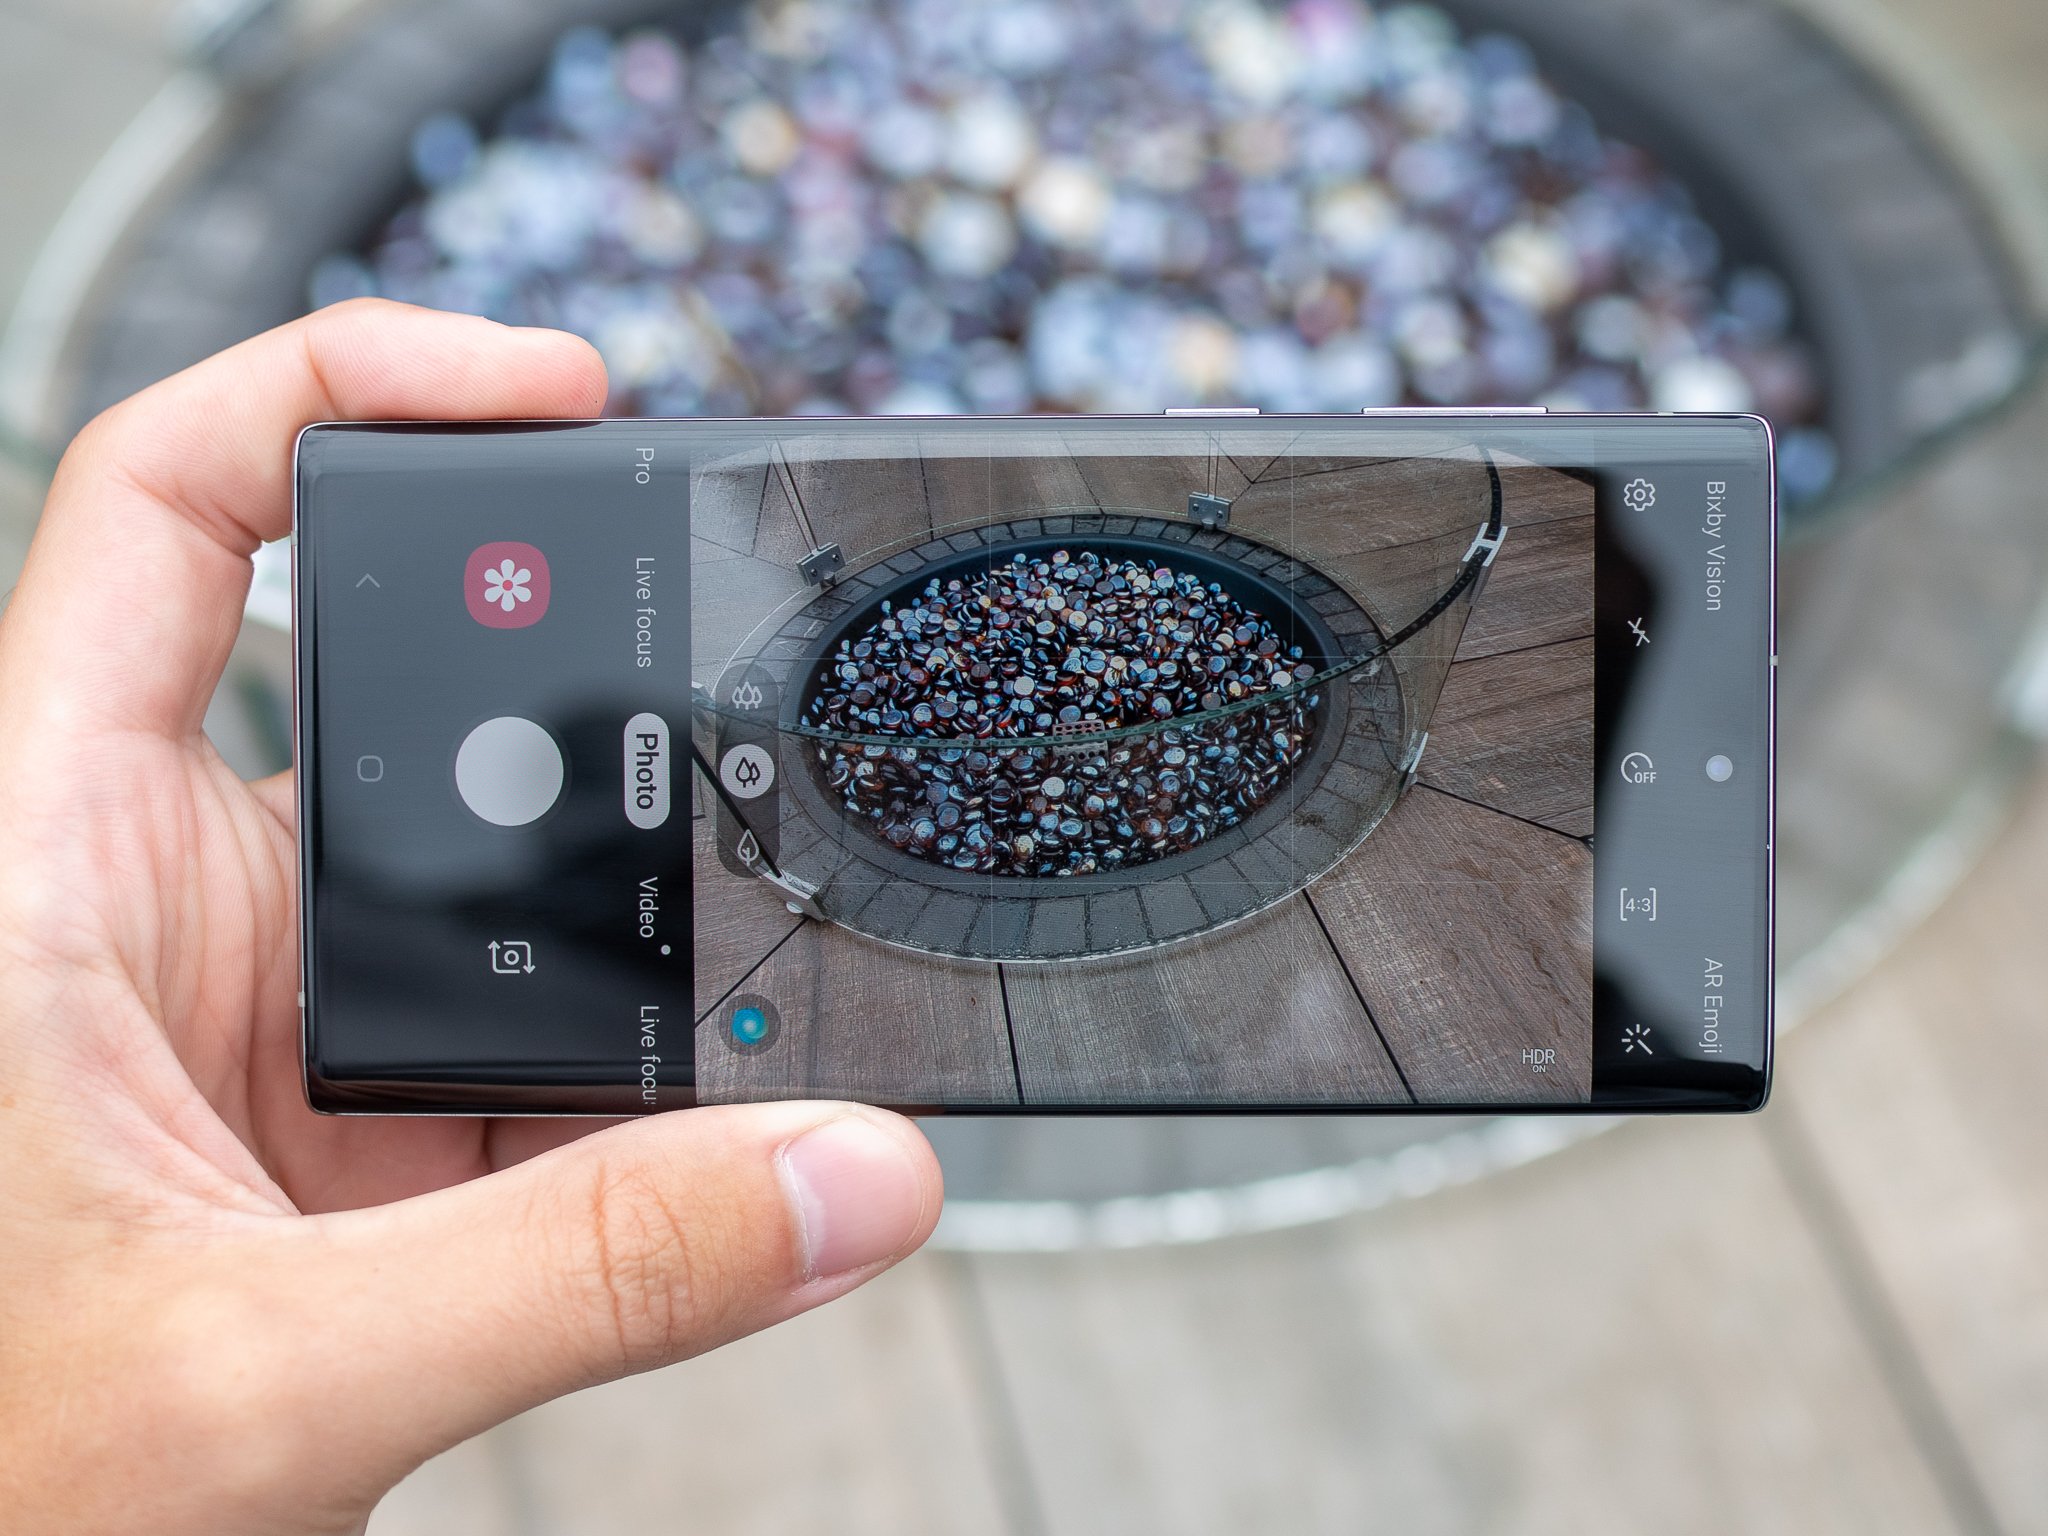
The Galaxy Note 10's cameras are great, and one of the best features of the photography experience is just how easy it is to pick up and use without tweaking or learning about specific features. But as is the case with all of Samsung's phones, there's more below the surface if you want to get into it. Upgrade your Note 10 photography skills with these great tips and tricks.
Clean your camera lenses
There's nothing Note 10 specific about this tip, but it's worth remembering on every phone — because no other tip or trick matters if you don't clean your camera lenses!
This is particularly important on the front-facing camera, which is far more likely to get dirty through the normal course of use of the phone. Even if you don't feel like you touch the camera often, you definitely do — its hole punch positioning and the displays small bezels aren't doing you any favors here.
You don't have to carry around a specialized cleaning cloth — anything is better than leaving the lens dirty, so feel free to use your shirt or pant leg. It won't damage the lens!
Turn on viewfinder grid lines
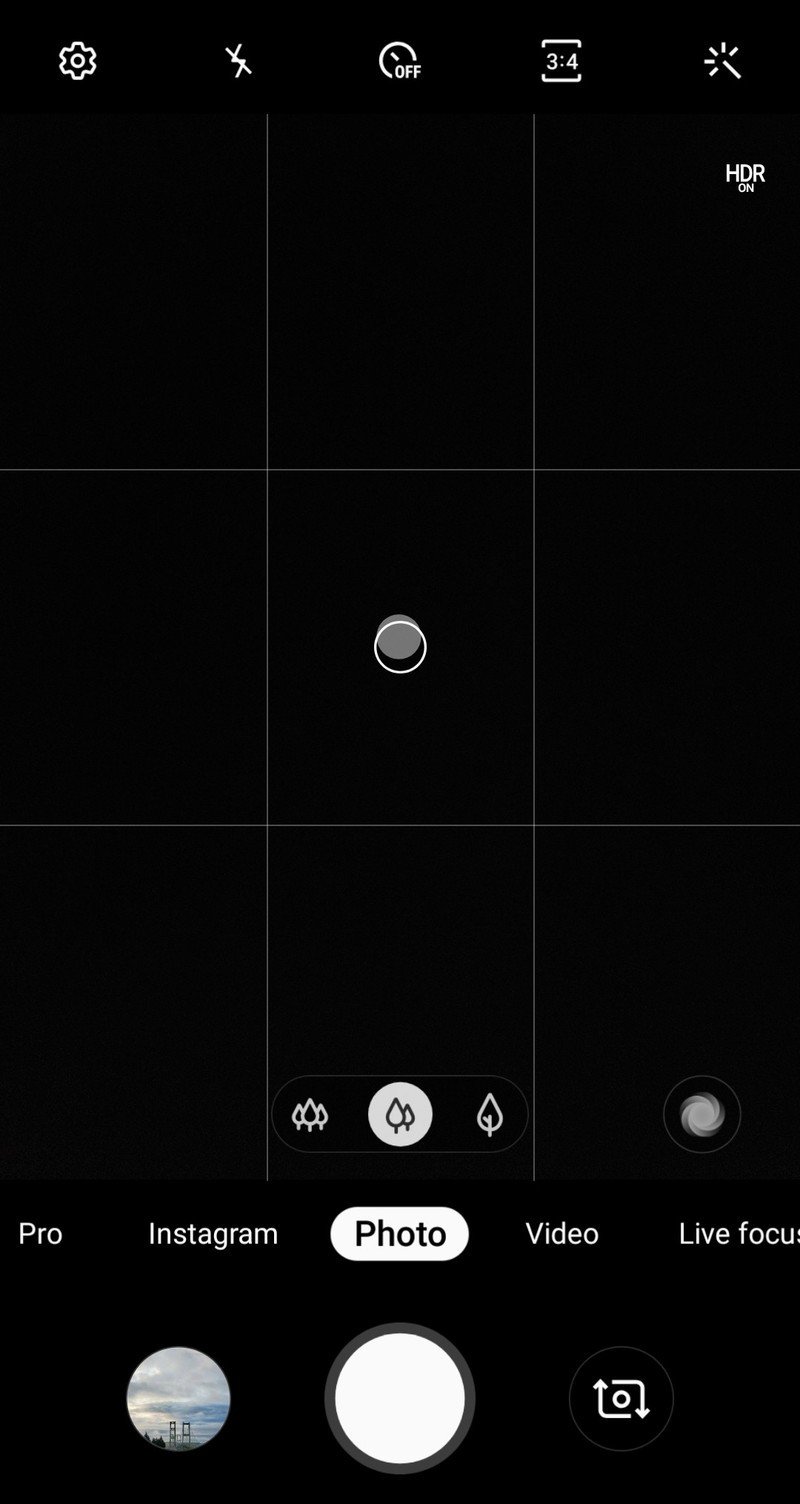
This is another one of those dead-simple tips that's applicable to any phone and any situation: turn on viewfinder grid lines. To turn them on, go into Settings, and find Grid lines a couple sections down.
Samsung offers a rather odd "Square" option, but you'll likely be better off with the "3 x 3" instead. If you're not used to having grid lines on your viewfinder it'll feel a little weird at first, but trust me you'll get used to it quickly and it won't take long to realize it's totally worth it.
With grid lines turned on, it's dead-simple to line up horizons on wide shots, and really easy to create well-proportioned scenes. You don't have to have an amazing photographic eye — just trust the grid lines to help you get everything lined up well, and your photos will start looking better.
Be an expert in 5 minutes
Get the latest news from Android Central, your trusted companion in the world of Android
And if you're up for some light reading, familiarize yourself with the tried-and-true rule of thirds.
Customize shooting modes
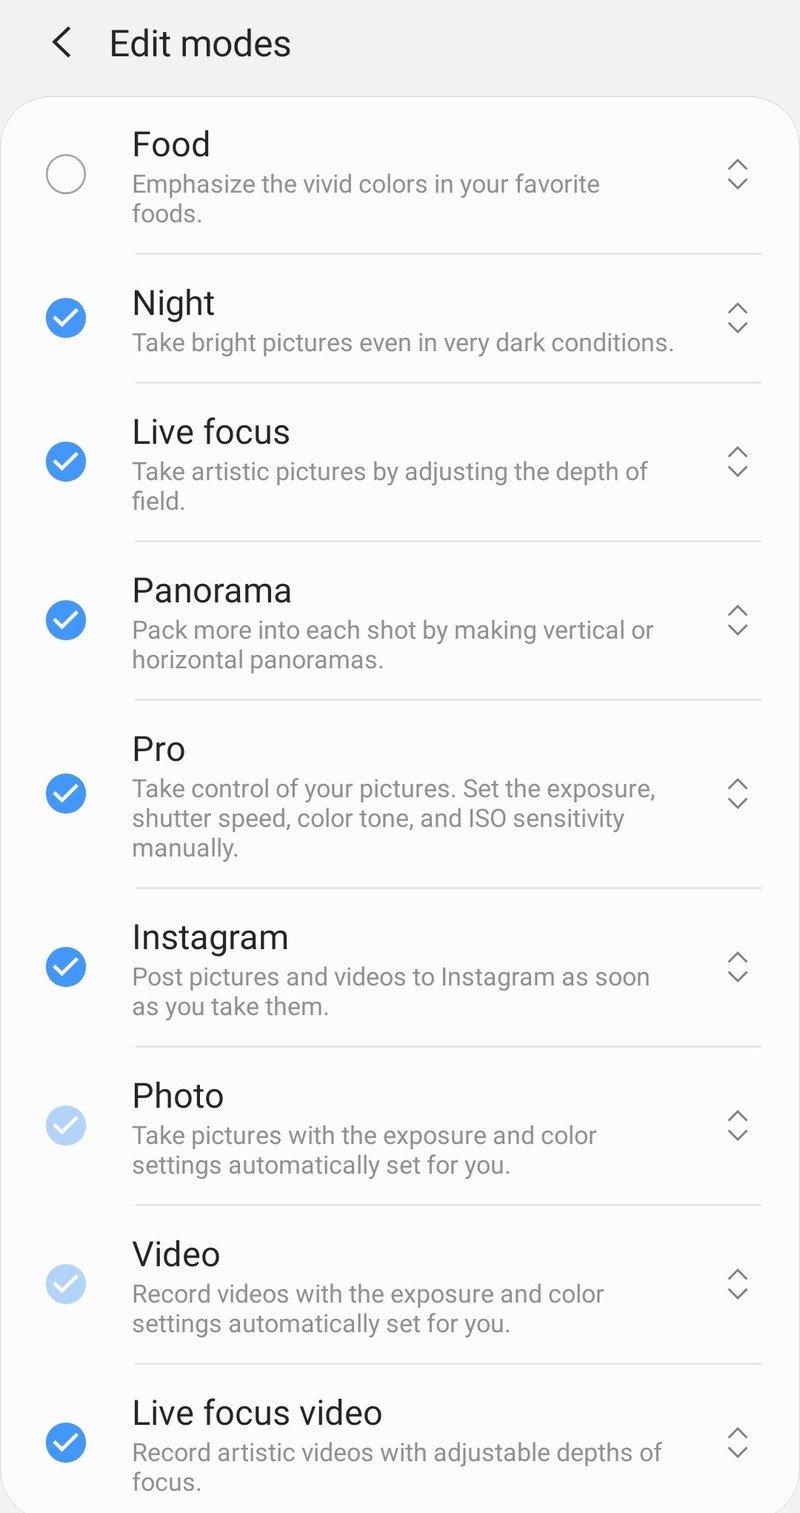
Samsung makes it easy to quickly switch between shooting modes with a swipe or a tap along the side of the viewfinder. But there are a lot of shooting modes there, so even though it's easy to switch between them there's a good chance you don't use them all — or use them all the same amount. Thankfully you can arrange them any way you want, and even turn modes off in Settings and then Camera modes.
Here you can rearrange each of the 12 shooting modes by dragging them with the arrow anchors on the right side, and turn individual modes off or on with the checkboxes on the left. The only two modes you can't turn off are the core "Photo" and "Video" modes — but that makes sense.
You may not think that customizing modes makes that much of a difference, but when you want to launch your camera quickly ane get to a shot on short notice, every second counts. Play with the different layouts and see what works for you.
Instagram mode is useful — and flawed
Samsung has a built-in "Instagram" mode that lets you shoot and share directly to Instagram stories. It's a great idea, and it saves you time and hassle when taking photos that you know will go to Instagram anyway. You can shoot with all three cameras, unlike in the Instagram app, and photos are saved to your gallery before going to stories to be edited.
There are plenty of reasons to use the Instagram mode ... and a few reasons not to.
Unfortunately it isn't all roses here. The Instagram mode doesn't improve the photo quality whatsoever compared to shooting in the Instagram app, which is a big downer, and you don't have access to any of the Instagram filters or editing tools. Plus, Samsung tags every photo or video sent directly to Instagram stories with a Samsung Galaxy tag that links back to the Samsung Instagram account. It's a little odd to see, and there's no way to turn that off.
There are plenty of reasons to use the Instagram mode in the camera, and it may work into your regular camera use enough to put it within easy reach in the list of camera modes. However, it isn't a complete winner, unfortunately, and there are many situations in which you'd prefer to shoot directly in the Instagram app instead.
Move the shutter button when needed
This is probably the least-known feature of Samsung's camera app: you can drag a secondary shutter button anywhere in the viewfinder at any time. All you have to do is touch the shutter button and drag it away!
The shutter button stays put wherever you want, for as long as you want, and you can reposition it at any time. The original shutter button stays put and functional, so you can always use it — but now this floating shutter button can be placed wherever it makes sense for your thumb. This can be a huge help for those times where you need to have an awkward grip on the phone for a group selfie or a tricky rear camera shot.
To get rid of the movable shutter button, just drag it back onto the standard shutter button and it'll disappear until you need it again. It's a neat trick, and an incredibly valuable one.
Utilize the S Pen's remote shutter
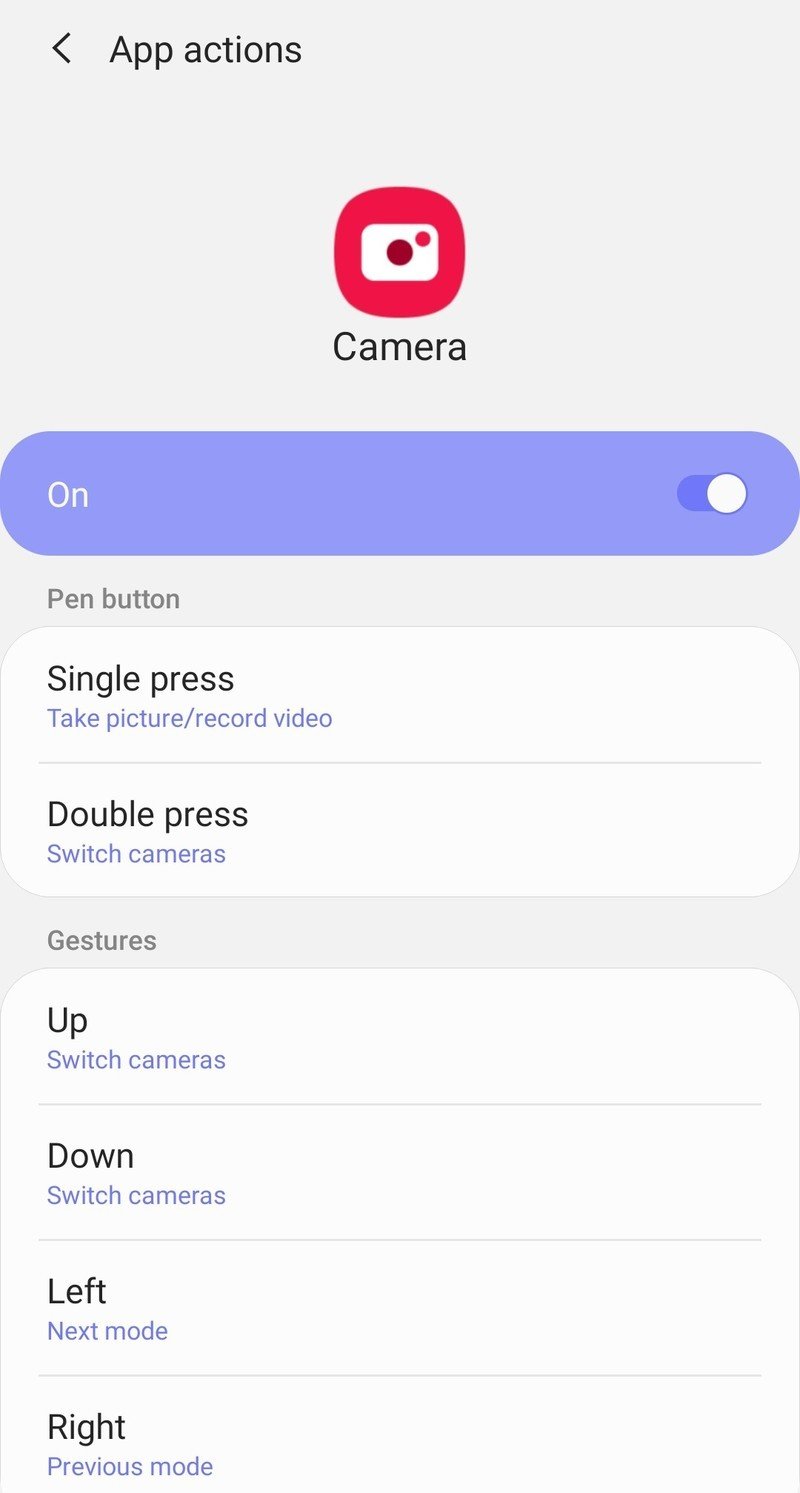
The S Pen's camera functions are turned on by default, but you can configure it (and for other apps) in Settings, Advanced features, S Pen and Air actions.
By default, you press the S Pen's button once to capture a photo (or start a video recording) or twice to switch between the front and rear cameras. Going further with the S Pen's gesture capability, you can swipe the stylus to switch cameras, switch camera modes and zoom.
These remote actions are awesome for all sorts of scenarios. You can prop up the phone somewhere to capture a big group shot. Or simply to aid in a selfie where you can hold the phone but it's awkward to press the shutter button. Or position the phone for a unique angle you'd never be able to get while holding it. At night it can be a great way to limit (or eliminate) hand shake when taking a photo with a longer shutter time.
Don't be afraid to try Pro mode
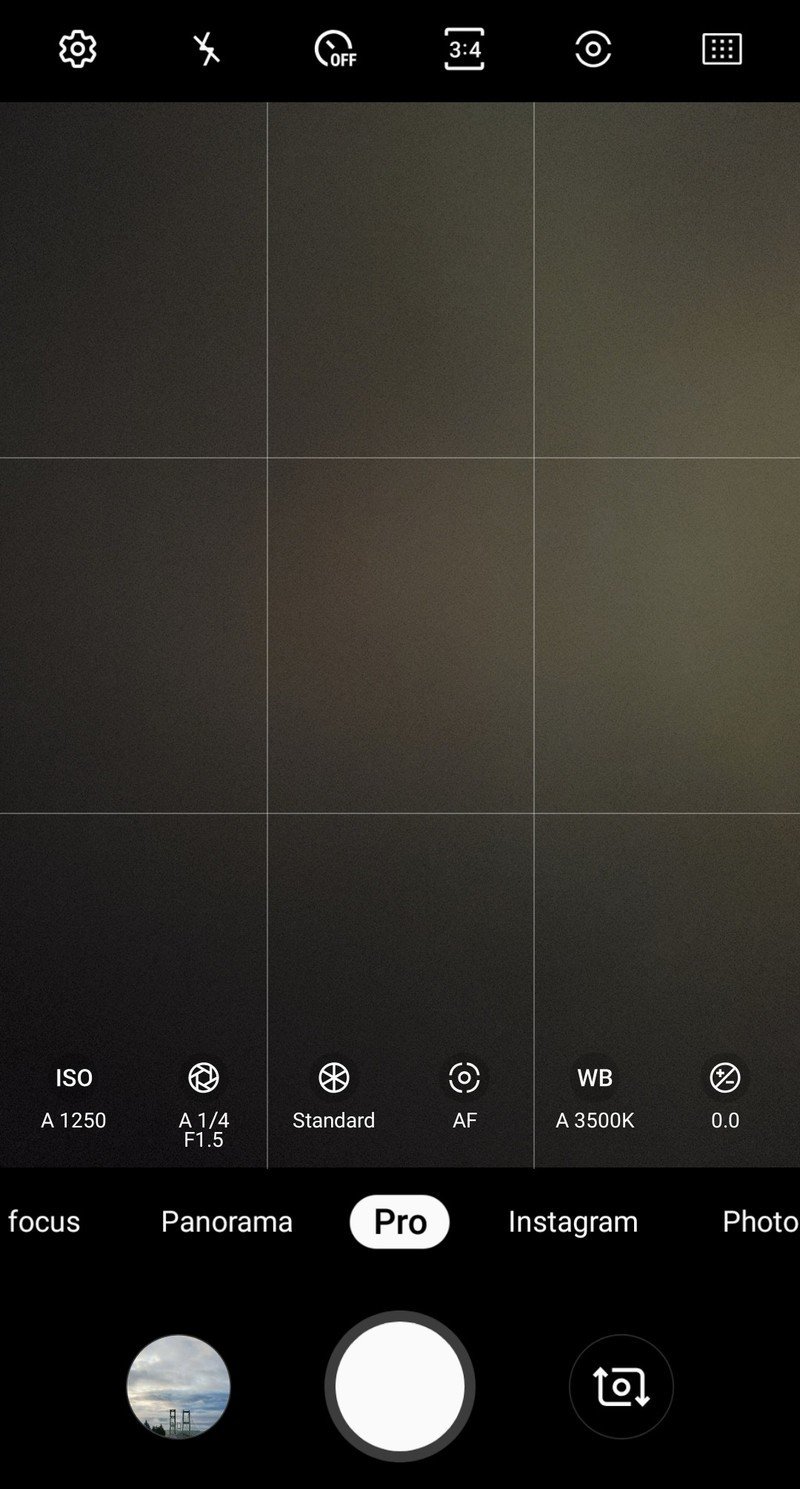
Most people aren't going to go anywhere near try the Pro mode because it just looks intimidating. But I encourage everyone to at least give it a try.
You can get really deep into Pro mode and tweak everything just like you would on a dedicated camera, but that's not a requirement — you can easily pick and choose what you want to tweak, and leave the rest. Sometimes all you need to do is just tweak the white balance, colors or ISO — a few taps can change the entire look of the photo you're taking, without having to know what the other settings are.
If you start to master Pro mode, you'll not only open up possibilities for higher-quality photo,s but you'll also be able to take a wider variety of shots. Auto mode takes a great, well-balanced photo on a consistent basis, but Pro mode lets you tweak things and take more artistic and eye-pleasing photos that would never come from an automatic mode.
Shooting at f/1.5 may provide better bokeh than Live Focus
Like every other phone, the Note 10 has a "portrait" mode that utilizes two cameras and clever software to simulate the quality of a high-end camera. But as we've seen time and time again, software-based portrait mode effects like Live Focus aren't perfect... and in some cases they're downright bad.
Sometimes you'll get better bokeh using tap-to-focus than the Live Focus mode.
Sometimes your best way to get great bokeh is to just take a photo normally and let the camera's super-wide f/1.5 aperture do the work naturally. After all, a wide aperture is a key component of getting natural background blurring in the first place.
You can force the camera to shoot at f/1.5 using the Pro mode (versus the other option of f/2.4), but you'll find that it defaults to f/1.5 regularly when shooting in Auto mode as well. Just be sure to use tap-to-focus on the main subject of your photo, because with this wide of an aperture you can quite easily miss focus and get a soft subject.
Use the ultra-wide camera, but probably not at night
One of the best thing Samsung ever did for its camera setups was adding a third ultra-wide lens. The super wide 123-degree field of view gives a brand new perspective on scenes, and opens up possibilities for unique shots.
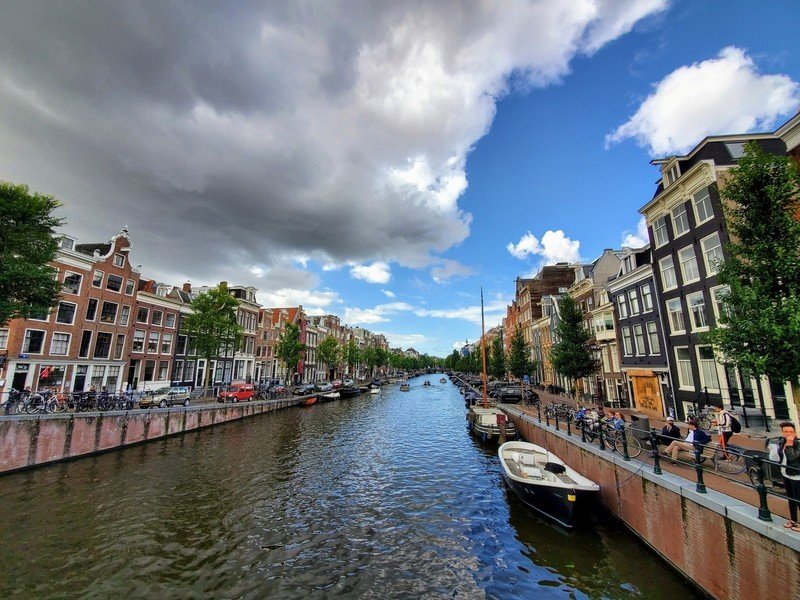
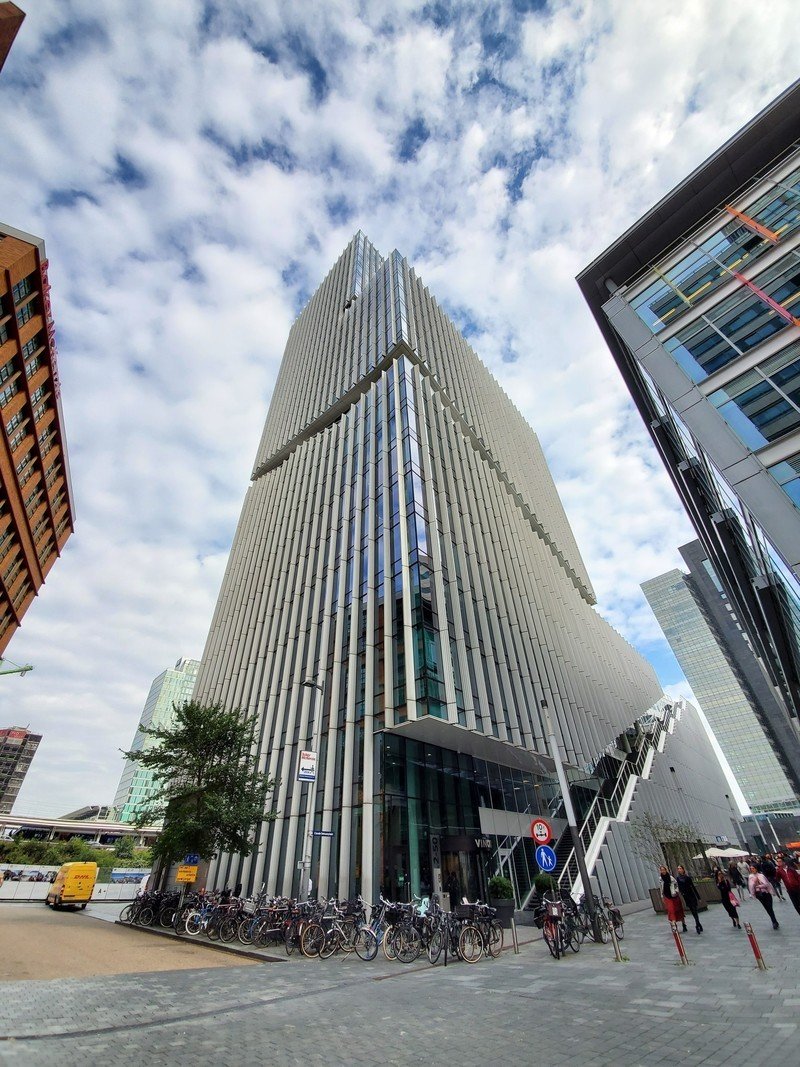

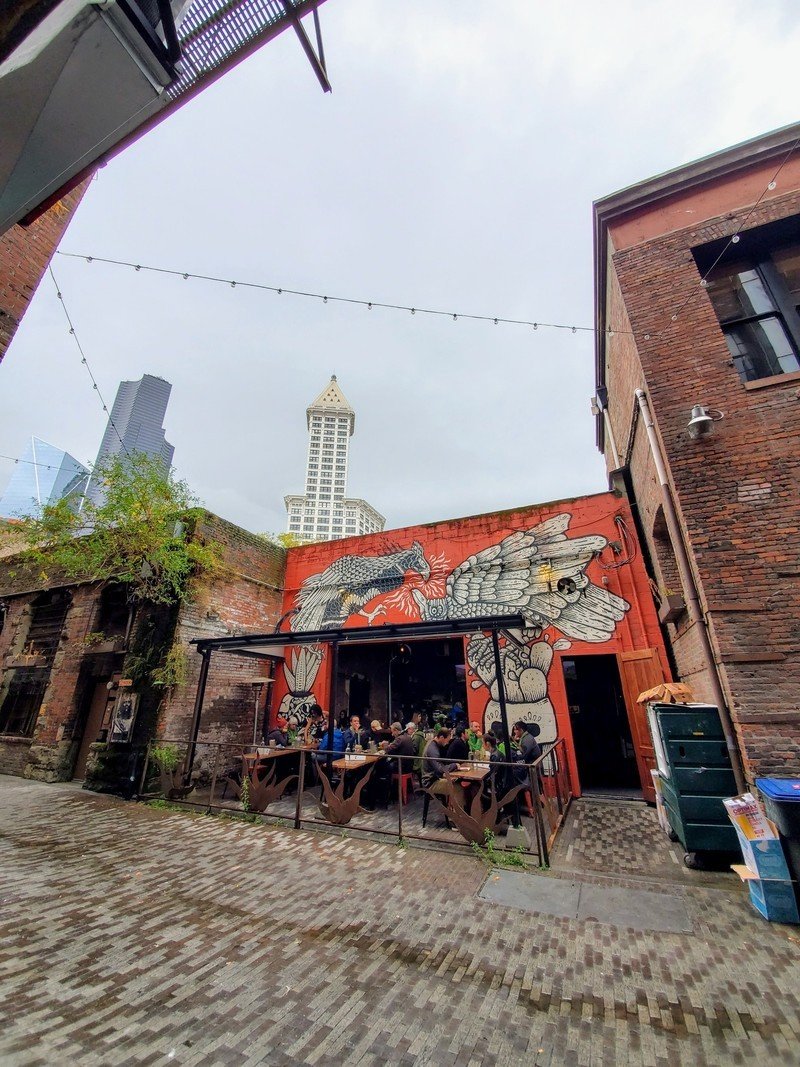

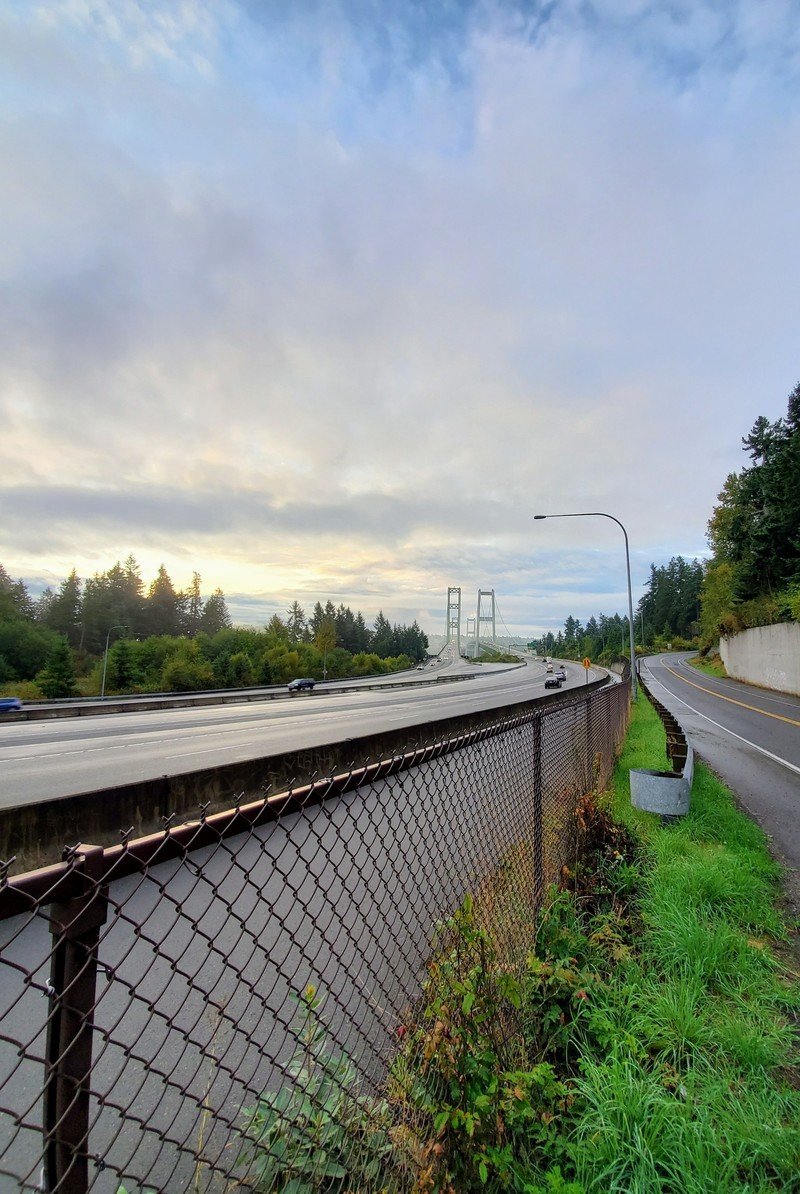
The downside of the ultra-wide lens is its low-light capabilities, which are ... lacking. The 16-megapixel sensor has smaller pixels than the main and telephoto cameras, there's no OIS (optical image stabilization), and its f/2.2 aperture doesn't let in as much light. Add it all up, and the camera just doesn't have what it needs to take crisp and appropriately bright low-light shots. Add in the inherent nature of wide-angle lenses introducing softness around the edges of the scene, and it's not a great recipe.
Get out there and use the wide-angle lens. Give it a try in conjunction with getting really close to subjects; or back up and use the wide field of view to capture the massive scale of a scene. But don't switch to it at night and expect its quality to come anywhere close to what the main camera can offer. In many cases, you'll be happy to give up the wide-angle view in exchange for an overall quality increase.
Get your best shots with these accessories
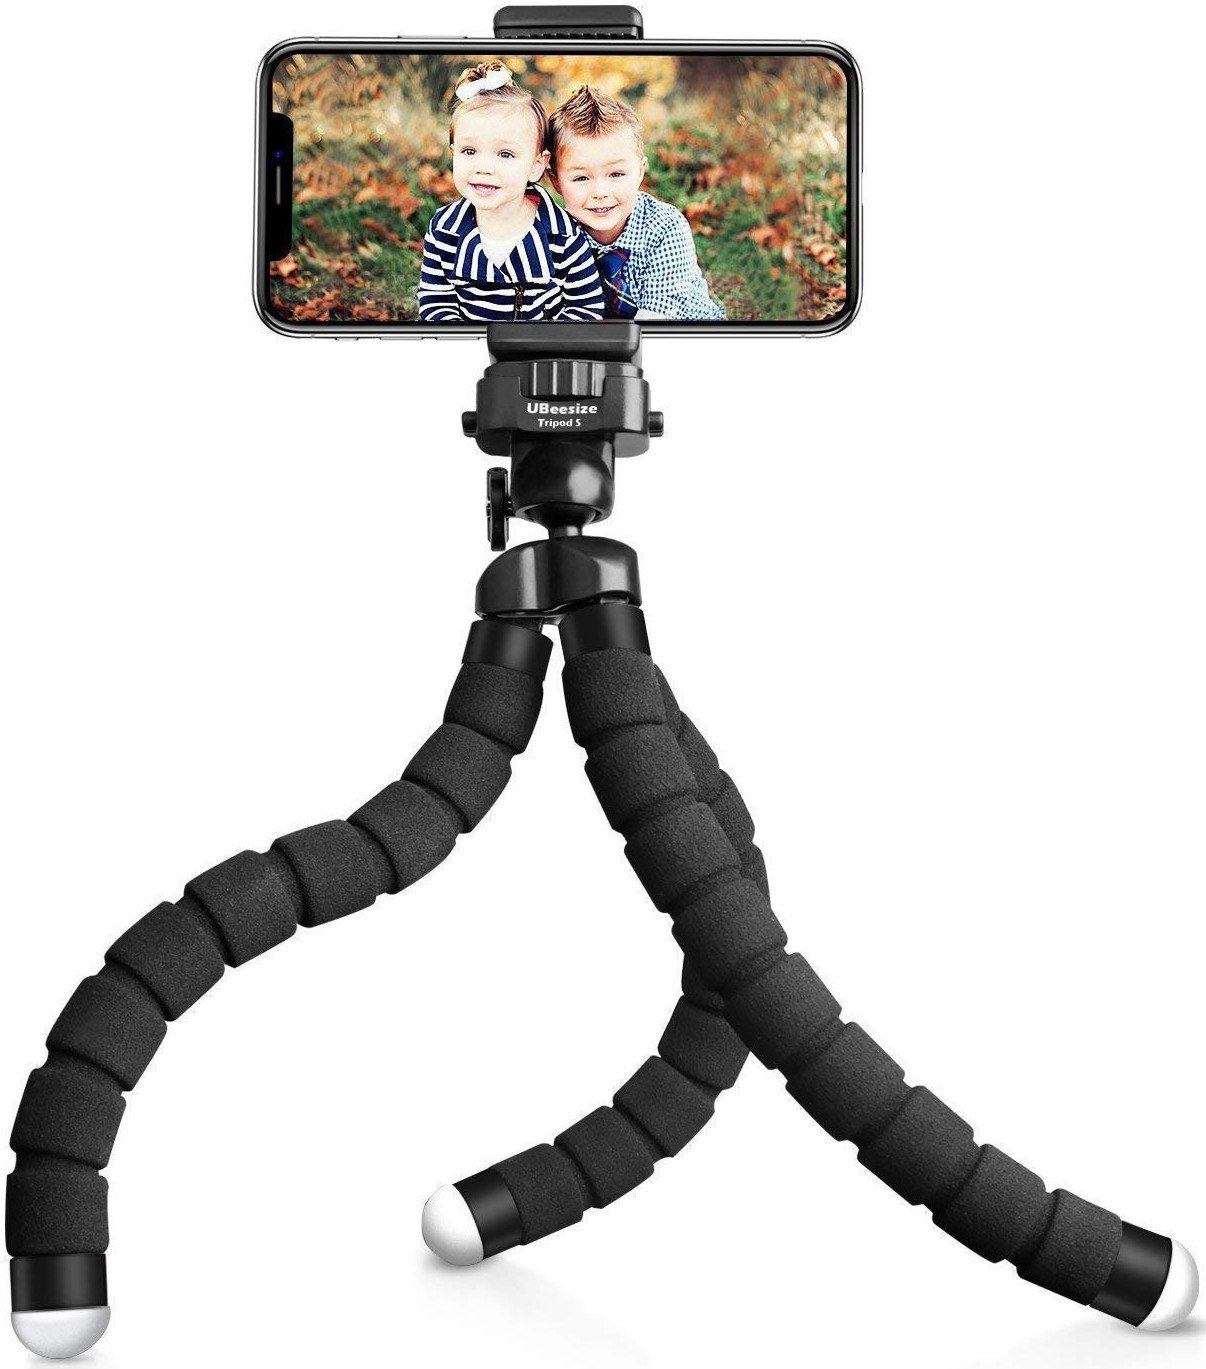
UBeesize Flexible Tripod with Wireless Remote ($18 at Amazon)
A little portable tripod can take your photography to the next level. Use it for late night shots, long exposures, or just interesting angles you couldn't get on your own. It's a perfect pair with the S Pen's remote shutter.
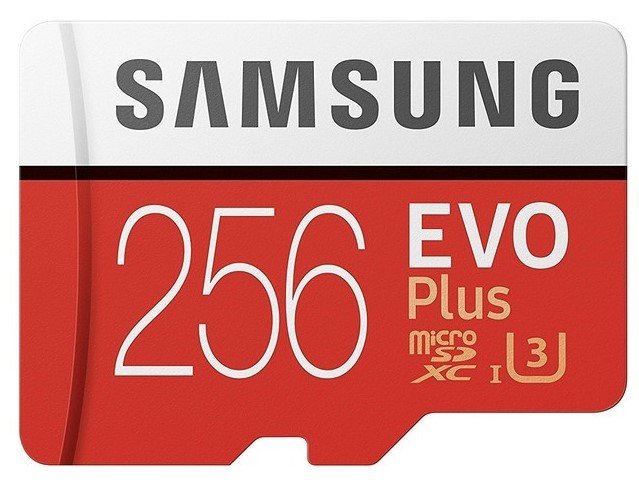
Samsung 256GB EVO Plus microSD Card ($45 at Amazon)
Double your phone's storage with tons of extra room for photos, videos and more. You don't have to go all-out with a massive card, but still get a ton of extra space for a good price.
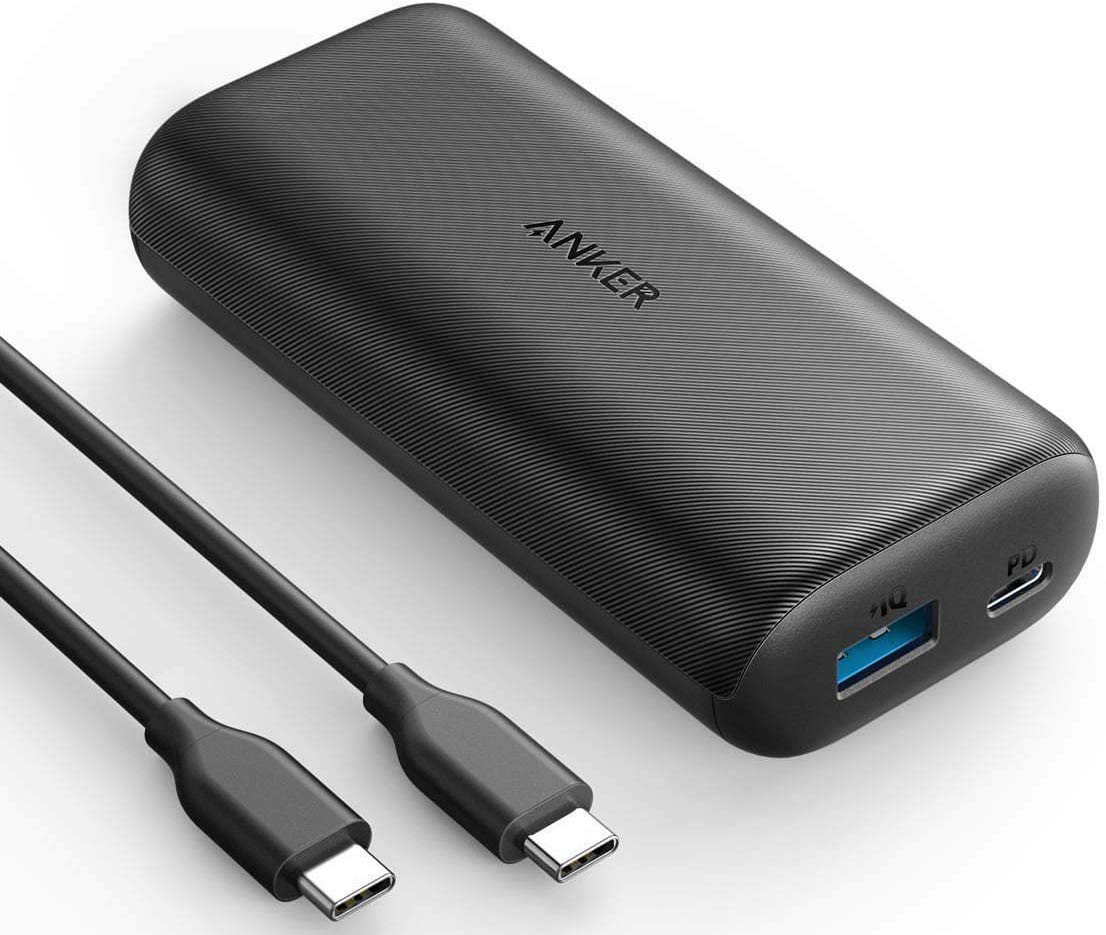
Anker PowerCore 10000 PD battery ($46 at Amazon)
You can't take photos if your phone is dead. Whether you're trying to take super-long exposures and videos, or just want to make sure your phone's topped up at the end of a long night, a small portable battery is a great accessory.
Andrew was an Executive Editor, U.S. at Android Central between 2012 and 2020.

