First 9 things to do with your Samsung Galaxy Note 9
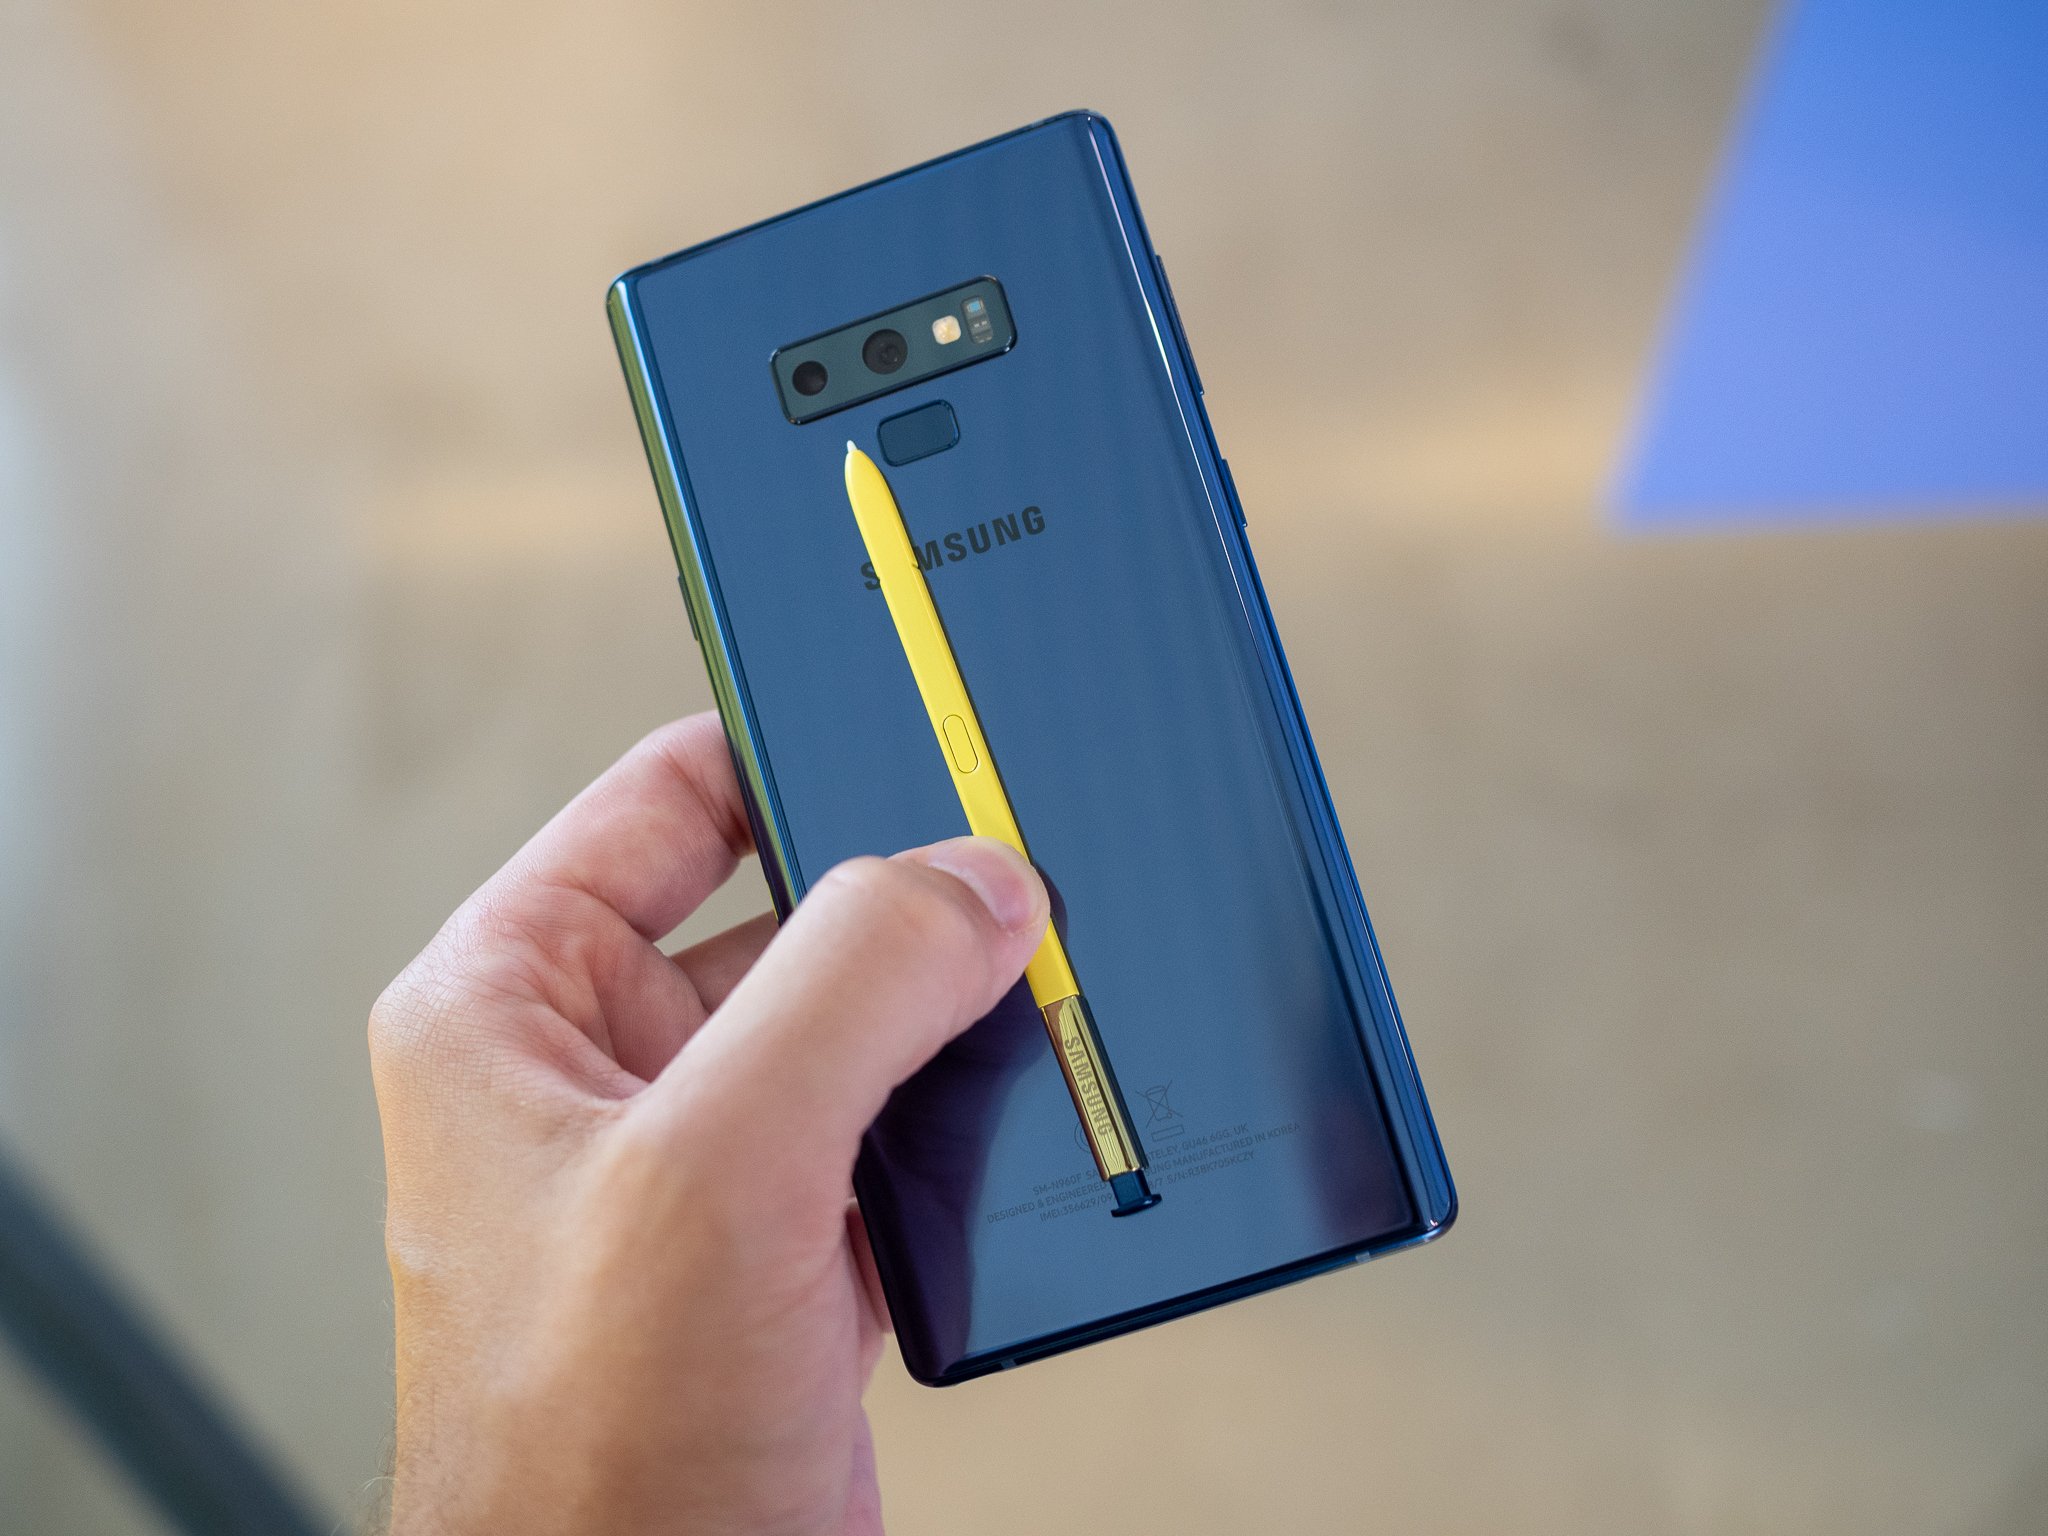
So you just got your Galaxy Note 9. You're in awe at the size of the phone, the pile of features it has, and you want to jump right into using the S Pen's new wireless capabilities. Wait! For as exciting as the phone is, there are some things you should do first in order to make the most of your Note 9.
Products used in this guide
- Amazon: Samsung Galaxy Note 9 ($900)
Set up face/iris scanning in addition to fingerprint
With the Note 9's fingerprint sensor moving to a good location on the back of the phone, the discussion about face and iris scanning has moved to the back burner. But Samsung's implementation of these alternative unlocking methods is really good, and you're doing yourself a disservice if you don't turn on at least one of the two — and preferably both.
The fingerprint sensor is great, but sometimes you need other ways to quickly unlock.
Go into Settings and then Biometrics and security to get started with the setup. You can choose to use Face Recognition, which is fast but less secure, or Iris Scanner, which is slower but more secure. If you're planning to use Face Recognition, you really should just use Intelligent Scan, which tries to scan your face or your irises at the same time.
The most important setting for making this face and iris unlocking work seamlessly is under Intelligent Scan; it's called "Screen-on Intelligent Scan." When you turn this on, the phone starts looking for your face and irises as soon as your screen comes on, rather than after you already swipe. For those times when you can't reach the fingerprint sensor, your phone will unlock quickly without any further intervention.
Create a Samsung account
This is quite simply the most boring thing to do when you've just opened up your brand new high-end phone, but it's an incredibly easy and necessary one: create, or sign in to, a Samsung account on your phone. Though Google still runs the show when it comes to most of your apps and "account" sort of syncing, a Samsung account is super useful to have on a Samsung phone. It lets you unlock some of Samsung's more advanced features, like its VPN service and Gallery cloud backups, but also lets you download and update apps from the Galaxy Apps store, use Samsung Pay and so much more.
Go into Settings, then Cloud and Accounts and then Accounts and either sign in or create a Samsung account here. Once it's added at the system level, your Samsung account will be available to any app that requests it. It's a one-and-done thing that's best done right at the start of your Note 9 experience.
Be an expert in 5 minutes
Get the latest news from Android Central, your trusted companion in the world of Android
Enable easier access to your notification shade
The Note 9 is a massive phone. With a 6.4-inch display and 18.5:9 aspect ratio, it's really hard to reach the top of the screen to pull down the notification shade. But Samsung has two ways you can more easily get your notifications without reaching.
First, there's a fingerprint gesture like on so many other phones. Go into Settings, Advanced features and find Finger sensor gestures. Turn it on, and now you can swipe down on the fingerprint sensor to lower the notification shade.
Second, if you're still using the default Samsung launcher, you can change a setting to pull down notifications with a swipe down on the home screen. Pinch in on the home screen to open its settings and tap on Home screen settings. There's a toggle for Quick-open notification panel to turn on. Now it's as simple as a swipe down on the home screen to bring down the shade — and a swipe up still opens the app drawer.
Set up S Pen button actions
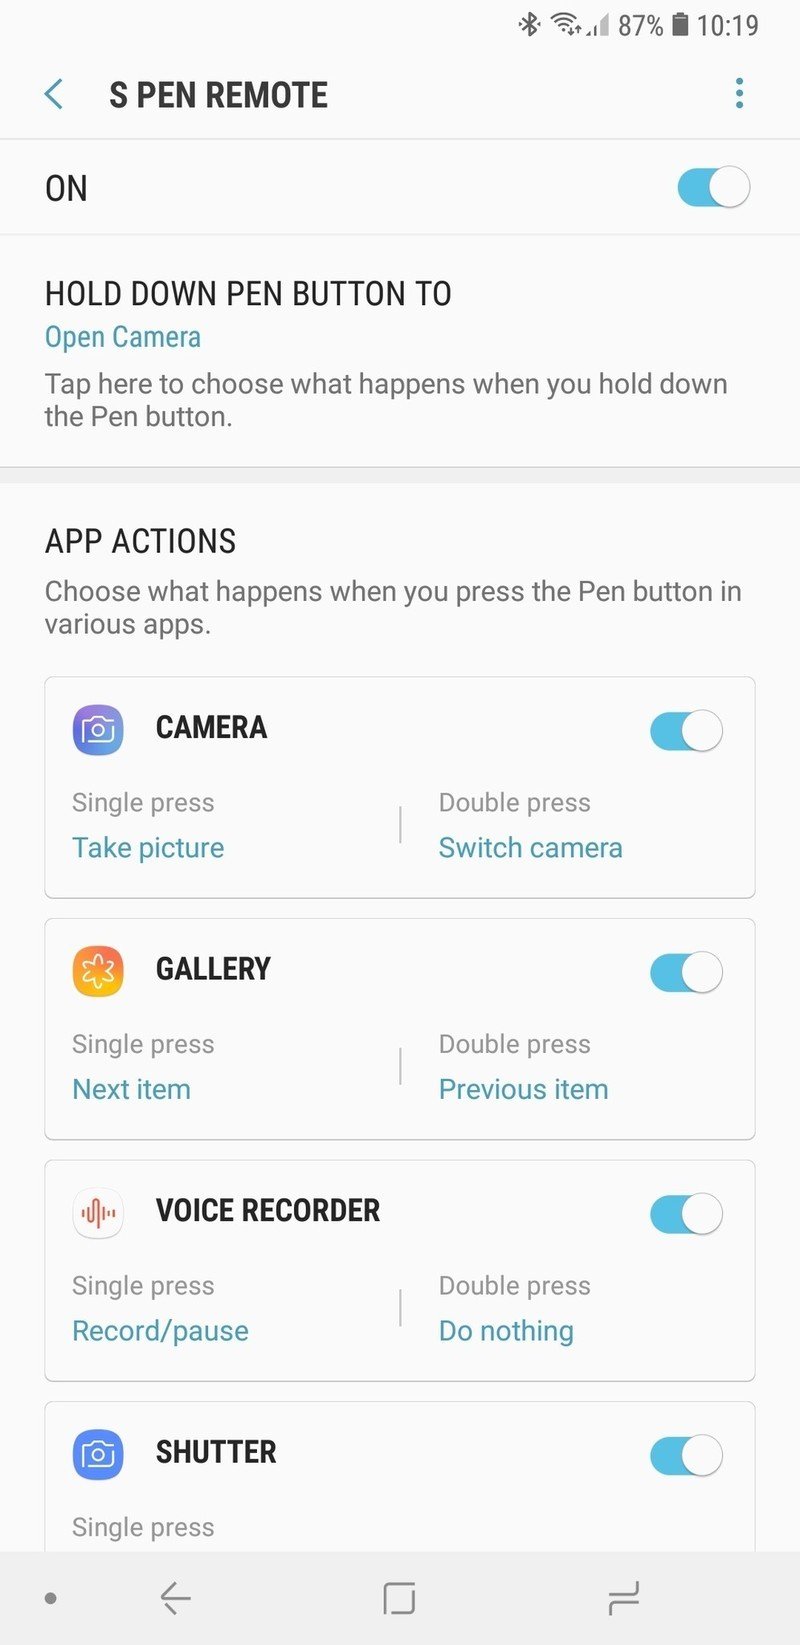
There's a good chance that part of your Note 9 buying decision was predicated on the new wireless S Pen features. Now that the S Pen connects over Bluetooth, it can perform actions with single and double presses of its button even when it's away from the phone. Go into Settings, Advanced features and then S Pen to control all of these settings and get familiar with what it's capable of.
S Pen remote is the settings are for all of the wireless features. You'll see a list of every app that supports S Pen remote features, plus the top-level choice of which app you'd like to launch with a long-press of the S Pen's button. For each app, you'll see options to assign a different action to a single-press and double-press of the button. You can also choose to have one or the other do nothing if you think there's a chance you'll accidentally do something you don't want.
It may take a little while of using the new feature to see what works best for you, but these settings will always be there to help you tweak and get the most out of your new S Pen. The Note 9's software will also highlight the fact that you can use S Pen remote features whenever the S Pen is removed and a supported app is launched.
Turn on all of the notification icons in the status bar
The Galaxy Note 9 has a huge screen and no display notch, but curiously Samsung has it set by default to only show the last three notification icons in the status bar. Sure it looks a little cleaner, but you bought a Note 9 to see everything and be aware of your notifications, not forget about them because the software restricted the display.
Go into Settings, Display and then Status bar to bring them back. Turn off the toggle for "Show recent notifications only," and your Note 9's status bar will now show all of your unread notifications across the status bar — at least, until they run into the persistent icons on the right. If that happens, maybe you should think about tweaking the notification settings in your apps ...
Configure your navigation buttons
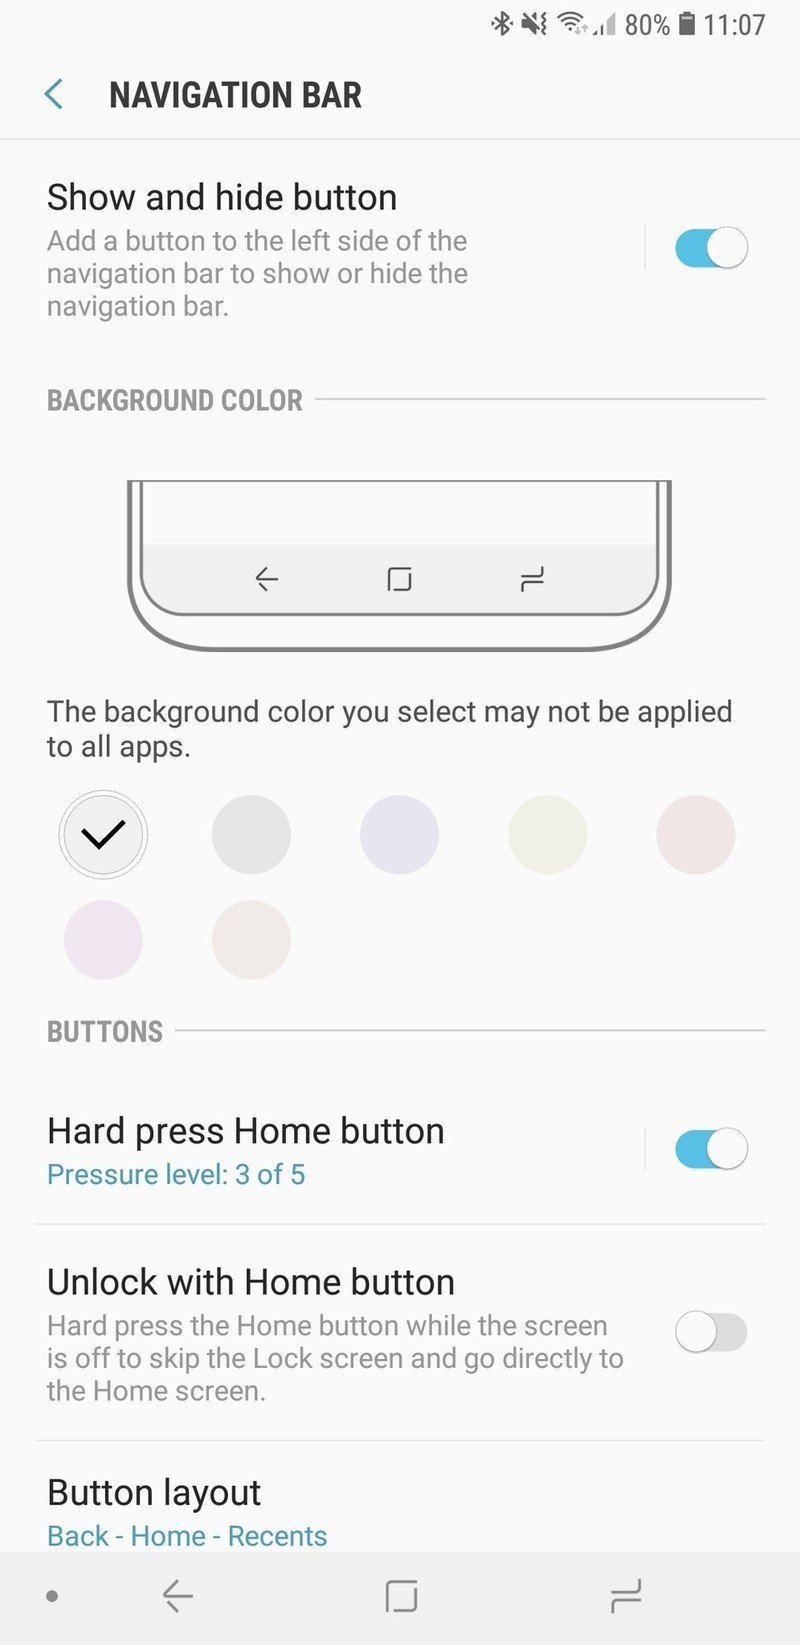
Years after moving away from hardware navigation buttons, Samsung is still shipping its phones with the "back" button on the right and "recents" on the left — but thankfully, you get options to configure them. Head into Settings, Display and Navigation bar to set them up how you like.
"Button layout" lets you switch the back and recents buttons, which is the most useful part of this whole area. But you can also change other parts. You can set a background color for the bar if you want something a bit more unique than a grey gradient. You can also select how sensitive the home button is to a hard press, which is used for (among other things) turning on the screen from the Always On Display.
"Show and hide button" is an interesting one — it gives you a small dot on the left side of the navigation bar that lets you hide the bar entirely. Double-tap the dot to hide the bar, and then it only appears when you swipe up from the bottom of the screen — once it's visible, double-tap it again to lock it in place. It isn't that useful considering how tall the screen is, and full-screen apps will hide the bar anyway, but if you have a specific need for it, the choice is yours.
Set up the blue light filter
It's been shown that being exposed to bright, blue light in the hours before you sleep can strain your eyes more than necessary and influence your ability to fall asleep and stay asleep. If you ascribe to this theory, you should use your Note 9's Blue light filter. With this feature, the display will turn to an orange-red hue at a specific time so when you look at your screen you don't strain your eyes so much.
Go to Settings, Display and then Blue light filter to configure it. First, toggle "Turn on now" to see what it looks like, and use the "Opacity" slider at the top to change how intense the blue light filter is. Turn it back off, and choose when you'd like it to come on automatically. "Sunset to sunrise" is a great choice, because it changes as the length of the day changes throughout the year, but if you have specific needs, you can also set a custom schedule.
If you ever want to turn off the Blue light filter manually, perhaps if you're editing a photo and you want accurate colors represented on the screen, you can add a toggle to your notification shade for quick access.
Configure Always On Display
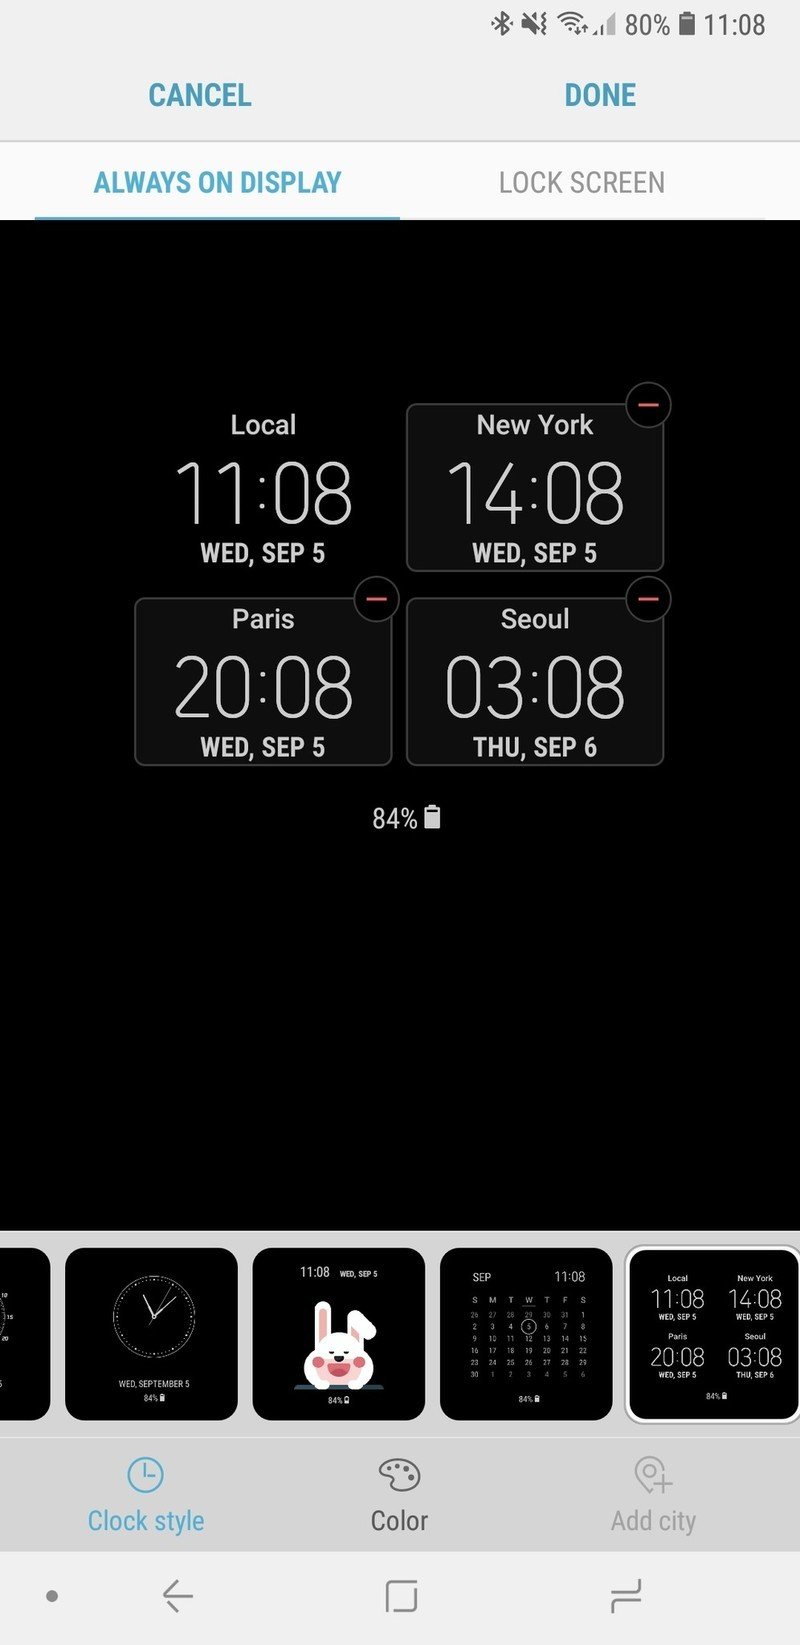
Samsung pioneered the information-dense always-on display with its exclusive use of OLED screens, and though it isn't as interactive and useful as other implementations, it's highly configurable. To start, go to Settings, Lock screen and tap Always On Display. Here, you can choose whether you want to see a clock on the Always On Display, whether you want it to automatically change brightness (believe me, you do) and when you want it to stay on. I typically set my Always On Display to only come on from morning to night, rather than 24 hours a day, but each person has their own needs. You can also turn off Always On Display when your Note 9's battery hits 15%, which is a smart battery-saving move.
Now back out of those settings and go to "Clock style" to configure how it looks on the Always On Display. Samsung has about a dozen different clocks to choose from, ranging from simple to extravagant, and each one has further configuration options. You can choose the style and color of each one, and then tweak further features depending on which one you choose. You can add subtle backgrounds to the clock, get multiple time zones set and so much more. Give yourself a few minutes to play around and see the options so it's set up uniquely for your needs and style.
Turn off app icon borders
This is a small thing, but one you'll be scrambling to if you haven't been using a Samsung phone lately. By default, Samsung's software places a squircle-shaped border around all of your apps, so that they all have the same size. This looks fine from a glance, but most app icons really don't look good with an auto-generated background, and you may want to turn it off.
Back in Settings and Display again, you'll see Icon frames at the top. Just tap it, and select "Icons only" and you'll be good to go. The interface even shows a quick representation of what apps look like with and without the frames.
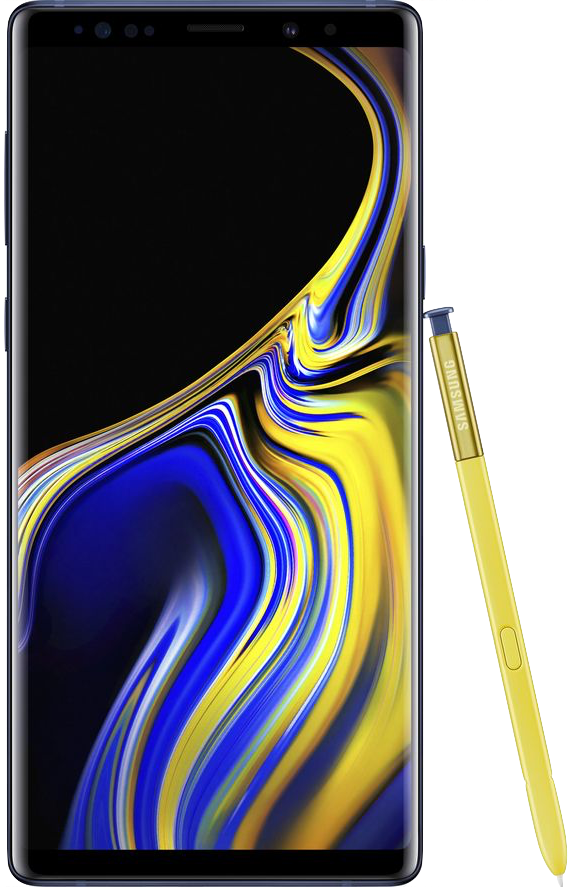
Samsung's best-ever flagship phone that can do it all.
If you want the best Samsung has to offer, you go with the Note 9. It takes everything that makes the Galaxy S9 and S9+ great and scales it up to be even bigger and better. You get excellent features, build quality and battery life, plus a unique S Pen that unlocks new capabilities you can't find anywhere else.
Andrew was an Executive Editor, U.S. at Android Central between 2012 and 2020.

