Trusted Face in Lollipop, explained
Through the last several years, face unlock has received several small updates but because of the way it worked and its unreliability to unlock your phone, many users chose not to bother with it. When Android 5.0 Lollipop was released, Face unlock was rebranded to Trusted face and was added to the list of Smart Locks. Trusted face is finally at a stage where it is good enough to enable on your device so that you too can unlock your phone or tablet just by looking at your device.
There might be slight differences based on your device
While most of these instructions are universal, you might find some slight variations when it comes to the location of your lock screen and Smart Lock settings. The screenshots and instructions that follow are based on stock Android 5.1.1 as found on the Nexus 6. Once you have located the Smart Lock specific settings, you'll be golden.
- LG G4: In the Security settings make sure Smart Lock is enabled as a Trusted Agent. All other Lock Screen and Smart Lock settings can be found in the Lock Screen settings.
- Samsung Galaxy S6 and S6 edge: The Smart Lock settings can be found by going into the Lock Screen and Security and then into the Secure Lock Settings submenu.
- HTC One M9: Smart Lock settings are found directly in the Security menu within the phone's settings just like in the screenshots provided.
Read now: How Trusted face works in Android Lollipop
You won't even notice Trusted face working in the background
One of the best things that Google did when it "reinvented" Face unlock is that it hid most of it away. With Face unlock, every time you wanted to unlock your phone or tablet you would have to go through this process that took longer than just unlocking your phone with whatever type of lock screen security you had in place. The main reason it didn't work well is because your camera would take over your screen and if you didn't want to wait for it, you would have to exit out of the process and then enter your lock screen security. Additionally, the process of your device "scanning" your face took an extremely long time and usually failed due to poor lighting or it just not recognizing you.
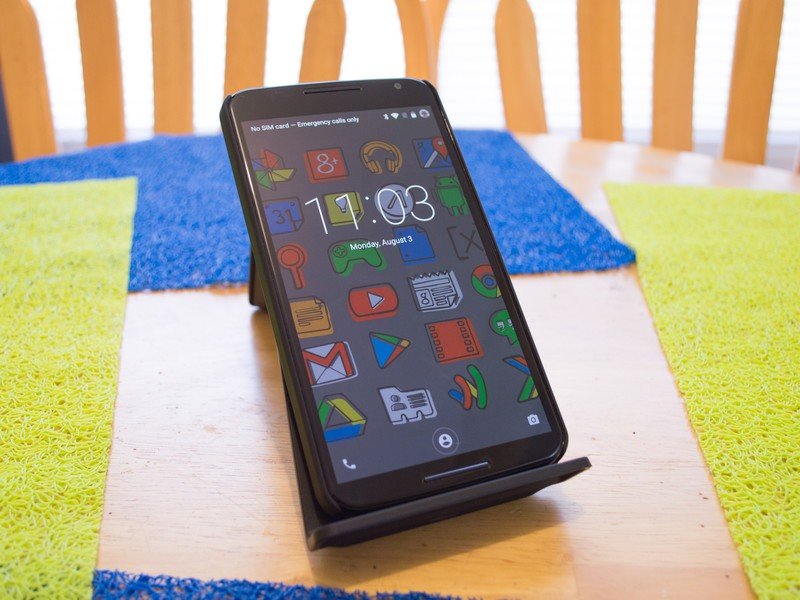
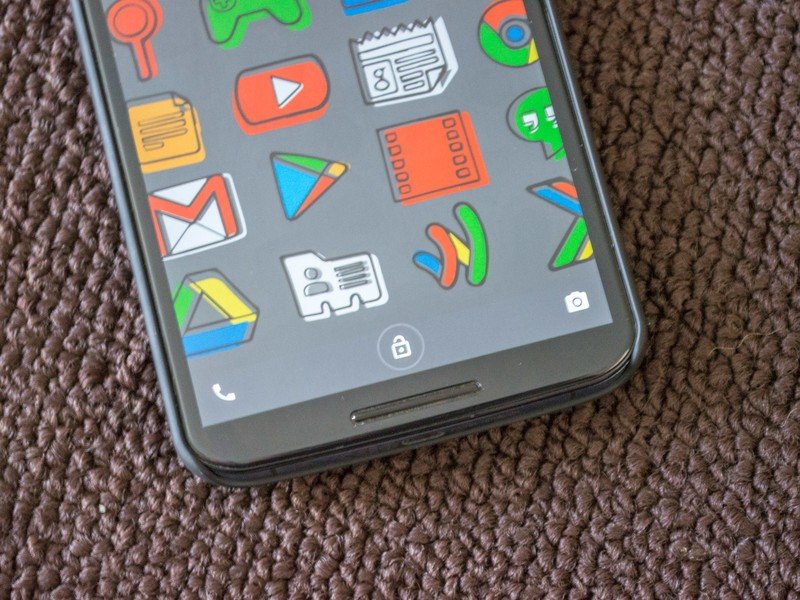
This all changed with Trusted face. Now when you turn on your display and want to get through your lock screen security, you will see a little icon at the bottom of your screen. As soon as the screen turns on, the icon will change to the outline of a person. This means that your phone or tablet is using your front facing camera and trying to recognize you. The process normally does not take long, but it will continue to try to identify you for several seconds. If you are recognized as a Trusted face, the icon will change to a picture of an unlocked lock and allows you to swipe directly through to your phone or tablet. If your device can't figure out who you are, it will change to a picture of a lock and will require you to input your screen lock before entering the device.
From my experience using Trusted face, it works best when you have several notifications to go through. While you are looking through the emails and texts you have received since the last time you used your device, your phone or tablet will attempt to figure out who you are so that you can bypass your security measures. If you don't give your device enough time to recognize you, you will just have to input your password or whatever type of security your have to unlock your phone or tablet.
Be an expert in 5 minutes
Get the latest news from Android Central, your trusted companion in the world of Android
Setting Trusted face up is much like taking a selfie
Just like with any type of Smart Lock, you will need to make sure that you have some form of lock screen security enabled for your phone or tablet. To do this, head into your device's Security menu located in the Settings. Locate the Screen lock option near the top of the screen and choose whichever type of security you want on your device. It does not matter if you use a Pattern, PIN, or Password just as long as there is some form of security in place to stop unauthorized people from accessing your device.
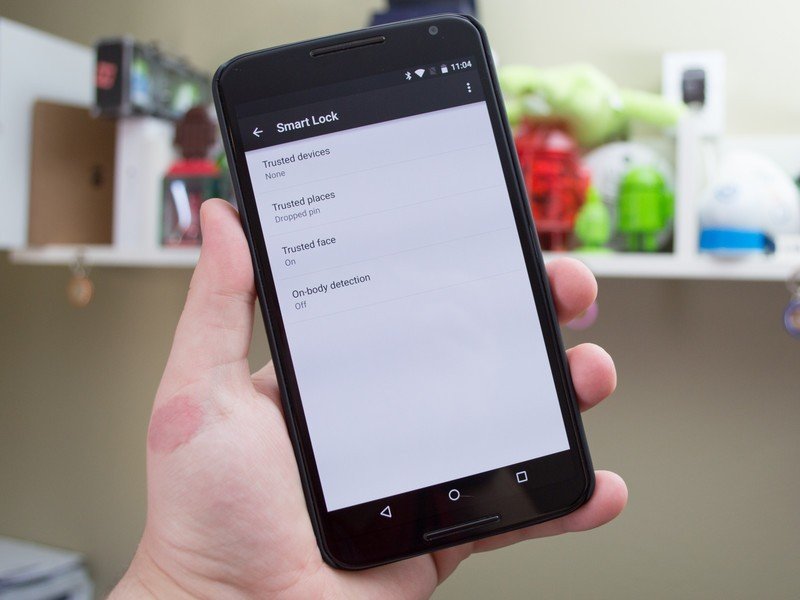
With a screen lock now in place, there will be a Smart Lock option within the Security menu. If you do not see it, it means that the lock screen security was not set up correctly. When you enter the Smart Lock menu, you will be asked to input your Pattern/PIN/Password that you created for your lock screen. After this screen, you will be greeted with a list of all the different Smart Locks. For now, choose Trusted face. The next two screens will tell you about the feature and the best practices for setting it up which includes holding your phone at eye level and making sure that your face is well lit and easily visible.
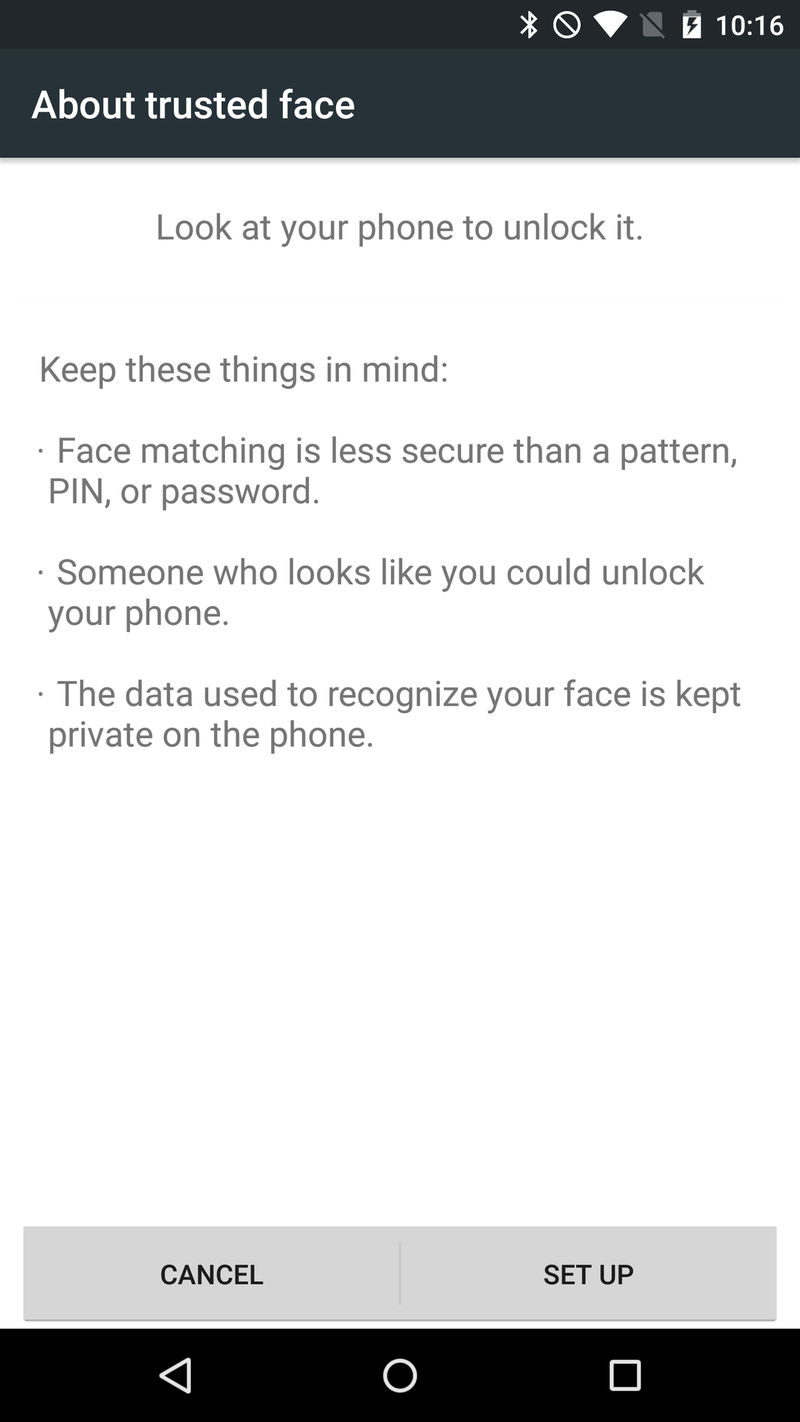
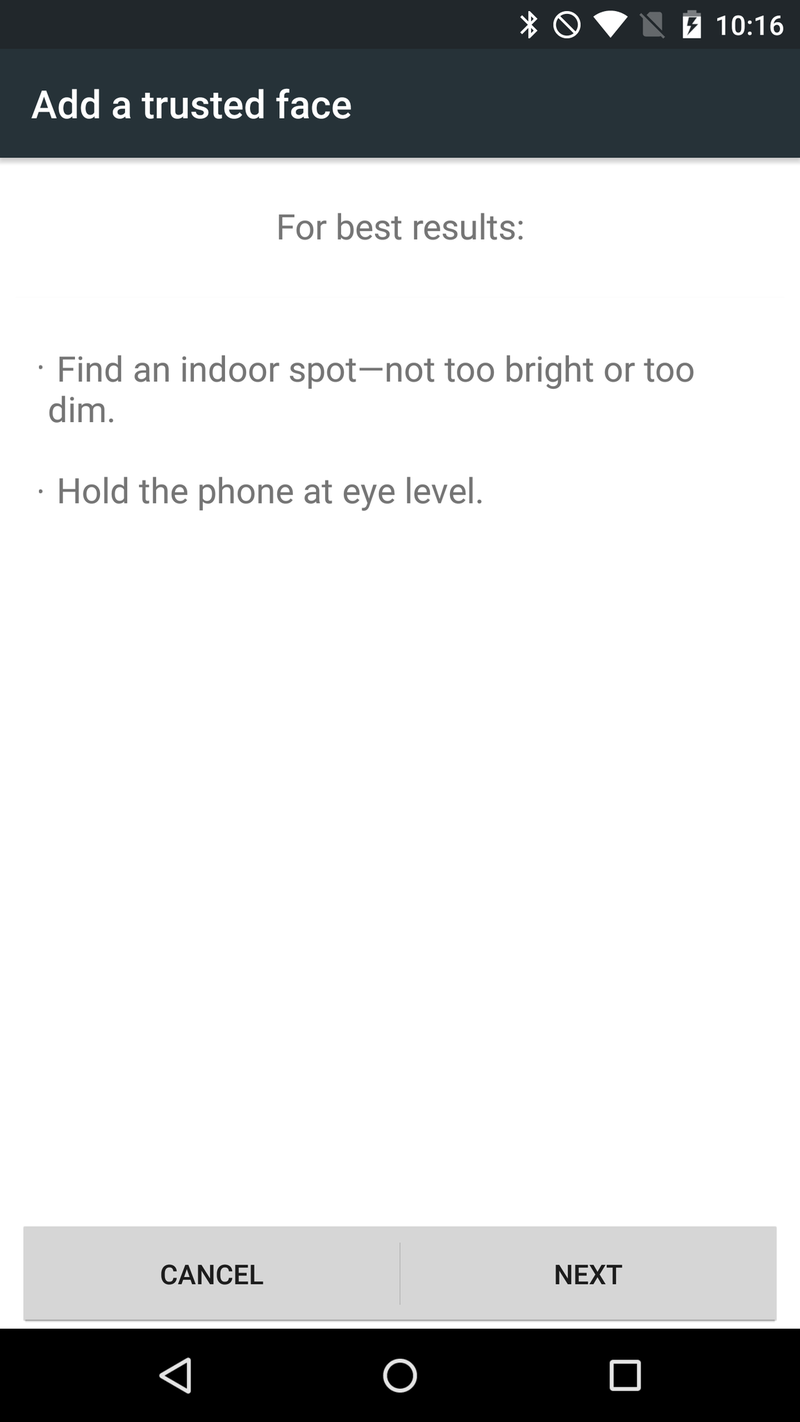
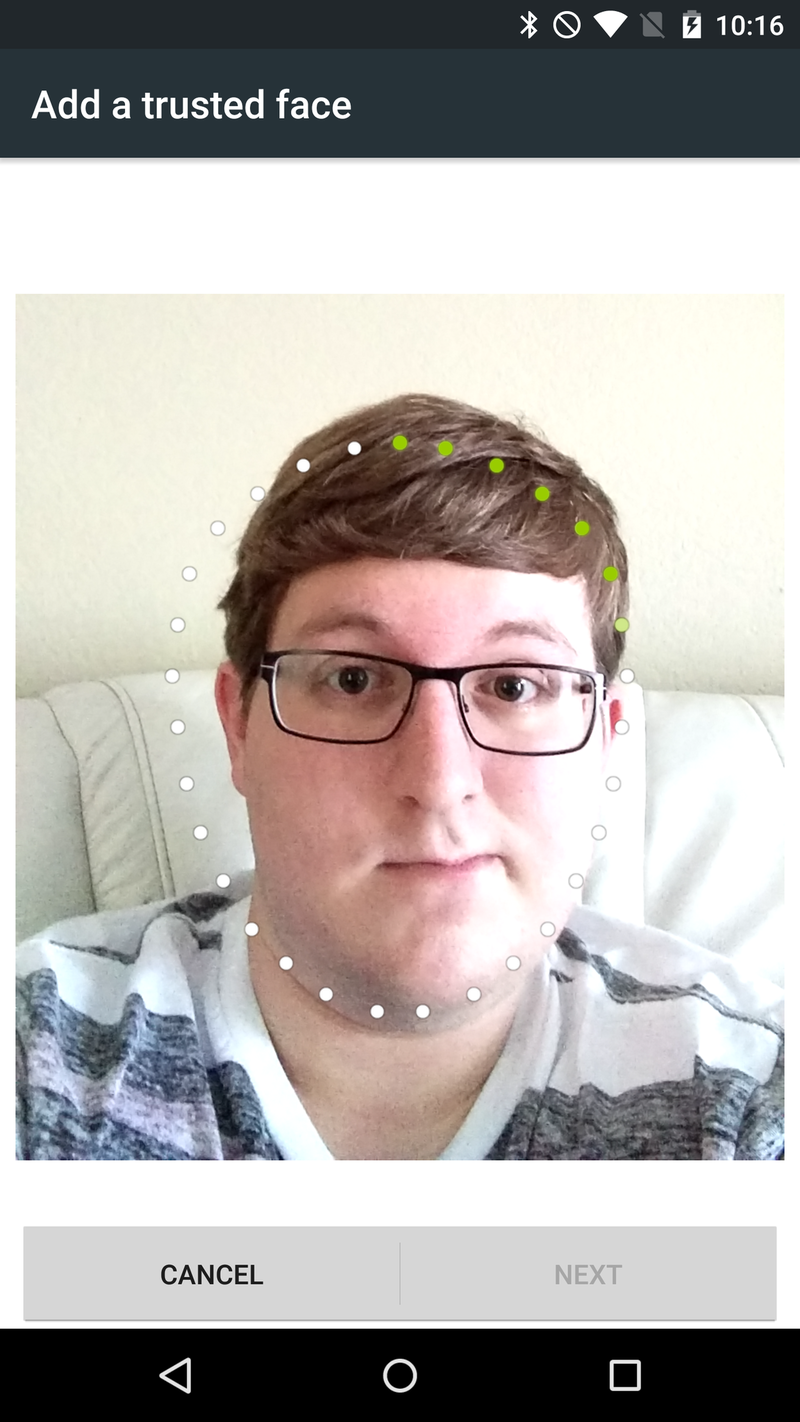
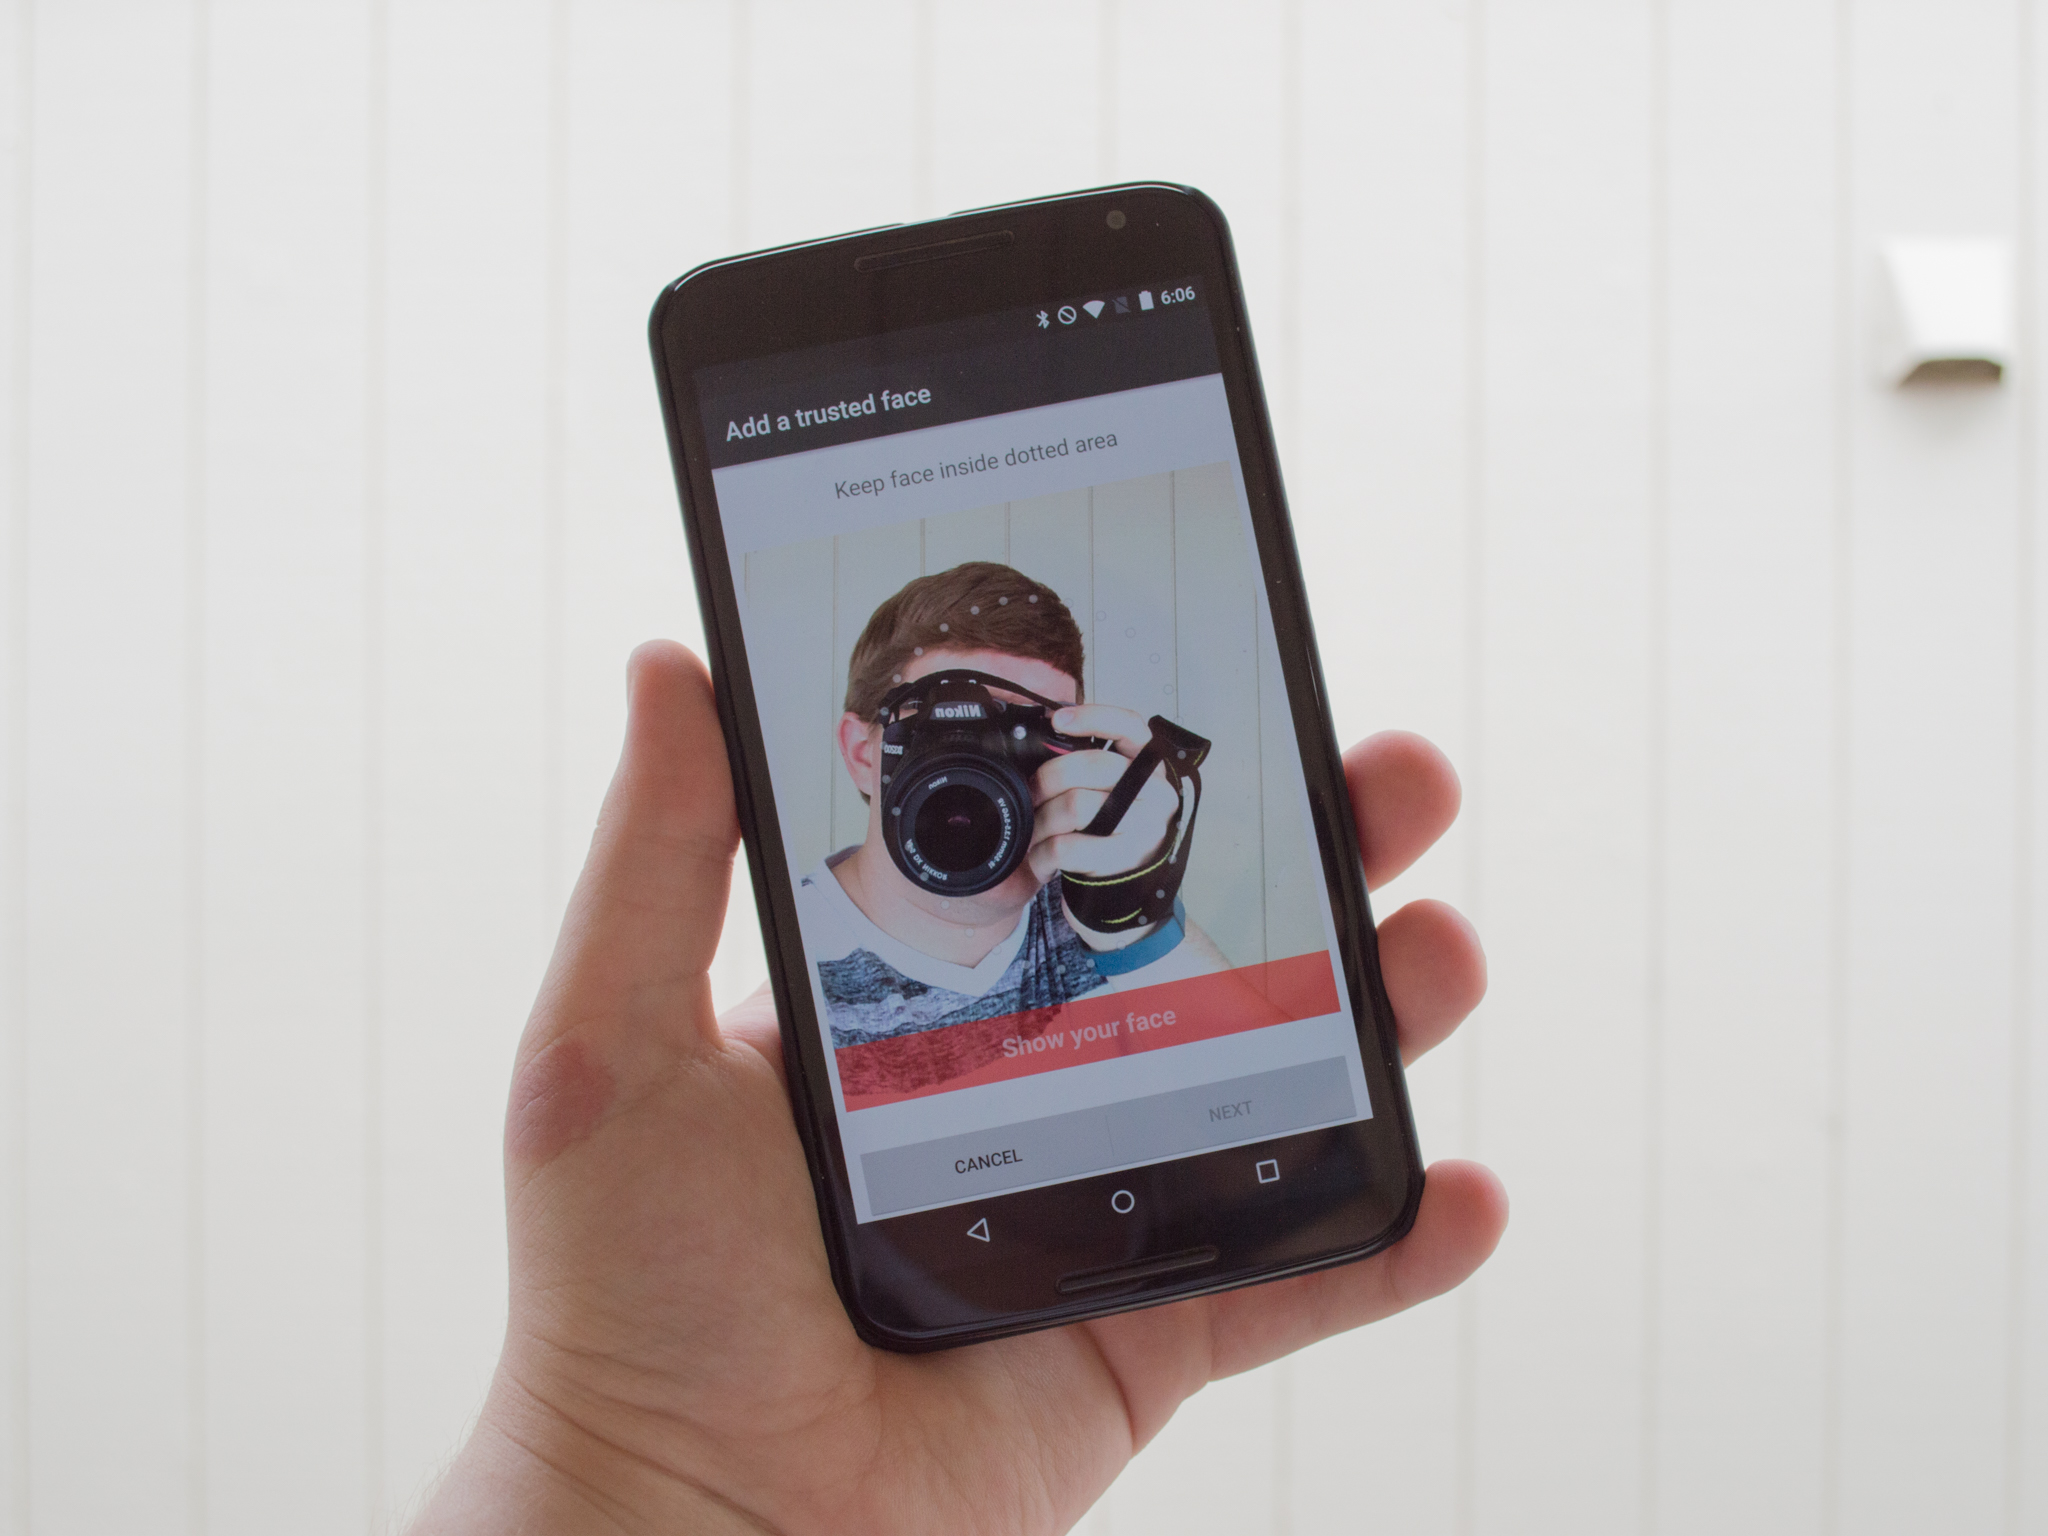
When you add your Trusted face, the screen will change to show what the front facing sees and hopefully, it is you. Line up the dots so that they line the outside of your face. The Smart Lock will now learn your face for a couple of seconds (indicated by the dots turning green) and will show you a check mark when it has completed. The following screen will give you an overview of what to look for when unlocking your phone or tablet and recommends that you improve your Trusted face. More on that in the next section.
That is about it for the setup process. You can test it out by locking and unlocking your device and watching the icons change. If everything worked properly, you will see the unlocked symbol and be able to swipe directly into your phone or tablet. Make sure to read the next section about improving your Trusted face so that it is more likely to recognize you and bypass your lock screen security.
Train your phone to recognize you no matter how you look
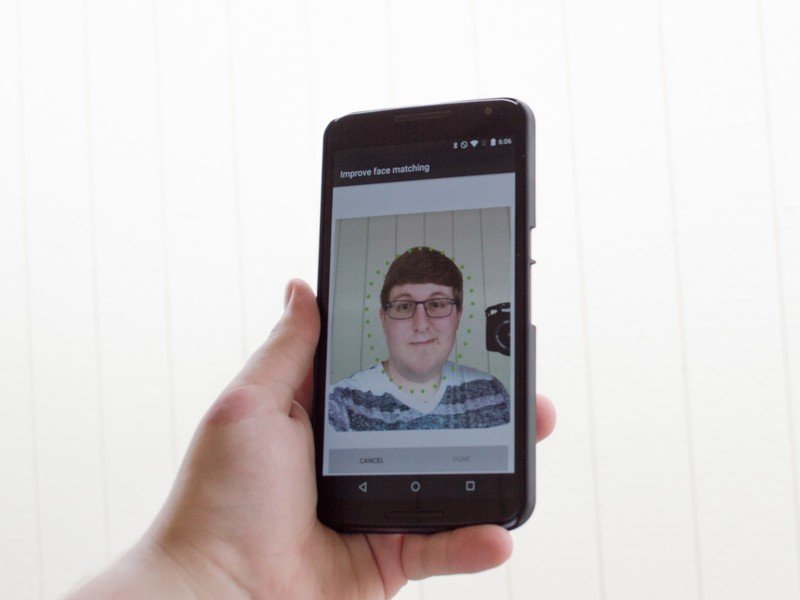
Now that you have gone through the setup process of adding your Trusted face, it is time to help your phone or tablet recognize you in different situations or environments. The option to improve the face matching should have appeared in the menu right after setting up your Trusted face. If you have already left your device's Smart Lock settings, just head back into your Security settings and find the Smart Lock option. Input your Pattern/PIN/Password and tap on Trusted face. You will now be greeted with the option to improve face matching or to remove your Trusted face. Select Improve face matching.
The first screen will give you a quick explanation on why you would want to improve your face matching and some examples include wearing different types of glasses, different lighting, or if you have different styles of facial hair. The next screen will look very similar to the screen seen when setting up your Trusted face. Line up the dots on the outside of your face and wait for your phone or tablet to complete the scanning.
That's it! You can continue to improve your Trusted face as much as you like. The more variations of your face that you share with your device, the easier it will be for it to figure out that it is you and to allow your through your lock screen security.
If you don't like the feature, remove it
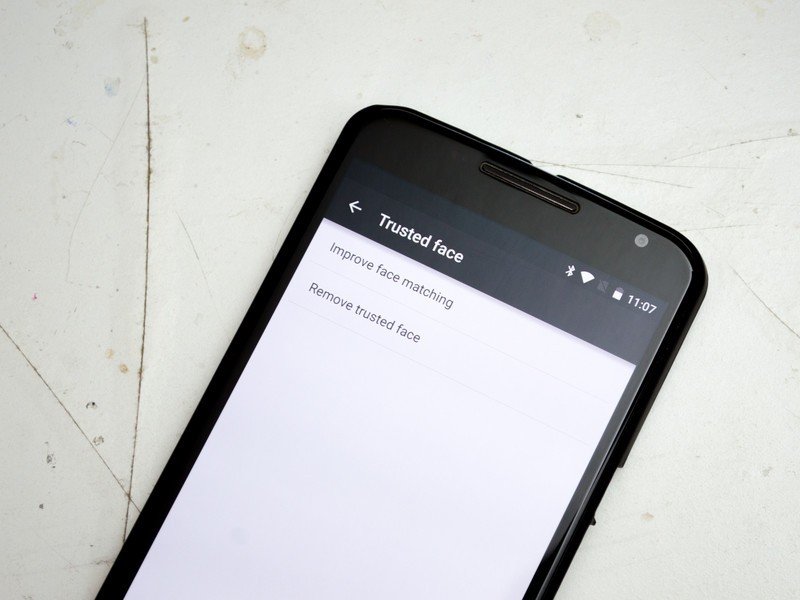
If the time comes and you want to remove your Trusted face, you can easily and painlessly do it from the Smart Lock settings. Simply head back into the Security settings menu and find the Smart Lock option. Enter your Pattern/PIN/Password and tap on Trusted face. You will see the two options which include improving your face matching and removing the Trusted face completely. Choose the Remove trusted face option and a dialog box will pop-up asking you if you are sure that you do in fact want to remove your Trusted face. Click Remove and you are done — it couldn't be any easier!
The possible downside of Trusted face
Trusted face is an amazing update to the old Face unlock, but there is one thing missing: Liveness check. Liveness check was introduced in Android 4.1 Jelly Bean and was a way to make sure that the face your phone or tablet was scanning was real. The main security concern that arose when Face unlock was introduced was that you could use a photo of the owner of the device to bypass the lock screen security. With Liveness check, the user had to train Face unlock to recognize the user's face and check for the user to blink.
This security feature is missing from Trusted face and there is no word on why it was removed. One could assume that there is some sort of check built into Trusted face to make it more secure, but there is no official option to turn this feature on. I have tried showing my phone different pictures of my face, but I have yet to trick Trusted face to bypass my lock screen security with anything but my own face.
My point to this is that adding this Smart Lock will limit the amount of security protecting your device. Besides the possibility that you might be able to trick Trusted face with a picture of yourself, it is possible that someone with a similar looking face could unlock your phone or tablet. There is no way to make sure that Trusted face only unlocks to your face but that is a risk you will have to take by using it. When you take the convenience of being able to unlock your phone or tablet with nothing more than your face, the positives might outrank the small possibility of Trusted face giving someone else access to your device.
More: Smart lock screen security options in Android 5.0 Lollipop

