A beginners guide to Android photography settings
Your Android probably has a decent camera right out of the box. If you never touch any of the settings, and remember a few basic techniques to get great pictures, you'll probably get those great pictures. But you can take things a step further by mastering a few basic controls in your camera app.
Knowing a bit more about how and why the basic camera settings work will give you better pictures under a wider range of conditions than using the defaults will. And the best part? It's all pretty easy to get a handle on.
READ NOW: A beginners guide to Android photography settings
What is exposure value?
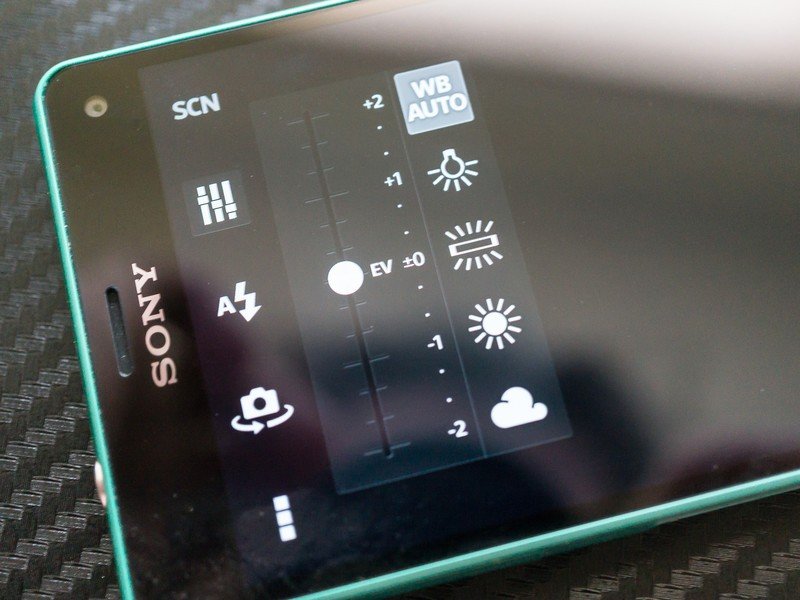
Exposure (when talking photography) is a measurement of light based on shutter speed, lens aperture, and illumination. Exposure value is exposure expressed as a number that's based on shutter speed and aperture. This is independant of any ISO setting. What this means is that no matter what combination of f number or shutter speed you used to reach a certain EV, the result will look the same as long as it's under the same lighting.
On our Androids, we can't adjust the aperture (that's the f number the people making our phones like to tell us) and in most cases we have little control over the shutter speed. Sometimes, we have no control over the lighting. In those cases, we can adjust the EV.
You'll find the EV adjustment buried in the settings, and it will likely look like a slider. You can move the slider to the positive (+) side, or to the negative (-) side. Each number represents a "stop", so when you hear people using that term you know they are talking about a change to the EV of a picture.
Changing the EV towards the positive will make your picture brighter. Changing the EV towards the negative will make your picture darker. Moving it too far in either direction will increase noise and may make your final image look bad, so it's best to make small adjustments if you make any at all.
Be an expert in 5 minutes
Get the latest news from Android Central, your trusted companion in the world of Android
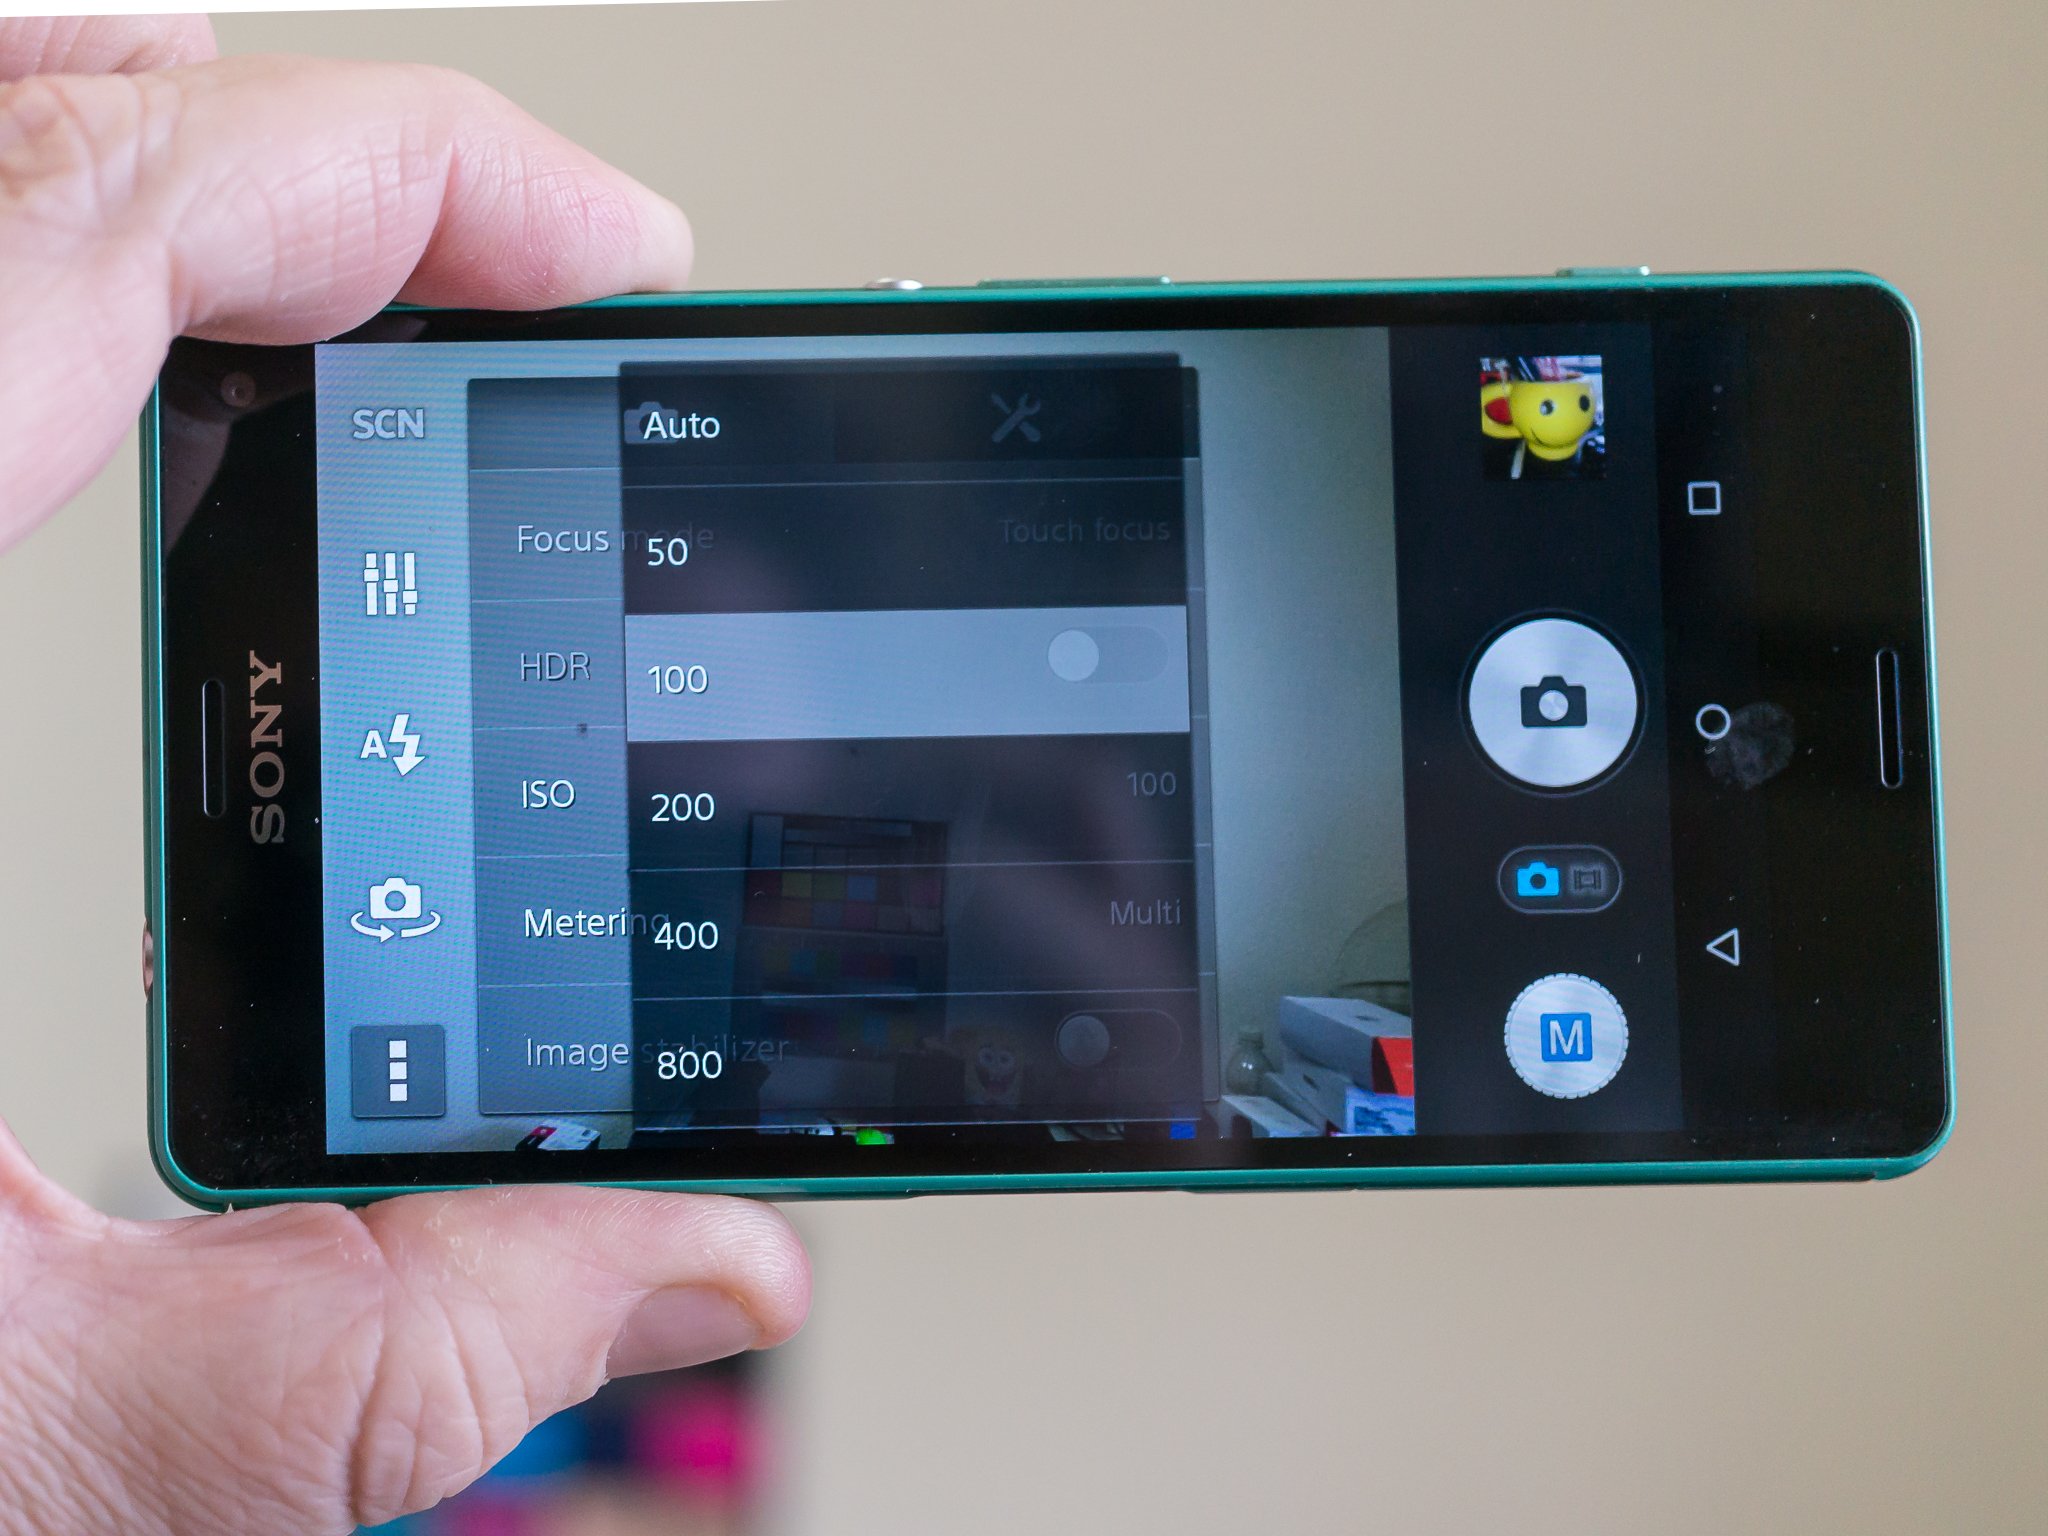
What is ISO?
ISO (again, we're talking cameras here) is the sensitivity of your camera to light. The lower the number, the less sensitive the sensor is to light, and the higher the ISO number, the more sensitive it is to light. On digital cameras — like the ones in our phones — this is changed with an adjustment of the signal gain to and from the sensor.
For our needs, know that the more light you have, the lower ISO number you need to have enough light to take a sharp picture. A lower ISO number is better because increased signal gain and higher sensitivity to light means your picture will have more noise in it.
You might need to bump the ISO number higher when shooting in low light or when shooting pics of things that move a lot. But try to keep the value as low as you can for smoother images with less digital noise.
What is white balance?
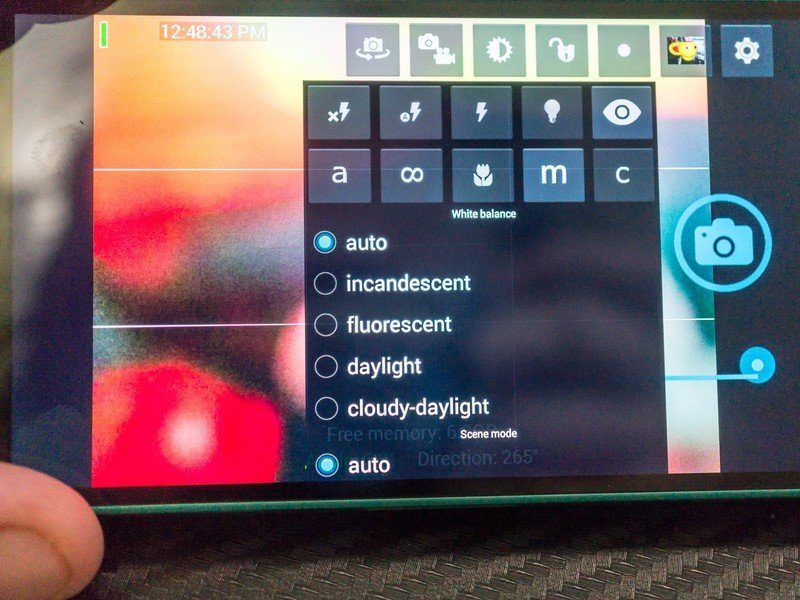
Not all lights are created equal. Light color is measured in temperature, and what looks like natural sunlight to our eyes is a value around 5,500K (Kelvin) to 6,500K. Lower temperatures will look yellow, and higher temperatures will look blue.
Our eyes do a good job of adjusting for changes in light color, but cameras generally don't. Take a picture under a cool white fluorescent lamp and chances are your picture will have a bluish color cast over everything. Take a picture under a standard tungsten lamp, and things will look yellow.
You can adjust for this in your camera settings. Your white balance settings will offer different options for different types of light, and changing the white balance can make a world of difference.
About aspect ratios
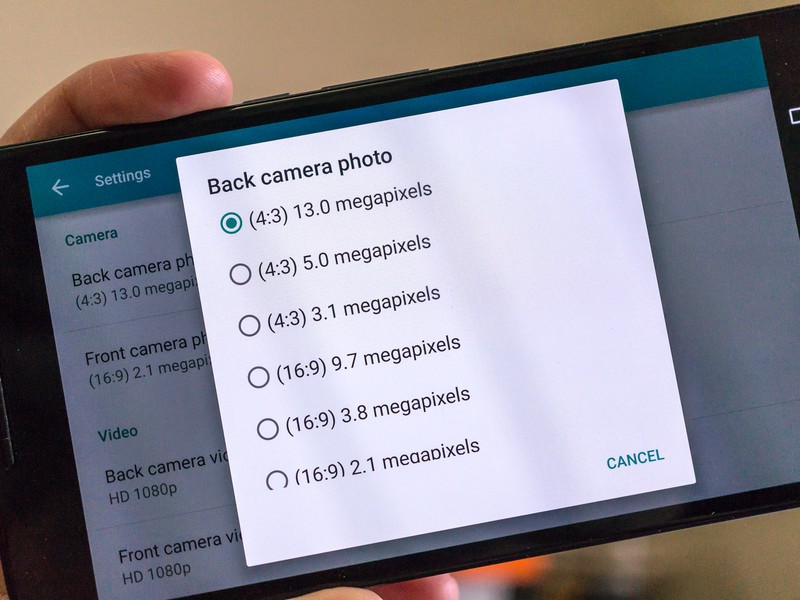
Aspect ratio is the relation of the width of your finished picture to its height. Usually expressed as something like 16:9 or 3:2, the first number is is the width and the second is the height. No matter what unit of measurement we use, the ratio stays the same: a picture four inches wide and three inches tall has an aspect ratio of 4:3, and so does a picture that's four miles wide and three miles tall.
The aspect ratio you use is entirely up to you. Common choices — and the ones you'll likely find on your phone — are 16:9 and 4:3. A 16:9 aspect ratio gives your pictures that widescreen look, while a 4:3 setting is a more traditional print style. If you want your pictures to fill the screen on your Android phone, you'll want to take them in 16:9.
Geotagging, and why you might not want to use it
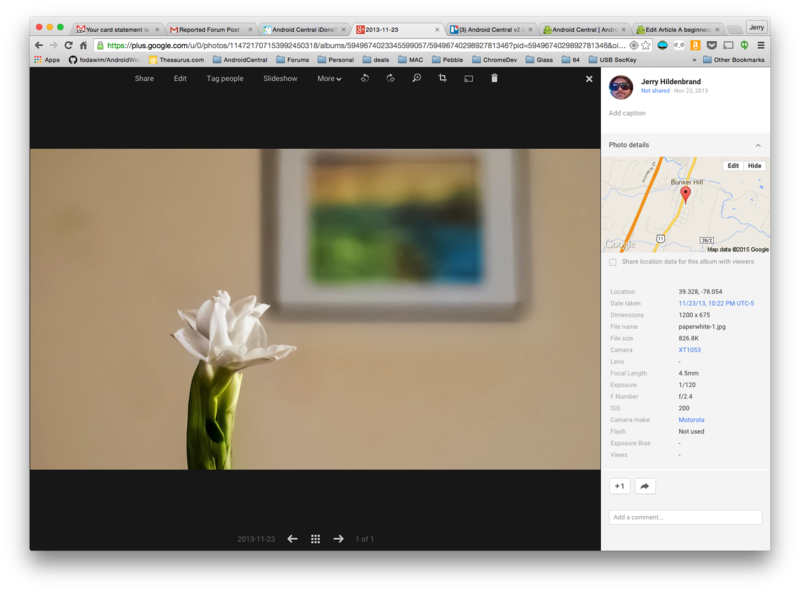
Geotagging is when your phone uses your location and embeds it in image data when you take a picture. Apps can use this information to see where (and when) you took a particular image, and do cool things like show them on a map or make a travel diary. It's a neat trick, and it can be very useful.
It also can let anyone who knows how to look at the exif data of a picture (and that's really easy to do) know exactly where the picture was taken. If you don't want people to be able to see where you were when you took a picture, make sure this setting is off. This is especially important for the kids. Think of the kids.
You'll find a way to toggle geotagging on and off in your camera settings.
Where did my picture go?
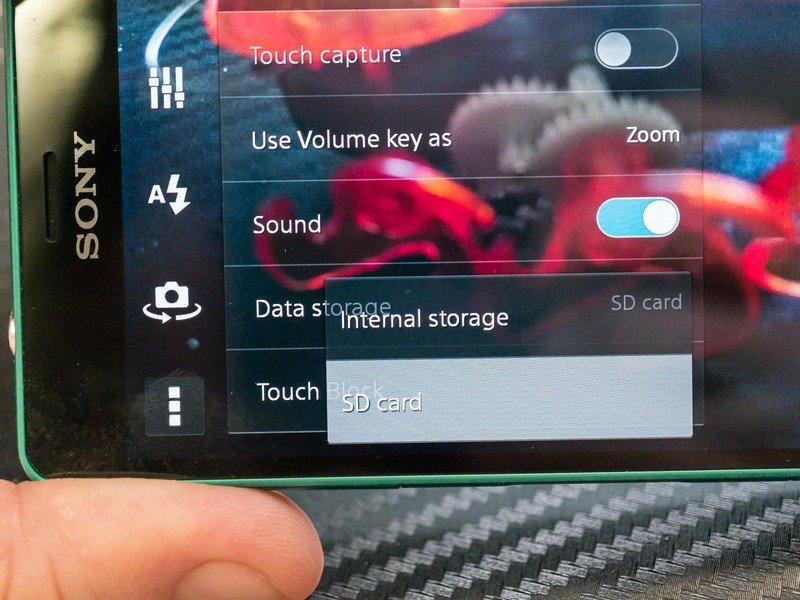
If you have a phone with an SD card, you might have to tell the camera application to use it when saving pictures. You'll find this option in the app settings, and you can change it on the fly if you need to.
It's worth noting that this is especially important when taking 4K video, as these files can get big.
No matter where you saved the pictures, chances are your favorite gallery app will still be able to find them. This is just a housekeeping and space issue.
These basics should get you started on the path to taking better pictures, no matter what Android you're using. We're going to be exploring all things Android photography in the coming weeks, so we'll have plenty to discuss.
The photography forums are a great place to have those discussions, and learn more tips from people who have mastered the camera on their phone.

Jerry is an amateur woodworker and struggling shade tree mechanic. There's nothing he can't take apart, but many things he can't reassemble. You'll find him writing and speaking his loud opinion on Android Central and occasionally on Threads.
