Android 101: Adding your own custom sounds to Android events
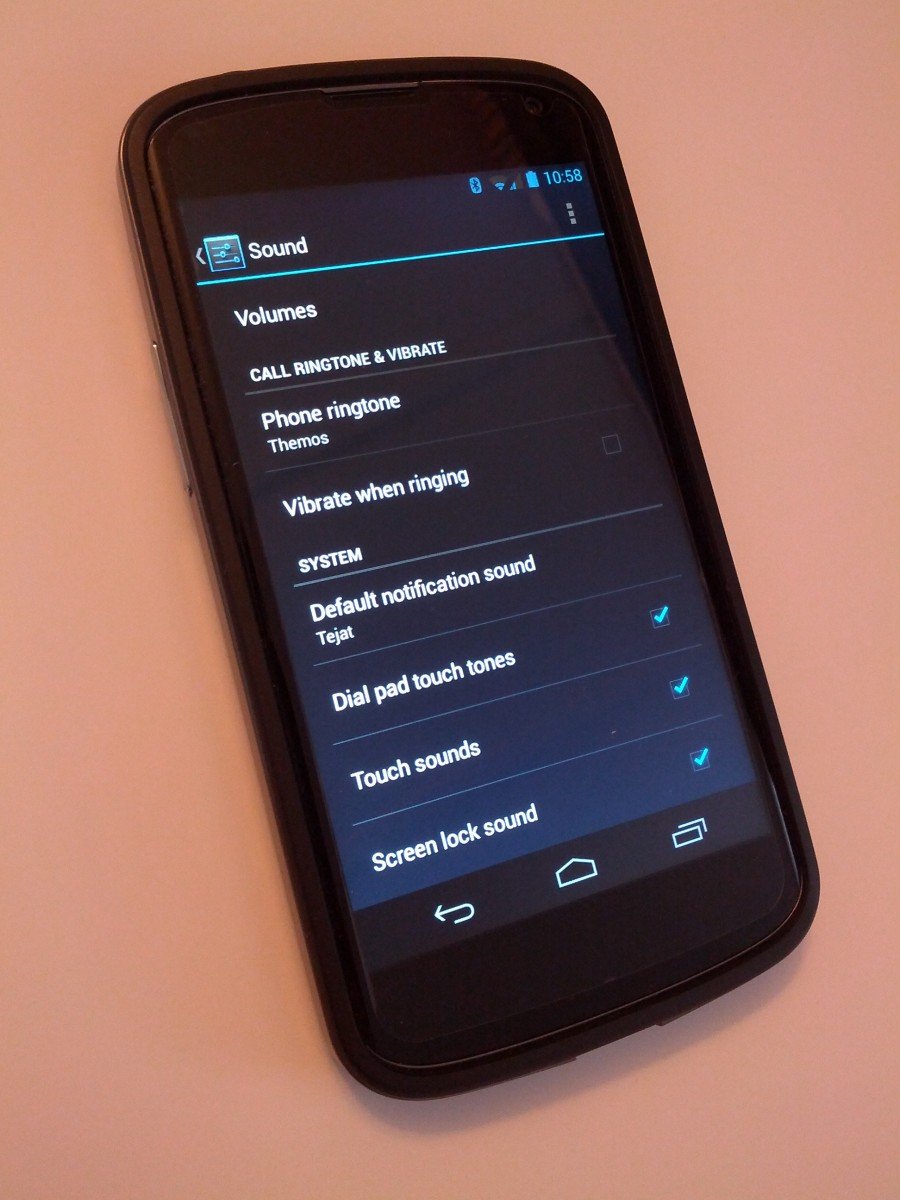
The first thing most people do when getting a new phone is change the ringtone. Depending on which Android device you own, your options for different alarms, notifications, and ringtones will vary. Perhaps you aren’t happy with the sounds that came preinstalled on your phone, or you’ve been using the stock sounds and are ready for a change. You’ve got some ringtones on your computer, and want to use them on your phone. How do you get the files from your computer, to your phone? Do you have to put them in any specific place for them to be selectable in the Android menu, and will they be listed in the same place as the sounds that came with your phone? Does it matter what kind of sound files you use? You can find the answers to these questions, and more, after the break.
Choosing the Right File Types
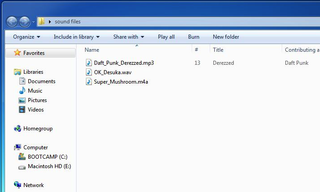
Before you start copying files to your phone or tablet, you’ll want to make sure they end in the correct extension. There are many different kinds of sound files out there, and not all of them will work with Android. My file type of choice is mp3, since these files are easy to find, as well as compressed and take up less memory. You can also use m4a files, wav files, or even the less common ogg files (default Android sounds use this extension). If you stick with these types of sound files, you shouldn't have any problems.
Getting Ready to Copy Your Sounds
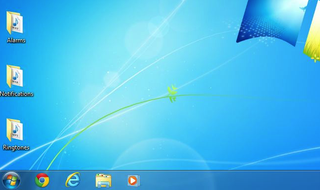
There are three kinds of Android sounds you can customize: Alarms, Notifications, and Ringtones. Examples of uses for these would be the alarm clock going off, receiving a text message, and getting a phone call, respectively. You’ll want to make a folder for each one that you want to customize on your computer, and place the sounds you want in each corresponding folder.
Transferring Sound Files
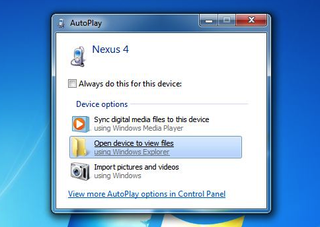
Connect your Android device to your computer using a USB cable. It might take a few seconds for Windows to recognize it, but eventually you’ll see a prompt like the one above. If you have an older device that doesn’t become visible after a few seconds, you may need to go into Android notifications and mount USB storage.
For non-Windows users with older devices, you can also mount USB storage in OSX and Linux to copy files over. If you have a newer Android, you probably don’t have this option on your device. OSX users can use Android File Transfer, but connecting to Linux is beyond the scope of this guide. It might be easiest for Linux users to use something like AirDroid to transfer their files wirelessly.
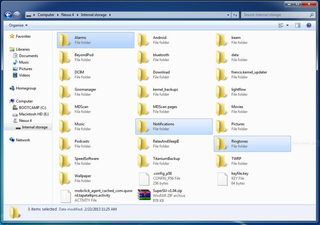
Once you open your device to view its files, you should see something like the above. If your device already has folders for Alarms, Notifications, and Ringtones, just drag and drop your sound files into the corresponding folders in Android. If these folders don’t already exist, drag and drop the entire folders from your computer.
Selecting Your New Sounds
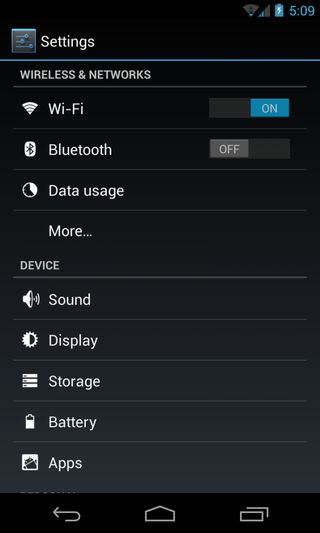
Once all your files are copied over, unplug your Android device from your computer and reboot your phone or tablet. Then go to the main Android Settings, and find the Sound menu.
Be an expert in 5 minutes
Get the latest news from Android Central, your trusted companion in the world of Android
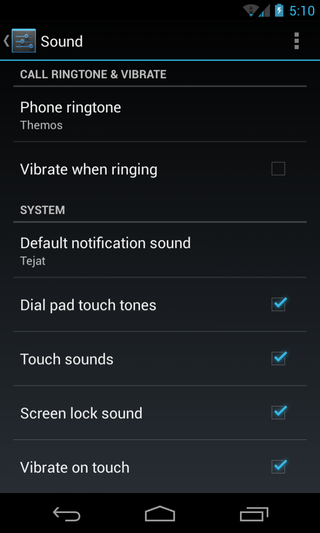
From here you can set your ringtone and notification sounds. Let’s use the ringtone as an example. I copied Daft_Punk_Derezzed.mp3 into my phone’s ringtone folder, so let’s find it and set it to that ringtone.
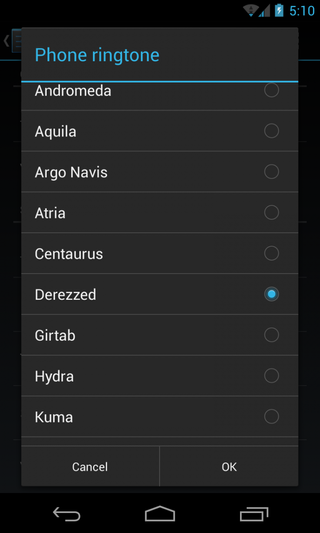
And there it is, ripe for the setting. You might have noticed that the name of my ringtone does not match the name of the actual file I copied over. That’s because mp3 files can have internal file naming that differs from the file name you see on your computer, so don’t panic if you can’t find your mp3 ringtone right away. If you refer back to the “Choosing the Right File Types” section of this guide, you’ll notice the internal filename is listed in that folder under Title.
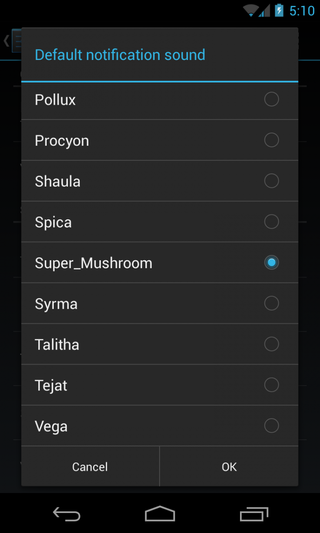
You can similarly set the default notification sound from Android Settings, just like your ringtone.
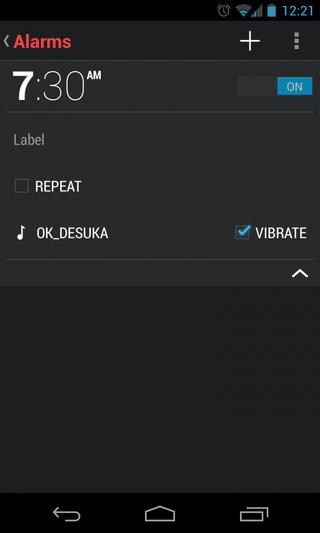
If you want to make sure your alarm sounds copied over correctly, open up any alarm app and change the alarm sound - your sound files should now be selectable in the menu.
The Wrap-Up
So there you have it. Copying sound files from your computer to Android is a fairly simple process, and an important one when starting to customize your phone or tablet. You have the luxury of finding sound files using your computer, and the ability to quickly copy them over. I use this method to move all my ringtones and notifications over from my old phone whenever I get a new one. There are many different computer set ups, and a lot of different Android devices, which can sometimes complicate things. If you had any problems with getting your sounds onto your Android, make sure to hit the forums for some assistance.

