5 reasons your smartphone photos suck (and how to make them beautiful)

You may be the one who takes countless photos on your phone, shooting anything and everything when the mood strikes you. Do you like how they look? Do you think there's something missing? Could you do better if you changed a few things?
Unless you're a professional who is already naturally selective when capturing any scene, the answer to all of those is probably yes. The beauty of mobile photography is not only its convenience, but its continuing evolution that makes it easier to shoot in more situations. Don't expect to match what a good DSLR or mirrorless camera can do, but with the right adjustments, your phone's photos will come out looking better.
If your photos are looking less than stellar, it usually comes down to one of five reasons.
You used your own flash and not someone else's
See that LED flash on the back of your phone? It's one of the crappiest features your device has for a couple of simple reasons. First, it produces weak output that dies fast beyond 10 feet. And second, it blares out in a straight line directly in front of the subject, which is one of the worst ways to use any burst of light.
I go into more detail about it in this post, but suffice it to say, it's a feature you should keep off unless you're using it to help someone else. If a friend can help light up a subject for you by shining their phone's LED flashlight onto it from an angle, then you can shoot it without using your own flash.
You didn't learn the modes available to you
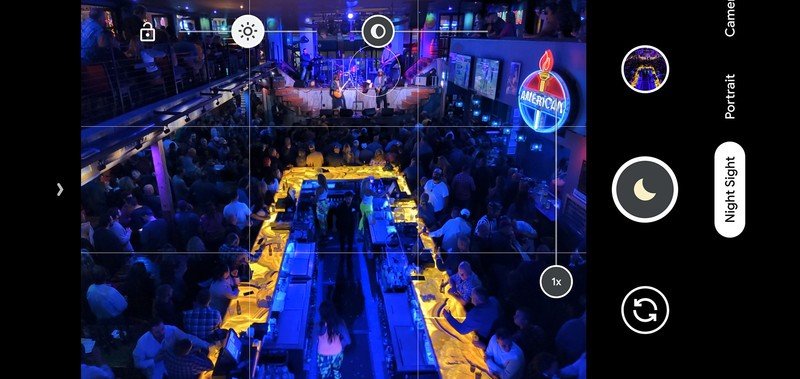
Some phones have an arsenal of features available to shoot with. Not the gimmicky ones that overly soften skin or do some other weird effect, but the ones that actually do some good. One of my favorites is Night mode, which may have a varying name, depending on the device. If you are going to shoot anything at night, be it posing friends, a cool structure or a dark indoor setting, try using that mode instead of just shooting in the automatic photo mode.
These night modes are dedicated to emulating long-exposure photography.
The reason why is very simple: these night modes are dedicated to emulating long-exposure photography. They capture multiple frames at different exposures and merge them together to create a well-lit scene. It's a mode that works best with static scenes, so you may not get great results if something is moving. Unfortunately, phones aren't quite there yet.
Be an expert in 5 minutes
Get the latest news from Android Central, your trusted companion in the world of Android
But that's where a pro or manual mode can come in. Here, you have control over shutter speed, ISO, exposure and white balance. This mode is super useful at any time of the day or night because it can add contrast to bright scenes, while reducing noise in dark ones. Learn how to use pro or manual, and your photo quality will only get better.
And last but not least is HDR (high dynamic range). This can be a stellar option to shoot with in any setting because it focuses on adding detail to the highlights and shadows. If it's there for you to shoot with, use it.
You didn't try different angles
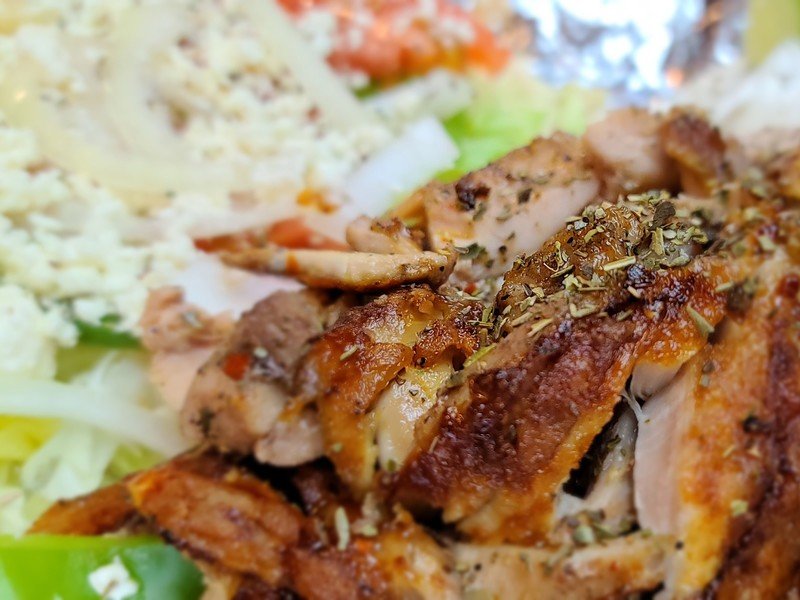
It amazes me how people will adjust the angle to flatter themselves while taking a selfie, only to not consider that when shooting anything else. Perspective is a big part of photography, and changing up the angle can tell a different story or add depth to whatever is in the frame.
A good example is when shooting food. More often than not, the photo will either be on a 40-degree angle in front, or directly overhead. Neither shot is necessarily wrong or bad, but you can add a different look to the dish if you try adding some perspective. One way to do it is to use your phone's portrait mode (aperture mode on Huawei phones works, too) and shoot it from a slightly lower angle. The bokeh effect inevitably adds blur to whatever is in the background. The food looks more majestic and appealing, too.
Switch to regular photo mode or use pro/manual and get closer.
Switch to regular photo mode or use pro/manual and get closer. Focus on the dish at whatever point you want, and let the bokeh naturally fall on the background. No matter what, never use the flash to shoot a dish. Some restaurants will be dimly-lit, and that's where a night or pro/manual mode can come in handy. If the table has a candle or light on it, you could also try putting that to one side of the dish to add some ambient light.
No matter what you shoot, try angling the phone in various ways to see if you can capture something cool or interesting. If there's a slit or hole, shoot through it. If there's something tall, shoot it from a lower angle. And if there's a way to use the "rule of thirds," try that out.
You used digital zoom to get closer
Next to the LED flash, this is the next worst feature in a phone's photography toolkit. All it does is digitally crop into the image at the expense of its overall quality. The resulting photo is likely to range between mediocre and awful. While it's understandable that phone lenses don't always make it easy to see and get closer, you are better off avoiding digital zoom altogether.
If your phone has optical zoom, use that because you will end up with something better every time. Some phones will offer hybrid zoom, which combines optical and digital zoom together for a tighter focus. These aren't too bad, and worth trying within reasonable limits. For example, the Samsung Galaxy S20 Ultra has a 4x optical zoom and 10x hybrid zoom. It's not amazing, but it's considerably better than a full 10x digital zoom would be. The 30x or 100x zoom, however, are not good.
That same phone offers another method, which is to shoot with its 108-megapixel sensor and then crop out what you don't want after. If you can't physically get closer to the subject or scene, features like that can be handy.
You used filters, not editing tools
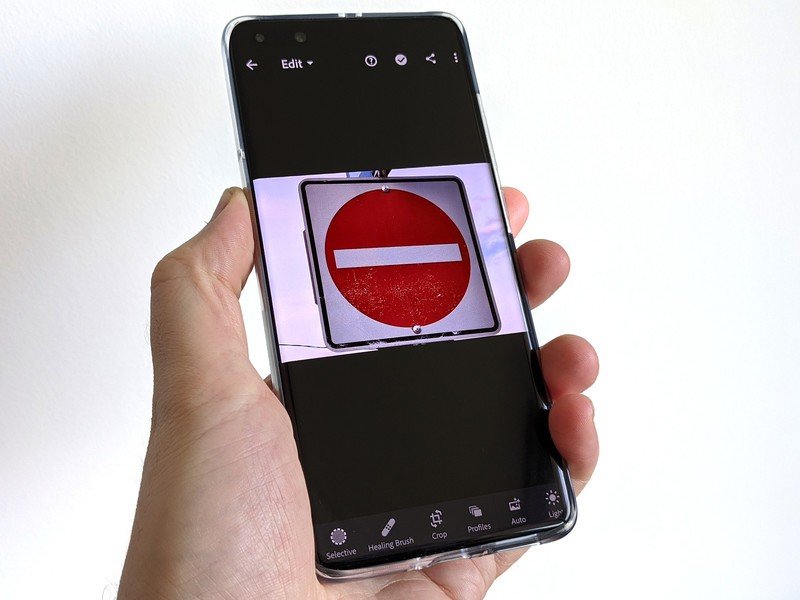
Filters became all the rage with social media, but they duped people into thinking that they actually made pedestrian images look better. They often didn't, and the overzealous processing only added to skewed perceptions toward these images. That still happens now with apps like Facetune.
Filters aren't necessarily the best route to take.
Digital filters are supposed to emulate the physical lens filters photographers used for decades to create similar effects from scratch. They are undoubtedly conveniently fast, and some are even pretty decent, but many aren't good fits for the photos people slap them onto. When a photo needs some editing, filters aren't necessarily the best route to take.
If you use a good editing app, like Snapseed, Photoshop Express, PicsArt or VSCO, then you can be more intricate in how you breathe more life into the image. If you shot in RAW, Snapseed and Adobe Lightroom are good places to start.
At first, all of the sliders and tools may seem daunting and intimidating, but then what's the rush? Good shots should take time, and the tools won't be as hard to figure out as you think — the visual effect is there to see on the photo. Some of these apps may offer presets (basically filters) that you can apply and then edit from there. If you truly care about how your photo looks, take time to edit it the right way.
It's time to do it differently
These are the main points for me, though there are others that come up within each of them, be it bad focusing or framing, for instance. Shooting better photos with your phone is at your fingertips, so long as you exercise patience to understand the features you have available, and how to utilize them. The first step is to reduce and stop making the same mistakes noted here. Apply the alternatives and, in time, you will see your images turn out better than before.
Hosted by Android Central's Alex Dobie
Join us for a deep dive into everything you need to know to take better photos. Composition, software features, and editing are just some of the features we'll be tackling together in this course.

Ted Kritsonis loves taking photos when the opportunity arises, be it on a camera or smartphone. Beyond sports and world history, you can find him tinkering with gadgets or enjoying a cigar. Often times, that will be with a pair of headphones or earbuds playing tunes. When he's not testing something, he's working on the next episode of his podcast, Tednologic.
