10 basic Android terminal commands you should know
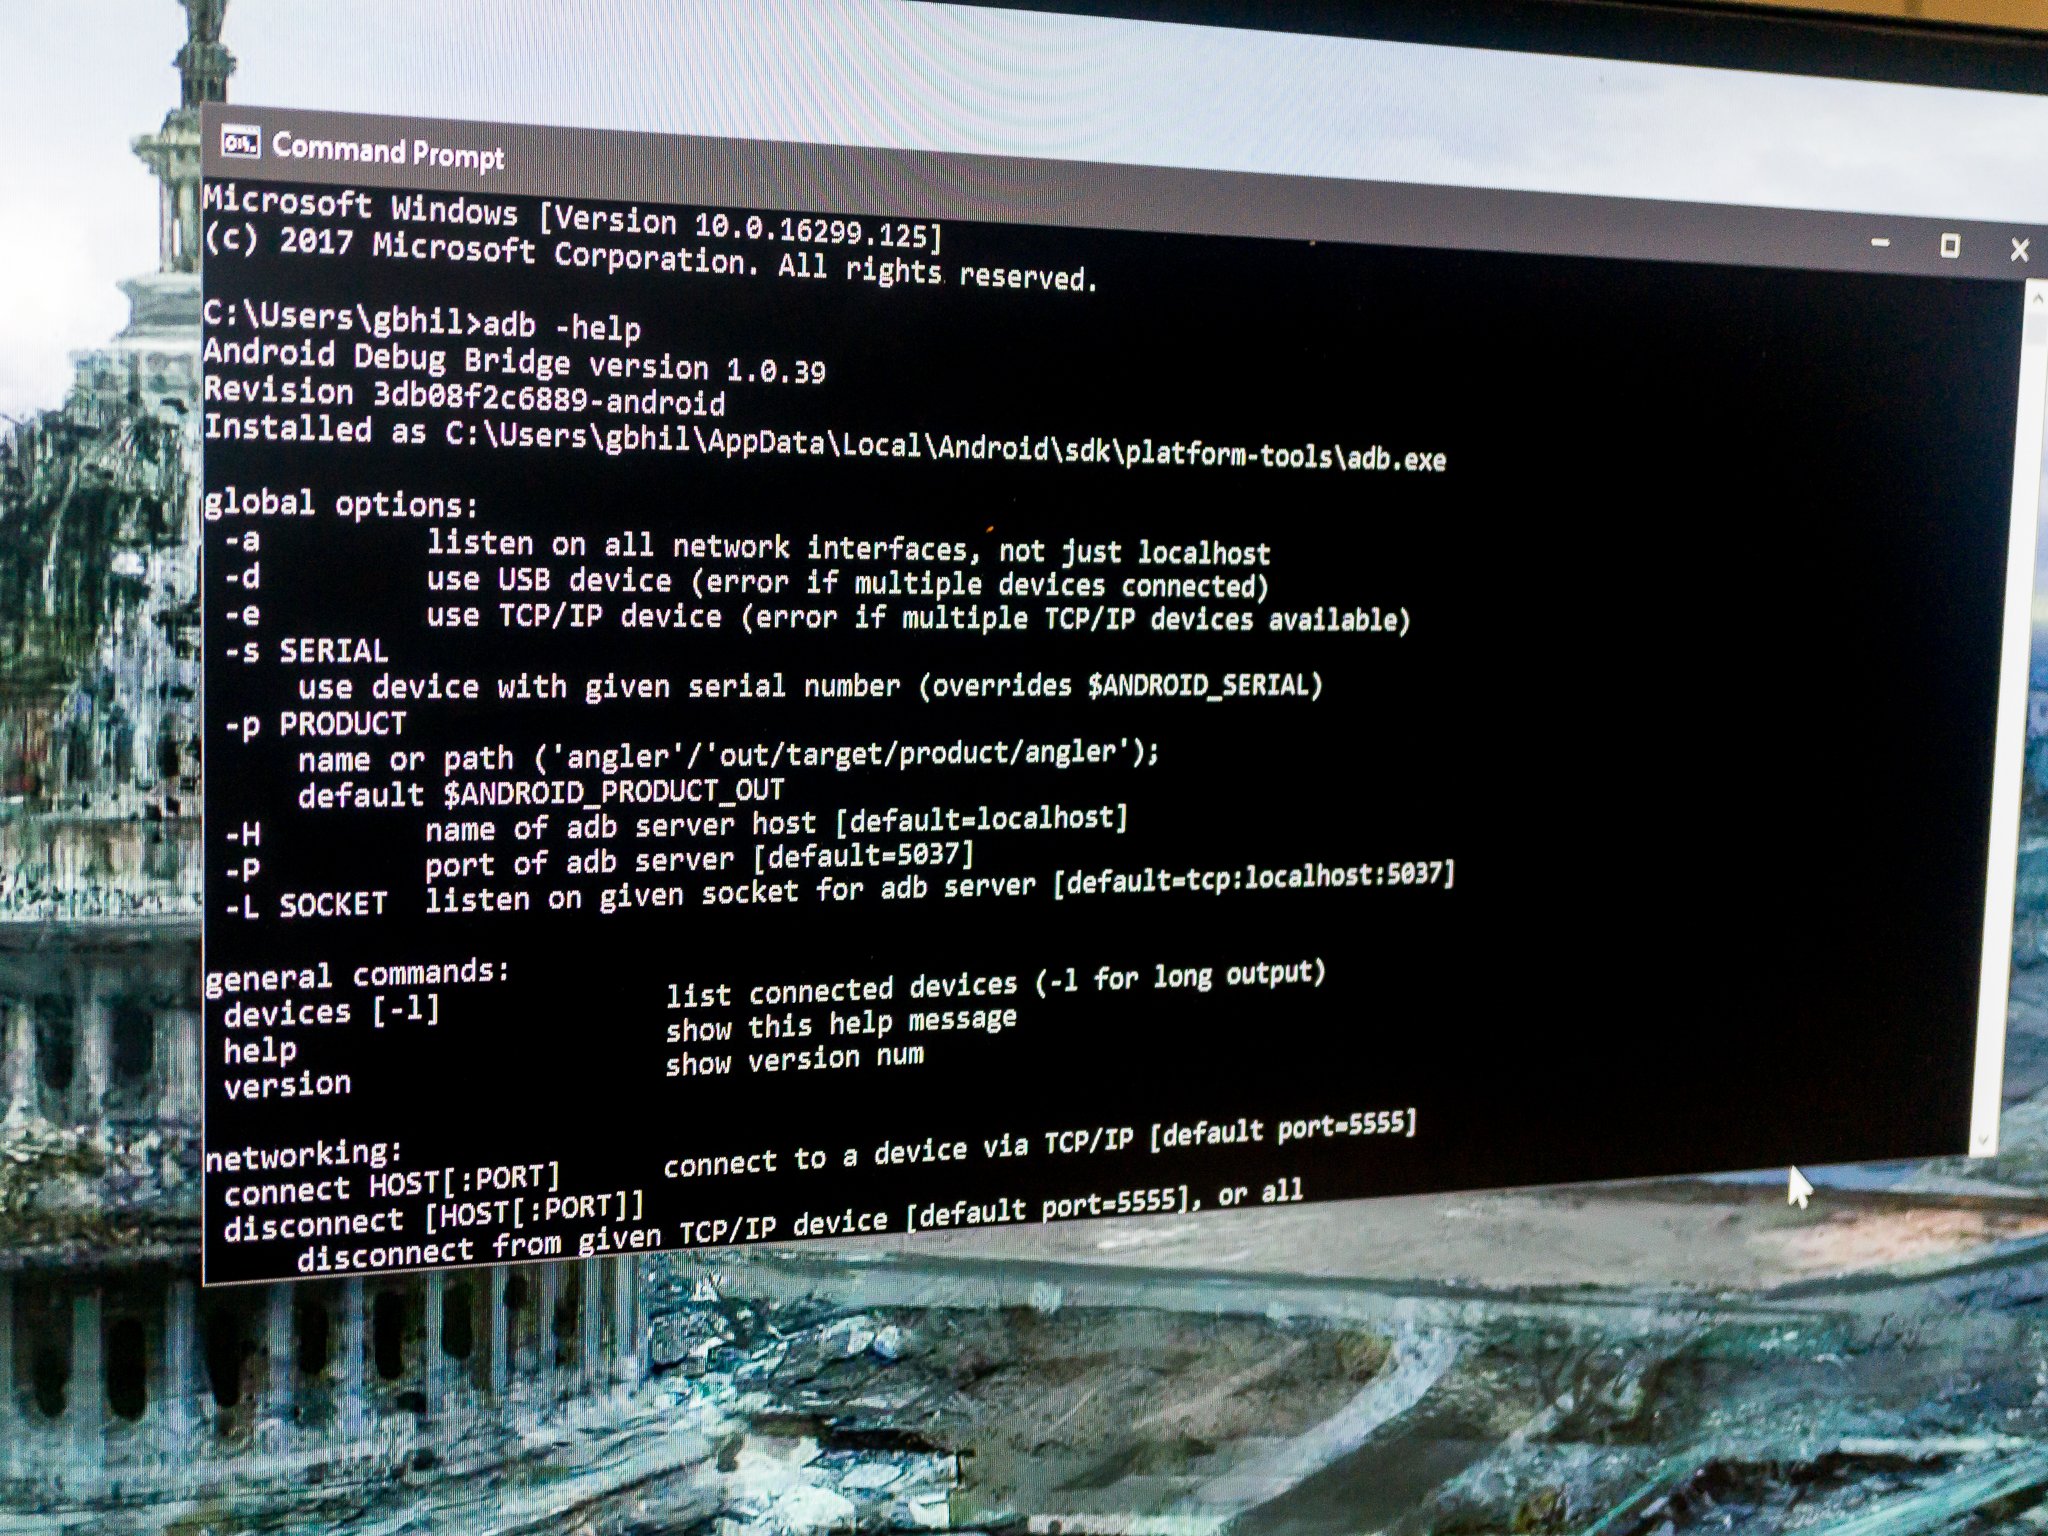
For a lot of us, the fact that we can plug our Android phone into a computer and interact with it is a big plus. Besides the times when we've broken something and need to fix it, there are plenty of reasons why an advanced Android user would want to talk to their device. To do that, you need to have a few tools and know a few commands. That's what we're going to talk about today.
Granted, this won't be the end-all-be-all discussion of adb commands, but there are 10 basic commands everyone should know if they plan to get down and dirty with the command line.
You'll need some tools and getting them is easy. Head on over to the Android developer's site. You can either install the full Android Studio package if you want extra debugging tools or you can scroll down to the bottom of the page and download just the command line tools. Unless you're developing or debugging something on or for your phone, you'll want just the command line tools.
If you're using Windows, there's one more step. Visit the manufacturer's page for your device and install the adb and fastboot drivers for Windows. You'll need this so that your computer can talk to your Android device. If you hit a snag (Windows can be fickle) visit the forums and somebody is bound to be able to help you through it.
Now that we're all on the same page, enable USB debugging on your device (see your devices manual if you need help finding it) and plug your phone into your computer.
Here we go.
1. The adb devices command
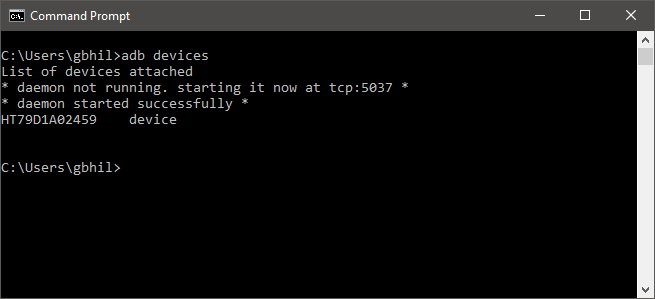
The adb devices command is the most important one of the bunch, since it's used to make sure your computer and Android device are communicating. That's why we're covering it first.
Be an expert in 5 minutes
Get the latest news from Android Central, your trusted companion in the world of Android
If you're a pro at the operating system on your computer, you'll want to add the directory with the Android tools to your path. If you're not, no worries. Just start up your terminal or command console and point it where you put the extracted tools you downloaded above.
Once you're sure that you are in the right folder, type adb devices at the command prompt. If you get a serial number, you're good to go! If you don't, make sure you're in the right folder and that you have the device driver installed correctly if you're using Windows. And be sure you have USB debugging turned on!
Now that we have everything set up, let's look at a few more commands.
2. The adb push command
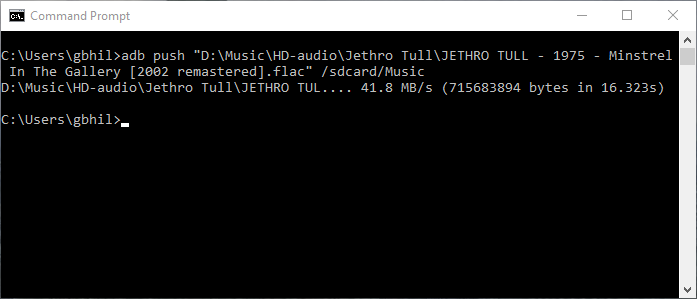
If you want to move a file onto your Android device programmatically, you want to use the adb push command. You'll need to know a few parameters, namely the full path of the file you're pushing, and the full path to where you want to put it. In the picture above I'm pushing a song from my Music folder on my desktop to the music folder on my phone.
Notice the slashes in the file path and the quotes around the path on my computer in the command. Windows uses \ as a directory switch in a file path and Unix uses /. Because the file name has spaces and special characters (I renamed it this way on purpose!) you need to encase the path in quotes.
3. The adb pull command
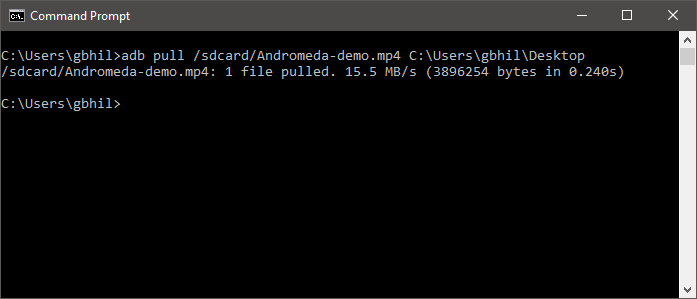
If adb push sends files to your Android device, it stands to reason the adb pull command would pull them out.
That's exactly what it does, and it works the same way as the adb push command did. You need to know both the path of the file you want to pull off, as well as the path you want it placed into. You can leave the destination path blank and it will drop the file into your tools folder to make things easy.
In this example, I did it the hard way and entered the full path(s) so you can see what it looks like. Remember your forward slash versus backward slash rules here and you'll have no problems.
4. The adb reboot command
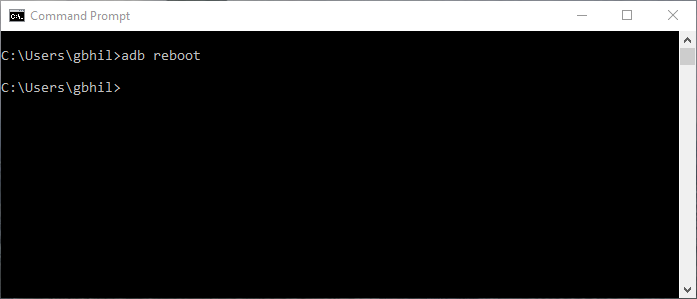
This is exactly what you think it is — a way to reboot your device from the command line. Running it is simple: just type adb reboot and enter.
Before you say "I can just push the button!" you have to understand that these commands can be scripted, and your device can reboot in the middle of a script if you need it to. And that's a good segue to number five.
5. The adb reboot-bootloader and adb reboot recovery commands
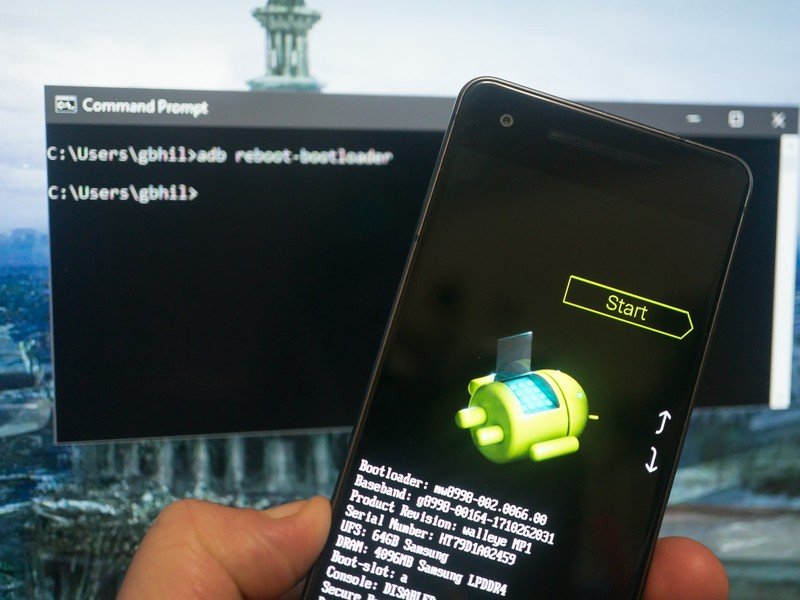
Not only can you reboot your device, but you can also specify that it reboots to the bootloader. This is awfully handy, as sometimes those button combos are touchy, and if you have a lot of devices it's tough to remember them all. Some devices don't even have a way to boot to the bootloader without this command. And once again, being able to use this command in a script is priceless.
Doing it is easy, just type adb reboot-bootloader and hit the enter key.
Most devices can also boot into the recovery directly with the adb reboot recovery (note there is no hyphen in this one) and some can't. It won't hurt anything to try.
6. The fastboot devices command
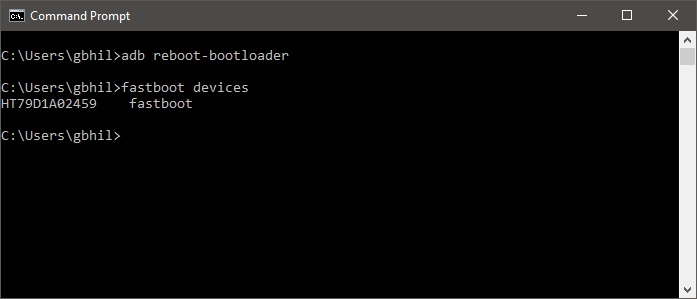
When you're working inside the bootloader, adb no longer works. You're not yet booted into Android, and the debugging tools aren't active to communicate with. You'll need to use the fastboot command in its place.
Fastboot is probably the most powerful Android debug tool available, and many devices don't have it enabled. If yours does, you need to be sure things are communicating. That's where the fastboot devices command comes into play. At the prompt, just type in fastboot devices and you should see a serial number, just like the adb devices command we looked at earlier.
If things aren't working and you're using Windows, you likely have a driver issue and you'll need to source it from the manufacturer.
7. The fastboot unlock command
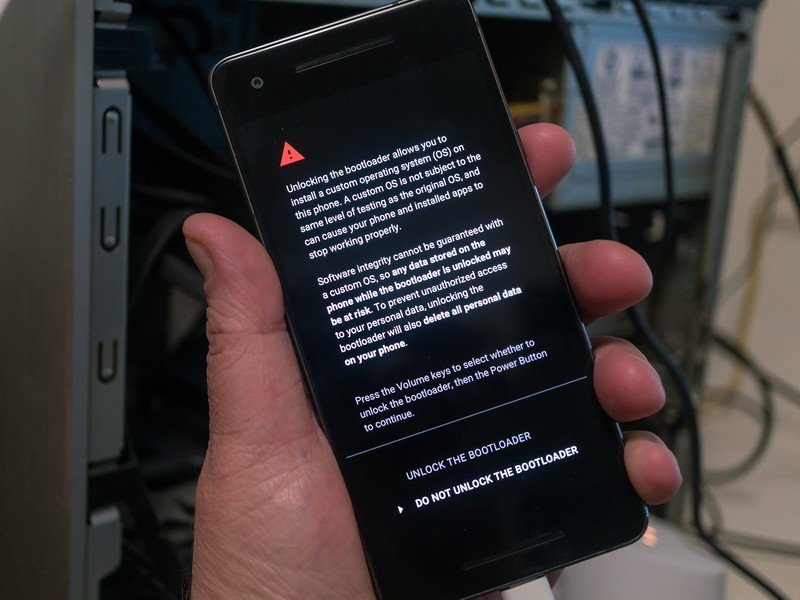
The fastboot unlock process will erase everything on your phone and reset it.
The holy grail of Android commands, fastboot flashing unlock does one thing, and one thing only -- unlocks your bootloader. It's not enabled on every phone, even phones that support fastboot, but we're including it because even if you don't need it, it's an important part of Android's openness. Google doesn't care what we do with phones as long as it doesn't go against rules for Google Play access, and that includes this easy way to crack them open, even if the company who made your phone doesn't support it.
Using it is easy enough. Once you've used fastboot devices to make sure everything is communicating, just type fastboot flashing unlock at the prompt and hit enter. Look at your device, read carefully, and choose wisely.
8. The adb install command
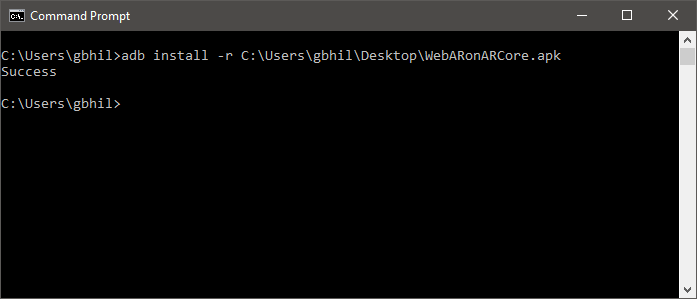
While adb push can copy files to our Android devices, adb install can actually install apps. You'll need to supply the path where you have the .apk file saved, then run it like this: adb install TheAppName.apk.
If you're updating an app, you use the -r switch: adb install -r TheAppName.apk. There is also a -s switch which tries to install on the SD card as well as other commands you probably won't ever need.
And finally, you can uninstall apps by their package name with adb uninstall package-name-here. Uninstall has a switch, too. The -k switch will uninstall the app but leave all the app data and cache in place.
9. The adb sideload command
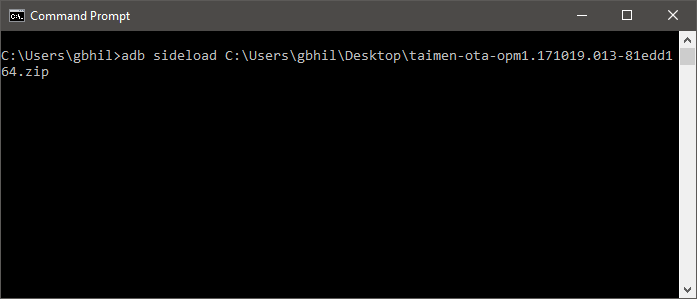
An OTA (over-the-air) update is downloaded by your phone as a .zip file. You can also download that zip file manually and install it without having to wait for your phone to have the update pushed to it. The end result is the same as if you had waited, but we hate waiting.
All you have to do is download the update to your computer. Plug your phone into the computer. Then, reboot into recovery on your phone and using the up and down volume buttons choose Apply update from ADB. Then hop into your favorite terminal/command line and type adb sideload Full-Path-to-the-file.zip and hit enter. Let things run their course, and you're golden.
10. The adb shell command
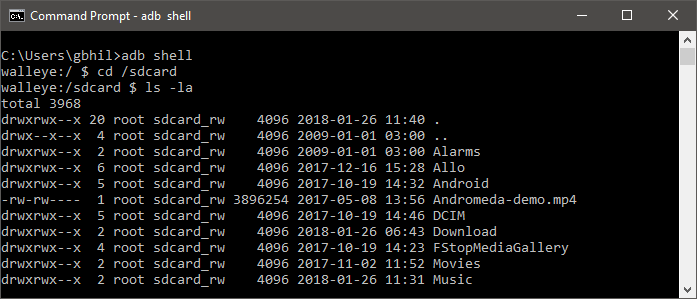
The adb shell command confuses a lot of folks. There are two ways to use it, one where you send a command to the device to run in its own command-line shell, and one where you actually enter the device's command shell from your terminal.
In the image above, I'm inside the device shell. Getting there is easy enough, just type adb shell and enter. Once inside, you can interact with the actual running operating system on your phone. I'll warn you that unless you're familiar with an ash or bash shell, you need to be careful here because things can turn south quickly if you're not. Ash and bash are command shells. They allow you to interact with your phone through typed commands and a lot of folks use one or both on their Linux or Mac computers even if they didn't know it. ** It is not DOS so don't try any DOS commands.**
The other method of using the adb shell command is using it to tell your phone to run a shell command without going into the shell. Using it is easy; type adb shell An example would be changing permissions on a file like so: adb shell chmod666 /sdcard/somefile.
Be very careful running direct commands using these methods.
And there you have it. There are plenty more commands to learn if you 're the type who likes to learn commands, but these 10 are the ones you really need to know if you want to start digging around at the command prompt.

Jerry is an amateur woodworker and struggling shade tree mechanic. There's nothing he can't take apart, but many things he can't reassemble. You'll find him writing and speaking his loud opinion on Android Central and occasionally on Threads.
