How to unlock the Nexus 5X bootloader
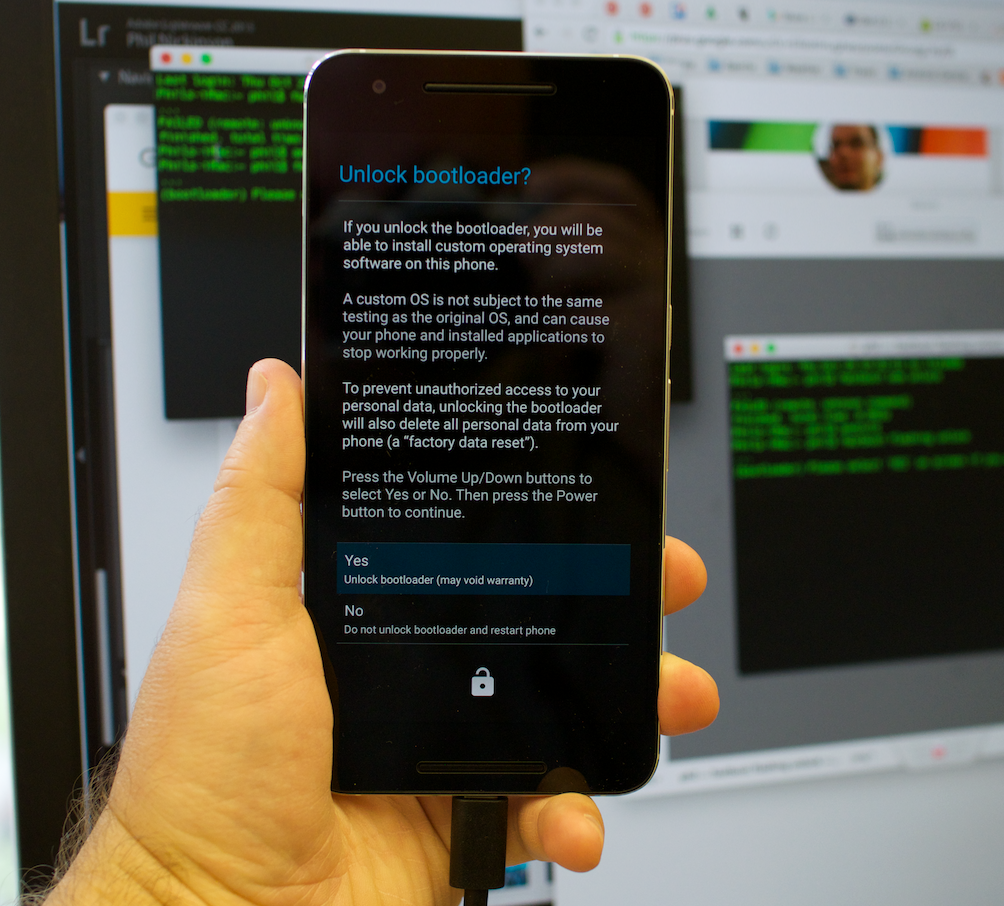
Your new Nexus 5X comes from the factory with a locked bootloader. While unlocking it is trivial, it's important to remember that an unlocked bootloader is very unsecure, and makes your personal data more vulnerable should someone get your phone in their hands. If you're not the type of person who wants to flash ROMs or system images or the like, it's probably best to leave it locked. That's for you to decide.
Should you decide to unlock your bootloader, remember that doing so will erase all the user data on your phone and return it to the out-of-box state. Still with us? Cool. Here's how to do it.
You'll need a working installation of fastboot on your computer. Yes, you need a computer to unlock the bootloader. We recommend that you install the Android SDK and the official Google USB driver if you're using Windows, but there are toolkits and bundles available if you'd rather go that way. You'll find more information about that in the forums. We're going to go with the premise that you've downloaded and installed the Android SDK for your computing platform, and any needed drivers for Windows computers.
Next, you'll need a suitable cable. In this case, suitable means one end needs to be USB Type-A to plug into your computer, and the other needs to be USB Type-C to plug into your phone. For the Nexus 5X, there is no suitable cable in the box and you'll need to buy one.
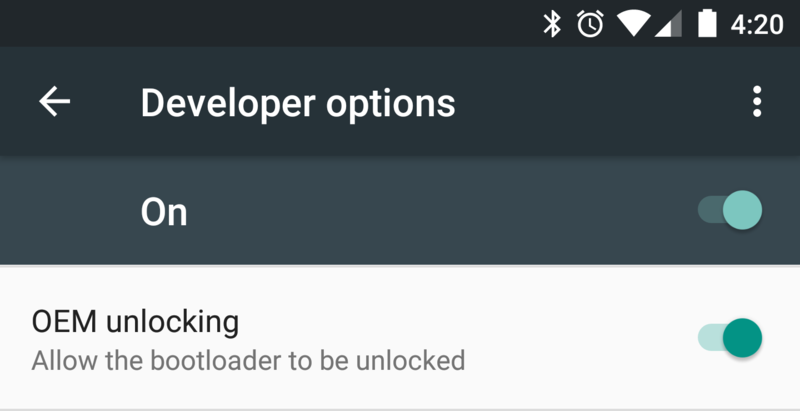

Now you need to give permission for the bootloader to be unlocked. And to make things easy, enable USB debugging on your phone. Go to settings, About phone and find the entry labeled build number. Tap it five times, read the pop up telling you that you're a developer now, then go back to the main settings page. Near the bottom, you'll see a new entry labeled Developer options. Tap it to get in there, and toggle the switch to allow OEM unlocking, then enable USB debugging.
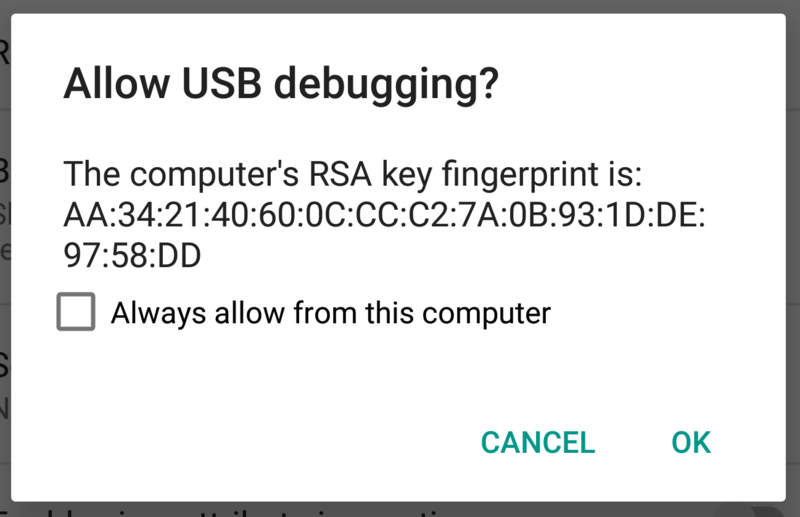
Now connect all the things together, and fire up the command line on your Windows computer or a terminal program on your Mac or Linux computer. Make sure your phone is unlocked and the screen is on, because you'll be asked to authorize the computer and give it permissions to communicate with your Nexus 5X over a wire. Once that's done and sorted, it's time to do some typing.
On your computer, at the command prompt type:
Be an expert in 5 minutes
Get the latest news from Android Central, your trusted companion in the world of Android
adb devicesIf everything is good, you'll see the phone's serial number in your command line window. If not, you probably have a PATH issue. See the tutorial about setting up the SDK for help if you're using a full SDK installation, or ask in the developers support thread if you're using some sort of toolkit. As a workaround, you can navigate to the folder with the adb and fastboot executable files and work from there. If you do this on a Mac or Linux computer, remember your dot and slash: "./adb devices" for example.
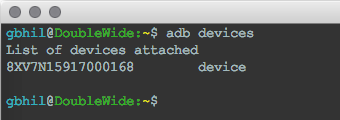
Once you have things sorted, it's time to reboot to the bootloader:
adb reboot-bootloaderWhen you get to this stage, you will need to use fastboot to communicate instead of adb. If you're working out of the folder where the fastboot command is located, remember that dot and slash if you're using a Mac or Linux computer. Try this command to see if everything is working:
fastboot devicesSee the serial number like we did with the adb command? If so, you're good to go. If not, you need to troubleshoot. If you're using Windows and having issues, chances are it's the driver. In any case, hit the forums and work out why things aren't communicating if you need to.

Up until now, things are the same here as they have always been with Nexus phones. But the command to actually unlock the bootloader has changed. When you're ready, at your command line, type:
fastboot flashing unlockRemember — this will erase everything on your phone and restore it to the way it came out of the box.
You'll need to confirm this action on your phone's screen, using the volume and power keys. Follow the instructions on your screen.
Let it do it's thing, and when it's done send one more command to make things final:
fastboot rebootAfter recovery erases everything and you've booted back to Android (at the device setup screen) you can unplug your cable and use your phone normally.
If you ever decide to relock your bootloader, you can do so with this command:
fastboot flashing lockRemember, if you need to unlock your bootloader again, things will get erased again.
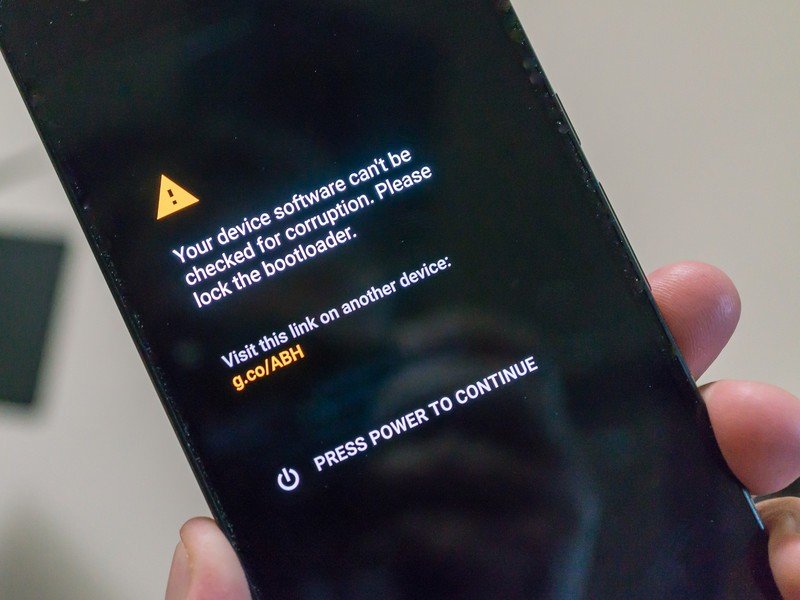
That's it. Your bootloader is now unlocked, and you can flash both official and unofficial firmware to your Nexus. In fact, you'll be reminded that you're bootloader unlocked each and every time you start your phone. Stay safe, and choose wisely!

Jerry is an amateur woodworker and struggling shade tree mechanic. There's nothing he can't take apart, but many things he can't reassemble. You'll find him writing and speaking his loud opinion on Android Central and occasionally on Threads.
