How to manually update your Nexus 7 to Android 4.1.2

The Android 4.1.2 update has started rolling out to Nexus 7 tablets around the world. But if your tablet has yet to receive the update, then don't despair -- we've got a quick walkthrough that'll get you updated in a few minutes, assuming you've got a little experience with a command line.
Note that this is for stock Nexus 7 tablets, and for people who want to update without really doing any real hackery, but don't mind a little command line work. Nothing we do here is permanent, other than the update itself. If you've already flashed a custom recovery, you should be able to update manually using that, instead of our method. And with that...
Caution: This guide is intended for technically proficient users only. Proceed at your own risk. Dragons ahead, etc.
The prerequisites
- A completely stock Nexus 7 running Android 4.1.1, build JRO03D. (Check under Settings > About device; if you have a different build number, you may need a different update package.)
- Our zip file containing ADB executables for Windows, Mac and Linux.
- The Android 4.1.2 update package from Google. (31MB)
Check past the break to see the full manual update process.
The process
- Unzip the zip file containing the ADB executables into a folder on your computer.
- Place the update .zip package from Google in the same folder, but do not unzip it.
- On your Nexus 7, go to Settings > Development options and switch the toggle on. Then enable USB debugging under the "Debugging" menu group.
- Power down your Nexus 7
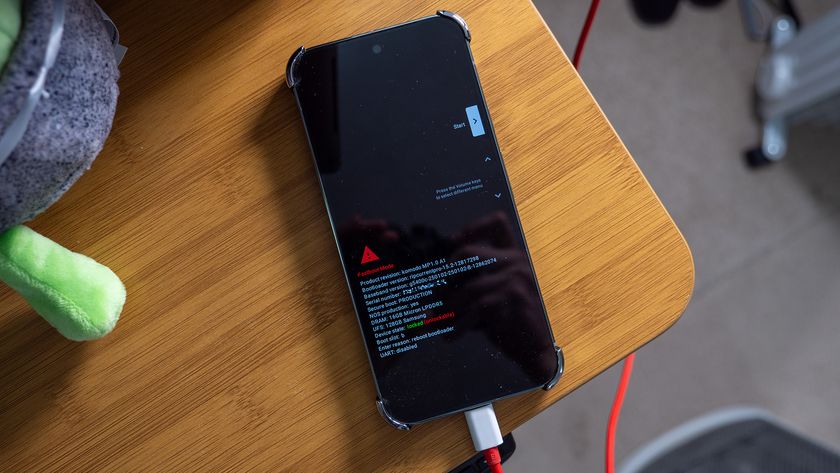
- Start up the bootloader by holding down volume up, volume down and power on your tablet.
- When the menu loads, plug your Nexus 7 into your computer.
- Use the volume up/down keys to navigate to "Recovery mode", then press the power button.
- When the Android with the red exclamation point appears, hold down power first, followed quickly by volume down and volume up. (So that to start, you're holding down power, then you're holding down all three). After 2-3 seconds, release all three keys.
- Use the volume up/down keys to select "apply update from ADB," then press power to select it.
- On your computer, open up a command prompt or terminal window.
- Using the command line, navigate to the folder containing the ADB executables and the update file. (cd command)
- On Windows, type:
adb.exe sideload 03a4eaf95f73.signed-nakasi-JZO54K-from-JRO03D.03a4eaf9.zip
... or on Mac, type:
./adb-mac sideload 03a4eaf95f73.signed-nakasi-JZO54K-from-JRO03D.03a4eaf9.zip
... or on Linux, type:
./adb sideload 03a4eaf95f73.signed-nakasi-JZO54K-from-JRO03D.03a4eaf9.zip - The update should begin installing. When it's done, select "reboot system now."
- Enjoy Android 4.1.2 on your Nexus 7!
Be an expert in 5 minutes
Get the latest news from Android Central, your trusted companion in the world of Android

Alex was with Android Central for over a decade, producing written and video content for the site, and served as global Executive Editor from 2016 to 2022.
